Contact Form Generator: Quick Guide
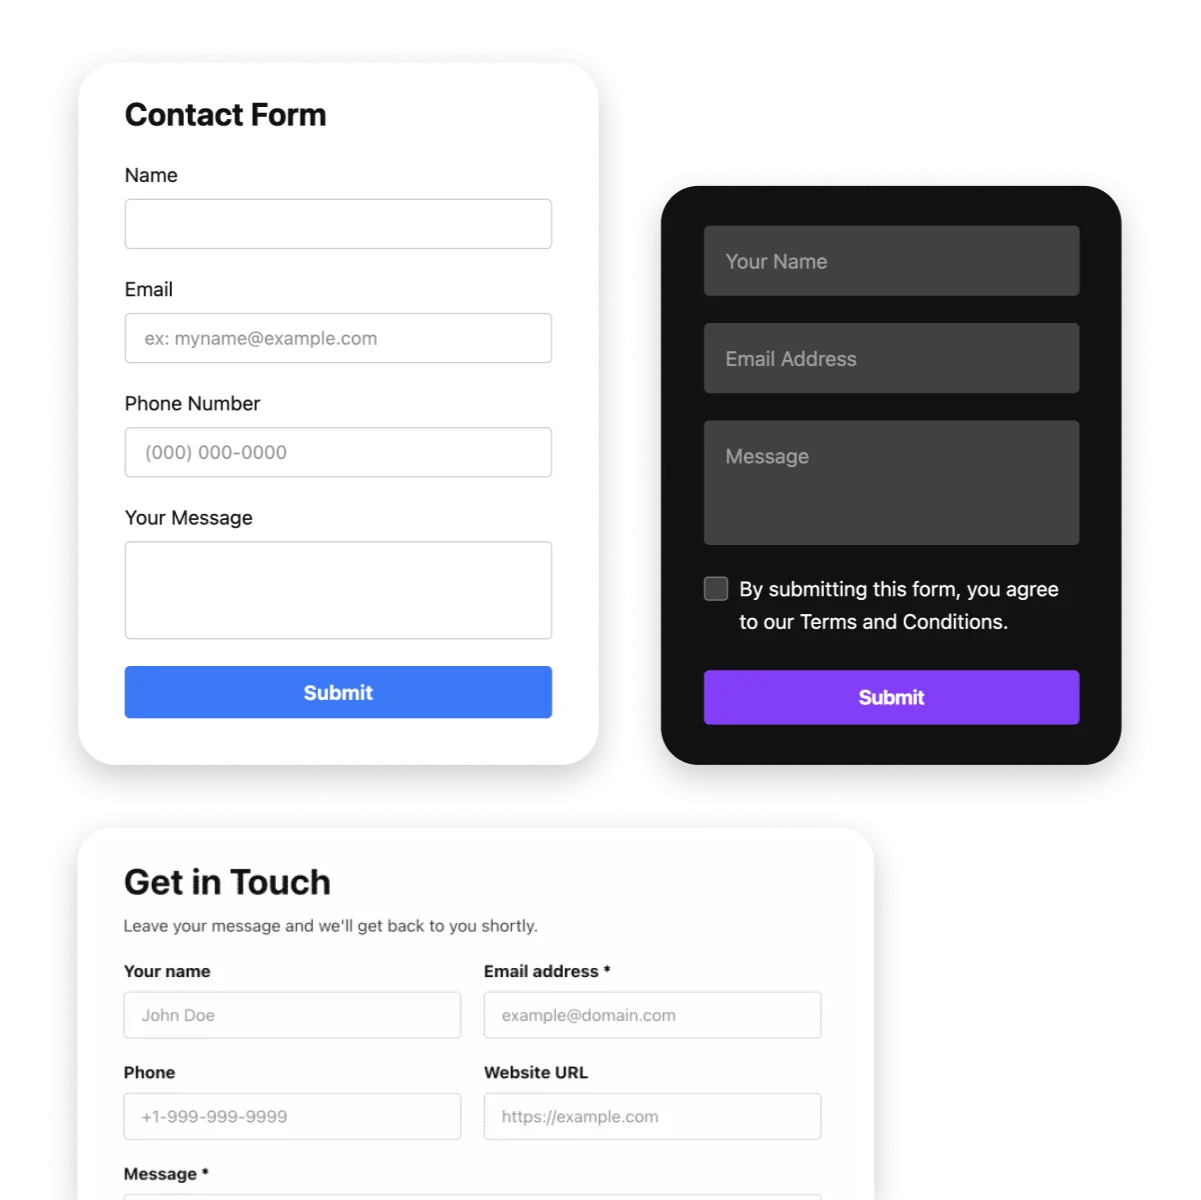
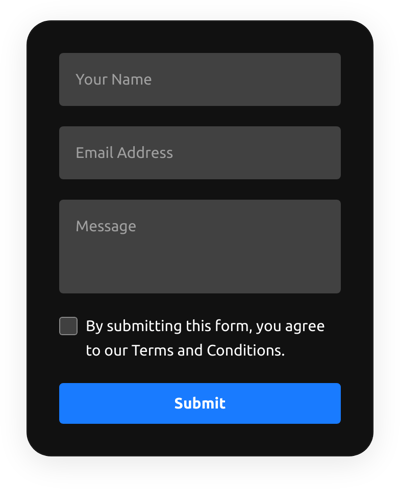
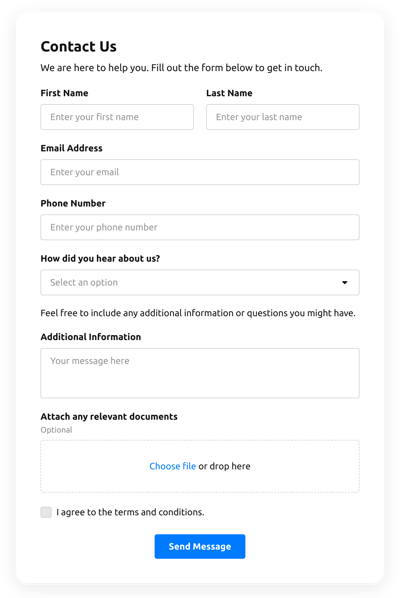
A well-crafted contact form does more than just offer a way to get in touch—it becomes a powerful tool for collecting emails and valuable data that your customers are ready to share. However, building a form that integrates with platforms like Google Sheets, Mailchimp, or Zapier can be tricky without the right solution. Try Elfsight’s Contact Form widget.
With Elfsight’s widget, you can easily create a form that’s not only customizable but also ready to collect and send data directly to your preferred platform. Here’s how simple it is to set up:
- Select a template
- Adjust your form’s fields
- Customize the design
- Connect the integrations you need
- Copy the widget’s code and paste it onto your website
It’s quick, seamless, and effective.
Try creating your own Contact Form in the editor ⇩
Use Cases for Contact Forms
Embedding a contact form on your website opens up many possibilities for gathering useful information and improving your business. Here are five essential use cases that make a contact form an indispensable tool for any website owner:
- Collecting feedback and suggestions
Visitors often have valuable opinions about their experience on your website. A contact form allows them to share feedback or suggestions, helping you identify areas of improvement and better understand your audience’s needs. This feedback can be essential for optimizing your website or services. - Requesting reviews for your product or service
A contact form can also serve as an opportunity for satisfied customers to leave reviews about your products or services. By inviting users to share their experience directly through the form, you not only collect valuable social proof but also improve customer trust and engagement. - Providing customer support
Customers frequently need help, and a contact form makes it easy for them to reach out for assistance. Whether they have inquiries about your services, products, or need troubleshooting, the form allows you to offer efficient, organized customer support while ensuring prompt responses. - Event registrations, sign-ups, and appointment bookings
Whether you’re hosting an event, offering consultations, or managing appointments, a contact form streamlines the process. Visitors can register for events, sign up for workshops, or book consultations and appointments by simply filling out a form. This way, you collect all the necessary details, manage registrations efficiently, and sync with tools like your calendar or CRM. - Offering newsletters and subscriptions
Let visitors subscribe to your newsletters or receive alerts about promotions and updates with a contact form. It simplifies the process of growing your mailing list while giving customers an easy way to stay connected with your business and its latest news.
Detailed Guide on Creating A Contact Form
So, whether your scenario is on the list or you have your own idea for the Contact Form embed on your website, it is time to see how you can build it in minutes with our Contact Form maker. Ready to start?
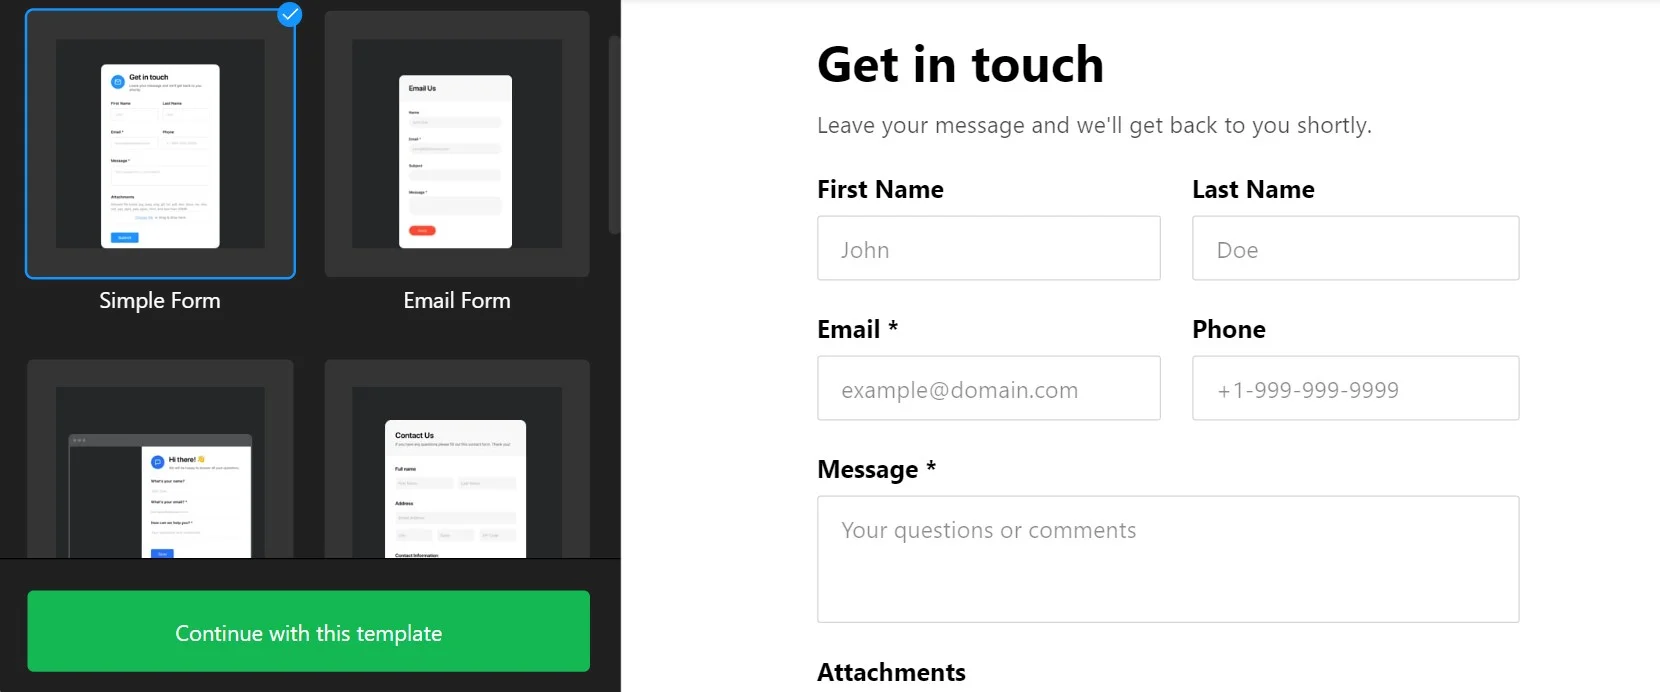
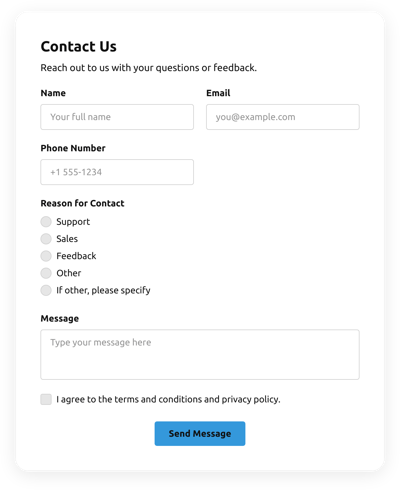
- Start with a suitable template. The editor offers you several options to start your widget with. They are predesigned for the most typical cases and you can totally reorganize everything further on.
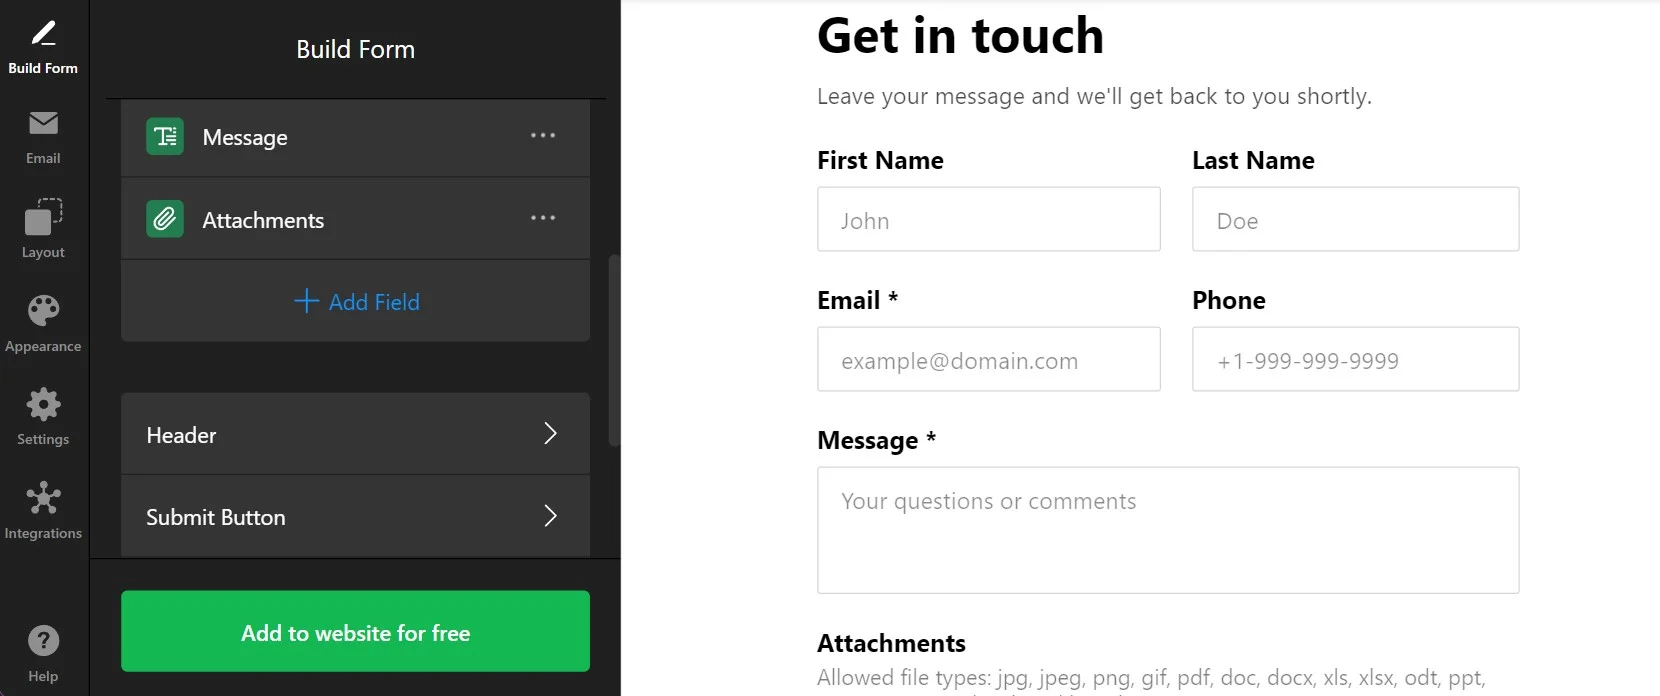
- Build your form. Here is where the fun starts: add any type of fields for your scenario, adjust their structure, and personalize all the key elements.
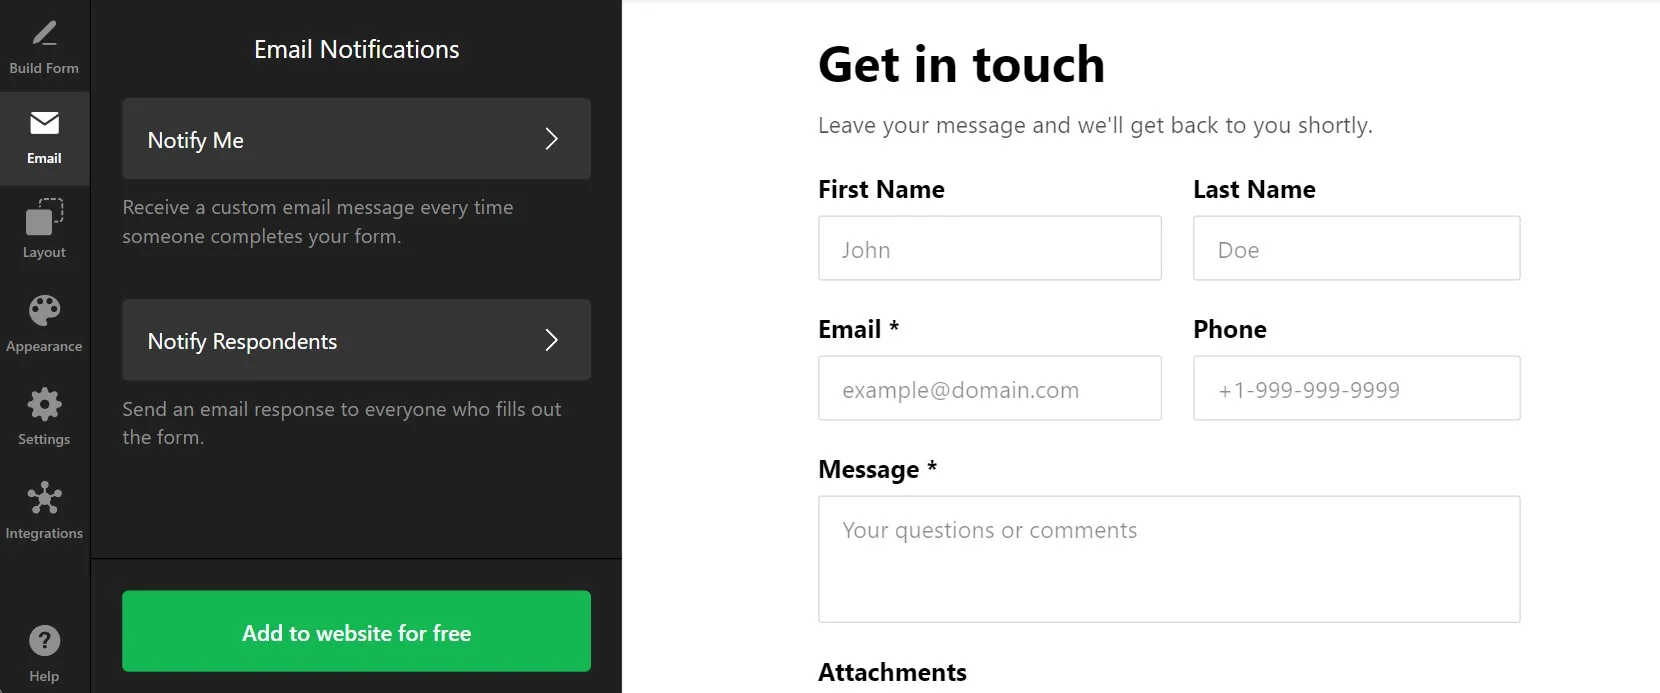
- Adjust notifications. The next tab lets you arrange notifications for you and your customers upon completion of the Contact Form.
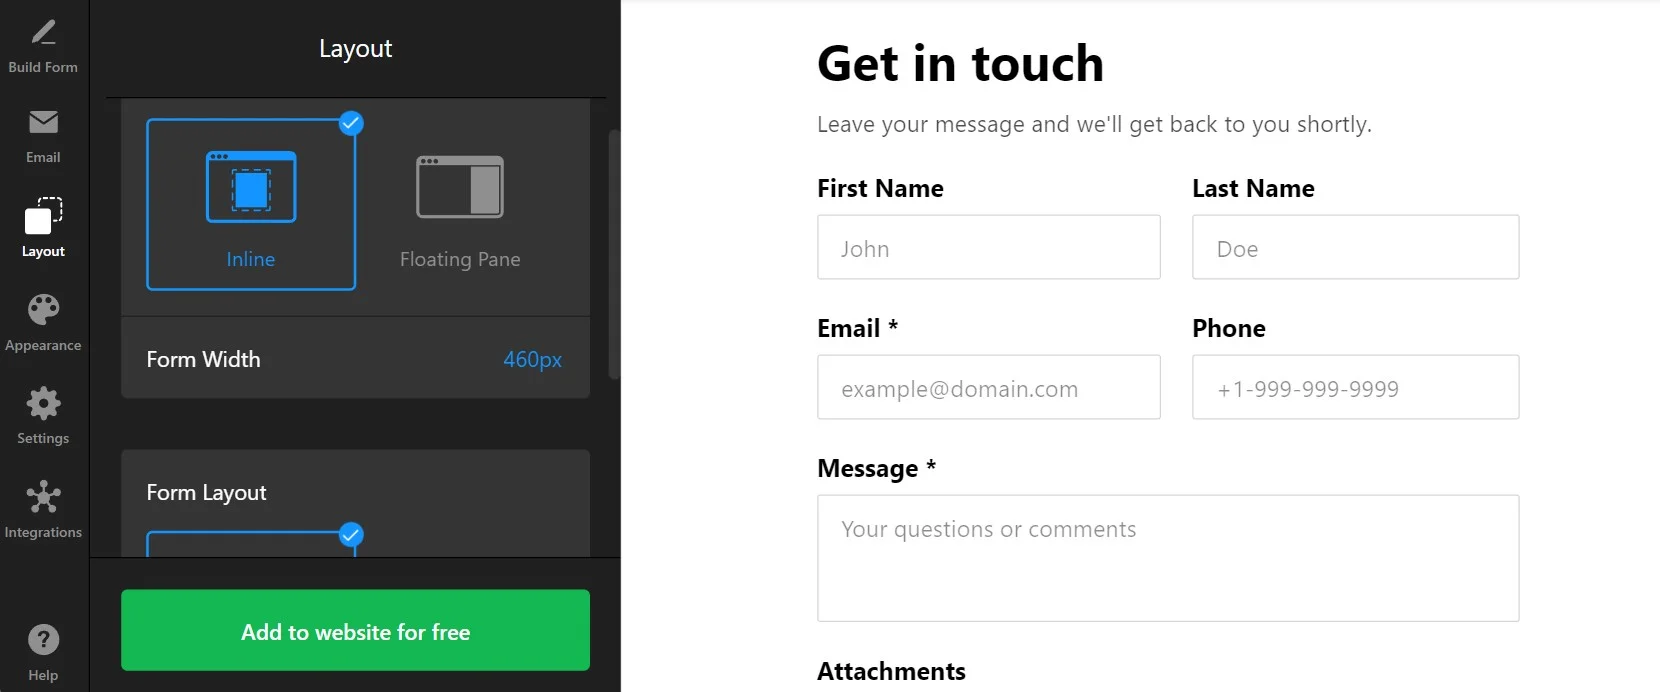
- Define how the form will appear. Choose a suitable layout for your vertical or horizontal form. Think of the way for it to look in the most compelling way for the website visitors.
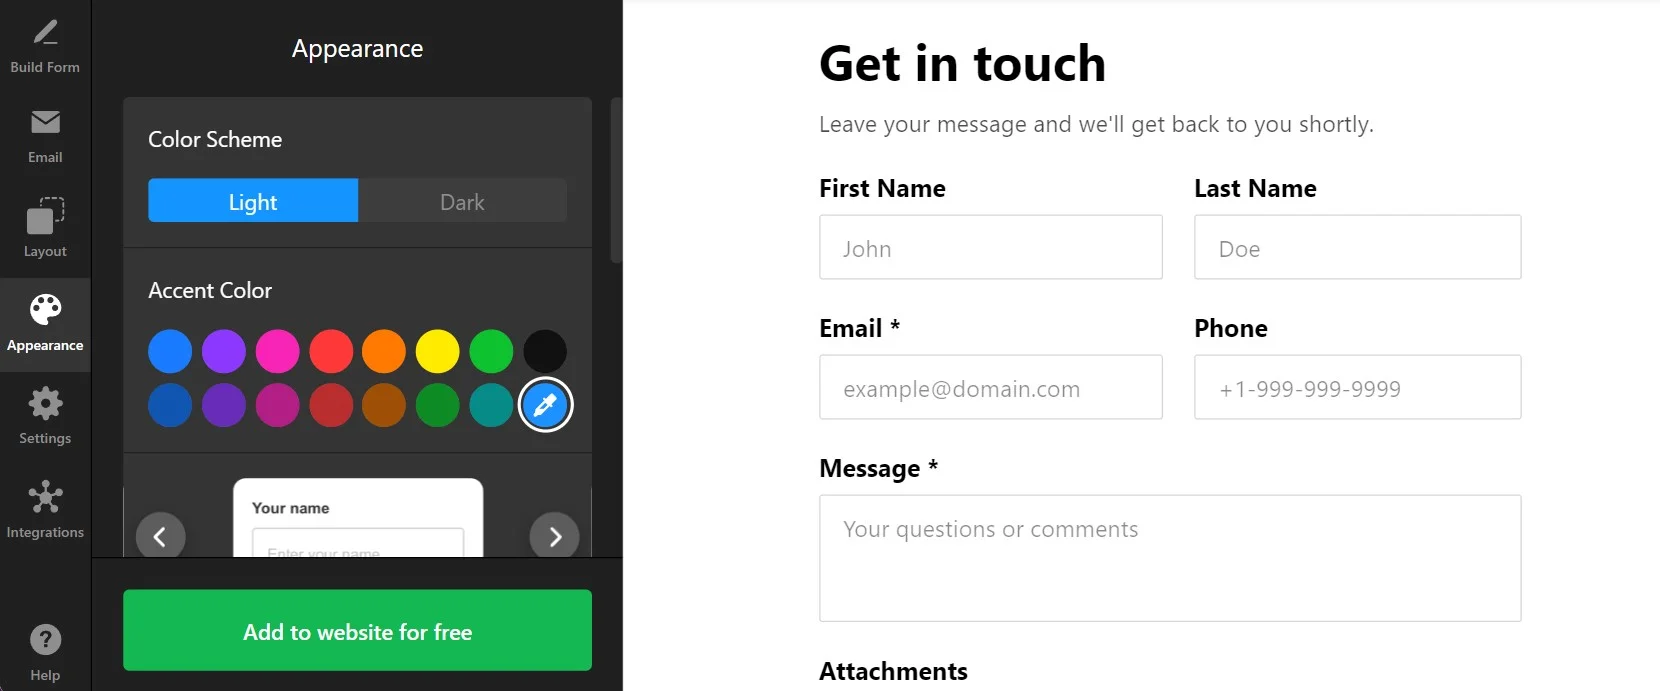
- Customize the form. The ‘Appearance’ tab serves to make your form totally individual: change fonts, colors, shape, and borders of your fields and otherelements.
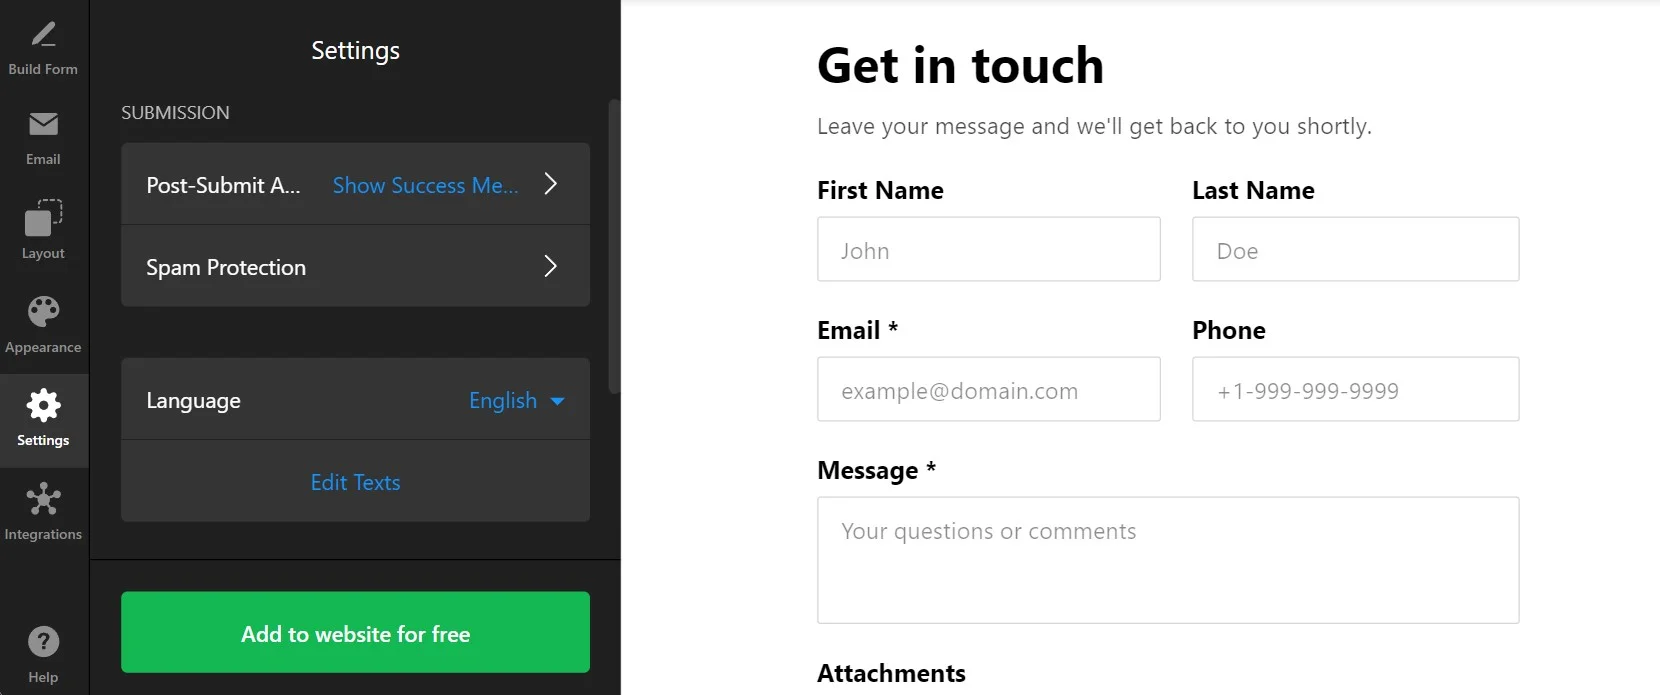
- Explore other settings. The ‘Settings’ tab adds more utility to the widget. You can adjust spam protection, post-submit messages, language, and more details that make you form more convenient for you and your users.
The widget is nearly ready. But there’s one more important detail left to make it really useful.
How to Collect Submissions with My Contact Form??
The real strength of the Contact Form generator is its ability to easily connect customer feedback with essential services. Your form acts as a straightforward tool that collects submissions, which can then be saved in Mailchimp, Zapier, or even Google Sheets. If you use a different form management system, tell us about it in the Wishlist.
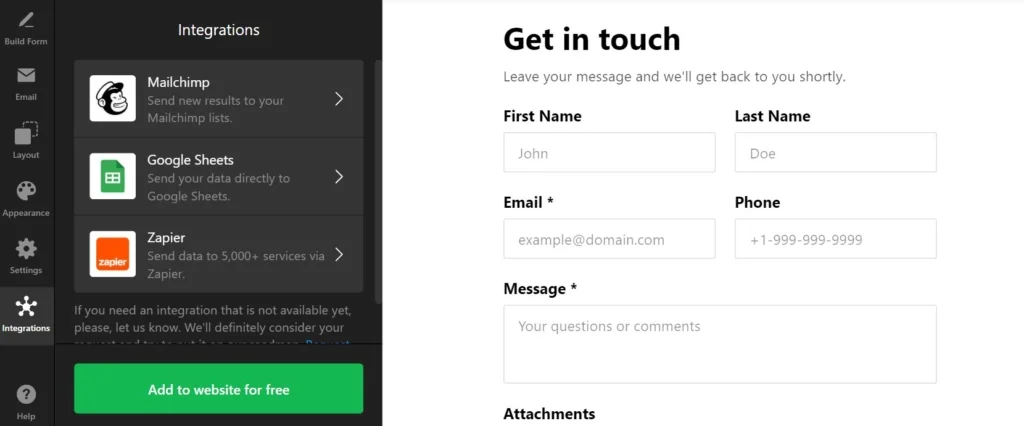
Now you can finish and publish your widget on the website to see how everything functions. The next section will speak about embedding a Contact Form into HTML and many popular website platforms.
How to Embed Contact Form on A Website?
It is very simple to add the form widget to any website. We will take a look at some manuals that cover the process for the most popular CMS platforms.
Add Contact Form to HTML website
Watch this video to learn how to quickly embed the Contact Form widget on any HTML-based website. It’s helpful to see the process in action before getting started. If you prefer, you can also follow the straightforward written steps provided below.
- Go to the backend of your website. Make sure you can edit the HTML code in your admin panel to integrate the widget seamlessly.
- Put the Elfsight code into the HTML of your website. Choose the location where you want your form to appear to pursue your business goals.
- Save the changes to your website. Check whether everything functions the way you planned and looks consistently on the page.
Add Contact Form to WordPress website

You can quickly embed your no-code widget into your website, by inserting the provided code into a block. Thus, you will make your form appear exactly in the spot that you need.
- Log in to your WordPress account. You will need to work in your admin panel in order to make changes to the HTML code.
- Go to ‘Pages’ and choose the page you want. Keep in mind your business goals and reasons for embedding the plugin into a certain area.
- Add a custom HTML block. It must appear in the required part of the website that you have chosen to embed the form into.
- Insert the generated code in this block. Don’t forget to ‘Update’ the page and check the functioning of the widget.
Create Contact Form in WordPress→
Add Contact Form to Wix website

Adding the widget with your form to a required page of the Wix website is simple. The custom code that you received from Elfsight integrates seamlessly with a desired area of the pages.
- Access your Wix website editor. Log into your Wix account and select the site you want to edit. Navigate to your site’s dashboard and click on ‘Edit Site’ to open the website editor.
- Add an HTML block for the form widget. Click the Plus icon on the left-hand menu and navigate to the Embed section. Under the ‘Custom Embeds‘ tab, select ‘Embed a Widget‘ to add a new HTML block to your page.
- Insert the form widget installation code. Click ‘Enter Code’ and paste the installation code provided by your Contact Form widget editor. After entering the code, hit ‘Update‘ to embed the widget into your page.
- Adjust the widget’s dimensions and placement. Adjust the widget’s dimensions and placement on the page. Make sure the widget fits perfectly and is visually appealing by resizing and positioning it appropriately.
- Optimize for mobile devices. Switch to the mobile editor and adjust the widget as needed. Ensure the widget looks great on mobile devices, then publish your changes once you are satisfied with the layout.
Add Contact Form to Shopify website

You can quickly add the widget to any page of your Shopify website. You will only need to insert the ready-made code from Elfsight into a required area of your website.
- Go to the Shopify admin panel. You need to find the ‘Online Store’ area of the website.
- Select ‘Customize’ from the drop-down menu. Then in the left-hand menu, select ‘Add Section.’
- In ‘Custom Content,’ click ‘Add.’ You will have to remove the Shopify parts that were pre-installed.
- Select ‘Custom HTML.’ It is the option that you will find in the ‘Add Content’ menu.
- Locate the ‘HTML’ section. It is where you can embed the form’s installation code and save all modifications.
Create Contact Form in Shopify→
Add Contact Form to Squarespace website

Anyone can quickly embed the form for contacts to the desired page on a Squarespace website. All you need to do is to enter the generated code from Elfsight into a specific block on the page.
- Sign in to your Squarespace account. Log into your Squarespace account and select the site for the widget. Navigate to your site’s dashboard and choose the website you want to edit.
- Navigate to the ‘Website’ section. Pick the page where you want to add the form widget. Go to the ‘Website’ section from the main menu and select the desired page.
- Hit ‘Edit’ and then ‘Add Section.’ Click ‘Edit’ on the chosen page and then select ‘Add Section’ where you want the widget. This allows you to create a new section on your page for the widget.
- Add a code block. Select ‘Add a blank section,’ then click ‘Add block’ and choose ‘Code’ from the list. This is where you will insert your form’s widget code.
- Insert the widget’s installation code. In the ‘Edit’ icon, paste the Contact Form widget installation code and adjust the block’s width. Ensure the widget looks well-placed and visually appealing on your page.
Create Contact Form in Squarespace→
Add Contact Form to Webflow website

Adding the widget to Webflow pages is smooth since you only need to add an Embed element where you deliver the generated code of your Contact Form.
- Start in Webflow. Sign in to your Webflow account and pick the website where you intend to embed the widget.
- Embedding the widget. In the Webflow editor, click the Plus icon. Then, simply drag and drop the Embed element from the left menu to where you want the button to be shown.
- Inserting the code. Embed the form’s installation code in the HTML Embed Code Editor that appears. Afterwards, click ‘Save & Close.’
- Customization and publication. Adjust the settings of your form, then press ‘Publish’ and choose the domains for its activation.
Create Contact Form in Webflow→
Add Contact Form to Elementor website

It is simple and convenient to embed the Contact Form widget into Elementor. You will just need to have an empty block on your page where you insert the code of the widget.
- Start in the WordPress backend. Log into your WordPress website’s backend, go to ‘Pages’, and select the page for adding the Contact Form widget.
- Initiate Elementor editing. Choose ‘Edit with Elementor’ to begin customizing your chosen page.
- Implement the HTML element. Utilize the drag-and-drop feature to place the HTML element on your page.
- Add the widget’s code to the website. Embed the form’s installation code by Elfsight into the HTML Code box.
- Update and enjoy. Hit ‘Update’ to apply your changes and see your page transform with the embedded form.
Create Contact Form in Elementor→
Contact Form Widget: Benefits
Elfsight’s widget allows you to build contact forms that are truly valuable for your company in many ways. Check out some of the key benefits you get using our code-free forms.
- Create versatile forms for numerous scenarios
You can build highly individual forms out of numerous fields for any data collection. Ask people to share contacts, attach files, and select options from lists and radio buttons. - Make every questionnaire relevant and logical
The customers will appreciate the conditional logic feature that makes the form adapt to their answers and display only relevant fields to fill. Combine it with an opportunity to build multi-page forms to make sure your surveys are never clumsy or overwhelming. - Customize your form embed to look naturally on the website
Use Elfsight’s numerous customization and layout options to make your form a natural part of your website page. Dozens of templates will help you start a perfectly looking form for any scenario. - Collect data in a convenient and structured way
The information you receive with the Contact Form will be easy to process due to Mailchimp, Zapier, and Google Sheets integrations. You will receive new submissions in real-time and seamlessly work with your customer database.
Examples of Embeddable Contact Forms
Let’s take a look at some examples of Contact Forms that you can create and embed into your website to collect customer feedback, requests, and information.
Multistep Contact Form
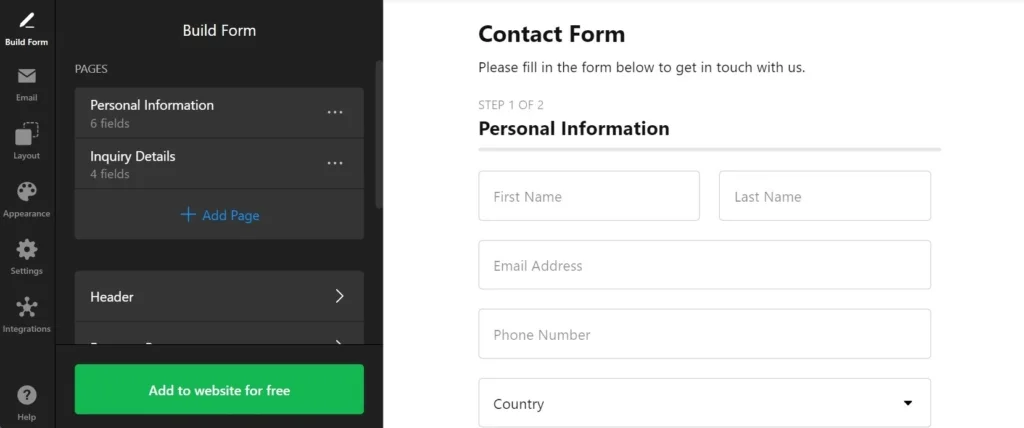
The Multistep Contact Form breaks long forms into manageable sections by using pages. It’s perfect for complex inquiries or data collection, allowing users to move through each step easily. By dividing the form into steps, you make it more user-friendly and less overwhelming, ensuring that visitors complete their submissions without feeling bogged down.
Payment Contact Form
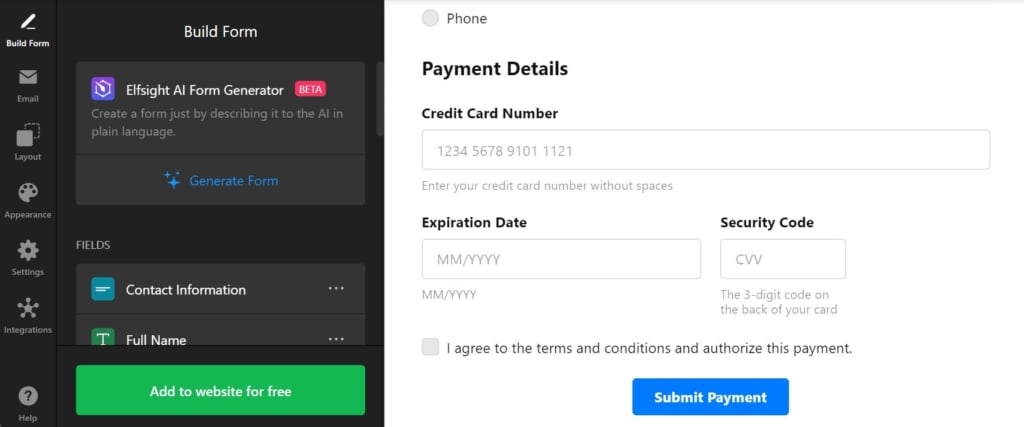
The Payment Contact Form is ideal for businesses that need to process payments directly through the form, as it includes a payment field, allowing for seamless transactions. Whether you’re collecting fees for services, products, or event registrations, this form provides a convenient way to handle payments while collecting other essential details from your customers.
File Upload Contact Form
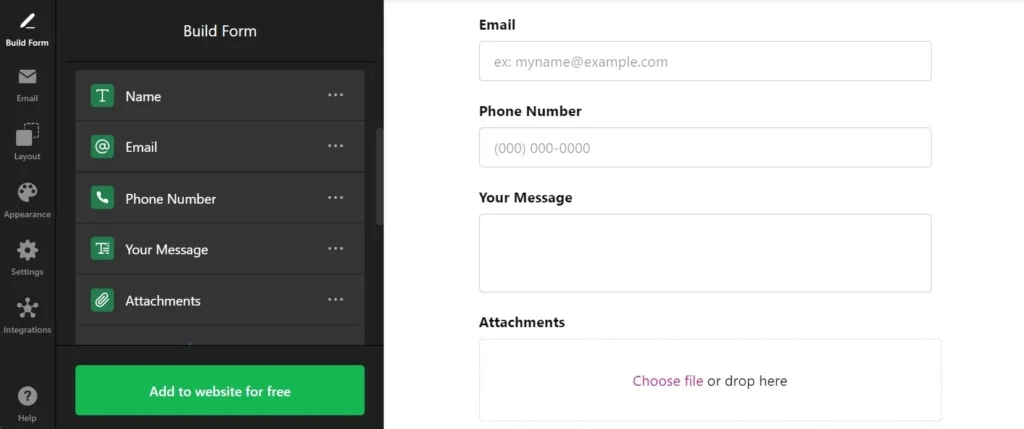
The File Upload Contact Form is designed to facilitate situations where users need to upload files. This template allows customers to attach documents or images directly, making it particularly useful for customer support. It enables users to submit screenshots of issues or photos of damaged products for return requests, simplifying the process for both customers and support teams.
Conditional Logic Contact Form
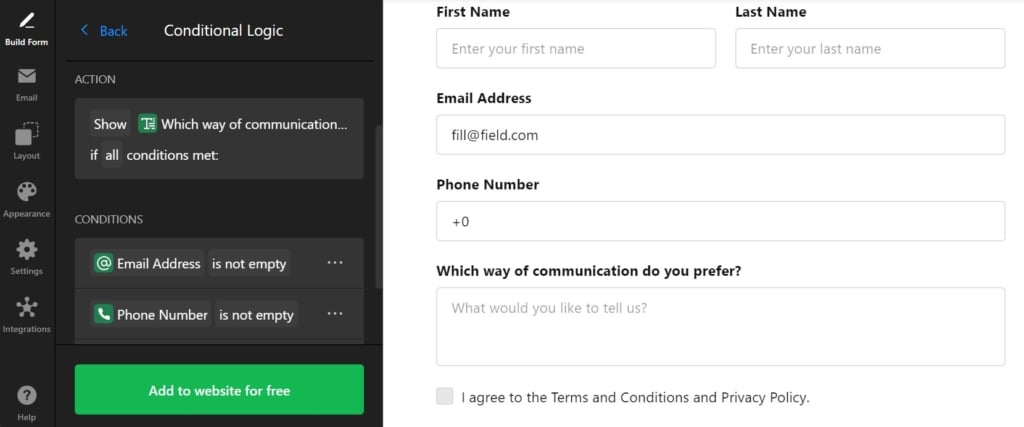
The Conditional Logic Contact Form offers dynamic fields that appear based on user responses. For example, if a customer fills in both an email and phone number, they can choose how they prefer to be contacted. It’s perfect for tailoring the form experience to user needs, keeping the form clean and only showing relevant options.
Floating Contact Form
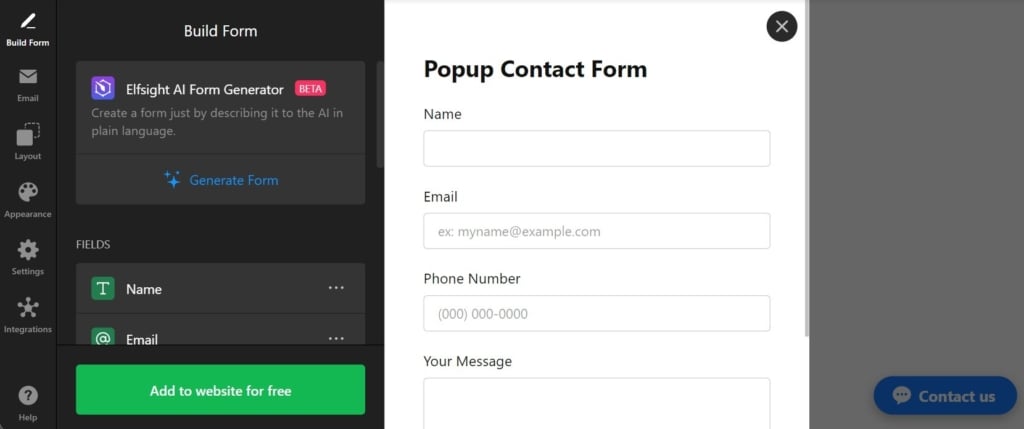
The Floating Contact Form is the ideal solution when space on your website’s main content area is limited. This form stays pinned to the left or right side of the screen, always visible and accessible, without taking up valuable space in the main layout. It ensures that customers can reach out at any time, without disrupting the flow of the website.
Check out many more templates that will help you find the best solution for your use case:
Explore 40+ Contact Form templates
FAQ
How to add Captcha to Contact Form?
How to link a Contact Form to your email?
How to center a form?
How to find an email address from Contact Form?
More Ideas to Grow Your Website
- Is your brand on social media? We have a widget that can help you promote your social media activities on the website. Check out the Social Feed widget by Elfsight to accompany your forms and increase loyal audiences even more.
- Dealing with numbers? There is another type of form which is getting popular on Elfsight: Calculator widget. With numerous calculation fields, simple builder, and AI-feature for automatic generation of calculators, you can create a perfect solution for your customers who want to measure their benefit from your offer.
- Want to get more feedback? Embed reviews from Amazon, Facebook, Yelp, and 30+ other companies in our All-in-One Reviews widget. You can organize surveys within the form but the possibility to write a public review on your business can boost your customers’ engagement and trust even more.
Or simply check out the list of all widgets that Elfsight has developed to simplify e-commerce, social media activities, and website management.
Have A Question?
We hope this guide has been helpful. Reach out to us if you need more information on embedding the Contact Form widget or require any assistance. We’re here to make sure your experience is smooth and successful. Elfsight is dedicated to providing a complete, no-code solution for your website needs. We’re also a vibrant Community where ideas and expertise come together, so feel free to share your creative suggestions in our Wishlist!


