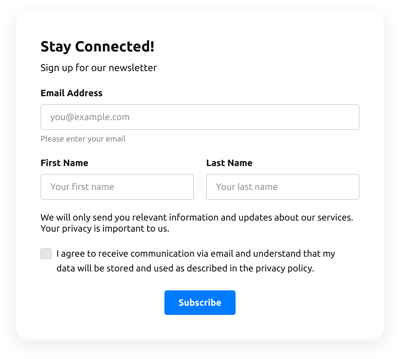
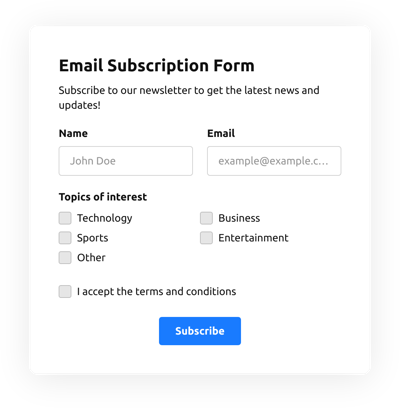
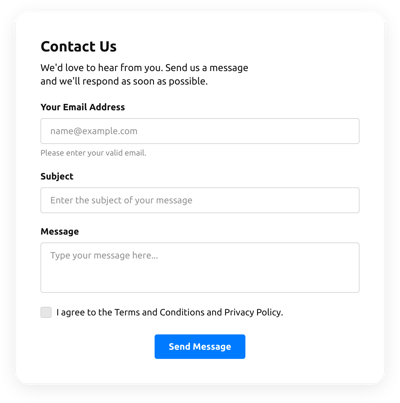
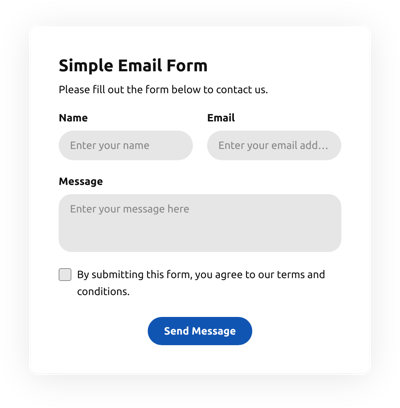
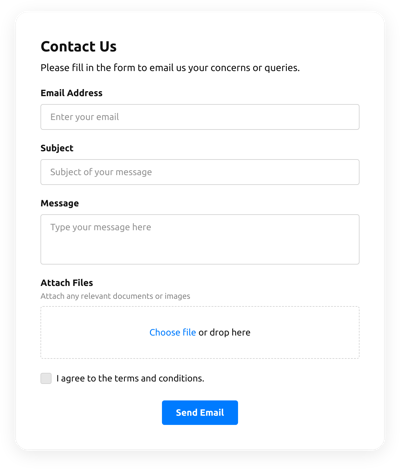
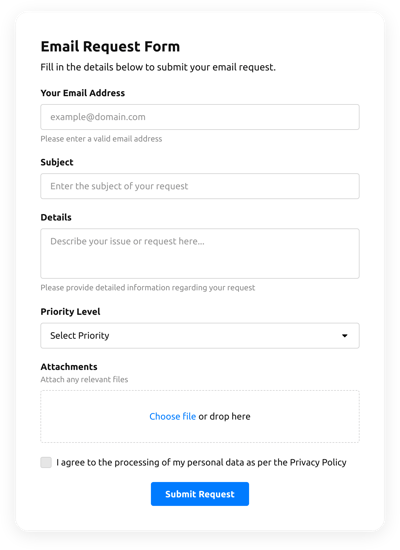
Email Form Templates
Why Elfsight Email Forms are the Best?
If you’re looking for a mobile adaptive and customizable form to increase engagement and entice more leads, then the Email Form from Elfsight is the best option to set your brand apart. Our premade solutions can enhance the web page’s customer experience and improve profits in a few clicks. Save time and cash on hiring a programmer since the installation process is quick and doesn’t need programming skills!

Email Form Features and Integrations
How to Create Email Form template for Website
To make the Email Form, follow the points from the simple tutorial:
- Pick an Email Form template from the catalog and click the “Use Template” button.
- Adjust the template’s parameters to fit your interest and save all adjustments.
- Sign in to your account.
- Obtain the unique HTML code to insert the form on the website and the direct URL.
Are you encountering any obstacles making your form template? Feel free to contact the Elfsight Help Center.
How to add Email Form to Website
To insert the Email Form to your webpage, apply the step-by-step guideline below:
- After adjusting your Email Form template, log in to your Elfsight account.
- Get the individual form code.
- Enter the form code into the HTML editor.
- Congratulations! You have added the Email Form to your website easily.
Came across any problems with the setup process? Don’t wait to get in touch with our assistance service. We will be glad to assist you.
FAQ
Can I sync the Email Form to Mailchimp?
Yes, definitely. Let us describe how to do so in depth:
- Open the “Integrations” option in the online demo.
- Click on the “Mailchimp” button.
- Click on “Connect to Mailchimp” and authorize the account.
How can I send the Email Form to multiple emails?
To send the Email Form to various email addresses, attach the form to your email message and send it to the recipients.
Is the Email Form template suitable for any website builder or CMS?
Certainly! The form template for Email Form is absolutely appropriate for all content marketing systems and website builders:
WordPress, Woocommerce, Wix, Weebly, Webflow, Squarespace, Shopify, Prestashop, Opencart, Mailchimp, Magento, jQuery, Joomla, HTML, Google Sites, Godaddy, Facebook Page, Elementor, Drupal, Divi, Bootstrap, Blogger, BigCommerce, Clickfunnels, Adobe Muse and many others.
What kind of integrations can I sync to the Email Form?
You may connect Google Sheets, Zapier, and Mailchimp to the Email Form in the demo configurator once choosing the template.
Where can I share my Email Form besides the website?
You can distribute the form across different marketing channels, but we recommend exploring these options to increase orders:
- Distribute the direct URL to the form.
- Include the form to the email marketing campaigns.
- Integrate the form into your landing page.
- Spread the form URL-link across your social media channels.
What elements can I customize in the Email Form template?
You’re free to modify all of the elements of the Email Form using our live demo builder, including the text fields to fill out, heading, cover image, brand image, footer, positioning, layout, button icon, color scheme, post-submit message, and many more.
How do I export my form data?
In order to export the form information, it is necessary to connect the Email Form with an integration app like Google Sheets, Zapier, or Mailchimp. To do so, follow the instruction:
- Locate the “Integrations” menu tab in the demo builder.
- Select the integration service you would like to use.
- Sync the form to the selected integration service by meeting the criteria for each service.
How do I set up notifications for my form?
In order to receive the form notifications and regularly receive emails, complete these steps:
- Find the “Email” menu option inside the live demo editor.
- Hit the “Notify Me” button.
- Activate “Email Notifications” to get notifications when an individual submits the form.
- Add your email and change the text message notification.
- Navigate back to the “Email” menu and choose the “Notify Respondents” option to send an email reply after somebody fills out the form.
- Switch on “Autoresponder Email” and write the message.
Are the Email Form templates responsive?
Yes, certainly, the Email Form are fully responsive and created to function efficiently with different screen resolutions, operating systems, and web browsers on every digital device.
Can I add the floating Email Form to my website?
Certainly, even if you’ve selected the embedded template initially. To adjust the layout and make the Email Form floating, check out these points:
- Go to the “Layout” menu tab inside the online demo editor.
- Click on the “Pane” layout option shown on the screen.
- Change the settings for the placement and floating button.
- Modify the floating button in the “Appearance” tab and save the modifications.
- Log in to your Elfsight account and receive the code to embed on the website.
How do I add a CAPTCHA to my form template?
In order to add a CAPTCHA protection to the Email Form template and stay protected from spam, follow this uncomplicated tutorial:
- Locate the “Settings” bar inside the demo configurator.
- Look for “Spam Protection” and tap on it.
- Activate “Enable reCAPTCHA.”


