
Squarespace Contact Us Form Builder
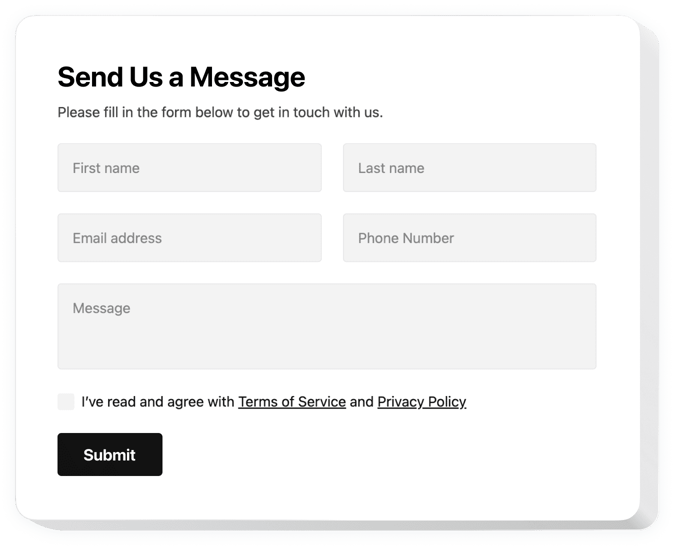
Create your Contact Form plugin
Screenshots
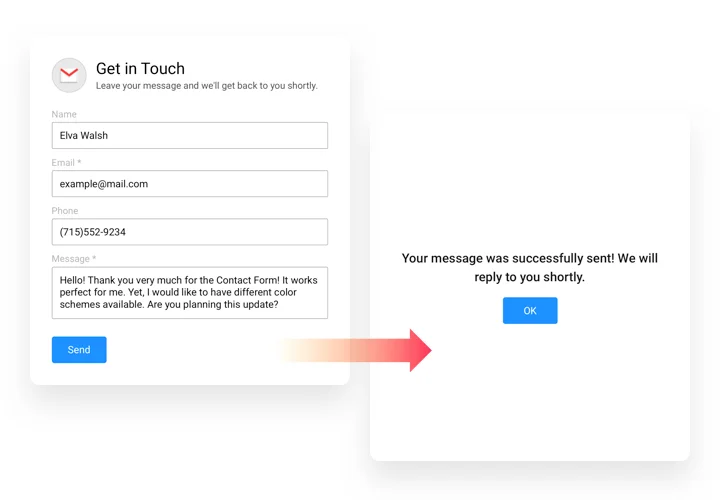

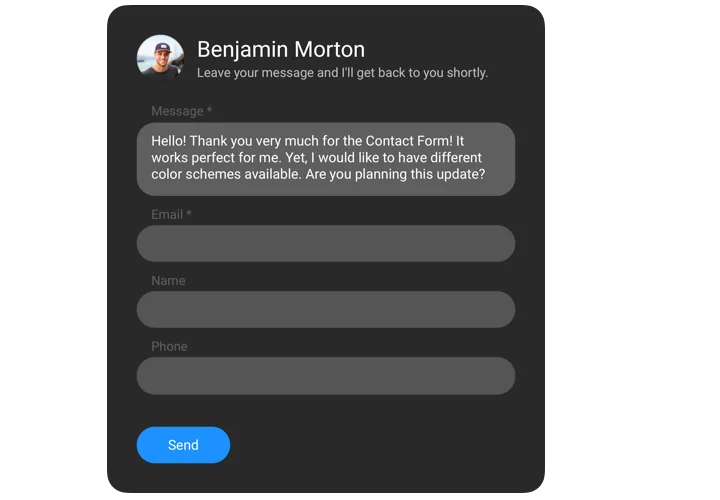
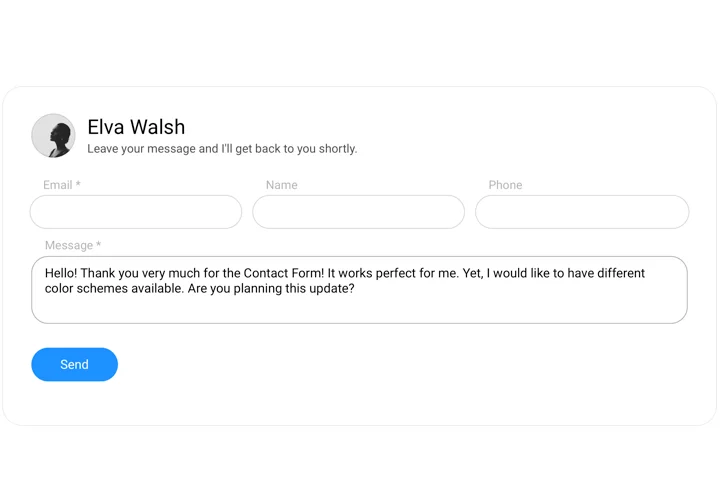


Get a Contact Form That Fits Your Squarespace Template
Put a Squarespace contact us form on any page so visitors can send you messages, leads and questions. Submissions are stored in your Elfsight dashboard, and you get an email notification on every submission.
Change fields, fonts, colors and layouts to match your template, and place the form inline on a page or as a floating button.
Key Features of the Squarespace Contact Form Plugin
These are the key functionality traits that make the plugin stand out:
- Flexible fields: Add text boxes, dropdowns, checkboxes, and more to capture exactly what you need.
- Design control: Customize fonts, colors, and layouts so the form blends into your Squarespace pages naturally.
- Instant alerts: Get real-time email notifications whenever someone submits a message.
- Mobile-friendly: Forms are automatically responsive and look great on any device.
- Built-in protection: Anti-spam features help keep your inbox clear of bots.
- Multiple placements: Place the form inline on a page or show it as a floating button that follows users as they scroll.
See all features in the free editor
Squarespace Form Blocks or Elfsight Contact Form?
Yes, Squarespace has its own form blocks. An Elfsight Contact Form is worth a look when you want flexible fields such as dropdowns and checkboxes, multi-step layouts, a floating button, or submissions in your Elfsight dashboard and by email. You can also place the same widget on any number of websites and domains with one Elfsight account.
How to Add Contact Form to Squarespace
To add a contact form on Squarespace, get the code in the Elfsight editor and paste it into your website. Check your plan and Squarespace version (7.0 or 7.1) first, then pick the method below.
Method 1: Inline Form on a Page, Squarespace 7.1 (Core, Plus, Advanced)
Great for placing a form directly on your Contact or About page.
- Open the Elfsight editor and pick a form template.
- Adjust the fields, design and messages.
- Click Add to website for free and copy the code.
- In Squarespace, go to Website → Pages and open the page you need.
- Click Edit and choose the place for the form.
- Click Add Section → Add a blank section → Add block → Code.
- Paste the code into the Content field.
- Click Save, then open the published page to check the form.
Method 2: Inline Form on a Page, Squarespace 7.0 (Core, Plus, Advanced)
- Copy your code from the Elfsight editor.
- In Squarespace, go to Website → Pages and open the page you need.
- Click Edit above the section you want.
- Click the place for the form, then click ➕ → Code.
- Paste the code into the Content field.
- Click Save, then open the published page to check the form.
Method 3: Floating Form on All Pages (Core and above)
Perfect if you’d like the form to be available across your entire website.
- Open the Elfsight editor and choose a floating layout.
- Customize the fields, size, position and look.
- Click Add to website for free and copy the generated code.
- In Squarespace, go to Website → Pages.
- At the bottom of the left menu, open Custom Code → Code Injection (Squarespace 7.0: Website Tools → Code Injection).
- Paste the code into the Footer field.
- Click Save, then open the published website to check the form.
Method 4: Inline Form on a Page (Basic Plan)
Use an Embed block to place the form on a specific page, such as your Contact or About page.
- In the Elfsight editor choose a form template.
- Customize the fields, design, and messages.
- Click Add to website for free and copy the installation code.
- In Squarespace, go to Website → Pages and open the page where you want the form.
- Click Edit, then select the area where the form should appear.
- Click Add Section → Add a Blank Section → Add Block → Embed.
- Click the pencil icon to edit the Embed block, then choose Code Snippet.
- Paste the complete Elfsight installation code into the Embed data field.
- Save the block and your page changes.
- Open the published page in a new tab, refresh it, and check that the form displays correctly.