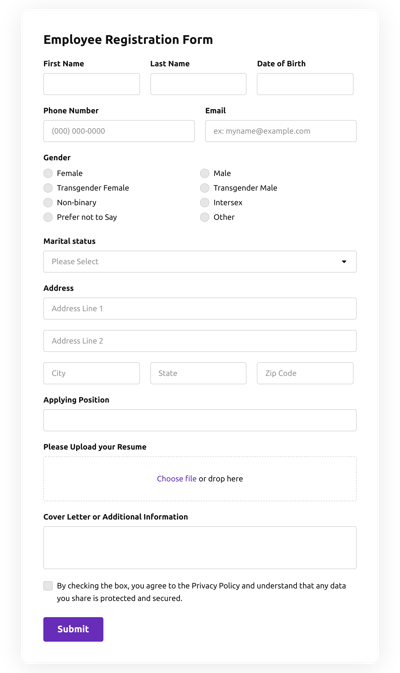
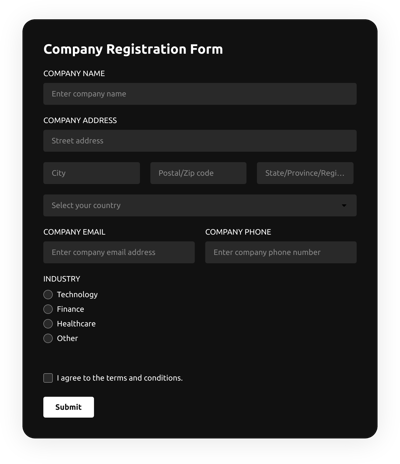
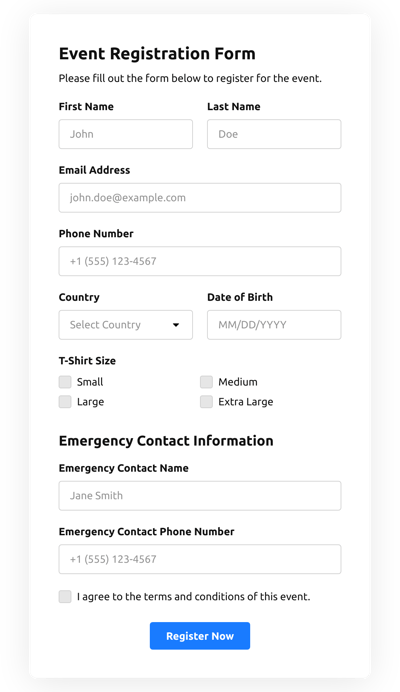
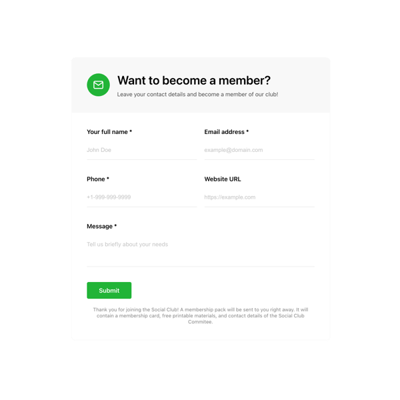
Registration Form Templates


Why Elfsight Registration Forms are the Best?
If you’re attempting to find a mobile-friendly and configurable form to improve engagement and get more leads, then the Registration Form from Elfsight is the best choice to set your brand apart. Our pre-made solutions can optimize the website’s end-user experience and boost profits in a couple of clicks. Save some time and cash on hiring a programmer since the integration process is quick and doesn’t need coding skills!

Discover our Collection of Registration Form Templates for Your Business Needs
Welcome to Elfsight Form Builder – the best online form builder that allows you to create registration forms, contact forms, surveys, and more. With our builder, you can create custom online forms for your website or business without any technical knowledge. Our form templates are designed to help you save time and effort, making the process of creating a form quick and easy. Let’s explore our collection of registration form templates and how they can benefit your business.
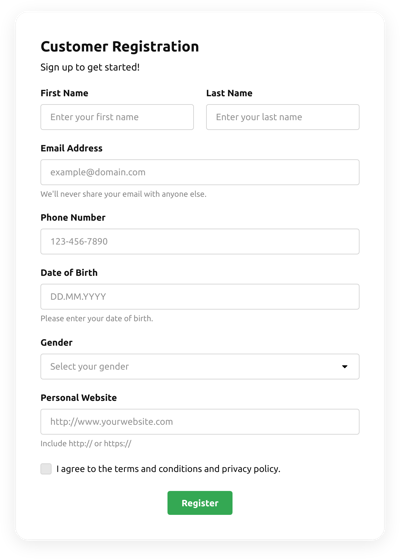
Are you looking for a new customer registration form template? We’ve got you covered! Our templates are designed to suit any business needs, making it easy to create a form that captures all the essential information you need from your customers. Our registration forms templates are customizable, so you can add your branding and customize the fields to fit your business requirements.
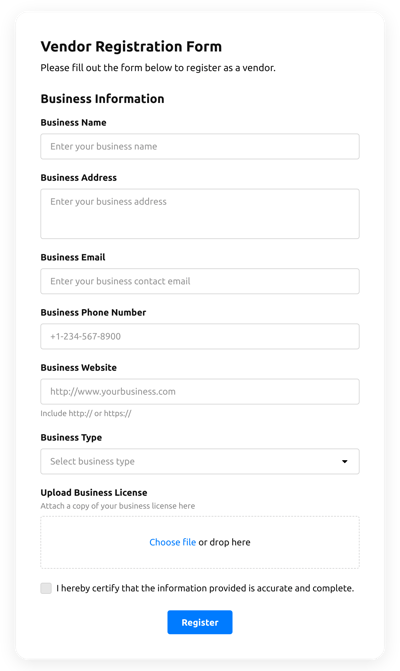
If you’re a business owner, you know the importance of having a registration form on your website. Whether you’re selling products or services, collecting leads, or just trying to keep track of your customers, our online registration forms are the perfect solution. You can create a registration form online for free, with no coding skills required. Simply choose a template, customize it, and embed it on your website.
Our registration form builder offers a variety of features, such as conditional logic, form submission notifications, and integrations with popular email marketing tools. With our builder, you can easily create a professional-looking registration form that is mobile-friendly and responsive, ensuring that your customers have a seamless experience.
Looking for the best registration form? Our templates are carefully designed to meet your needs, and we offer a wide range of customization options to help you create the perfect form for your business. Whether you’re looking to collect customer feedback, conduct surveys, or simply gather contact information, our registration form templates can help.
What are the benefits of using Elfsight Registration Form Templates for online registration?
Elfsight Registration Form Templates provide an easy and efficient way to create online registration forms for your business or organization. With a wide variety of templates to choose from, you can easily customize your form to fit your specific needs. Whether you’re looking to create a new customer registration form or a business registration form template, Elfsight has you covered.
Not only are these templates easy to use, but they’re also free! You can create your online registration form without any cost to you. And with the ability to customize the forms, you can create a new customer registration form that fits your branding and style.
Elfsight’s registration form builder is also the best in the market, offering a range of features to make the process of creating a form even easier. The builder is intuitive and user-friendly, allowing you to create a registration form online without any coding knowledge.
With the ability to create registration forms templates and customize them for your business needs, you can streamline your registration process and make it easier for your customers to register online. Whether you’re looking to create an online registration form for a new customer or a business, Elfsight’s form builder has everything you need.
How can I customize my registration form to fit my business needs?
Elfsight Registration Form Templates offer a variety of customization options to help you create a registration form that aligns with your specific business requirements. You can choose from a selection of pre-designed templates or create your own from scratch using our easy-to-use online form builder. Our drag-and-drop interface allows you to add and remove fields, adjust the layout and design, and configure form settings to match your branding and style. You can also enable advanced features such as conditional logic, data validation, and integrations with other tools to streamline your registration process. With Elfsight, you have the flexibility to create a custom registration form that meets the unique needs of your business.
Can I create a registration form for my construction business using Elfsight Registration Form Templates?
Yes, you can create a registration form for your construction business using Elfsight Registration Form Templates. Our templates are designed to be easily customizable to fit the needs of any business, including those in the construction industry. With our user-friendly interface, you can create a new registration form online for free in just a few minutes. Our templates are designed to be mobile-responsive and easy to use for both you and your clients. Additionally, our templates are constantly updated to ensure that they provide the best user experience for your clients, making Elfsight Registration Form Templates the best choice for businesses looking to create a registration form.
What are some of the features that Elfsight Form Builder offers to help businesses create effective registration forms?
Elfsight Registration Form Templates offer a variety of features to help businesses create effective registration forms quickly and easily. Some of these features include pre-designed templates that can be customized to fit the needs of your business, the ability to add custom fields to your form, automatic email notifications to let you know when someone has registered, and the ability to view and manage all of your registrations in one place. Additionally, our forms are fully responsive and can be embedded directly into your website or shared online via a link. With our user-friendly interface and intuitive drag-and-drop builder, creating a new registration form is as easy as selecting a template and adding your own content. Best of all, our registration form templates are available for free, so you can create a professional-looking form without spending a dime. Whether you’re a small business owner or a large enterprise, Elfsight Registration Form Templates can help you streamline your registration process and capture valuable customer information.
How can I ensure the security and privacy of the data collected through Elfsight Registration Form Templates?
Elfsight takes data security and privacy seriously and has implemented several measures to ensure that the data collected through our registration forms is safe and secure. All data is encrypted using industry-standard SSL technology, which protects it from unauthorized access during transmission. Additionally, we use secure servers to store all data collected through our forms, and our servers are regularly monitored and maintained to ensure their integrity.
We also offer several privacy options that allow you to control how data is collected and stored. For example, you can enable double opt-in, which requires users to confirm their email addresses before submitting their information, or CAPTCHA verification, which helps prevent spam and bot submissions. You can also choose to store data in a secure database, which can be accessed only by authorized personnel.
In summary, Elfsight Registration Form Templates offer a secure and private way to collect data online, and we are committed to ensuring the confidentiality and integrity of the data that we handle.
Registration Form Features and Integrations
How to Create Registration Form template for Website
In order to create the Registration Form template, use the points from the simple guide:
- Choose an Registration Form template from the catalog and press the “Use Template”.
- Edit the template’s attributes to meet your interest and save all adjustments.
- Log in to the Elfsight profile.
- Receive the personal HTML code to add the form on the webpage and the direct URL.
Do you face any issues making your Registration Form template? Don’t hesitate to get in touch with the Elfsight Support Team.
How to add Registration Form to Website
To embed the Registration Form to the site, follow the uncomplicated guide below:
- After modifying your Registration Form template, sign in to the account.
- Receive the unique form code.
- Embed the form code into your website editor.
- Congrats! You have embedded the Registration Form to your website smoothly.
Did you experience any problems during the setup process? Don’t hesitate to reach out to our assistance service. We will be happy to help you.
FAQ
Which payment methods does the Registration Form accept?
The Registration Form allows numerous payment integrations. For example, the most popular ones are PayPal and Stripe.
Is the Registration Form template suitable for any website builder or CMS?
Absolutely! The form template for Registration Form is completely supported by any CMS and website platforms:
WordPress, Woocommerce, Wix, Weebly, Webflow, Squarespace, Shopify, Prestashop, Opencart, Mailchimp, Magento, jQuery, Joomla, HTML, Google Sites, Godaddy, Facebook Page, Elementor, Drupal, Divi, Bootstrap, Blogger, BigCommerce, Clickfunnels, Adobe Muse and many others.
What kind of integrations can I sync to the Registration Form?
You may connect Google Sheets, Zapier, and Mailchimp to the Registration Form using the live demo editor once choosing the template.
Where can I share my Registration Form besides the website?
You can distribute the form across different marketing channels, but we suggest checking out these options to increase orders:
- Send the direct link to the form.
- Embed the form to your emails.
- Embed the form into the landing page.
- Spread the form link throughout your social media channels.
What elements can I customize in the Registration Form template?
You’re free to personalize all of the elements of the Registration Form via our online demo configurator, including the text fields to fill out, header, cover image, brand image, footer, alignment, layout, button icon, color scheme, success message, and many more.
How do I export my form data?
In order to transfer your Registration Form results, you need to synchronize the Registration Form with an integration application like Google Sheets, Zapier, or Mailchimp. To do so, view the tutorial:
- Locate the “Integrations” menu tab inside the live demo configurator.
- Choose the integrator that suits your needs.
- Sync the form to the selected app integration by completing the requirements for each app.
How do I set up notifications for my form?
To set up the Registration Form notifications and continuously receive emails, complete these points:
- Locate the “Email” menu tab in the live demo builder.
- Pick the “Notify Me” button.
- Switch on “Email Notifications” to receive notifications when someone submits the form.
- Enter your email and customize the text message notification.
- Go back to the “Email” menu and select the “Notify Respondents” option to send an email response after someone fills out the form.
- Turn on “Autoresponder Email” and add the message.
Are the Registration Form templates responsive?
Yes, certainly, the Registration Form are fully mobile adaptable and designed to work efficiently with different screen sizes, operating systems, and browser platforms on every digital device.
Can I add the floating Registration Form to my website?
Certainly, even if you’ve selected the embedded template at first. To modify the layout and create the Registration Form floating, follow these steps:
- Locate the “Layout” menu option inside the demo.
- Select the “Pane” layout button displayed on the screen.
- Modify the settings for the position and floating button.
- Adjust the floating button in the “Appearance” tab and save the modifications.
- Log in to your Elfsight admin panel and receive the code to add on the site.
How do I add a CAPTCHA to my form template?
In order to add the CAPTCHA security feature to the Registration Form template and stay protected from spam, follow this simple guideline:
- Find the “Settings” bar in the online demo builder.
- Look for “Spam Protection” and click on it.
- Switch on “Enable reCAPTCHA.”
