Add a Popup to a Website Quickly
There are various methods to add a popup to your website. For example, the easiest way is to use a third-party widget. One such tool is the Popup widget from Elfsight. Compatible with 99.9% of website builders, it can be integrated into your page in a matter of minutes.
Quick guide
Here’s a step-by-step guide to adding a popup to your website with this widget:
- Open the popup editor and select a pre-made template or design your own popup from scratch.
- Adjust the settings and appearance to fit your needs: add and remove elements to your liking, customize the color scheme, etc.
- Save your design and copy the generated HTML code.
- Insert the code into your website’s editor.
That’s it! Anyone can do the job – no coding skills are needed! Elfsight enables you to craft attractive popups featuring titles, descriptions, images, and more, all tailored to seamlessly blend with your website’s style.
Create a popup with ease – enhance your website’s appeal and keep visitors engaged!
How to Add a Popup to a Website: Detailed Guide
Now, let’s explore the possibilities of the Popup widget in more detail.
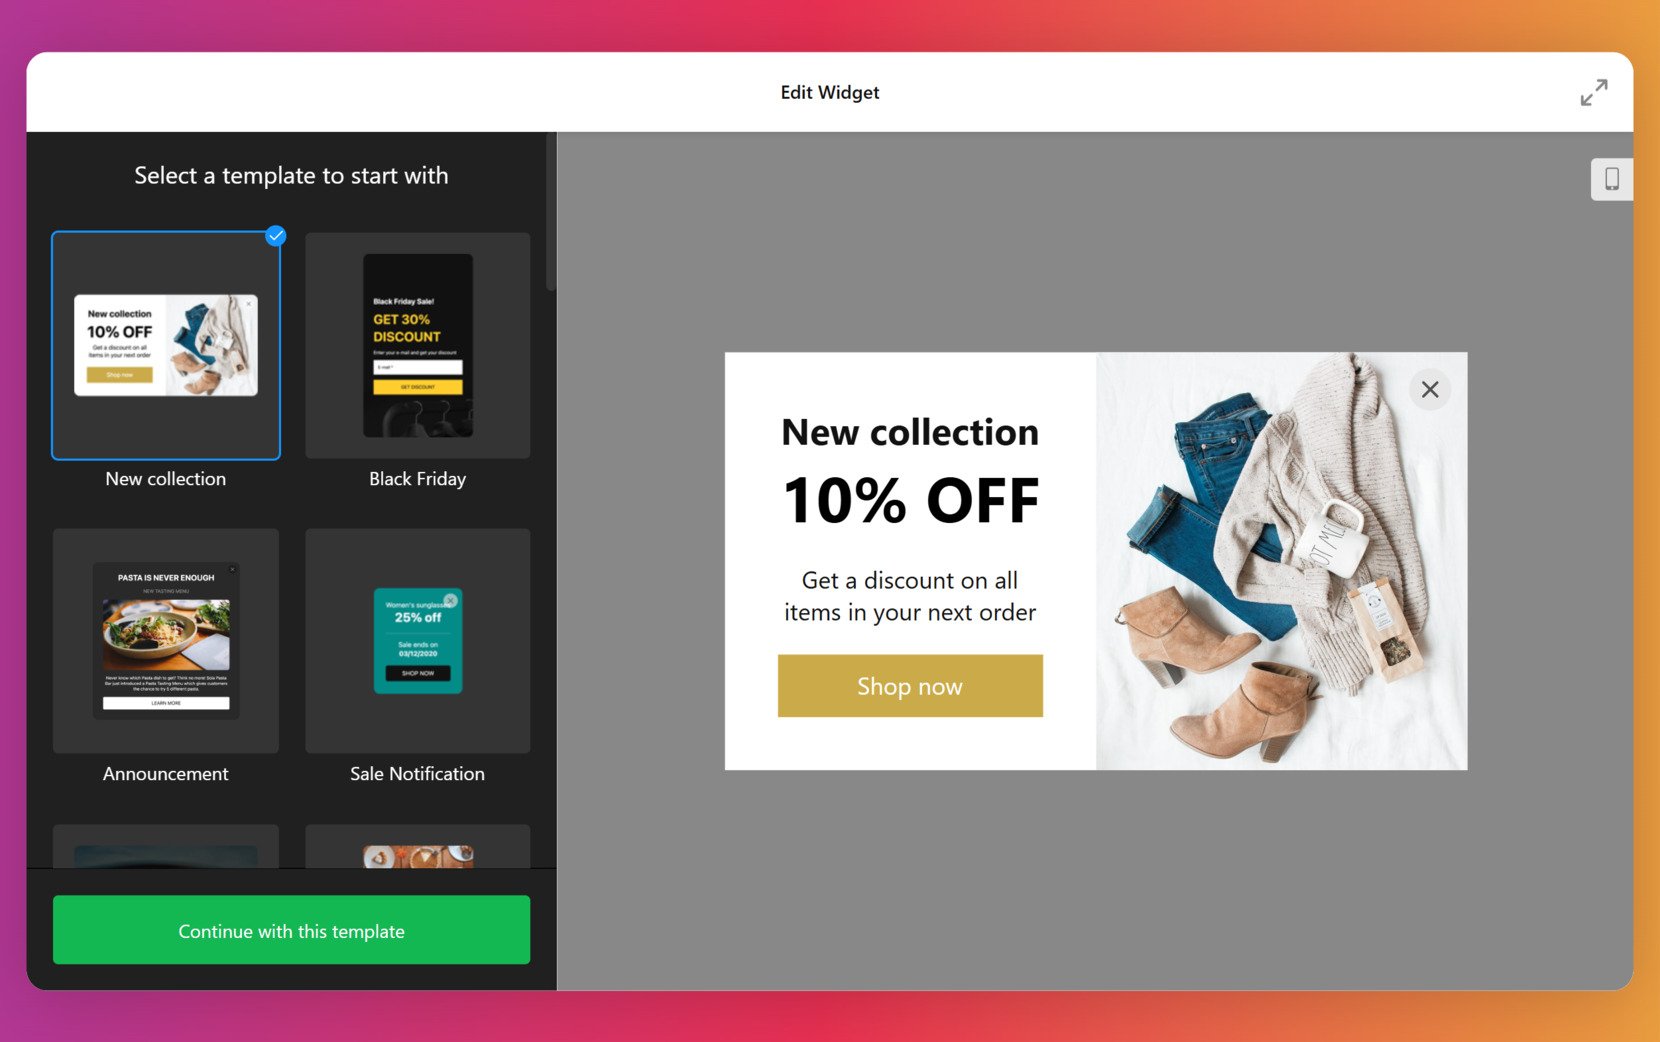
- Access the popup widget editor. Open the editor, choose a template that suits your requirements, and click on ‘Continue with this template’ to proceed.

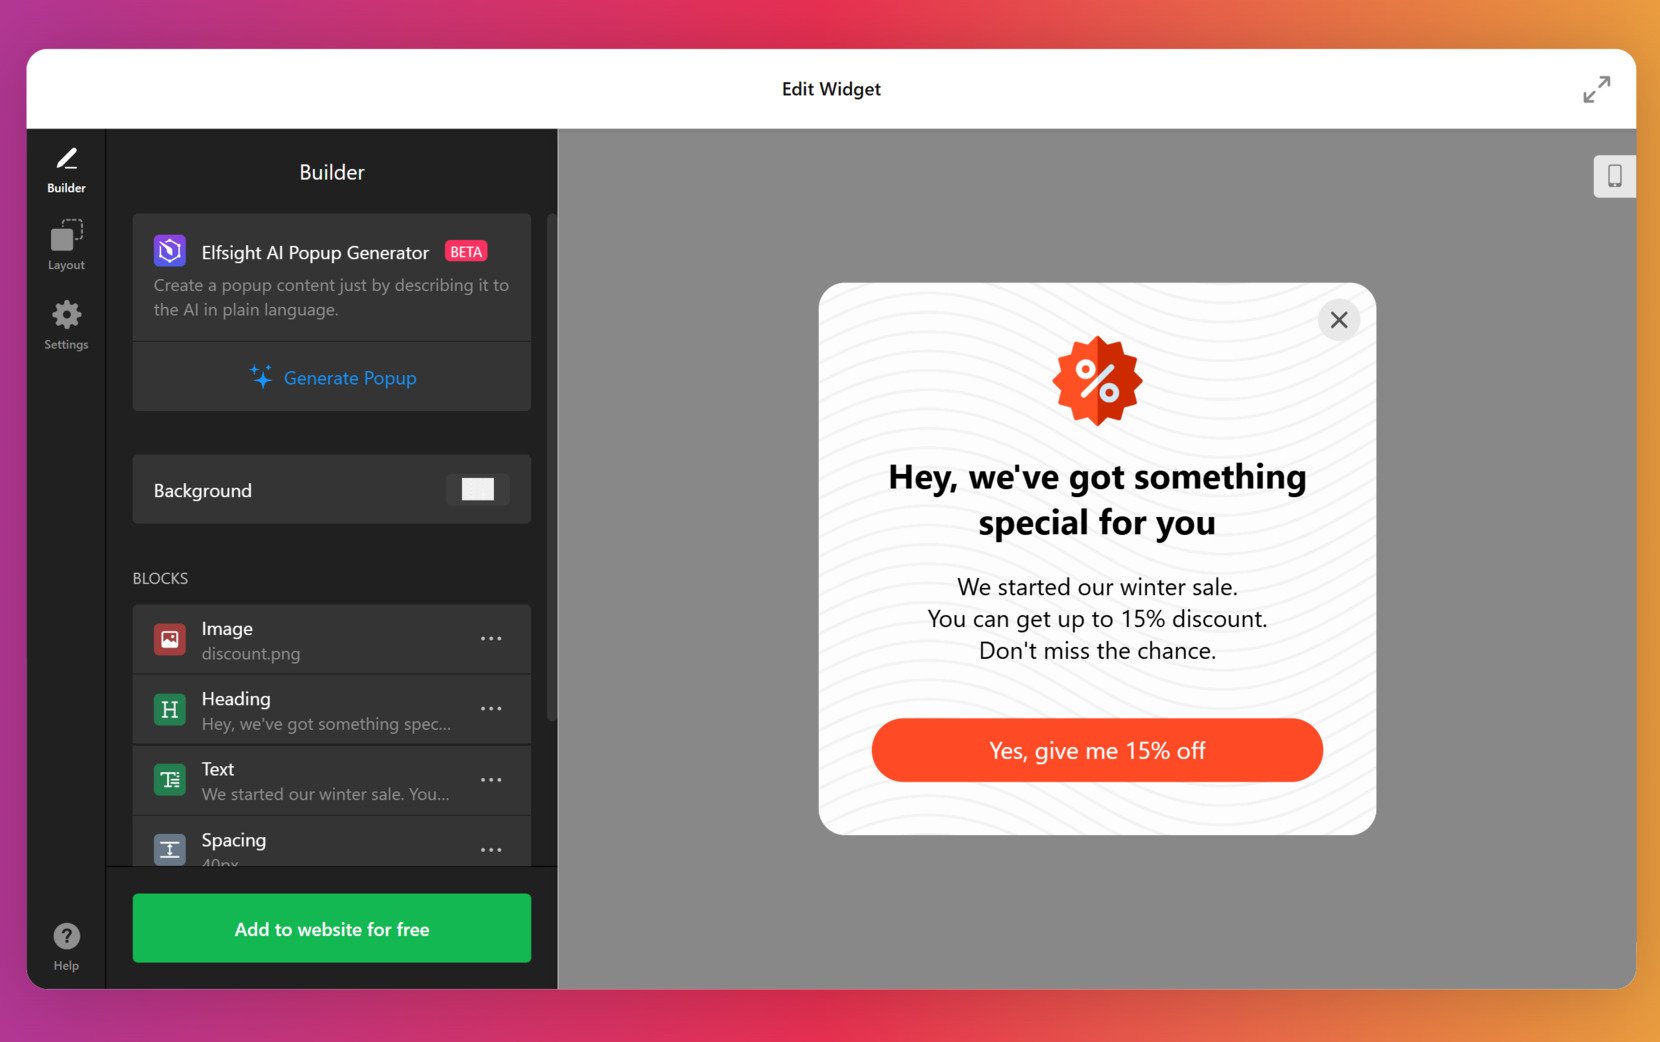
- Customize your popup. Set the background for your popup by choosing one of the options: color, gradient, image, or video. Modify the structure of the widget: add or remove elements such as image, text, header, button, timer, and more. Hint: an AI Popup Generator is available to help you create the content.
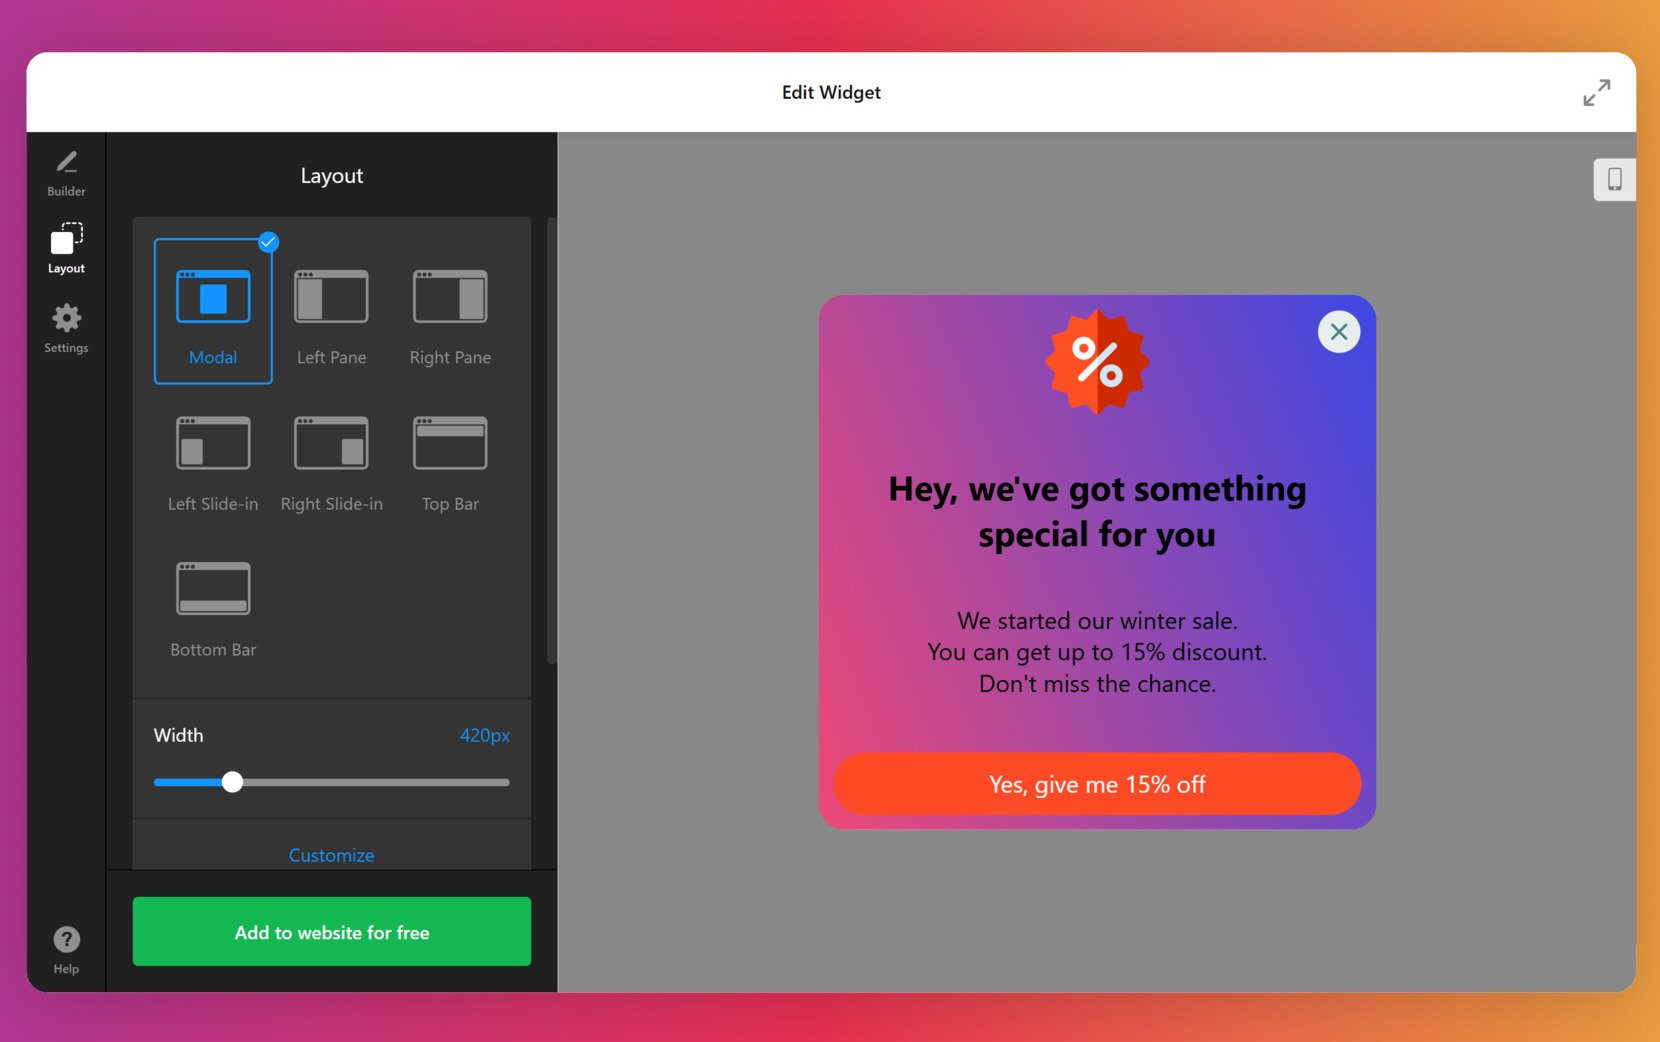
- Personalize the layout. Choose where on the page your popup will appear: left pane, top bar, modal, etc. Customize the width, add animation, reopen or close buttons.
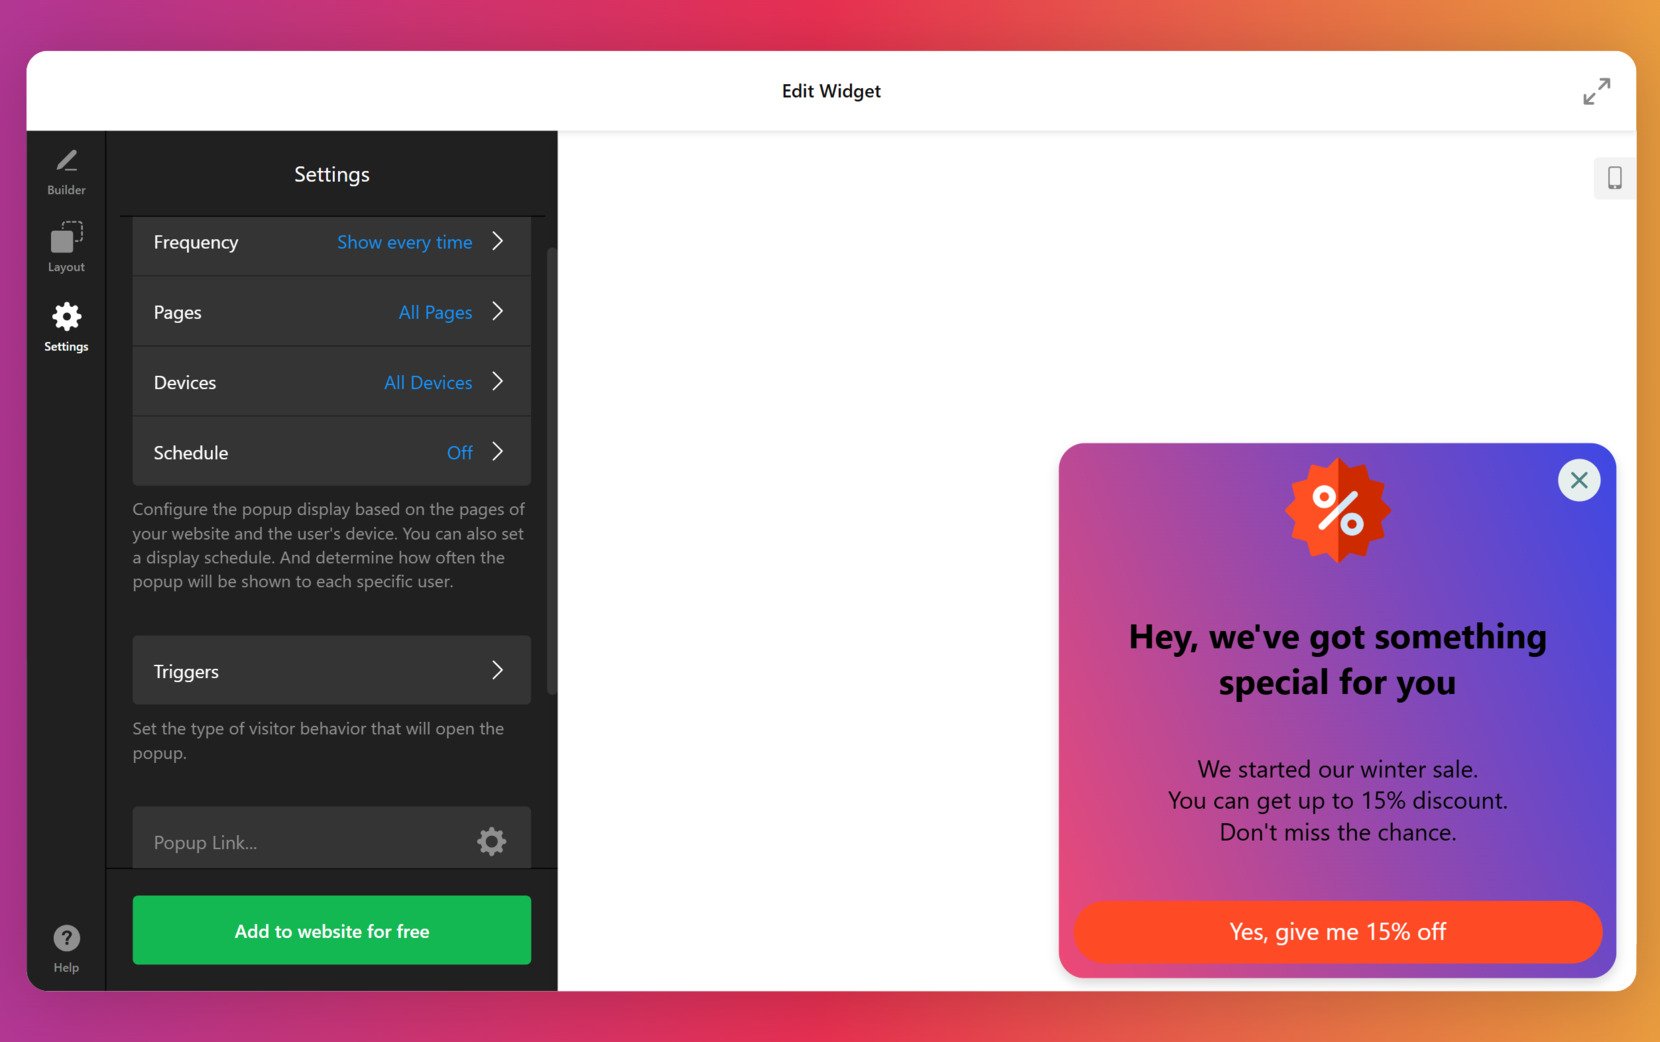
- Adjust the settings. Select the frequency for your popup showing as well as what pages it will appear on. You can also create a schedule or choose specific triggers that will bring up the notification.
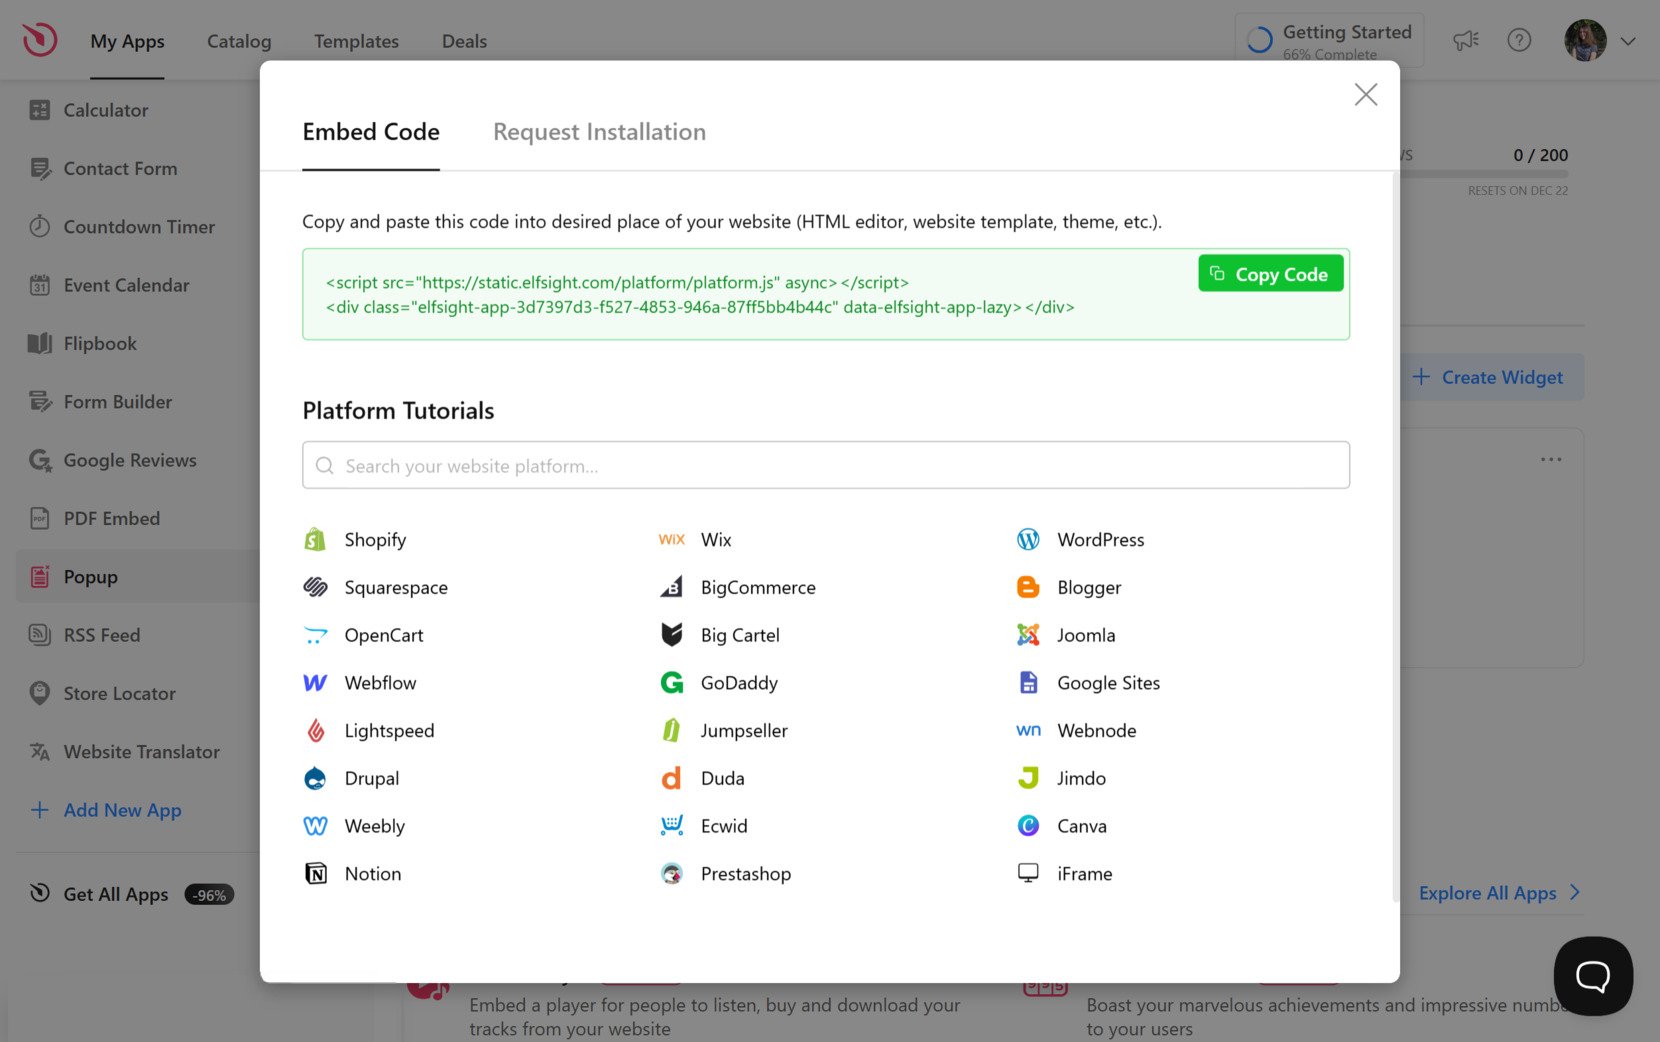
- Copy and embed the code. Once satisfied, save and publish your popup. Click on the ‘Get the Code’ button to copy the HTML snippet. Paste it into the desired section of your website’s HTML editor and renew your page.
How to Add a Popup Widget to Your CMS
Now that you see how the widget works, you may wonder “Can I add the popup to my website builder?” Below, you will find detailed instructions on implementing the tool to some of the most popular content management systems.
Add a pop up to HTML website
Here’s a simple guide to quickly adding the Popup widget to any HTML-based website.
- Access your website’s backend. Ensure you have the ability to edit the HTML code through your admin panel to integrate the widget smoothly.
- Insert the Elfsight code into your site’s HTML. Decide on the exact spot where you want the Popup to appear, aligning with your business objectives.
- Save your changes. Verify that the widget functions correctly and appears as intended on your webpage.
Add a website pop-up to WordPress

You can quickly embed the no-code widget into your website, by inserting the provided code into a block.
- Log in to your WordPress account. Access your admin panel, where you’ll be able to make adjustments to the HTML code.
- Go to ‘Pages’ and select the page you want to edit. Think about your goals and the reasons for placing the reviews in a particular section of the page.
- Add a custom HTML block. Place it in the specific part of the page where you plan to embed the popup.
- Paste the generated code into the block. Remember to ‘Update’ the page and verify that the widget functions as expected.
Add a popup banner to Wix website

Adding the Popup widget to a required page of the Wix website is simple.
- Access your Wix website editor. Log in to your Wix account, select the site you want to work on, and go to your site’s dashboard. Click on ‘Edit Site’ to launch the website editor.
- Add an HTML block for the Popup widget. Click the Plus icon in the left-hand menu, navigate to the Embed section, and choose ‘Embed a Widget‘ under the ‘Custom Embeds‘ tab to insert a new HTML block into your page.
- Insert the Popup widget installation code. Select ‘Enter Code,’ paste the installation code provided by your Popup widget provider, and click ‘Update‘ to embed the widget into the page.
- Adjust the widget’s size and position. Modify the widget’s dimensions and placement on the page to ensure it fits seamlessly and looks visually appealing. Resize and position it as needed.
- Ensure mobile compatibility. Switch to the mobile editor to refine the widget’s appearance on smaller screens. Make any necessary adjustments for mobile users, then publish your changes when satisfied with the results.
Add a pop up to Shopify website

You can quickly add the Popup widget to any page of your Shopify website.
- Access the Shopify admin panel. Go to the ‘Online Store’ section of your website.
- Open the customization options. Select ‘Customize’ from the drop-down menu, then choose ‘Add Section’ in the left-hand menu.
- Add custom content. Under ‘Custom Content’, click ‘Add’ and remove any pre-installed Shopify components.
- Select the custom HTML option. In the ‘Add Content’ menu, choose ‘Custom HTML’.
- Paste the installation code. Locate the ‘HTML’ section, insert the Popup installation code, and save all modifications.
Add a website popup to Squarespace

Anyone can quickly embed the reviews to the desired page on a Shopify website.
- Sign in to your Squarespace account. Log into your account and select the site where you want to add the widget. Go to your site’s dashboard and choose the website you want to edit.
- Navigate to the ‘Website’ section. Select the page where you want to place the Popup widget. From the main menu, go to the ‘Website’ section and pick the page you wish to edit.
- Click ‘Edit’ and then ‘Add Section’. On the chosen page, click ‘Edit’ and then select ‘Add Section’ to create a new section for the widget.
- Add a code block. Choose ‘Add a blank section’, then click ‘Add block’ and select ‘Code’ from the options. This is where you’ll insert the Popup widget installation code.
- Insert the Popup widget installation code. In the ‘Edit’ section, paste the provided Popup widget code and adjust the block’s width to ensure the widget fits properly and looks visually appealing on your page.
Create a Popup in Squarespace→
Add a popup to Webflow website

Adding the popup widget to Webflow pages is smooth and only takes a few minutes to complete.
- Start in Webflow. Log into your Webflow account and select the website where you want to add the widget.
- Embedding the widget. In the Webflow editor, click the Plus icon. Then, drag and drop the Embed element from the left menu to the desired location where you want the reviews to appear.
- Inserting the code. Paste the Popup installation code into the HTML Embed Code Editor that appears, then click ‘Save & Close’.
- Customization and publication. Customize the settings of your Popup, then click ‘Publish’ and select the domains where it should be activated.
Add a pop up to Elementor website

It is simple and convenient to embed the Popup widget into Elementor.
- Start in the WordPress backend. Log into your WordPress website’s backend, navigate to ‘Pages,’ and choose the page where you want to add the Popup widget.
- Initiate Elementor editing. Click ‘Edit with Elementor’ to start customizing the selected page.
- Implement the HTML element. Use the drag-and-drop functionality to position the HTML element on your page.
- Add the widget’s code to the website. Paste the Popup installation code from Elfsight into the HTML Code box.
- Update and enjoy. Click ‘Update’ to save your changes and view your page with the embedded Popup.
Other compatible platforms
Apart from these CMS, you can also easily add the pop up widget to websites created with Adobe Muse, BigCommerce, Blogger, Drupal, Facebook Page, Joomla, jQuery, iFrame, Magento, ModX, OpenCart, Webnode, Weebly, WooCommerce, Google Sites, GoDaddy, Jimdo, PrestaShop.
Popup Widget’s Features
The Elfsight’s popup widget offers a wide range of features that both cater to the needs of your business and enhance the experience of your web visitors. Here are some notable examples:
| Feature | Benefit to Business | Benefit to Customers |
| Compelling action buttons or links | Drive conversions by prompting visitors to take specific actions, like purchasing or signing up. | Customers are guided easily to desired actions, improving their experience on the site. |
| Images and videos complementing the popup | Enhance the popup’s visual appeal to better capture attention and communicate offers effectively. | Visitors engage with richer, more engaging content that improves understanding and interest. |
| Offers and sales promotions, coupons inclusion | Boost sales and customer loyalty by offering promotions directly through popups. | Customers can access exclusive deals or discounts, improving their shopping experience. |
| Built-in form builder for custom forms | Collect customer information or leads, enabling follow-up marketing and service improvements. | Customers can easily submit information or inquiries, streamlining their interaction. |
| Email notifications upon form submission | Receive instant updates when forms are submitted, enabling faster follow-up and better customer service. | Customers receive quick confirmation of their submission, enhancing trust and satisfaction. |
| Showing of the popup on scroll or element click | Increase engagement by displaying popups when a visitor shows intent to explore or interact further. | Visitors are offered relevant content at the right time, improving user experience. |
| Pop up display on exit intent | Capture potential lost conversions by showing a popup when a user is about to leave the site. | Visitors can be presented with a last-minute offer or reminder, improving their decision-making process. |
| Adjustable popup display frequency | Avoid overwhelming customers while ensuring popups are shown at the right time to maximize conversions. | Customers won’t be annoyed by repetitive popups, keeping their experience pleasant. |
In addition to the benefits listed above, several features primarily benefit businesses by enhancing their popup strategies. The AI content generator allows businesses to create effective popups quickly, without requiring design expertise. Conditional logic settings for forms help businesses target specific audiences with tailored messages, improving the relevance of the content presented.
Additionally, seamless translation to any language and customizable CSS/JS editor provide businesses with the flexibility to adapt their popups for diverse markets and specific brand needs.
Benefits of Website Popup Notifications
For a long time, pop-ups have been used too aggressively by marketers. For example, windows opened automatically after closing, and they could not be removed until the target action was performed. In the past, scammers used pop-ups to inject malware.
Fortunately, the negativity around popups is gradually subsiding. When used correctly, popups are a valuable marketing tool. For instance, SUMO analyzed 2 billion popups and found out that their conversion can reach 40% and more. The main thing here is to use this tool properly.
Here are the main advantages of adding a pop up to your website:
- Lead generation
You can use popups to collect contact information from visitors in exchange for a special offer, newsletter subscription, or access to exclusive content. This helps grow your email list or generate leads for future marketing campaigns. - Promoting sales or special offers
Display popups with time-sensitive promotions, discounts, or flash sales to capture visitors’ attention and increase conversions. This creates urgency and encourages customers to act quickly before the offer expires. - Reducing cart abandonment
Show an exit-intent popup when a user attempts to leave the site or abandon their shopping cart. This can offer a discount, free shipping, or other incentives to persuade them to complete their purchase. - Customer feedback and surveys
Trigger a popup to gather customer feedback through surveys or rating forms, allowing you to better understand your visitors’ preferences and improve your products or services. - Promoting seasonal or event-based campaigns
Display seasonal promotions, holiday discounts, or event-specific offers through popups. This ensures customers are aware of limited-time deals that align with specific times of the year or special occasions.
By strategically using these popups in various contexts, businesses can enhance user engagement, drive conversions, and provide a more personalized browsing experience for their visitors.
Website Pop-up Examples
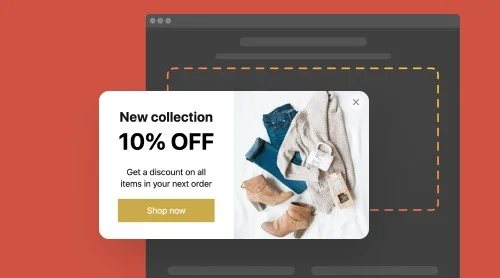
And now let’s look at some interesting template examples of the Popup widget for your website. This might be especially useful for those users who don’t know where to start and look for some inspiration.
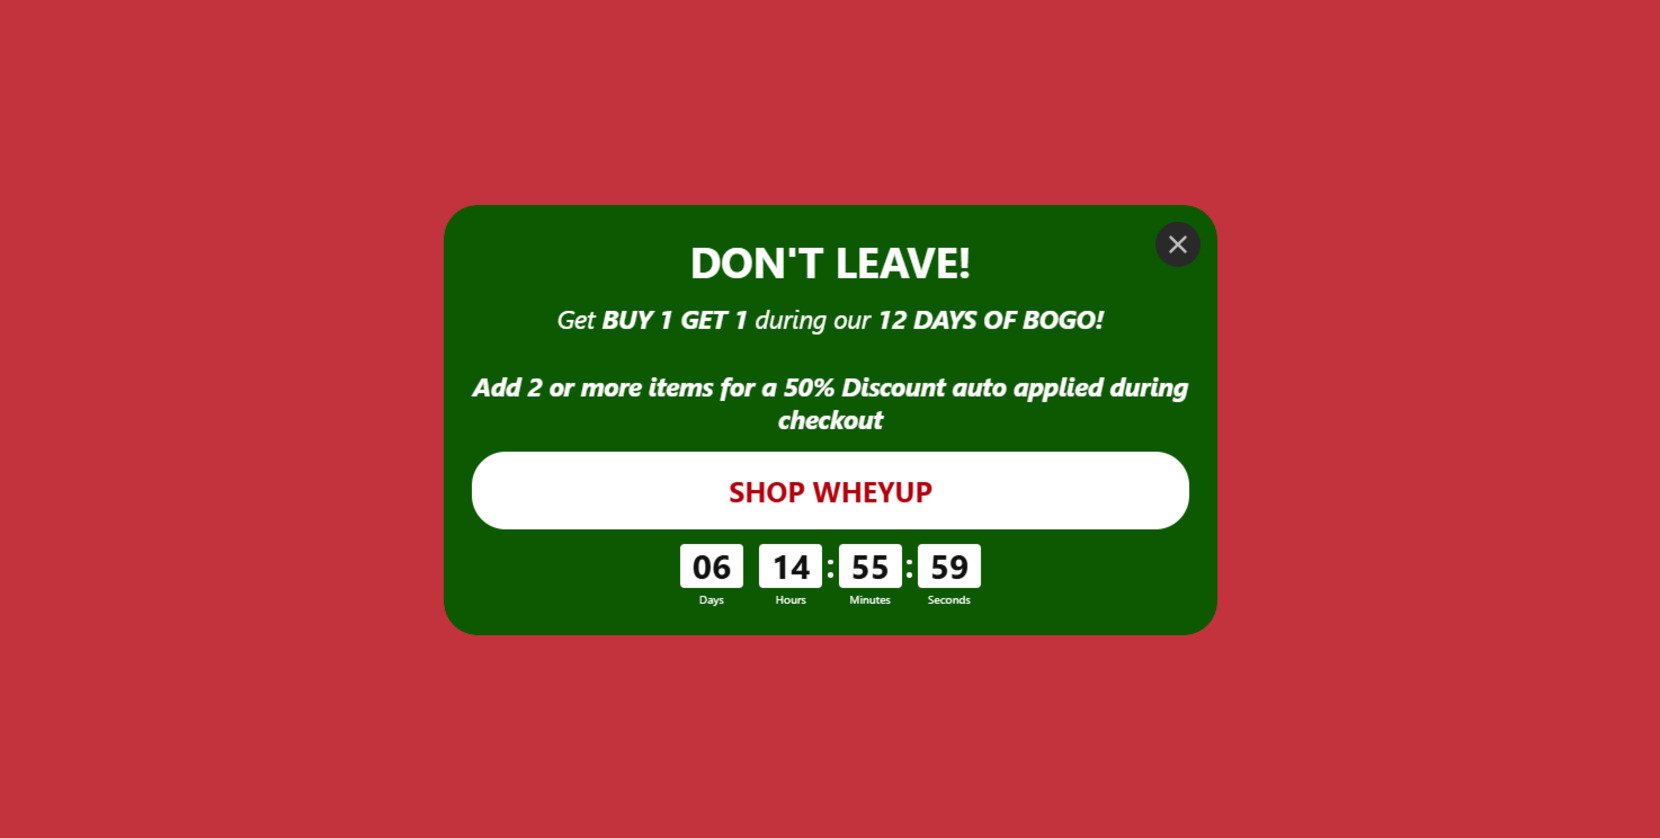
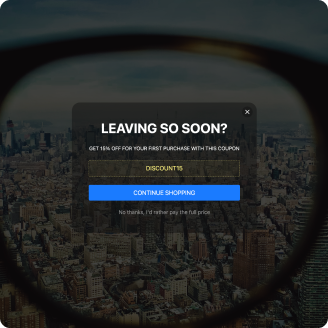
Exit Intent Popup
An exit intent popup appears when a visitor is about to leave your website, typically triggered when their mouse moves towards the exit button. This is an ideal moment to capture their attention with a last-minute offer, reminder, or discount, reducing the chances of losing a potential customer.
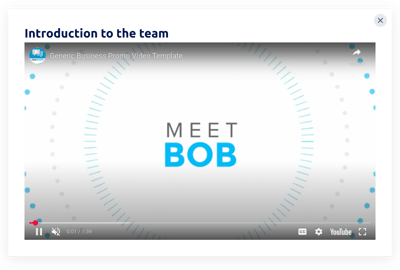
Notification Popup
A notification popup is used to inform visitors about important updates such as recent sales, discounts, or new arrivals. It can be set to appear at specific times or when users interact with certain parts of the website, ensuring they stay informed about key events or offers.

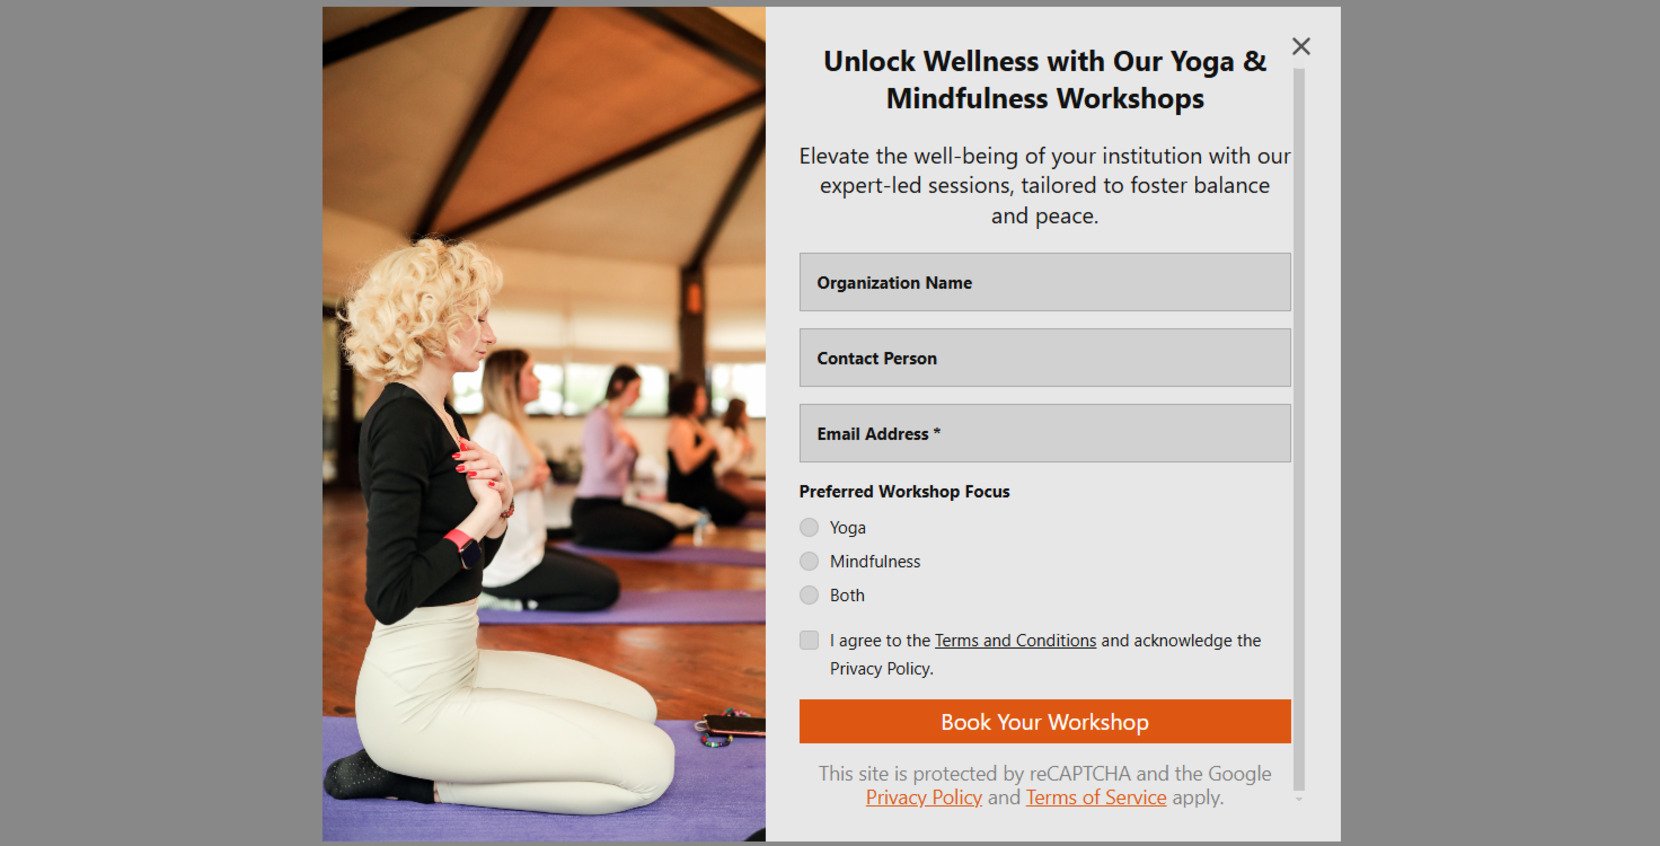
Popup Form
Popup forms allow you to collect important information such as email addresses, feedback, or inquiries directly from visitors. This feature helps businesses grow their email list, conduct surveys, or engage visitors with targeted calls to action.
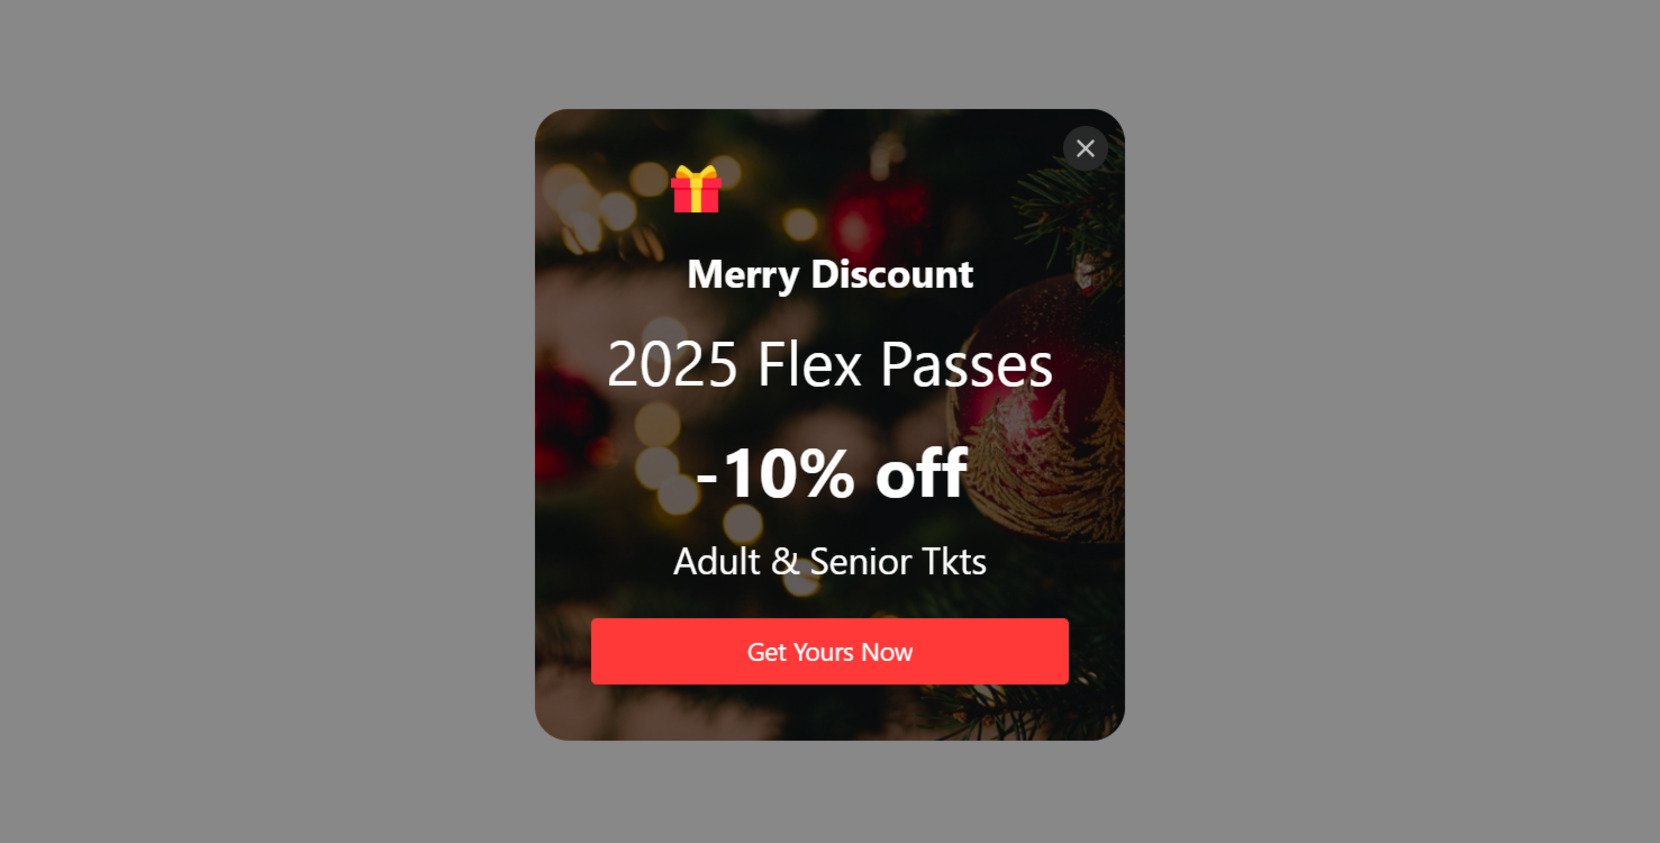
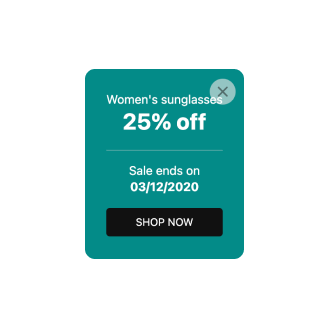
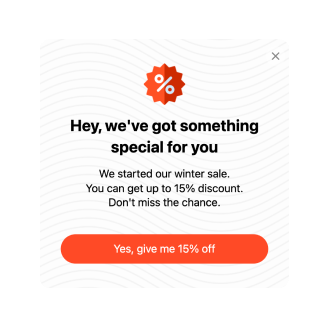
Discount or Coupon Popup
A discount or coupon popup presents special offers or promo codes to encourage users to make a purchase. By offering discounts directly through a popup, businesses can incentivize visitors to take immediate action and complete their transactions.
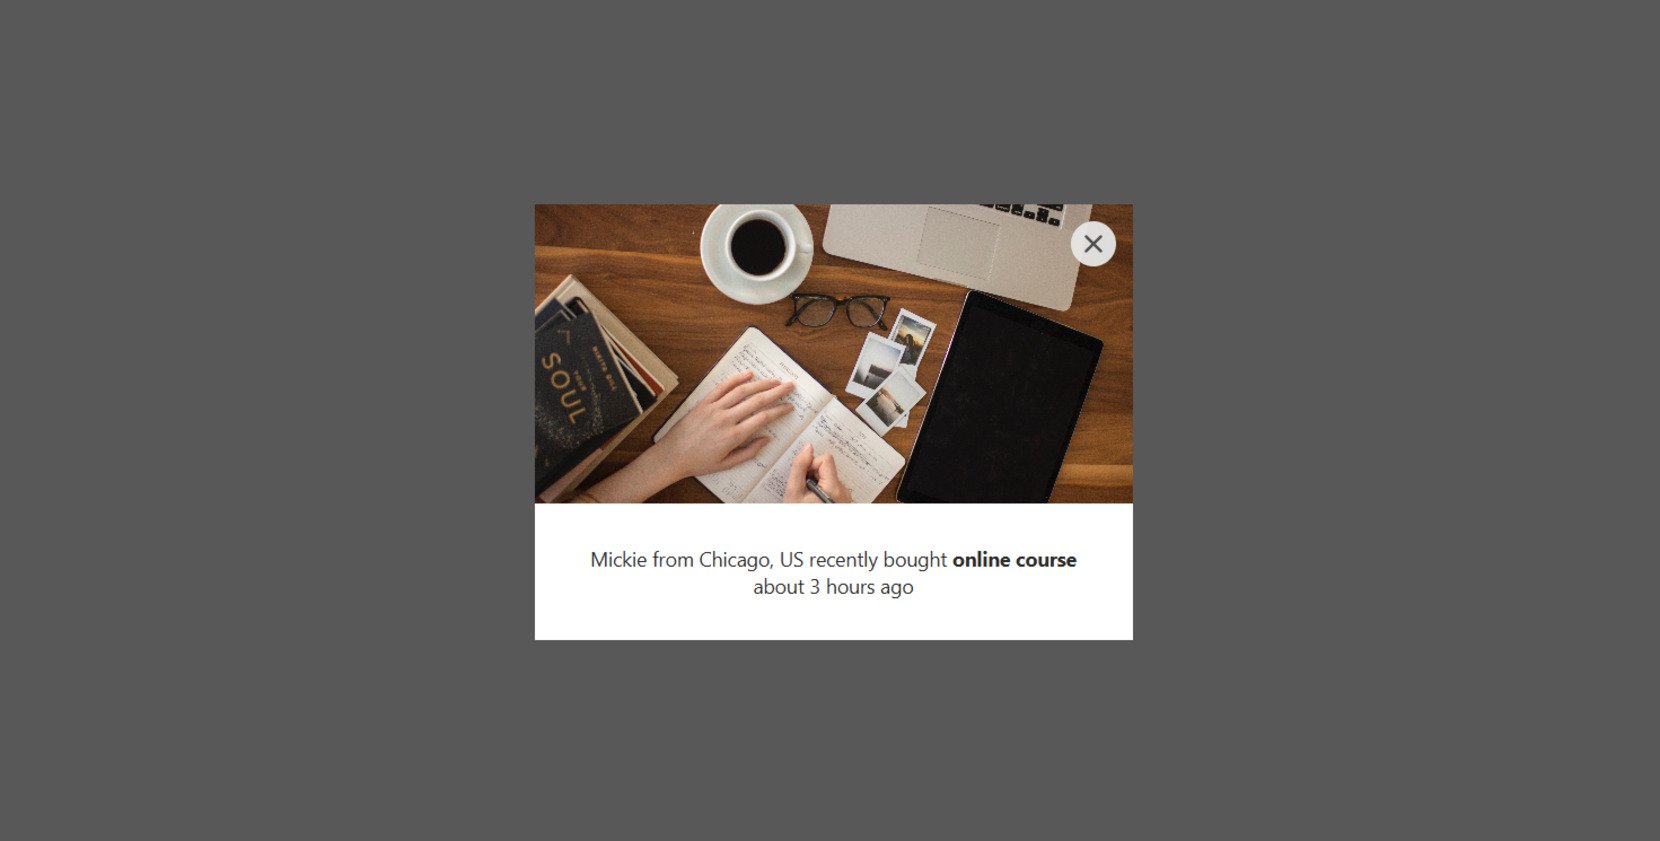
Social Proof Popup
A social proof popup displays customer reviews or testimonials to build trust and credibility with new visitors. By showing positive feedback, businesses can increase customer confidence and encourage potential buyers to engage or purchase.
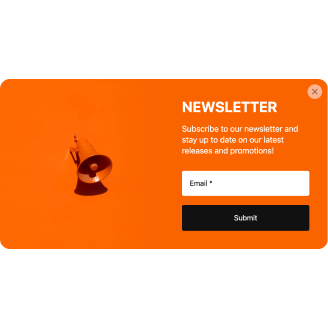
Subscription Popup
A subscription popup encourages visitors to subscribe to newsletters or exclusive content. By offering incentives like discounts or free resources, businesses can build a loyal audience and increase engagement.

Check out our other templates and pick the one that suits your needs!
Explore 100+ Popup templates
Conclusion
Overall, website popups are a powerful tool for engaging visitors and driving conversions, offering a wide range of features and use cases to enhance the user experience and achieve business goals.
Whether you’re looking to reduce cart abandonment, promote special offers, collect feedback, or grow your email list, popups provide a flexible and effective solution. By strategically implementing popups that align with your objectives and resonate with your audience, you can boost customer interaction, increase sales, and ultimately improve the overall performance of your website.
Need More Info?
We hope this guide has been helpful to you. Reach out to us if you’d like to learn more about creating a custom calculator for your website. Our mission is to ensure a seamless and successful experience for you. At Elfsight, we are committed to providing a complete solution for your business through no-code widgets.
Become a part of our dynamic Community, where knowledge and ideas are exchanged. We’re always eager to hear your suggestions for improvement, so feel free to add them to our Wishlist.