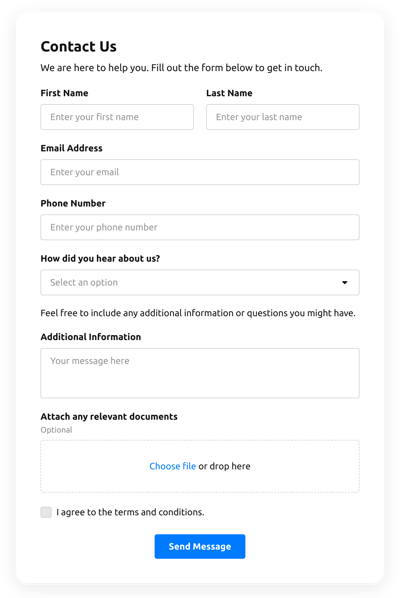
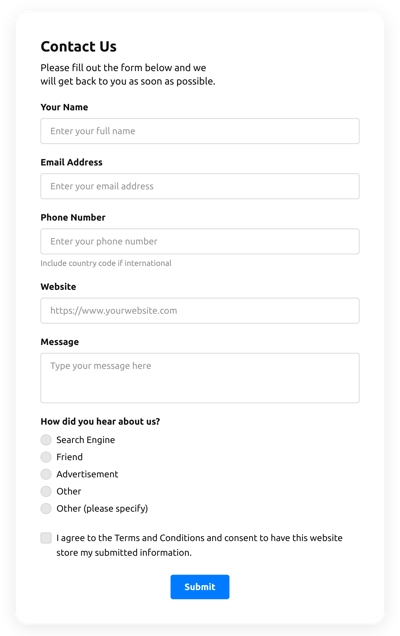
What Is a Contact Form on a Website?
Advantages of Having a Contact Form on Your Website
Having a contact form on your business website is beneficial both for you and for your customers.
Contact form benefits for businesses:
- Improved communication. Streamlines inquiries and feedback, ensuring timely responses to customer needs.
- Data collection. Gathers valuable customer information that can inform marketing strategies and improve services.
- Lead generation. Captures potential customer interest, helping businesses grow their client base.
- Enhanced customer service. Provides a dedicated channel for support requests, improving customer satisfaction.
- Professional appearance. Instills confidence in visitors, showcasing the business as approachable and responsive.
What a contact form gives to customers:
- Convenient communication: Offers an easy way to reach out with questions or concerns without needing to find contact information.
- Quick responses. Increases the likelihood of receiving timely answers from the business.
- Privacy assurance. Allows customers to communicate without disclosing personal contact details, creating a sense of security.
- Feedback opportunity. Encourages customers to share their thoughts, making them feel valued and heard.
Make a Contact From for a Website: Quick Guide
A great option for making your “Contact Us” interactive and more visually appealing is the Elfsight Contact Form widget. It requires no coding skills to use and can be added to a variety of content management systems and website builders.
Here’s how to utilize it:
- Start by choosing a template to create your contact form widget.
- Adjust the settings to fit your needs: add fields, set your email, customize design, etc.
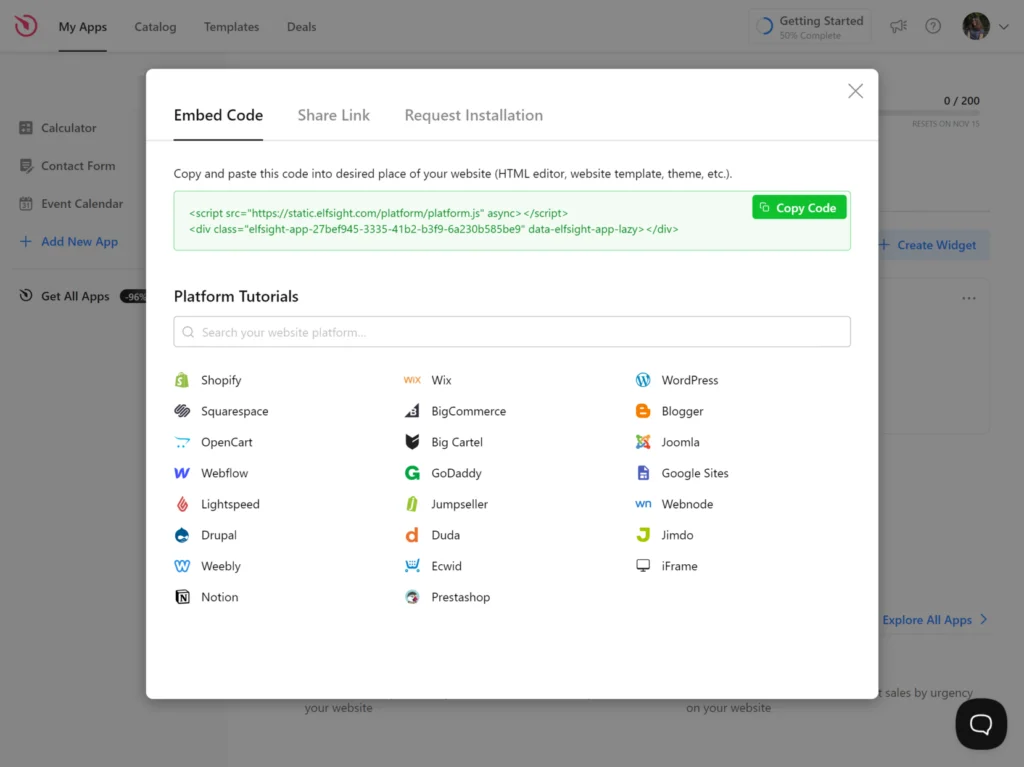
- Once finished, simply copy the widget HTML code and embed it into your website.
Create your own custom Contact Form widget using the intuitive, user-friendly editor!
Create a Website Contact Form: Detailed Guide
Whether you’re gathering customer inquiries or processing feedback, have a clear objective why you chose to create a contact form. This will help guide your design and functionality decisions.
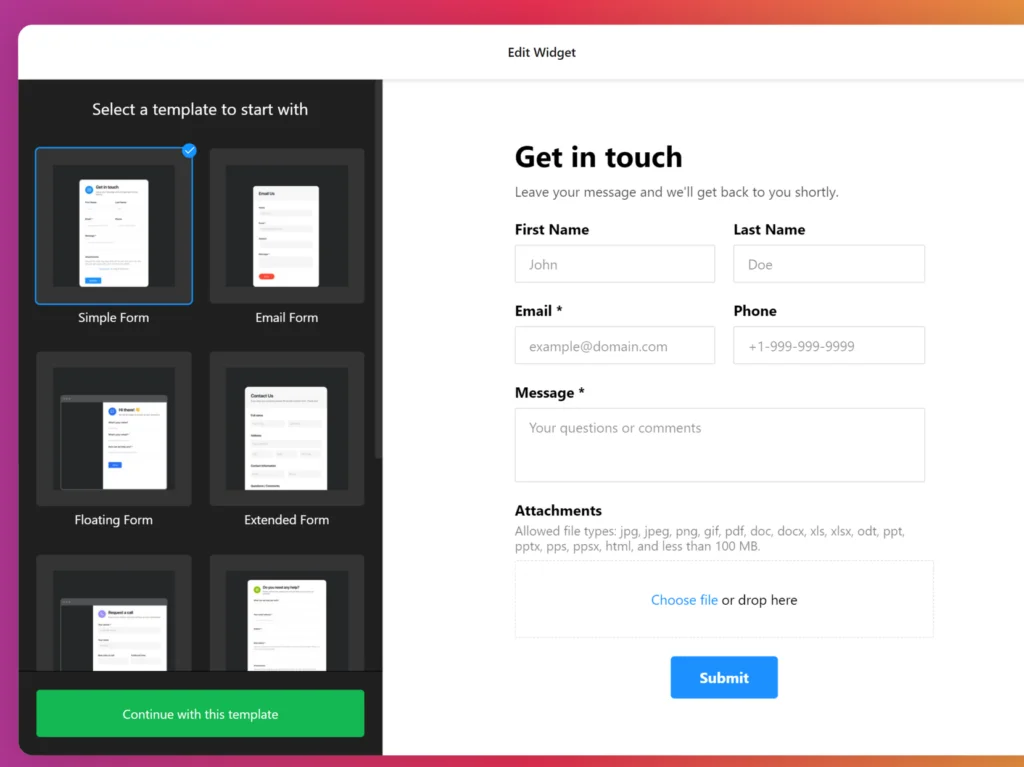
- Start by opening the contact form editor selecting a suitable widget template. Click ‘Continue with this template’.
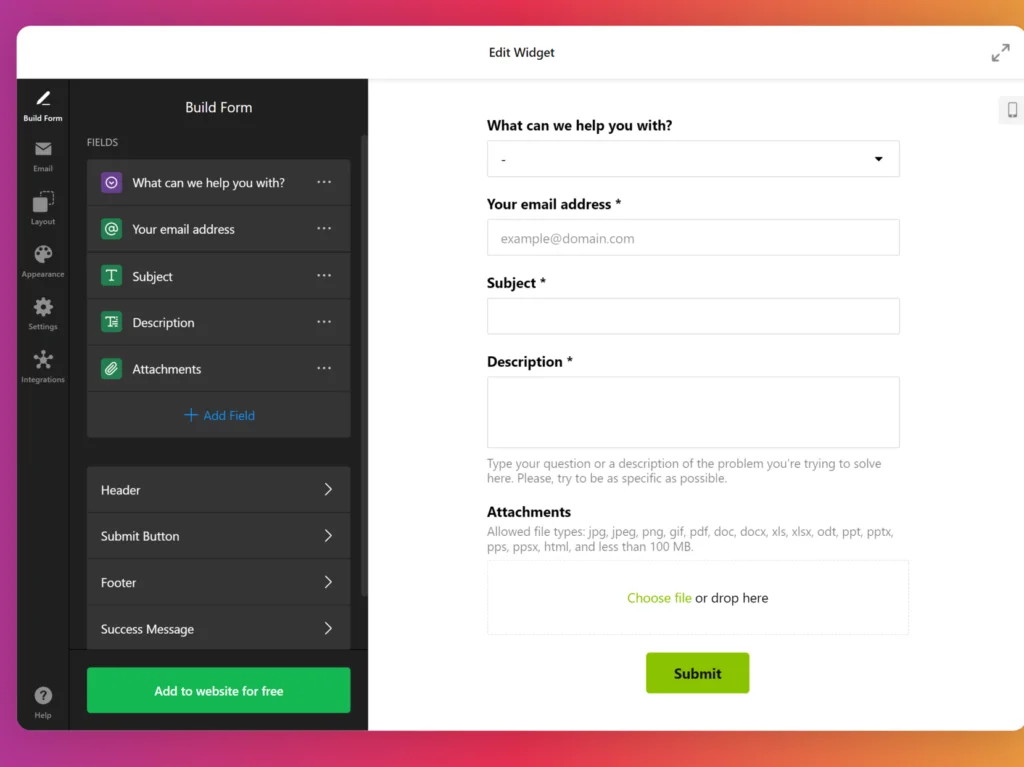
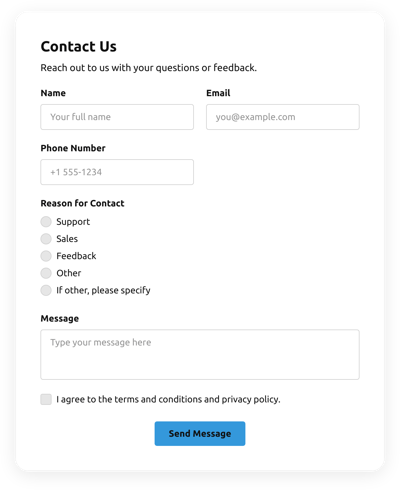
- Add or remove fields like name, email, phone number, attachment, etc. You can also rearrange the fields by dragging them into the preferred order.
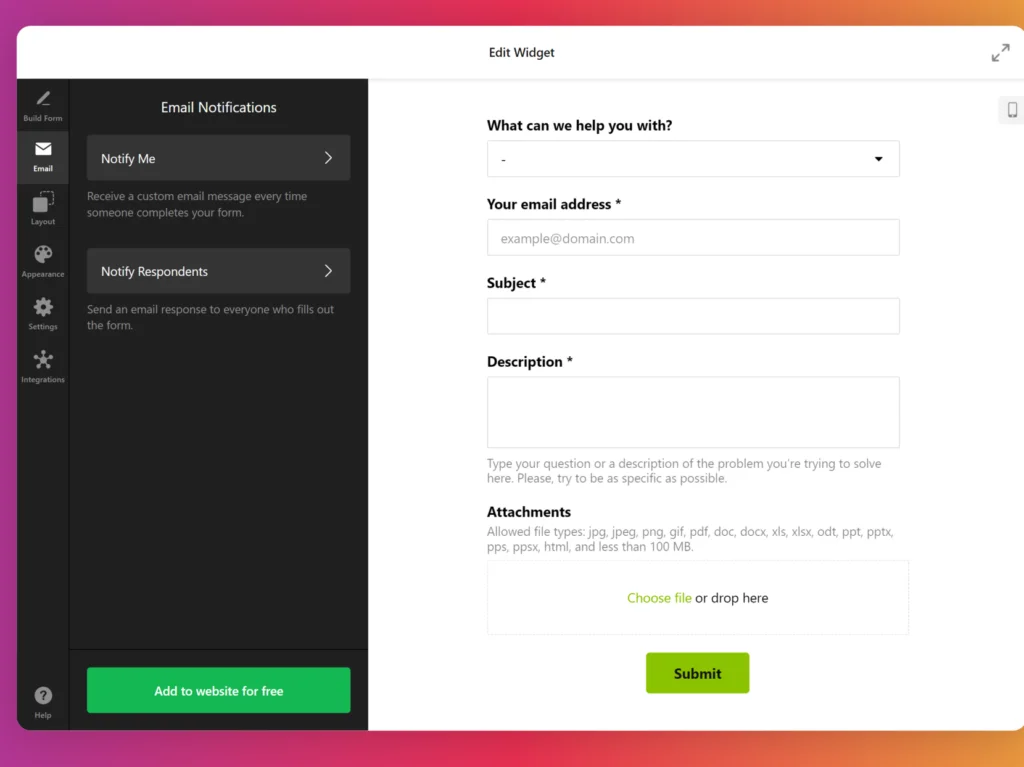
- Enter your email address and set notifications, so you’ll know when a new submission comes in.
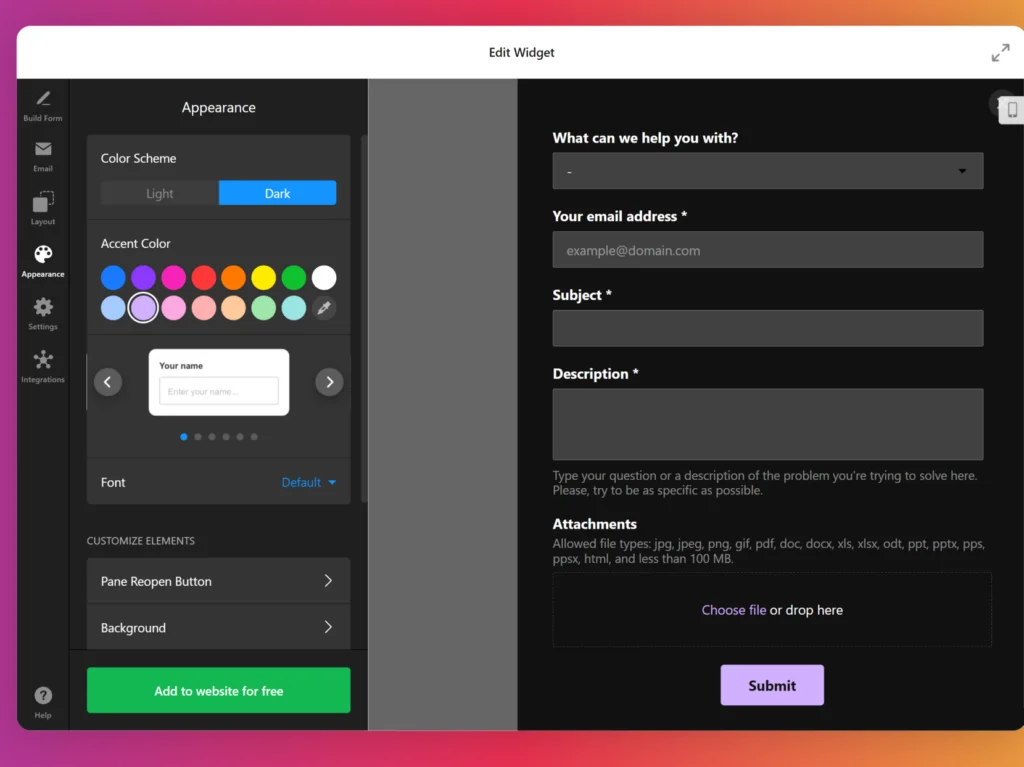
- Customize the appearance and layout of your contact form in the corresponding tabs.
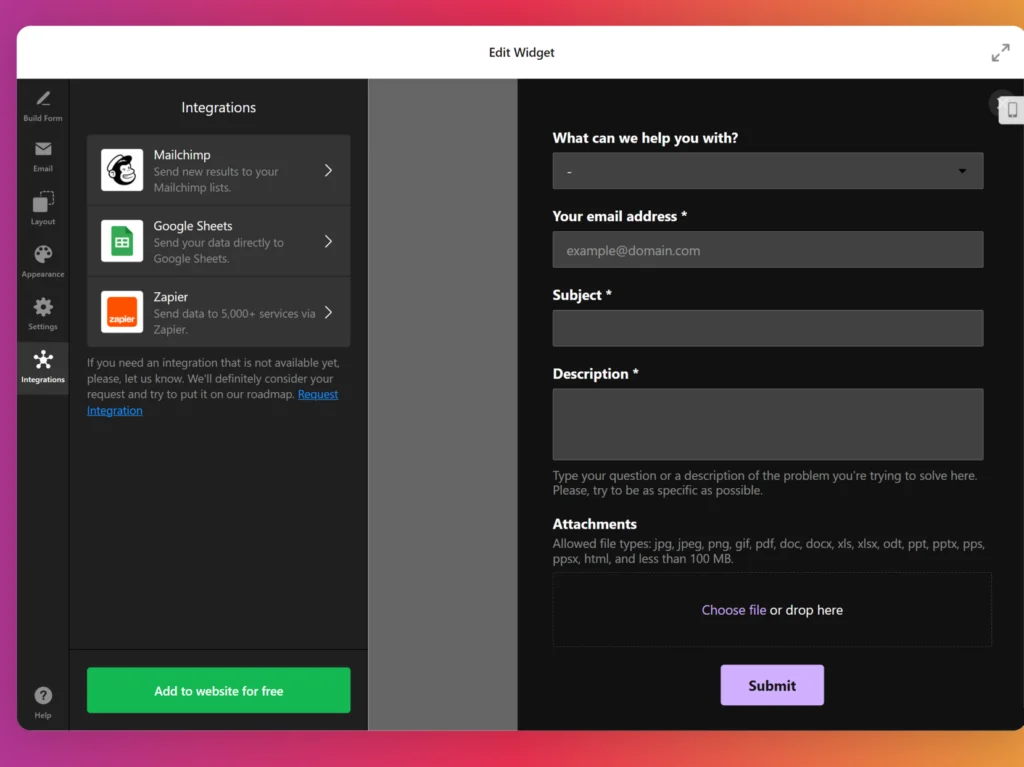
- Adjust the needed settings and open the ‘Integrations’ tab if you want to connect your contact form, for example, with Google Sheets.
- Save the result. Copy the embed code and paste it into your website builder.
- Open your website’s backend. Ensure you can access and modify the HTML code through the admin panel for a smooth widget integration.
- Paste the contact form code. Decide where you want the Contact Form to appear and insert the code into the HTML at that spot.
- Save your changes. Double-check that everything is working properly and that the form displays correctly on the page.
- Log into WordPress. Access the WordPress admin panel to modify the HTML where necessary.
- Navigate to ‘Pages’. Select the page where you want to add the contact form based on your needs.
- Insert a custom HTML block. Place this block at the desired spot on the page for your form to appear.
- Paste the code. Insert the provided code into the block and click ‘Update’ to ensure the form is functioning properly.
- Access the Wix editor. Log in to your Wix account, select the site you want to update, and navigate to the dashboard, then click ‘Edit Site’.
- Add an HTML block. Click the Plus icon in the left-hand menu, select ‘Embed’, and choose ‘Embed a Widget’ to create a new HTML block.
- Paste the Contact Form code. Place the code into the ‘Enter Code’ box and hit ‘Update’.
- Adjust the settings. Resize and position the form as needed to fit the page design and ensure it looks great.
- Open the Shopify admin panel. Head to the ‘Online Store’ section in your dashboard.
- Click on ‘Customize’. From the drop-down, select ‘Add Section’.
- Choose ‘Custom HTML’. In the ‘Add Content’ area, select this option and remove any unwanted pre-installed Shopify elements.
- Insert the Contact Form code. Paste the code into the HTML section and save your changes.
- Log into Squarespace. Select the site you want to edit from your dashboard.
- Go to the ‘Website’ section. Choose the page where you want to add the Contact Form.
- Click ‘Edit’ and then ‘Add Section’. Create a new blank section, then select ‘Add Block’ and choose the ‘Code’ block option.
- Insert the Contact Form code. Paste the code into the ‘Edit’ box and adjust the width of the block for a well-placed form.
- Sign in to Webflow. Pick the site where you want to add the widget from your dashboard.
- Add the ‘Embed’ element. In the Webflow editor, click the Plus icon and drag the ‘Embed’ element to where you want the form.
- Paste the Contact Form code. Insert the code into the ‘HTML Embed Code Editor’, then click ‘Save & Close’.
- Customize and publish. Make any final adjustments and hit ‘Publish’ to activate the form on your chosen pages.
- Log into WordPress. Navigate to the ‘Pages’ section and select the page where you want the Contact Form widget to appear.
- Edit with Elementor. Click on ‘Edit with Elementor’ to begin customizing the page.
- Use the HTML element. Drag and drop the HTML element onto your page in the desired location.
- Paste the Contact Form code. Insert the widget code into the HTML box.
- Update and check. Hit ‘Update’ to save your changes and preview the embedded Contact Form on your page.
Add Contact Form Widget to Your Website Builder
Adding the Contact Form widget to a specific CMS platform can sometimes be challenging. To make the process easier, we’ve prepared step-by-step guides to help you integrate our widget onto your site.
How to create a Contact Form in HTML
Inserting the Contact Form widget into an HTML website is a straightforward process. Just follow these steps to place the code in the right location:
Create a Contact Form in HTML →
How to integrate a Contact Form to a WordPress website

Embedding the Contact Form plugin into your WordPress site is simple with the no-code option. Just paste the generated HTML code using the instructions below:
Create a Contact Form in WordPress →
How to embed a Contact Form to a Wix website

Adding the Contact Form app onto a Wix page is easy. Follow these instructions to integrate the utility seamlessly:
Create a Contact Form in Wix →
How to add a Contact Form to a Shopify Website

You can quickly embed the Contact Form app on any page of your Shopify site. Here’s how:
Create a Contact Form in Shopify →
How to make a Contact Form on a Squarespace website

To embed the Contact Form widget onto a page in Squarespace, follow these steps:
Create a Contact Form in Squarespace →
How to add a Contact Form to a Webflow website

Integrating the Contact Form widget into Webflow is smooth and easy. Just follow these steps:
Create a Contact Form in Webflow →
How to make a Contact Form on an Elementor website

Embedding the Contact Form widget into Elementor doesn’t take any time at all. Here’s what you need to do:
Create a Contact Form in Elementor →
Benefits of Using Elfsight’s Contact Form Widget
Advantage 1. Create a customized user experience
With 20 different field types at your disposal, you can design a contact form that precisely fits your needs. Whether you’re collecting feedback, inquiries, or support requests, you can gather the right information in a way that’s clear and easy for your users.
Advantage 2. Enhanced security against spam
Enjoy peace of mind knowing that your communications are protected by Google reCAPTCHA. This feature helps keep your inbox free from spam and bot submissions, ensuring that you only receive genuine inquiries from your users.
Advantage 3. Engage your users with personalized branding
Use an adjustable header with images and custom titles to make your contact form more inviting and reflective of your brand. This personal touch can enhance user engagement and encourage visitors to reach out.
Advantage 4. Never lose progress on form submissions
Rest assured that your users won’t lose their hard-earned data if they need to pause or get interrupted while filling out the form. The progress-saving feature ensures that they can return and complete their submission without frustration.
Advantage 5. Maximize space and accessibility on your website
Benefit from the floating layout option that allows your contact form to be available without cluttering your site. This design keeps your contact form accessible at all times, enhancing user convenience, especially on mobile devices.
Contact Forms Widget Templates
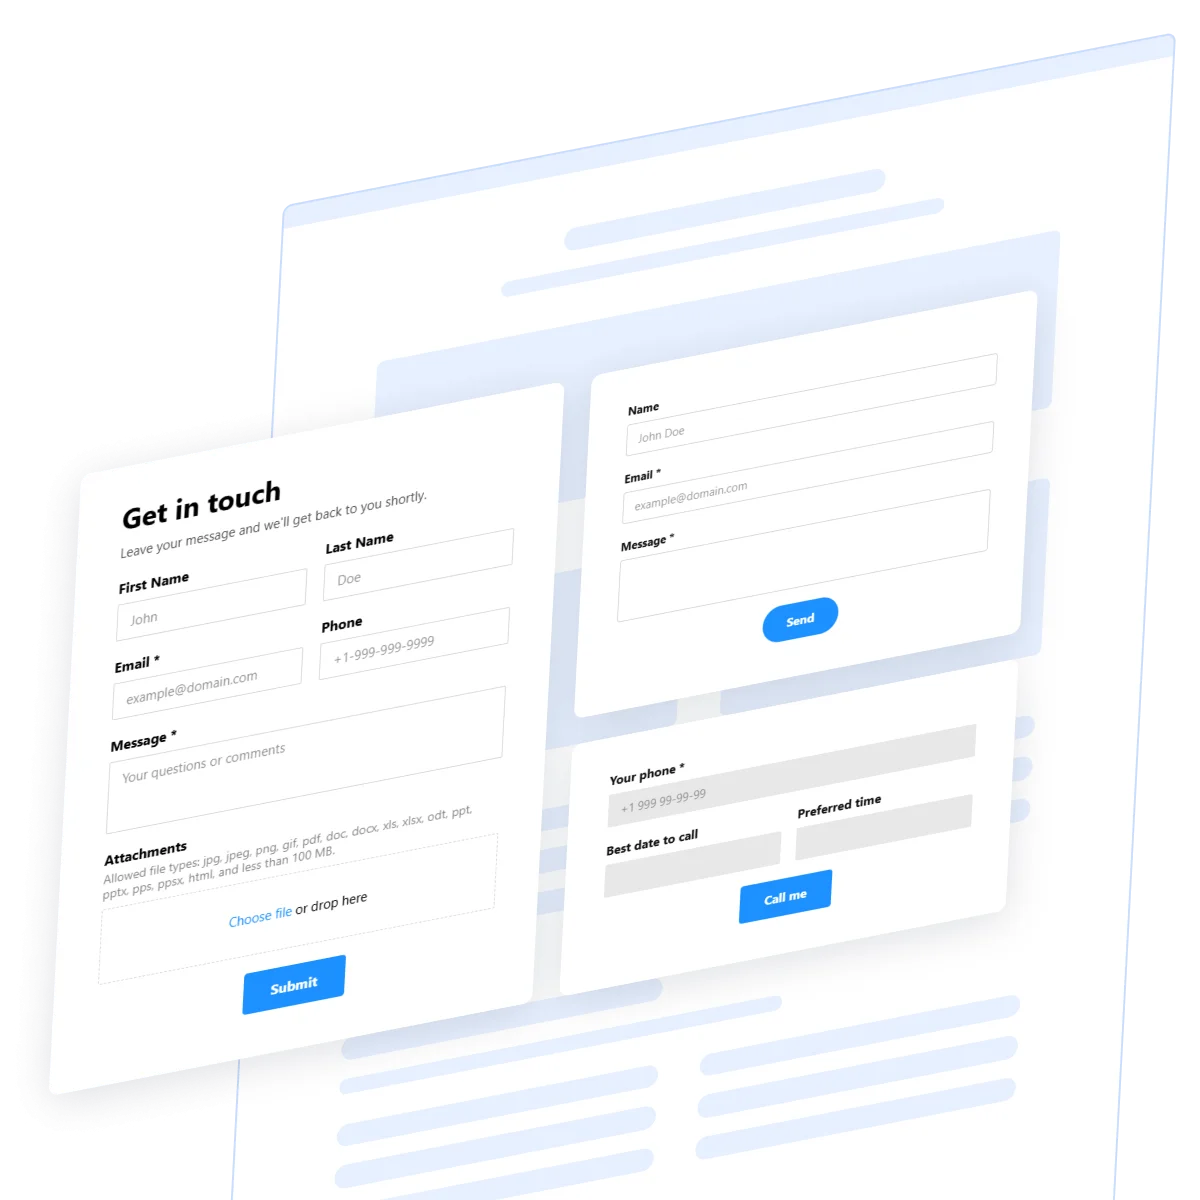
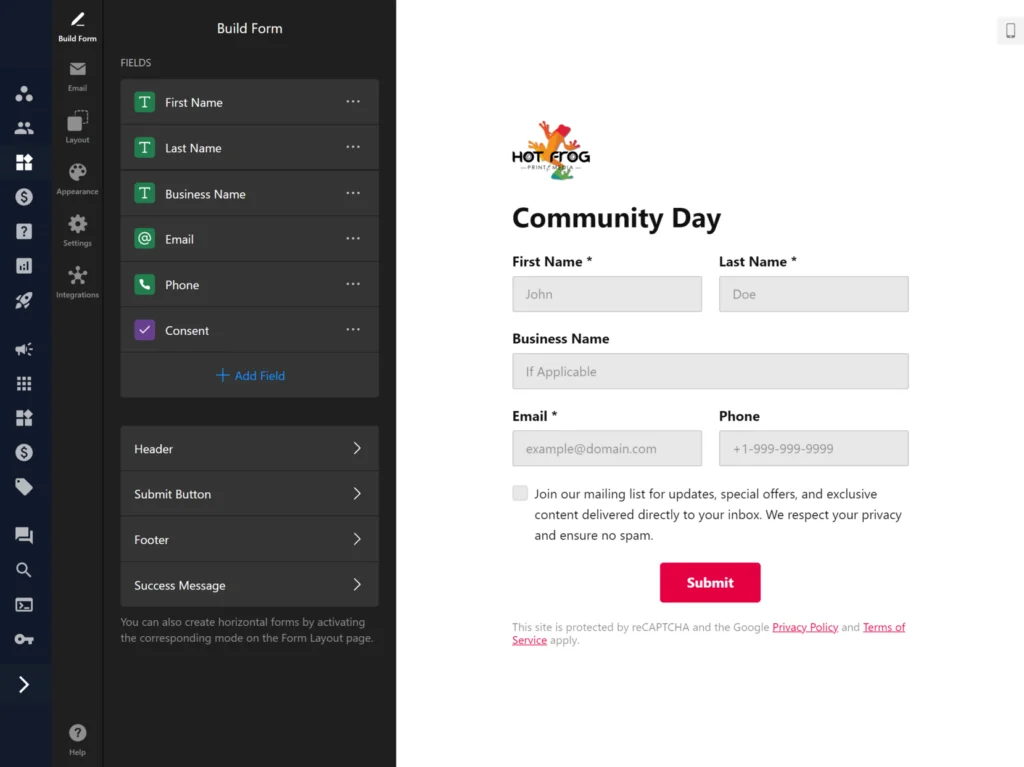
Sign Up Contact Form
Designed for both user inquiries and newsletter subscriptions, this template enables visitors to reach out to website owners while signing up for updates. It’s an effective way to build your email list while providing a channel for communication.
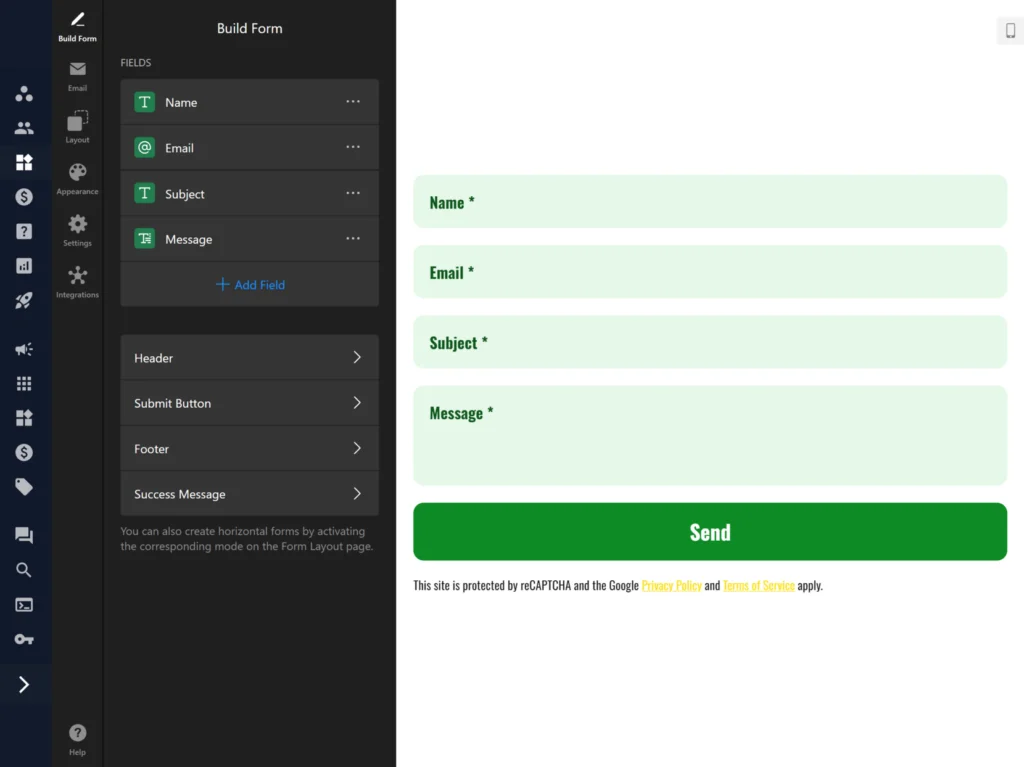
Quick Contact Form
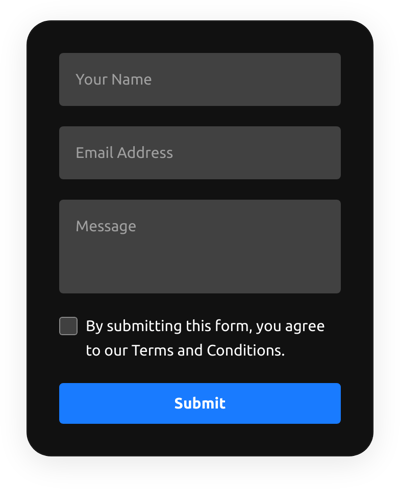
This template offers a streamlined approach for users to reach out quickly. Ideal for businesses that prioritize fast communication, it allows users to get in touch with minimal effort, enhancing user experience and engagement.
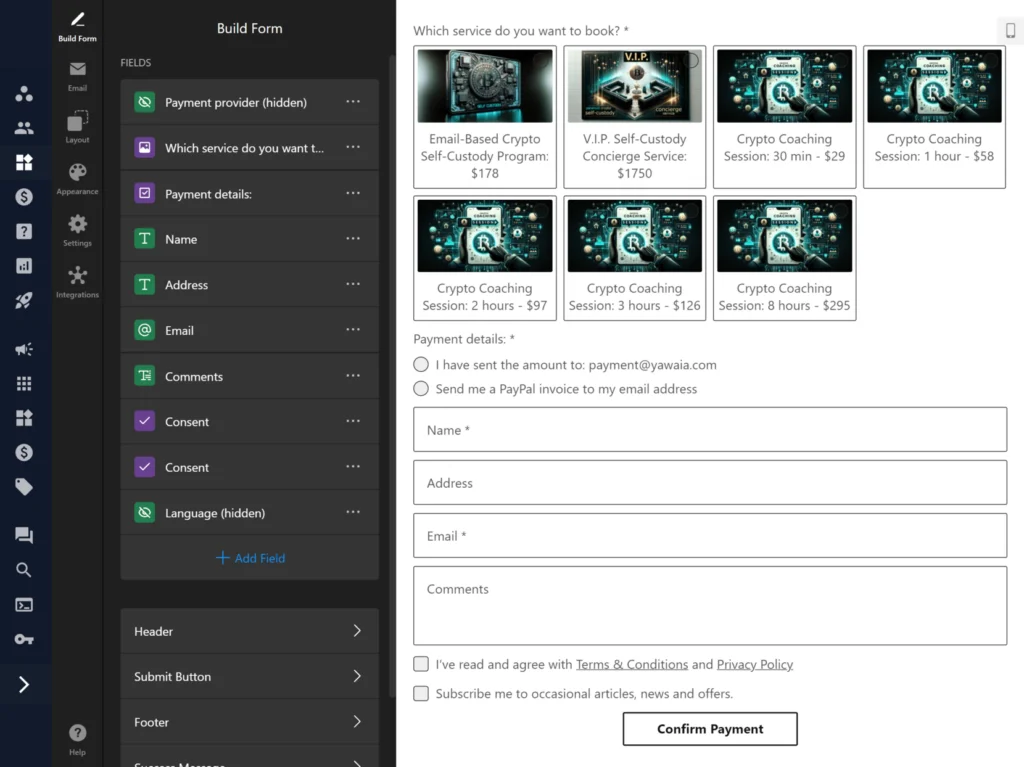
Paypal Contact Form
Combining contact collection with payment functionality, this template lets you gather contact details and seamlessly integrate PayPal for transactions. It’s perfect for e-commerce websites or services that require payment upfront.
More Contact Form templates are in our catalog!
Explore 40+ Contact Form templates
Conclusion
A contact form is essential for facilitating communication with your website visitors. By adopting best practices and leveraging the powerful features of the Elfsight Contact Form widget, you can create a user-friendly experience that fosters engagement and feedback.
FAQ
What is the Elfsight Contact Form widget?
The Elfsight Contact Form widget is a customizable tool that allows you to create and add contact forms on your website without any coding skills. It helps you gather inquiries, feedback, and other important information from your visitors.
How does Google reCAPTCHA work with the contact form?
Google reCAPTCHA helps protect your contact form from spam and bot submissions. You can choose between Checkbox and Invisible reCAPTCHA options, both designed to enhance the security of your communications.
Can I see responses to my contact form submissions?
While the Elfsight Contact Form widget itself does not store submissions, you can have the form send responses directly to your email or integrate it with various third-party tools for managing submissions.
What happens if a user leaves the form without submitting?
The Elfsight Contact Form includes a progress-saving feature, which ensures that any data entered by users is preserved until they complete the submission. This prevents data loss and improves user experience.
Is the Contact Form widget mobile-friendly?
Yes, the Elfsight Contact Form widget is fully responsive, meaning it is designed to look great and function well on mobile devices as well as desktops.
Still Have Questions?
We hope you found this guide helpful. Get in touch with us to discover more about creating a custom contact form for your website. Our aim is to ensure that your experience is smooth and successful. At Elfsight, we are dedicated to providing a comprehensive solution for your business through our no-code widgets.
Join our thriving Community, where ideas and expertise are shared. We welcome your suggestions for enhancements, so please feel free to add them to our Wishlist.
Editor: Create Your Contact Form for Free
Interested in trying out the online contact form builder and exploring all its features without signing up? Visit the on-page Contact Form editor to see the widget in action.


