Best-in-Class
Coding-Free
Easy-to-Use
Subscription Form widget for website
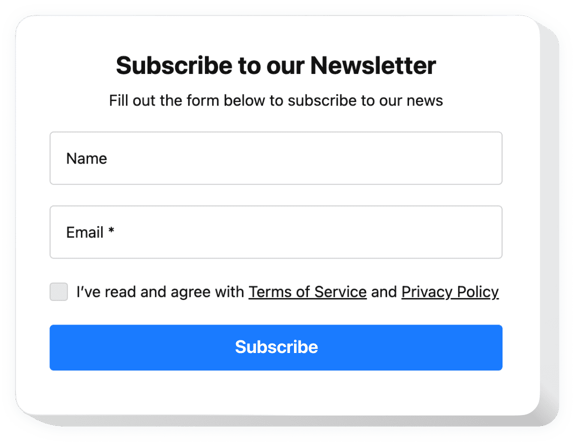
Collect emails to share newsletters, deliver offers, and send important updates through a quick, straightforward form that keeps visitors connected.
Create Widget for Free
No credit card needed
Trusted by over 3,000,000 small business, agencies and top global brands worldwide
Create your Subscription Form widget
Configure your widget and add it to your website for free!
Why do I need Elfsight Subscription Form?
Convert visitors into loyal fans
Convert visitors into loyal fans
Let visitors subscribe in seconds and join a dedicated audience that’s ready to hear from your brand.
Increase subscriber growth by +35%
A clean, visible form captures more emails and turns website traffic into a steadily growing list.
Remove barriers to getting connected with your brand
Make joining your list effortless so more visitors share their email without hesitation.
0%
websites support
0+
hours of development invested
1 min
to start using the widget
0%
customer satisfaction rate
Join 2,078,753 customers already using Elfsight Apps
You can start with creating your first Elfsight Subscription Form widget for free.
What makes Elfsight Subscription Form special?
FORM
Grow your audience with simple and effective email widget
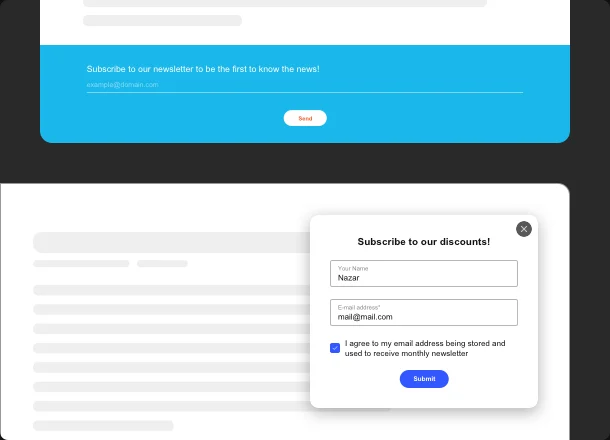
Email marketing is still one of the most effective tools in growing an online business. To collect your own email list, use this simple and intuitive form, allowing you to get email addresses which can be later downloaded in CSV format. All the fields of the newsletter subscription form are manageable - you are free to adjoin header with caption, ask for the first name, last name, email address or keep it simple and leave only an email field there and accompany it with an explanatory label and a placeholder. Also, our widget allows you to select the post-submit actions - users can be redirected to some URL, see the success message or you can simply hide the form after the action has been taken.
INTEGRATIONS
Integrate your form with popular email services
If you are working or planning to work with Mailchimp, there’s an option for you to connect your Subscription Form widget with the Mailchimp. You’ll get your emails collected in your Mailchimp admin panel, where you’ll be able to manage them the way it works for you. All that is left for you here is to log in or sign up to your Mailchimp account. And stay tuned for other integrations that are coming in the nearest future!
LAYOUTS
Position your form effectively
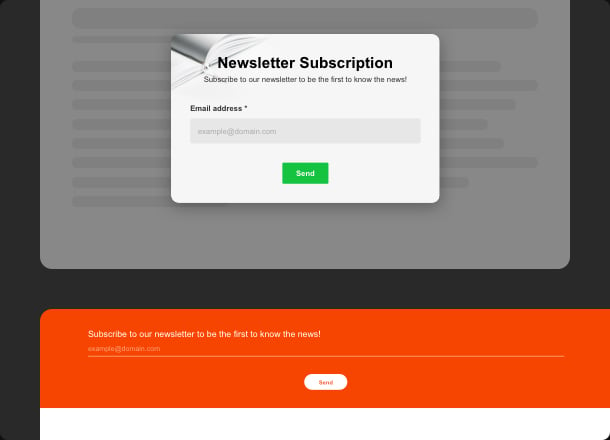
Finding the best position of the form on the website’s page may take time but not with our email widget. With one of four offered layout templates and you’ll create the widget that works just for you. Fit it perfectly into the content zone with the Embedded layout, set up triggers to make it Pop up as the user explores your website, use the Pane to place it on the left or right side of your web page, and the Side-in will demonstrate an unobtrusive widget in the corner. And after selecting the pages where you want the subscription form to appear you’ll get the tool that really does the job!
STYLE
Choose a ready-made color palette or set up your own conception
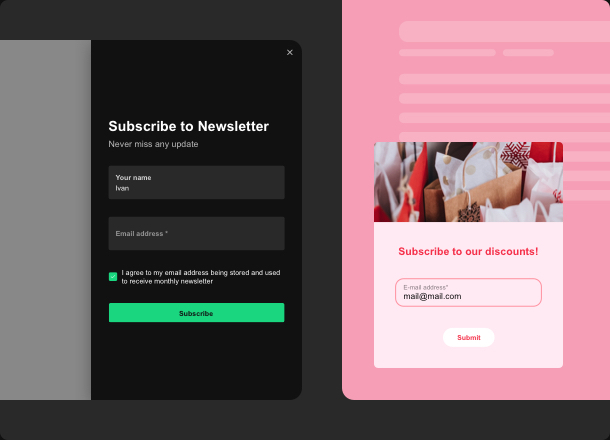
We offer an extraordinary instrument for those who value their time - a Color Scheme Generator that’ll create a design for your widget all by itself. Merely select primary color, a Dark or Light mode, and let the auto color designer set everything up for you. On the other hand, if you need a distinctive look of the widget, you can always continue to modify all the elements separately: popup, header, background, and so forth. See all changes straightaway in free configurator with no need to program.
Usage examples
See a selection of real examples to explore the full potential of Subscription Form for your website.
See in action
Live demo
Try all the features of Subscription Form in live demo now. No fees. No registration. No coding.
Try now
Why Elfsight widget of all others?
Starting today you won’t have to be worried about your overall homepage functioning. Our tools are supplied with a good deal of features you are free to handle the way you need. And if you have any difficulties our support team is always eager to help!

Interactive user-friendly board
No more urgency in looking for a competent developer or coding. Apply our live panel which assures painless widget integration.

Qualified Elfsight team
Your smooth experience is provided by our skilled team. We will stay in regular contact with you to help you integrate plugins on your website.

Marvelous Elfsight Apps service
You will regularly receive the most recent constant version. Cloud solutions will grant immediate problem fixes and high loading speed.
What our customers say ❤️
Really flexible and adaptive Subscription Form plugin that displays nicely. My clients left so many lovely comments about how easy it is to subscribe to newsletters just because of the form. It doesn't break or slow down my site, which is so good!
I needed to move the subscription plugin to a different domain and had a couple of custom CSS queries. And the amount of support from the team was unbelievable. They guided me through each step, and the form worked. GREAT help and GREAT widget! So thanks, Elfsight!
Great plugin! Elfsight support answered all our questions quickly, friendly, and competently. We needed the exact form for our website visitors to subscribe to and be updated with new info. So finally, we were able to install the Subscription Form without issues.
I enjoyed this Subscription Form widget from the first moment because of the design. I can create functional form fields and choose the layout. It is simple to use, and customer support is always there to provide help at any time. Thank you for this!
The first Subscription Form plugin I've embedded in 5 years that actually works. In others, I couldn't make the subscribe button work. But this one does it really well at that. Once I had a bug on my website with the form, and they fixed it in no time.
Super-easy widget to set up, it took me not more than 5 minutes to create and embed my subscription form to the website. My metrics are high because users have started to subscribe.100% recommended!
Frequently Asked Questions
Which external integrations can the Subscription Form connect to automatically?
The form supports direct integrations with Mailchimp, Zapier, Google Sheets, and Webhooks, letting new subscribers sync instantly without manual exports.
Can I collect more than just an email address in the form?
Yes, you can add name fields, checkboxes, and custom inputs to gather additional subscriber details beyond a simple email signup.
Is it possible to redirect users after they submit the form?
After submission, you can show a success message, hide the form, or redirect visitors to a landing page, thank-you page, or offer.
Does the Subscription Form include spam protection?
Built-in reCAPTCHA helps block automated spam submissions, ensuring only real users can join your mailing list.
How do I get notified when someone subscribes?
Email notifications can be enabled to receive instant alerts with subscriber details whenever a new signup is submitted. You can also send an email response to everyone who fills out the form.
Does the form support conditional logic between fields?
Conditional “if–then” logic is available in this widget and lets you set the rules to control the field visibility based on values entered in other fields.
Can form fields be pre-filled using URL parameters?
Yes, you can pass values via URL parameters and map them to form fields, making it easier to personalize signup flows.
Can the Subscription Form widget be used on any website platform?
Yes, Elfsight works on any website that supports custom HTML, including BigCommerce, Blogger, Drupal, Facebook Page, Elementor, Joomla, jQuery, Jumpseller, iFrame, Magento, HTML, OpenCart, Shopify, Squarespace, Webflow, Webnode, Weebly, Wix, WordPress, WooCommerce, Google Sites, GoDaddy, Jimdo, PrestaShop
How can I embed a Subscription Form on my website?
To add a form to your website, follow these quick steps:
- Select a template in the intuitive editor.
- Add fields, and configure post-submit behavior.
- Copy the embed code and paste it into your website’s HTML.
The form will go live immediately and update automatically when you make changes. For a step-by-step guide, check out our blog article on how to add a Subscription Form to your website.
Join 2,078,753 customers already using Elfsight Apps
Get the taste of 80+ powerful apps by Elfsight. No credit card. Joining is free!
Get started
Get 20% discount now!


