What Is a Popup?
A popup is a type of online advertising or message box that suddenly appears on a webpage, capturing the visitor’s attention.
Typically small but visually prominent, popups can either float over the existing webpage or appear as a separate window. They are designed to communicate essential information, drive conversions, or capture leads by prompting users to take specific actions, such as signing up for a newsletter, making a purchase, or following the business on social media.
- User engagement. Popups enhance user engagement by capturing attention with relevant offers and prompting actions like email subscriptions or social media follows. When used effectively, they can increase interaction rates and keep users on the website longer.
- Variety of formats. Popups come in various types, such as notification popups for urgent messages, promotional popups for discounts, and more. This variety allows businesses to align popups with specific marketing goals.
- Conversion boost. Popups drive conversions by presenting timely offers or calls to action that encourage visitors to make purchases or sign up for newsletters. By creating urgency and relevance, they help reduce bounce rates and boost sales.
Despite some associations with intrusive advertising, well-designed popups can be a powerful tool for businesses aiming to achieve their marketing goals.
How to Add a Popup on a WordPress Website
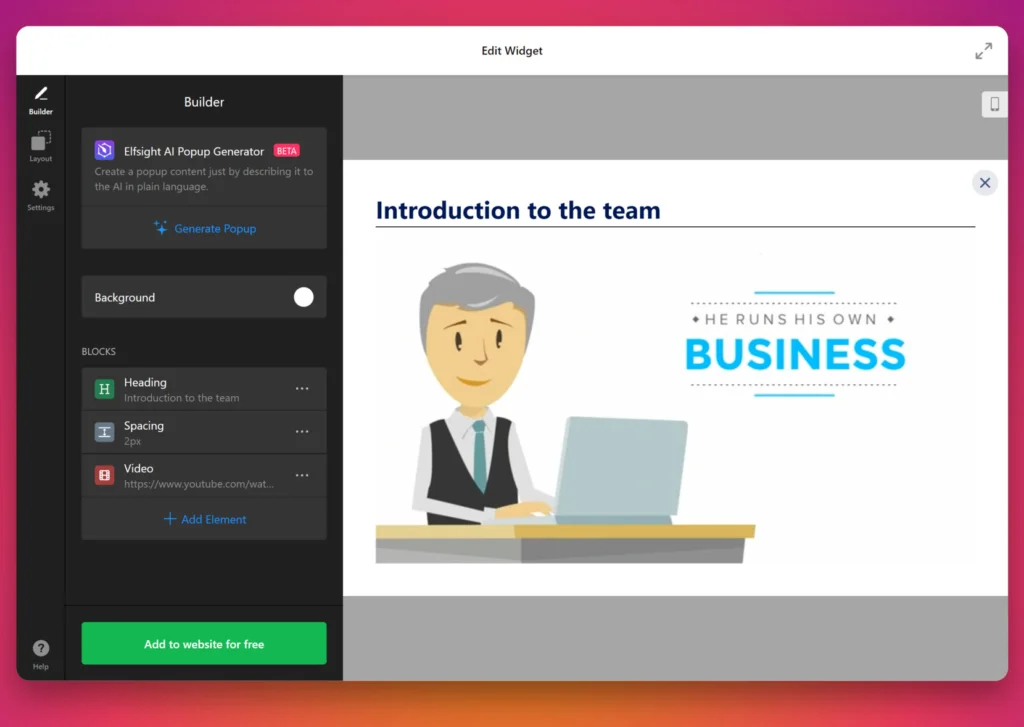
Create dynamic popups for your WordPress website with the Elfsight Popup plugin. You can create visually appealing popups with titles, descriptions, images, and more – all personalized to match your website’s design.
Quick guide
Here’s how to create a popup window in WordPress with this plugin:
- Open the Popup plugin editor, choose a suitable template or create your own design.
- Customize the settings and appearance of your popup.
- Save your work and copy the provided HTML code.
- Paste the code into the HTML editor of your WordPress page.
Elfsight Popups are perfect for guiding visitors, promoting content, or sharing essential information through strategically placed, engaging popups.
Grab your visitors’ attention easily with eye-catching popups on your WordPress website!
Detailed guide
To embed the Elfsight Popup plugin on your WordPress website, follow these steps:
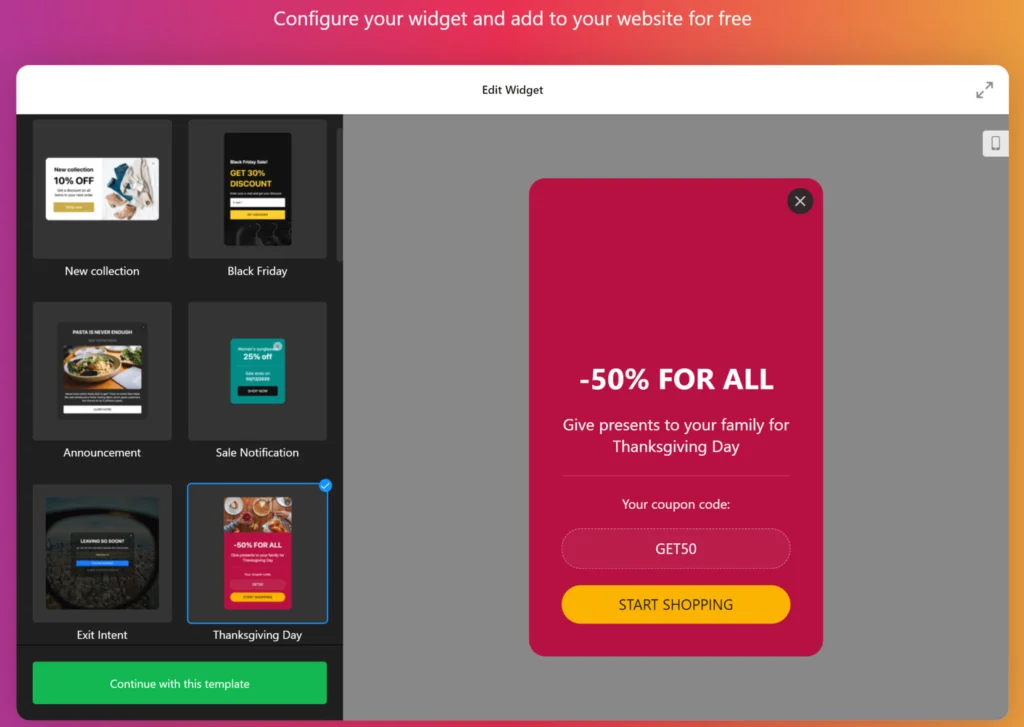
- Open the popup plugin editor. Go to the Popup plugin editor and select a plugin template that fits your needs. Hit ‘Continue with this template’.

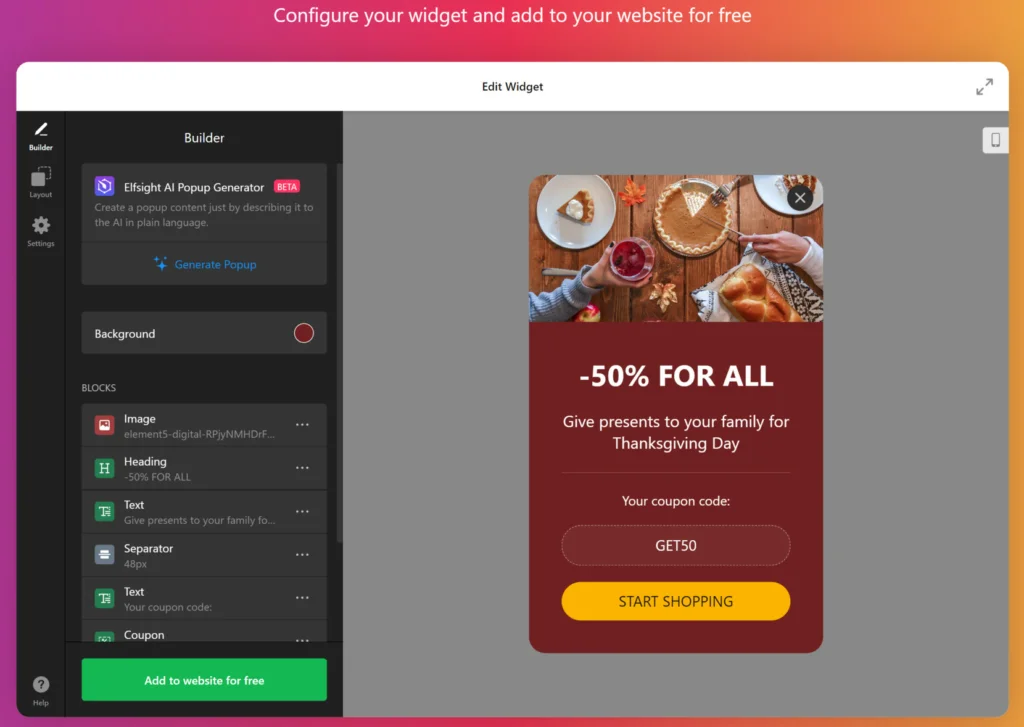
- Configure your popup. Add or remove the blocks of your popup such as images, text, headers, buttons, etc.
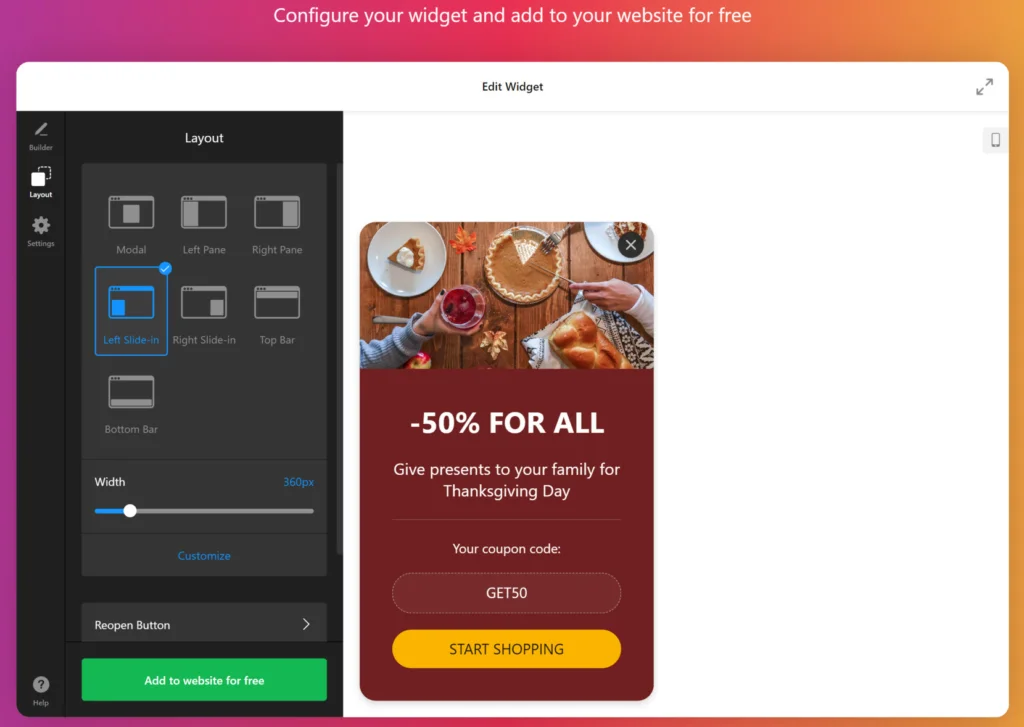
- Work on the appearance. Customize the plugin to match your website’s design, including titles, descriptions, images, and layout. Adjust the color scheme and font to complement your site’s style.
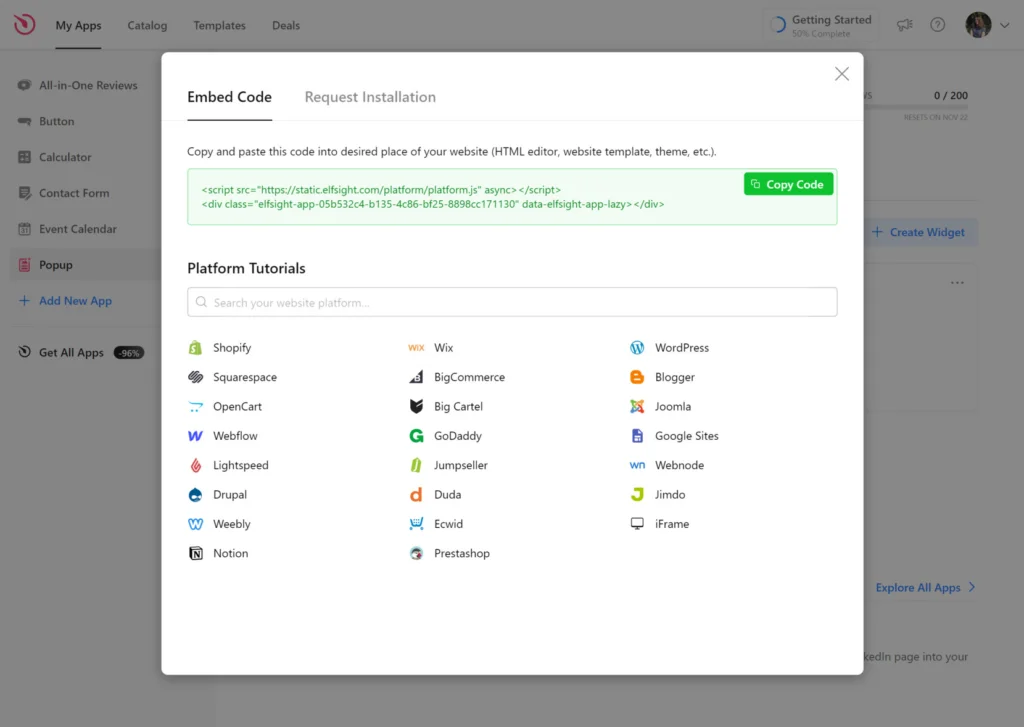
- Get the code. After customizing, save and publish your plugin. Click the ‘Get the Code’ button to copy the HTML code for embedding. Access the editor of your WordPress page and paste the code where you want the plugin to appear.
Advantages of Having a Popup on a Website
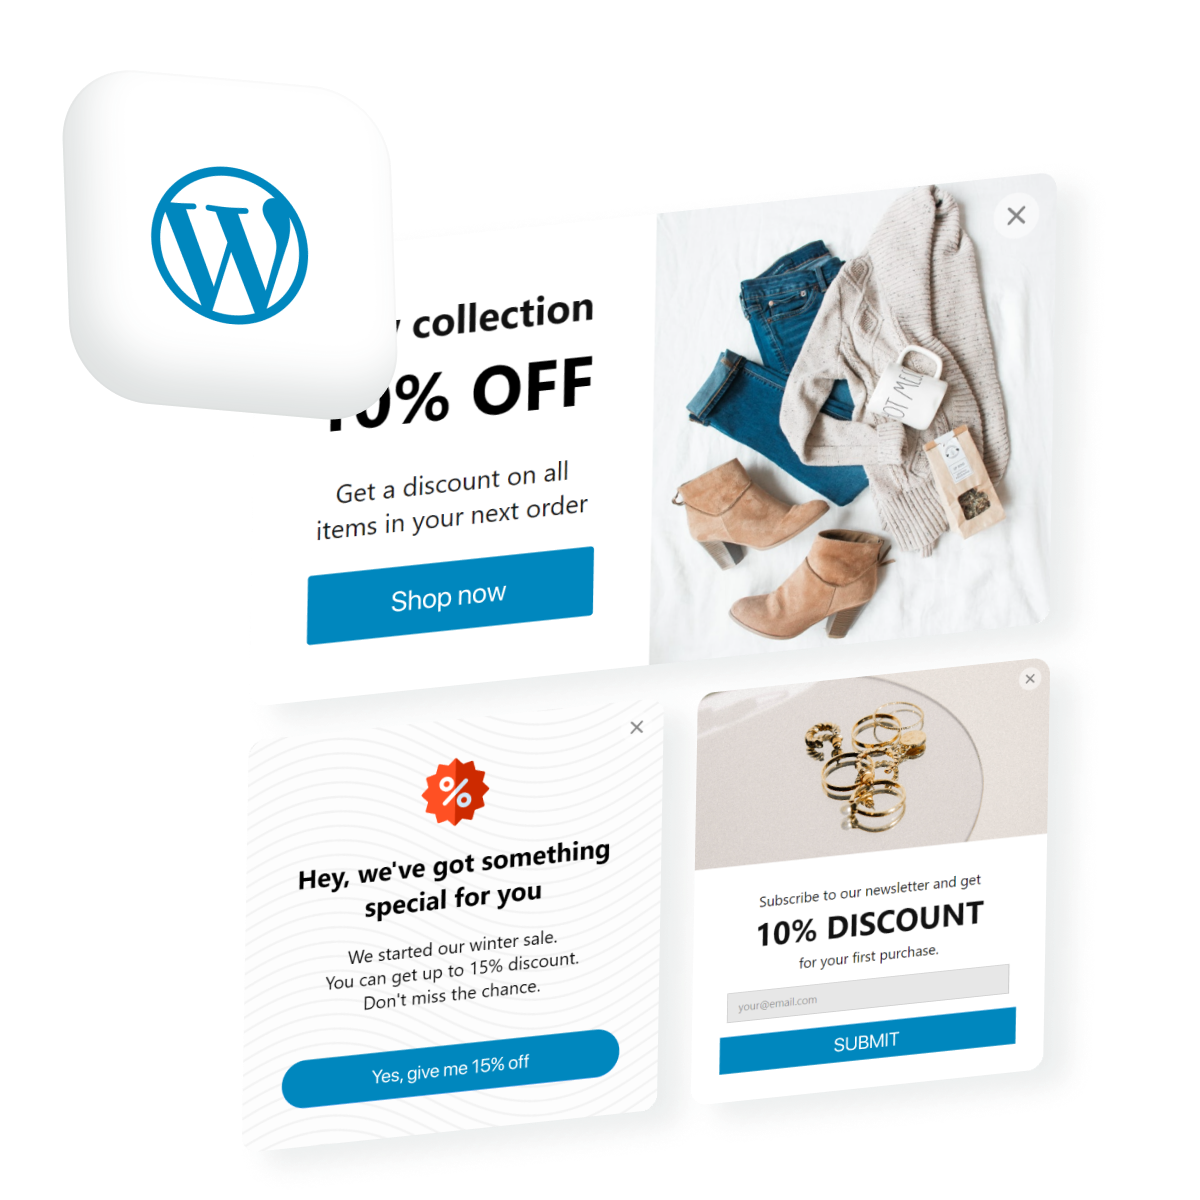
1. Sales and special offers popups
Popups that promote sales and special offers are vital for capturing user attention. They can deliver promotional messages directly to visitors, offering copyable coupons and one-click access to sale pages. This immediacy can significantly increase engagement and drive conversions.
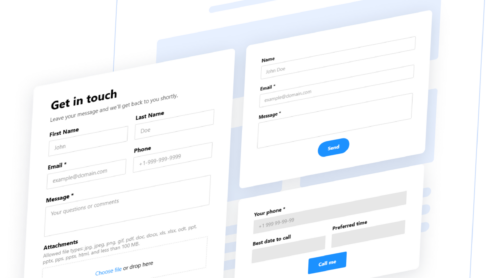
2. Easy subscribing forms
Popups with easy-to-use subscription forms encourage visitors to join your email list. Crafting irresistible calls-to-action and maintaining a seamless user experience can effectively grow your subscriber base, turning casual visitors into loyal followers.
3. Reviving abandoned carts
Popups designed to target users who are about to leave the site can help recover abandoned carts. By offering assistance or a discount at the right moment, you can encourage users to complete their purchases, thereby boosting sales without additional marketing costs.
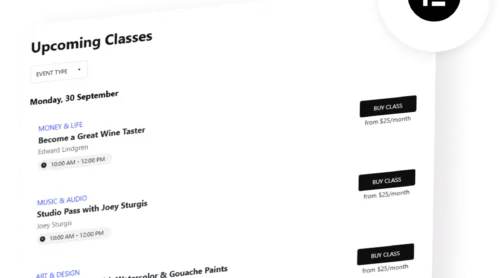
4. Informative announcements
Using popups to share important announcements, like project launches or new product collections, ensures that all visitors are well-informed. Eye-catching banners and visuals can make these messages memorable, enhancing overall user engagement and brand awareness.
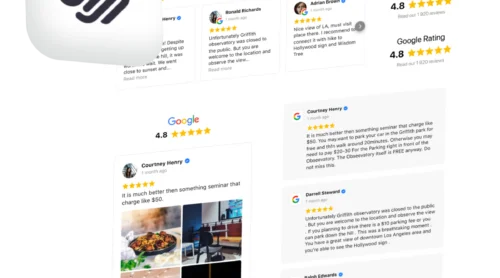
5. Feedback collection
Popups can be effectively used to gather customer feedback in a non-intrusive manner. By timing these forms based on user behavior (like time spent on the site), businesses can collect valuable insights into customer experiences and preferences, aiding future improvements.
Popup Plugin Templates
With the Elfsight Popup plugin, you can create various types of popups for your website without any coding. Here are five examples:
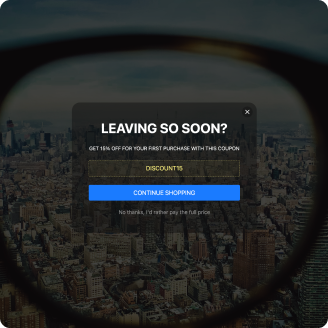
Exit Intent Popup
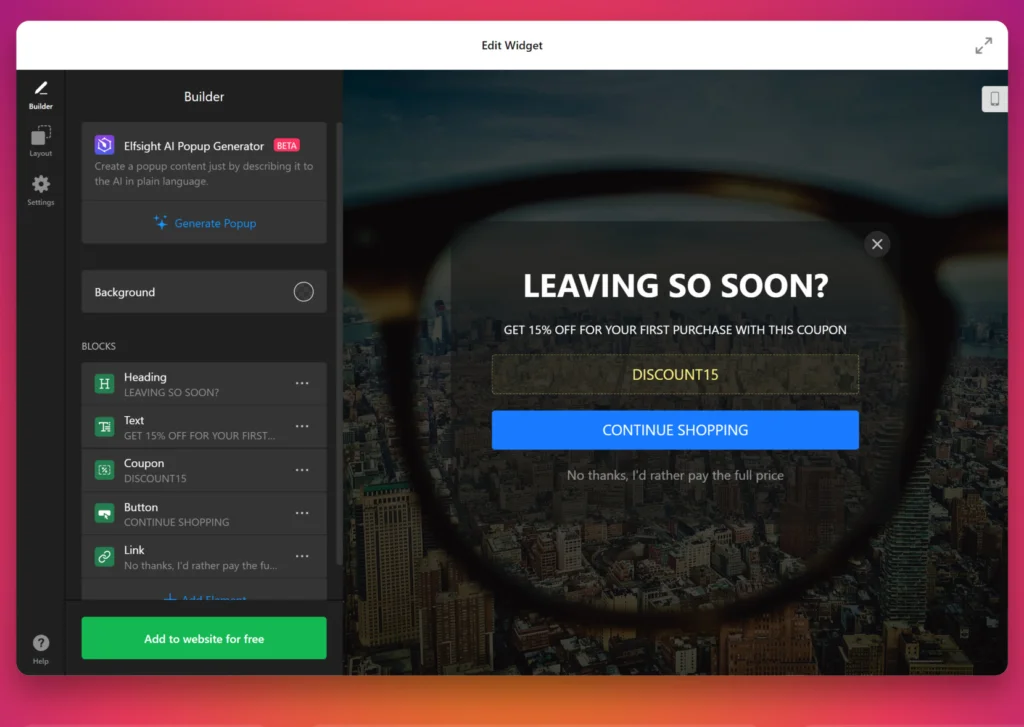
This popup is triggered when a user is about to leave your site and is made for capturing last-minute attention. It’s perfect for retaining visitors who are close to abandoning their cart or leaving without signing up for your newsletter. E-commerce stores, blogs, and subscription-based platforms will greatly benefit from this plugin as it provides one last opportunity to engage visitors and reduce bounce rates.
Newsletter Popup
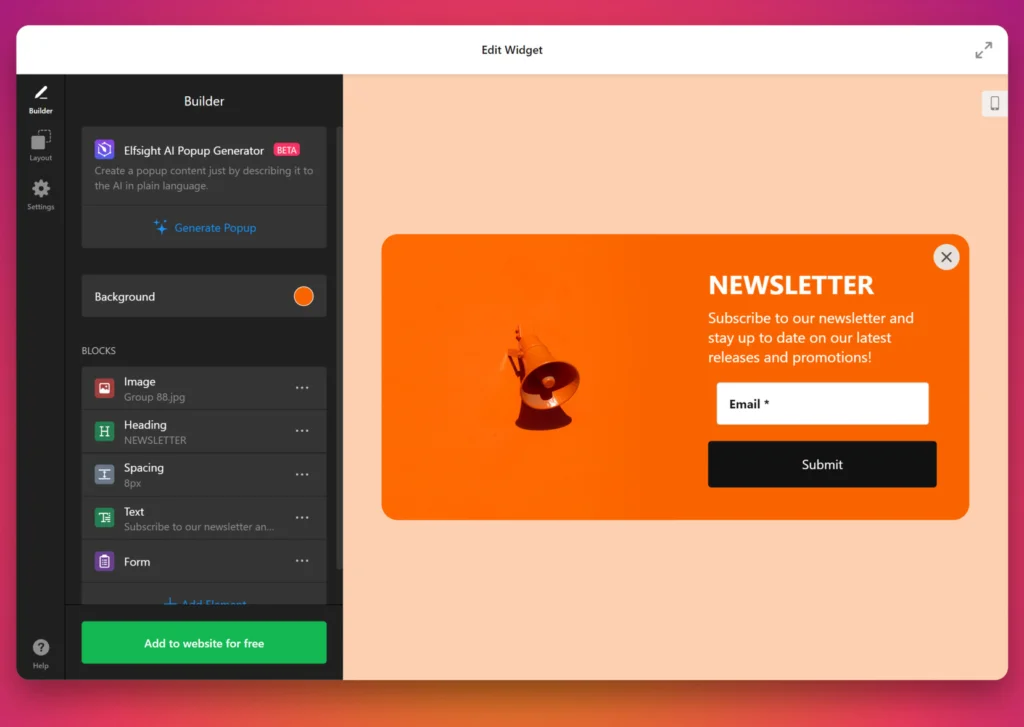
A newsletter popup helps websites collect email addresses from visitors, leading to growth in their email subscriber list. This template works particularly well for blogs, media sites, e-commerce platforms, or any business that thrives on repeat engagement and frequent communication with its audience. The plugin is great for those looking to increase retention rates and build a loyal customer base through email marketing.
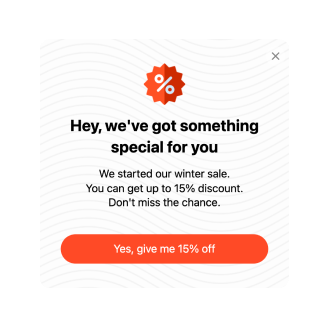
Discount Popup
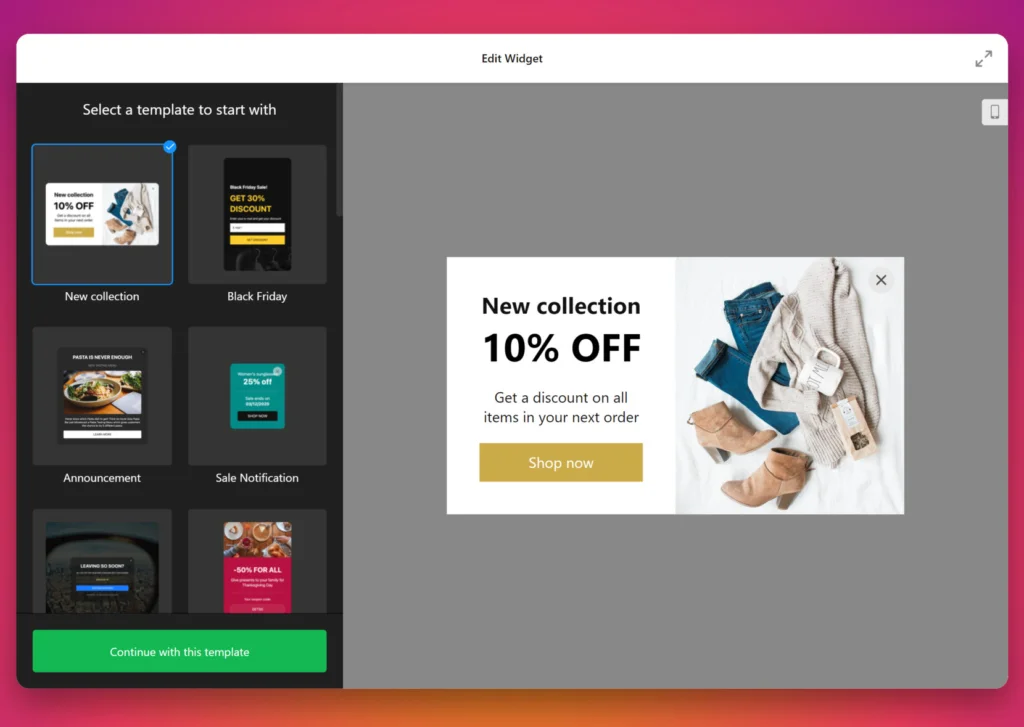
Ideal for promoting special offers, discounts, or seasonal sales, discount popups are excellent for e-commerce stores and service providers looking to attract customers to make a purchase. It’s particularly useful during peak shopping seasons, flash sales, or limited-time promotions, helping businesses increase conversion rates.
Follow on Instagram Popup
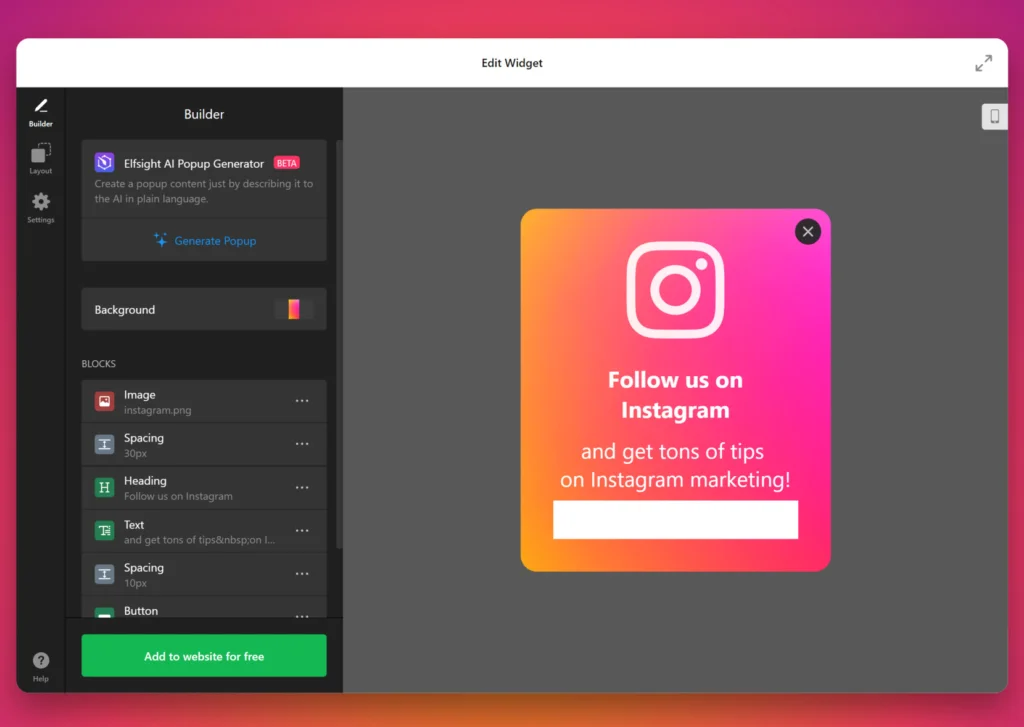
This popup is specifically designed to grow your Instagram following by encouraging website visitors to subscribe to your account. It’s ideal for influencers, online businesses, or personal brands looking to expand their social media presence. Those who focus on visual marketing, fashion, lifestyle, and e-commerce will see significant benefits from integrating this popup.
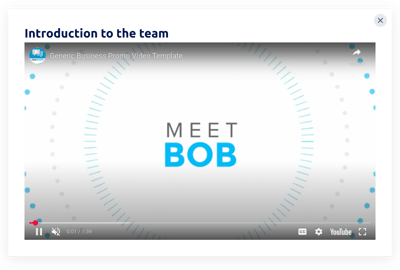
Video Popup
This popup is perfect for showcasing video content directly on your website. Whether it’s a product demonstration, a how-to tutorial, or a promotional clip, video popups are excellent for businesses and content creators looking to capture user interest quickly. Marketers and e-commerce websites can use this plugin to increase engagement, boost product awareness, or explain complex concepts in a visually appealing way.
Explore the full catalog of popup templates to enhance your website’s performance and user interaction!
Explore 100+ Popup templates

Conclusion
Adding popups to your WordPress website is an effective way to boost user engagement and drive conversions. Whether you’re promoting sales, collecting email subscriptions, or providing important announcements, popups can help you connect with your audience in meaningful ways.
By utilizing customizable templates of the Elfsight Popup plugin, you can create visually appealing and functional popups tailored to your website’s needs.
FAQ
Is the Elfsight Popup plugin mobile-friendly?
Yes, the widget is fully responsive and mobile-friendly. It automatically adjusts to fit any screen size, ensuring an optimal viewing experience on desktops, tablets, and mobile devices.
Will the Popup plugin slow down my WordPress website?
No, the Elfsight Popup plugin is designed to be lightweight and fast, so it won’t affect the loading speed. The plugin is optimized for performance, ensuring that your website’s speed remains unaffected while still delivering engaging popups.
Can I target specific users or pages with Elfsight Popup?
Yes, the plugin allows you to control where the popup appears by choosing particular URLs or excluding certain pages. Additionally, you can trigger popups based on user actions like scroll percentage, time spent on a page, or exit intent, making it easier to deliver relevant content to the right audience.
Can I set the popup to appear after a user performs a specific action?
Yes, you can configure popups to appear based on various user actions, such as scrolling down the page, clicking a specific button, or after a set amount of time.
What is the best way to use popups for sales and promotions?
You can set up exit-intent popups to capture visitors who are about to leave, offer time-limited deals, or display special discounts for specific products. The plugin’s flexible triggers allow you to show popups at the right moment, driving engagement and boosting sales.
Editor: Create Your WordPress Popup Plugin
Don’t miss the opportunity to enhance the user experience and grow your online presence — create your WordPress Popup form today!