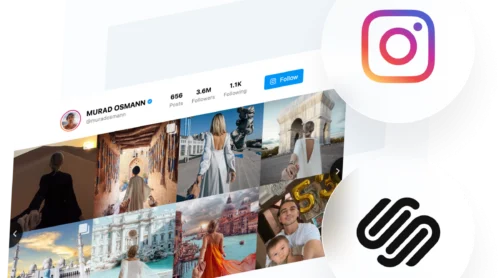
If you’ve tried embedding Instagram posts on your website, you’ve probably hit the same wall: Instagram’s built-in embed is one post, one code snippet, no auto-updates. There’s a better way. You can embed an Instagram feed on your website that pulls in new photos, Reels, and carousels automatically — no manual swaps every time you post.
This guide walks through the full setup using the Elfsight Instagram Feed widget — a no-code option that works on WordPress, Wix, Shopify, Squarespace, and any platform that accepts custom HTML. We also cover Instagram’s native embed and the API approach, so you can pick the method that fits your setup.
- A 4-step workflow to get your Instagram feed live in minutes
- How to choose between profile feeds, hashtag feeds, and single-post embeds
- A full walkthrough of layout, style, and source configuration
- Alternative methods including the manual iframe approach
- Optimization tips for performance, filtering, and mobile display
Quick Start: Embed Instagram Feed on Your Website
If you already know what you want, here’s the short path from zero to a working feed:
- Open the Instagram Feed editor and select a template.
- Enter your Instagram username or hashtag in Sources.
- Click “Add to Website” to get the embed code.
- Paste the code into a Custom HTML block and publish.
Build your Instagram feed widget in the interactive editor below ↓
How to Embed Instagram Feed on Website: Your Options
There are really only three ways to do this, and they’re not equally practical. Here’s the honest comparison of available methods:
| Method | Difficulty | Customization | Auto-Updates | Cost |
|---|---|---|---|---|
| Elfsight Instagram Feed | No code | High (layouts, colors, popups, filters, CTA buttons) | Yes (every 48 hours) | Free plan or paid from $5/mo |
| Instagram native embed (oEmbed) | Low (copy-paste per post) | Minimal (Instagram’s default card style) | No (static per post) | Free |
| API approach | High | Full (you build everything) | Yes (if you code it) | Development time |
Takeaway: Elfsight is the fastest way to add a continuously updating, styled feed without code. Native embeds work for a few static posts but don’t scale, while the API offers full control – at the cost of needing a developer for setup and ongoing changes.
Types of Instagram Embeds: Feed, Wall, Reels & Hashtags
The right embed type depends on what you want visitors to see. Most people default to “show my whole feed, “but that’s not always the best move. Here’s what each type actually does:
| Embed Type | What It Shows | Best For |
|---|---|---|
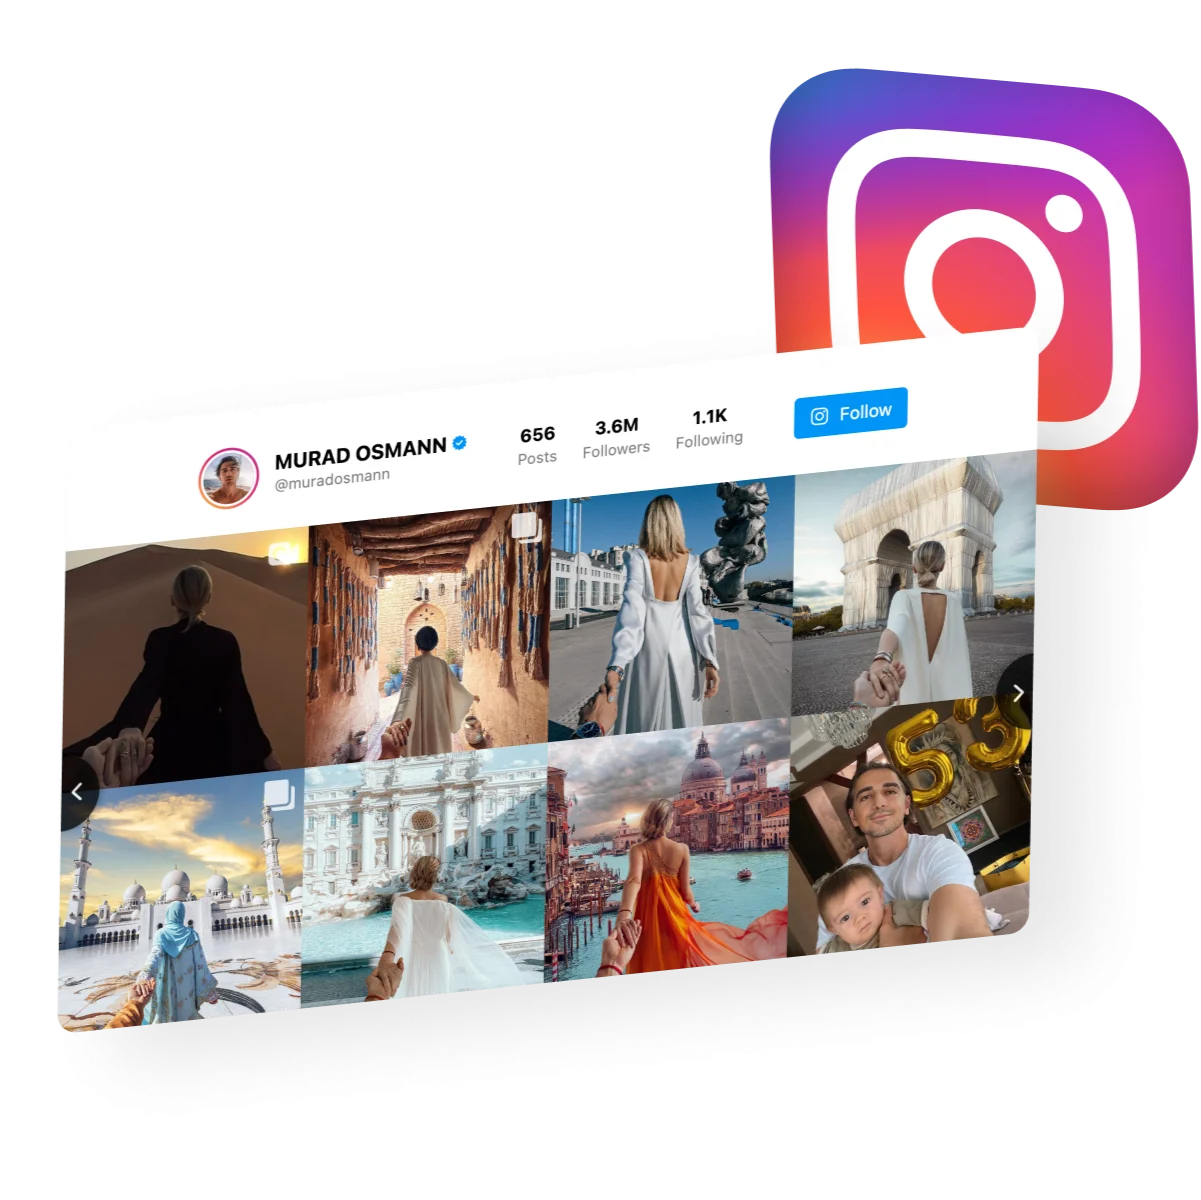
| Profile feed | Latest posts from a public Instagram account | Brand pages, portfolio websites, “follow us” sections |
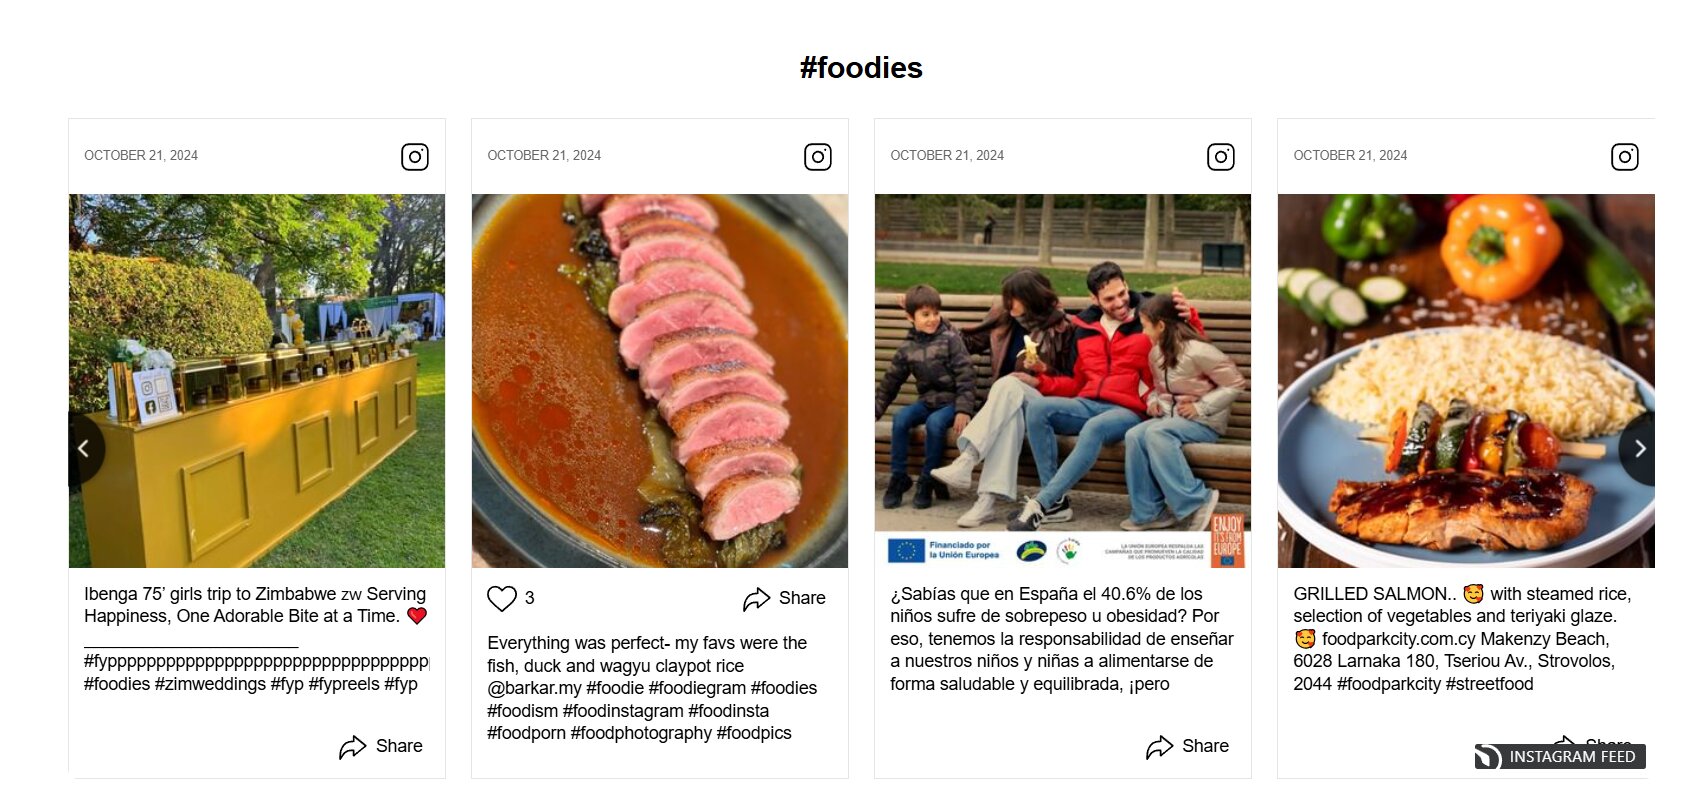
| Hashtag feed | Posts tagged with a specific hashtag | UGC campaigns, event coverage, community content |
| Instagram wall | Grid layout pulling from one or more sources | Dedicated social proof pages, visual galleries |
| Reels | Video Reels from your account | Product demos, tutorials, behind-the-scenes content |
| Single post | One specific Instagram post | Blog articles, testimonials, featured content |
A few things worth noting
- Profile feeds require the Instagram account to be public. Private, age-restricted, or country-restricted profiles won’t display content.
- Hashtag feeds pull posts tagged with that hashtag, but Instagram doesn’t provide usernames for hashtag-sourced posts, so you can’t filter a hashtag feed by specific accounts.
- Reels appear in the feed alongside regular posts, displayed in the same aspect ratio as photos (square or landscape). Vertical display requires custom CSS.
- Instagram Stories are not supported by any third-party embed tool, including Elfsight. Only posts, Reels, and carousel content can be embedded.
If you want to combine Instagram with content from other social platforms in a single feed, check out how to embed a social media wall on your website.
Prefer watching? Here’s a quick video overview of the setup process:
Step-by-Step: Setting Up Your Instagram Feed Widget
With the embed type sorted, here’s the full walkthrough with practical tips. Each step maps to a tab in the Elfsight editor — what it does, what to change, and what to leave alone.
Step 1: Open the editor and pick a template
The editor opens with a template gallery showing several starting points depending on your preferred layout: Profile Widget, Grid, Hashtag Showcase, Post Slider, etc.
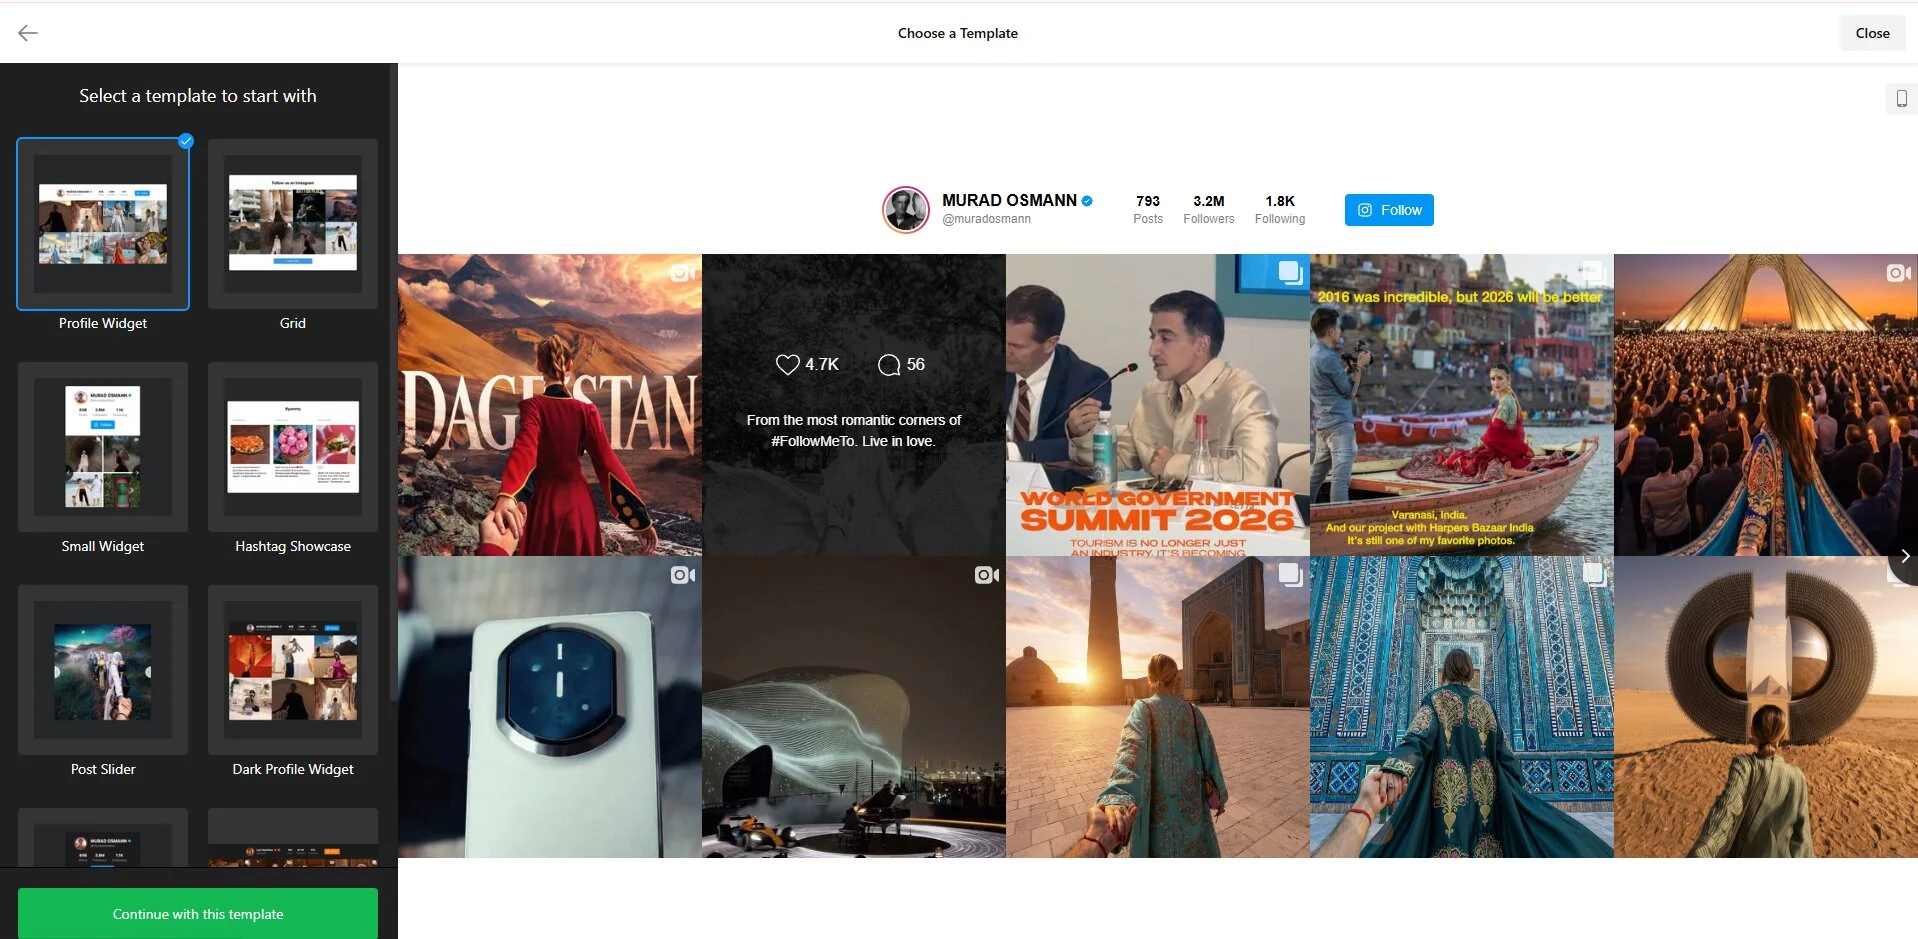
Each template is a pre-configured combination of layout, post style, and color scheme. You can customize everything after selecting one, so pick whichever is closest to your intended look.
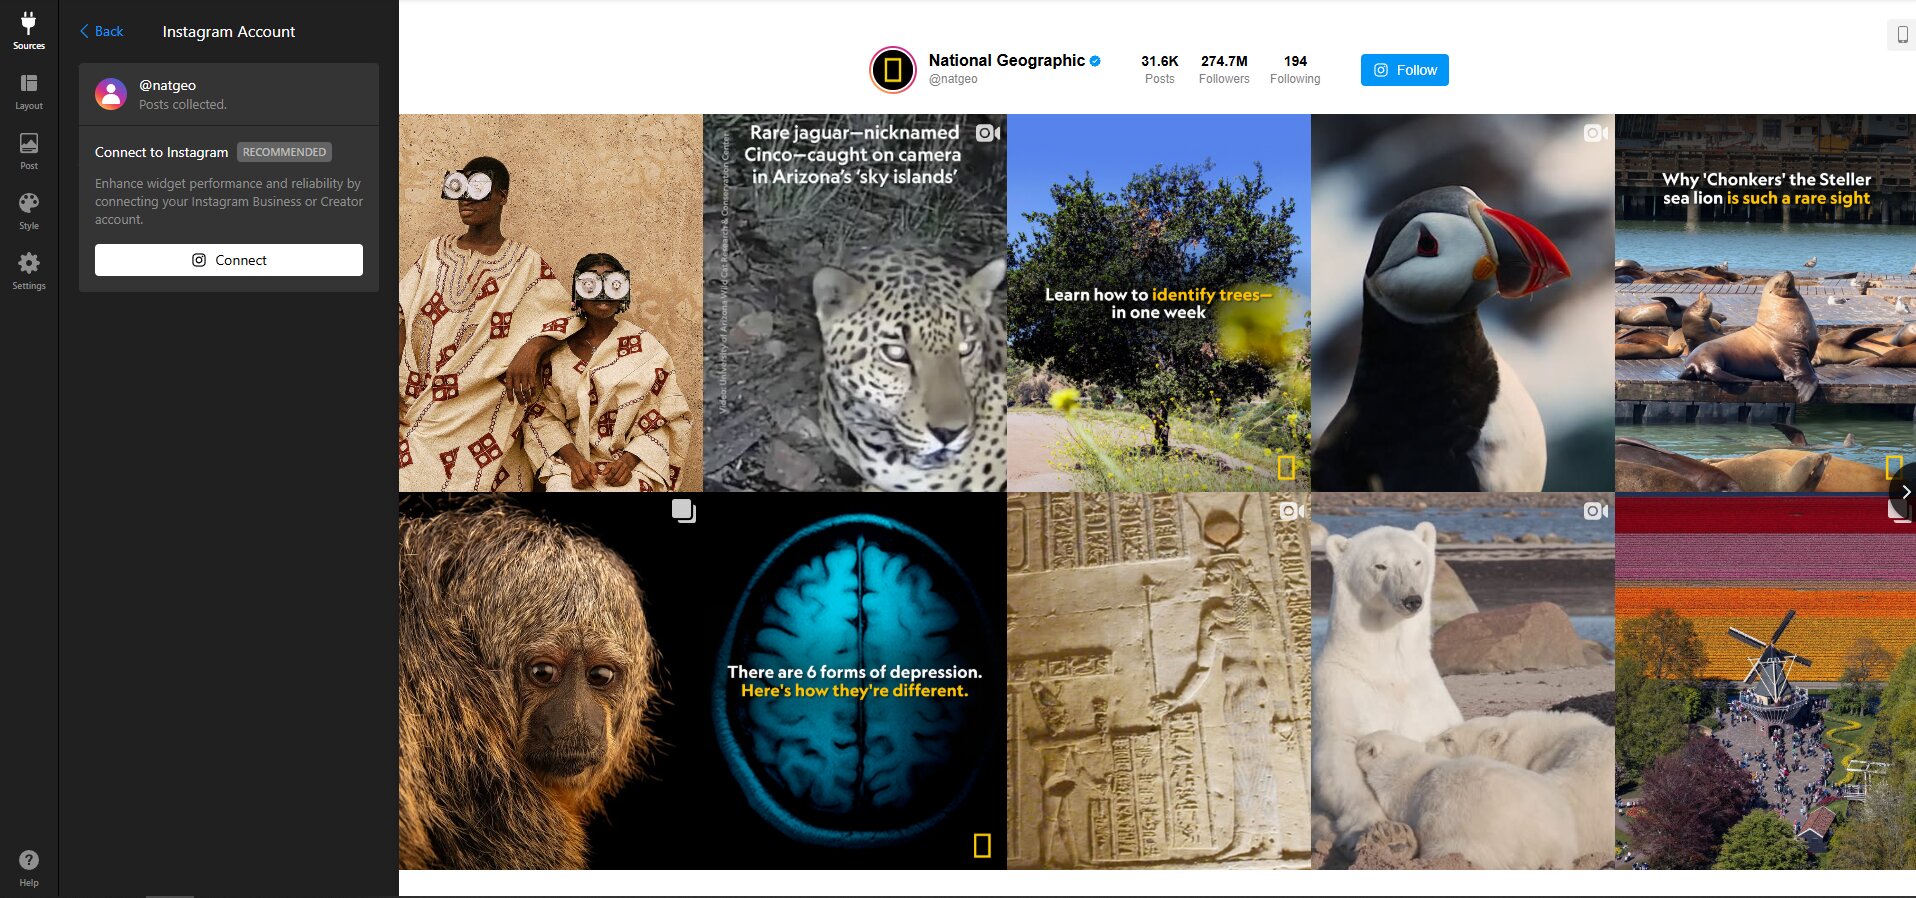
Step 2: Connect your Instagram source
Click the Sources tab in the left sidebar. You’ll see the Add Instagram Source panel with two source type options:
- Account — enter a public Instagram username or profile URL
- Hashtag — enter a hashtag to pull in all public posts tagged with it
You can add up to 5 sources per widget, mixing accounts and hashtags. If you want an Instagram hashtag feed on your website alongside your brand account, add both as separate sources within the same widget.
Step 3: Choose your layout
Next, switch to the Layout tab. The widget offers two core layout types:
- Slider — a horizontal strip of posts that visitors navigate with arrows or swipe gestures
- Grid — a traditional grid of posts with a “Load More” button
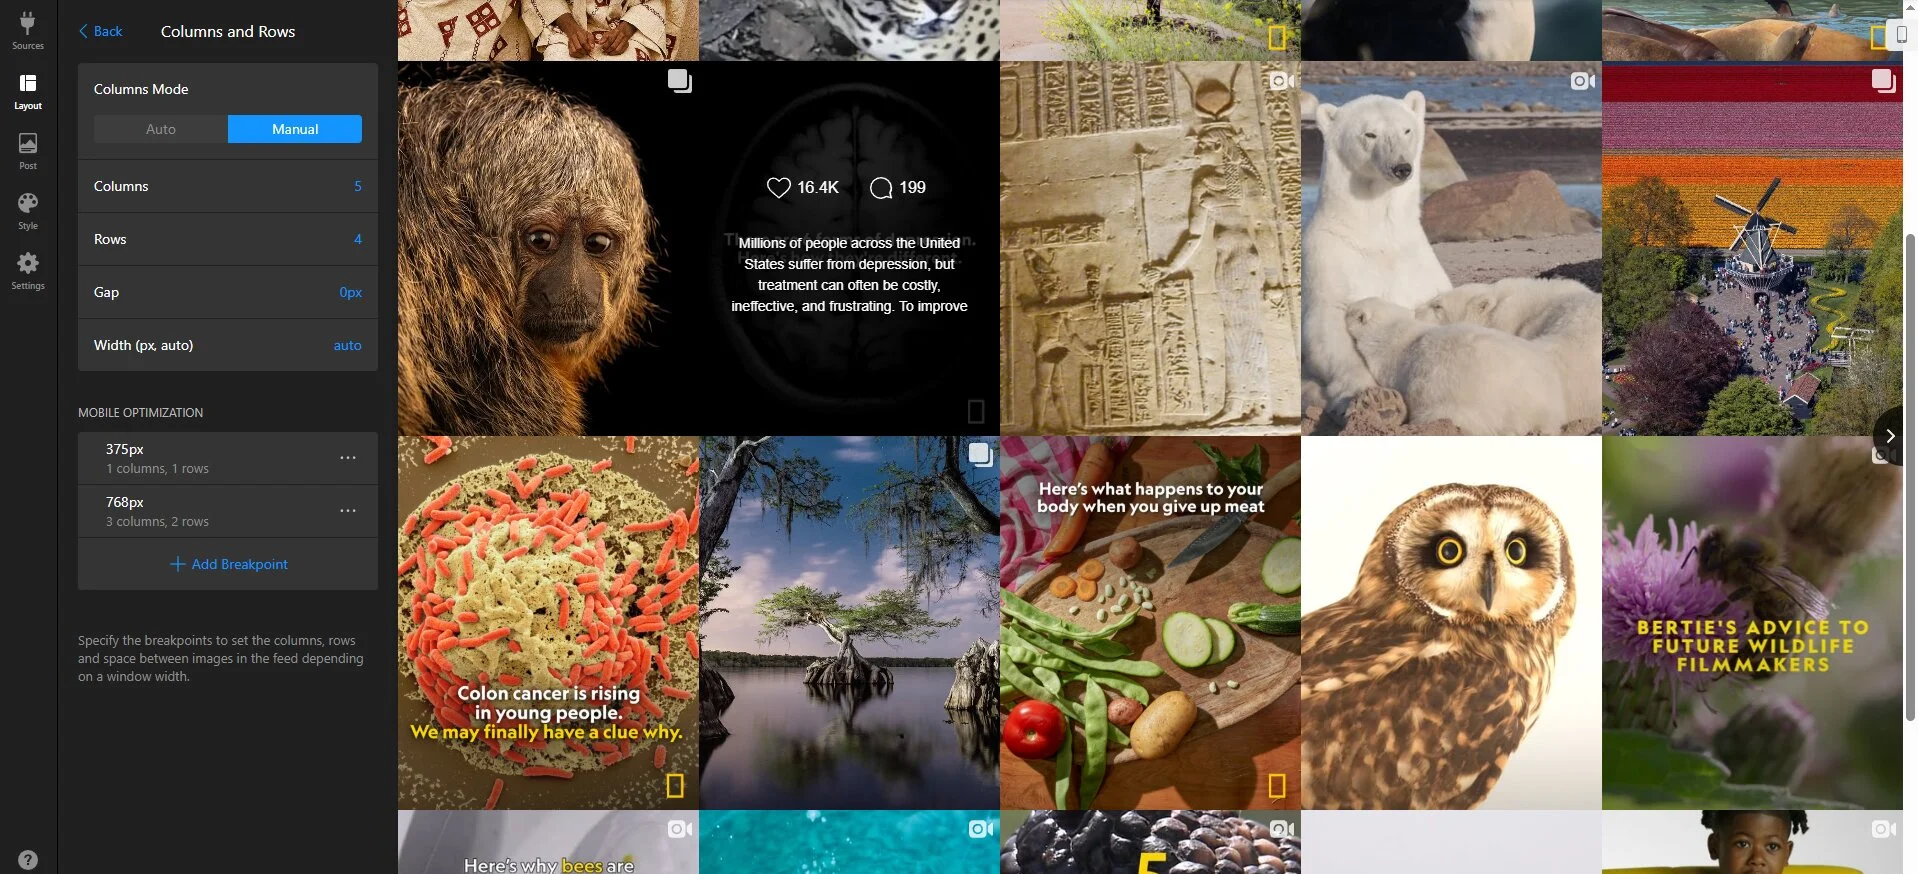
Under the layout selection, you’ll find additional configuration panels:
- Columns & Rows – choose Auto or Manual mode to set column/row counts, spacing, and width
- Header – configure the profile header (avatar, account name, bio, follower count, Follow button)
- Slider Settings – control arrows, pagination, autoplay, and scrolling behavior
- Feed Title – add an optional custom title above the feed
If you want to add an Instagram wall to your website, the Grid layout with 3–4 columns and multiple rows creates the classic wall look.
Step 4: Customize post appearance
The Post tab controls how individual posts look inside the feed. There are two main settings here:
Post style
Cycle through available post templates using arrows:
- Tile — clean, photo-only display with no visible details. Hovering reveals an overlay with likes, comments, and a caption.
- Classic — mirrors the authentic Instagram post layout with username, date, caption, engagement counts, and a share button.
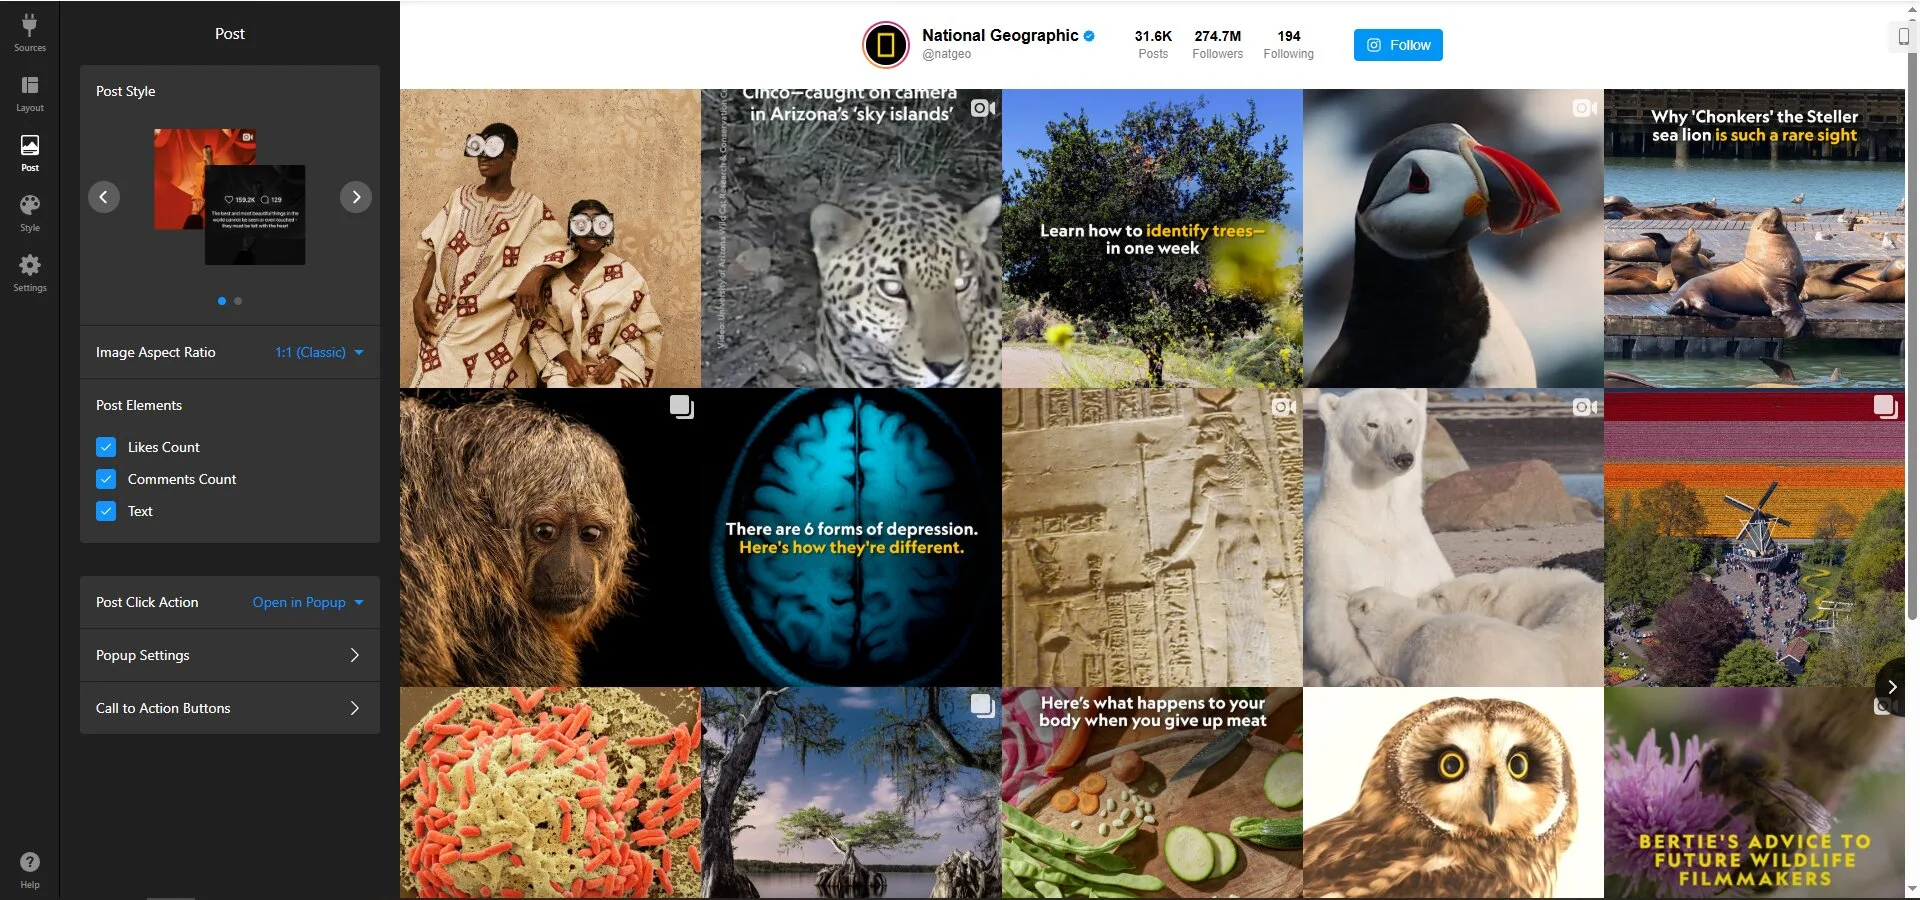
Image Aspect Ratio defaults to 1:1 (Classic square), but you can switch to 4:5 (Portrait) if needed.
Post elements
Individually toggle which details appear on each post card:
- User
- Date
- Instagram Link
- Likes Count
- Comments Count
- Share
- Text (caption)
Post-click action is configurable as well: your media can be opened in a popup, on Instagram, or not open at all if you prefer.
Step 5: Set your color scheme and styling
The Style tab gives you control over the widget’s visual identity. Start with the Color Scheme dropdown, which offers 10 presets and a Custom option.
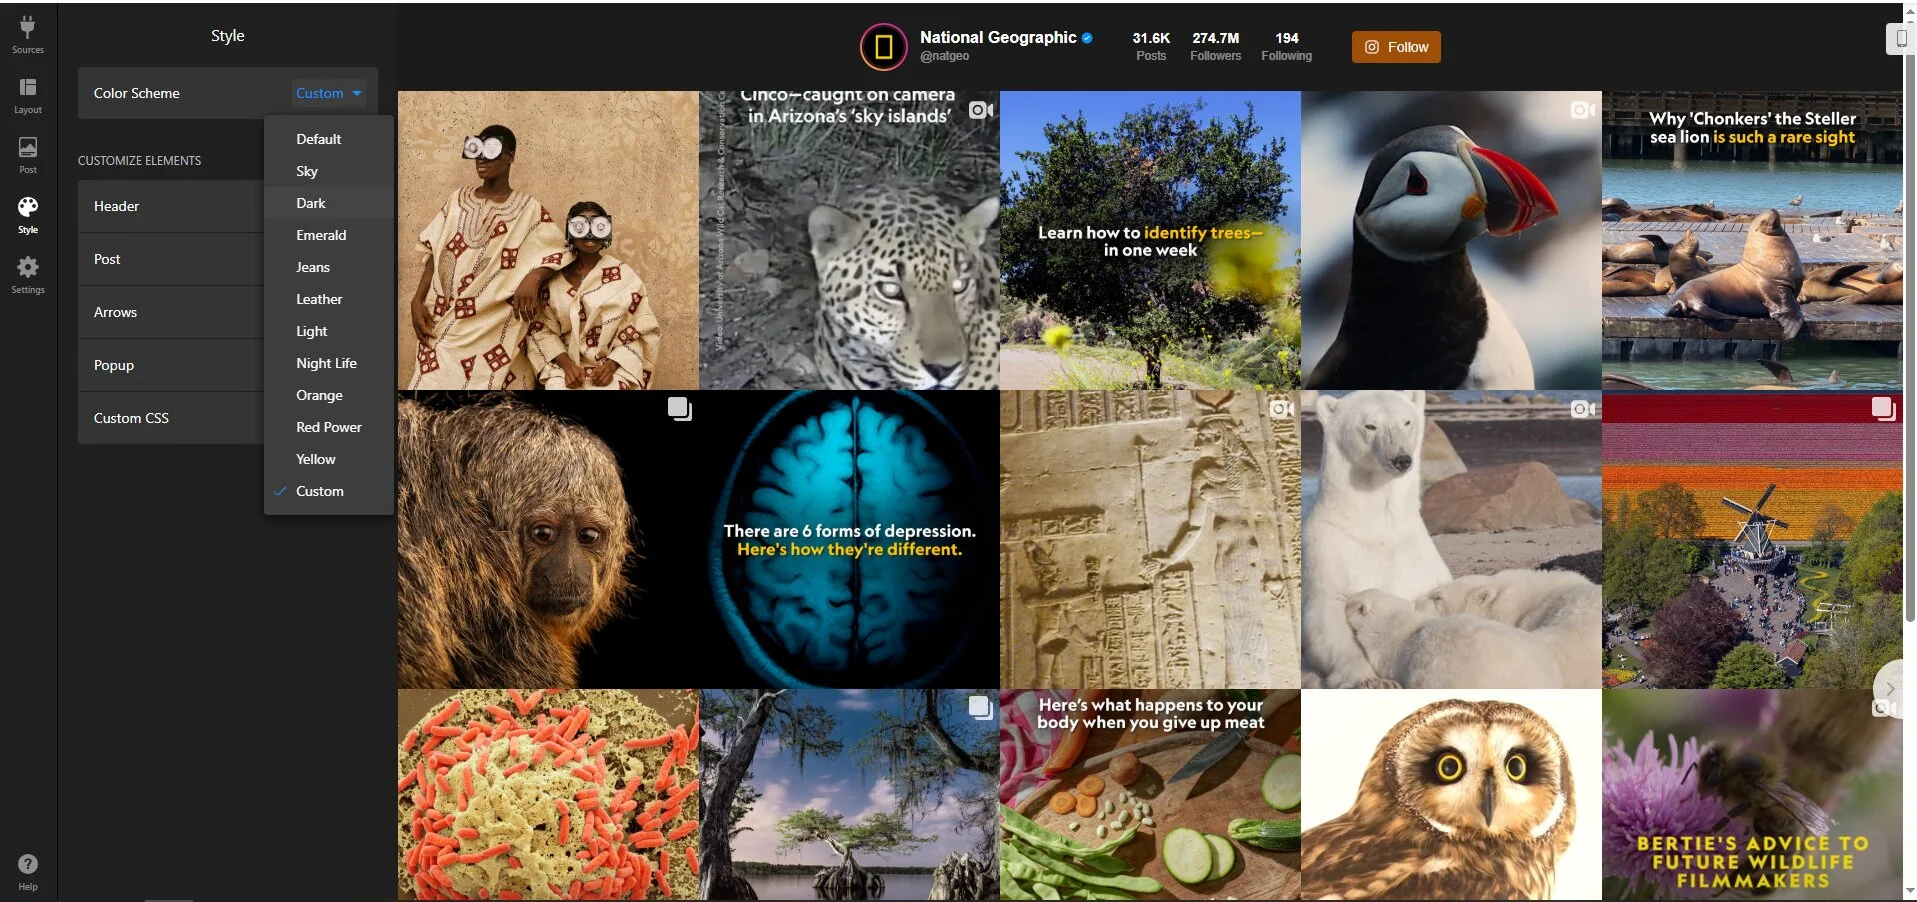
Choosing Custom unlocks per-element color controls under Customize Elements:
- Header — background, text, follow button, follow button text
- Post — overlay background, overlay text
- Arrows — button and text colors
- Popup — individual color settings for popup elements
- Custom CSS — an editor for advanced styling beyond the built-in options
If your website uses a specific brand palette, the Custom option lets you match the feed exactly. For most websites, picking a preset and tweaking one or two colors gets you 90% of the way there — don’t overthink this step.
Step 6: Configure language and advanced settings
The Settings tab covers two areas:
- Language — select the display language for the widget’s interface elements
- Custom JS — a code field for adding JavaScript for event tracking or advanced integrations
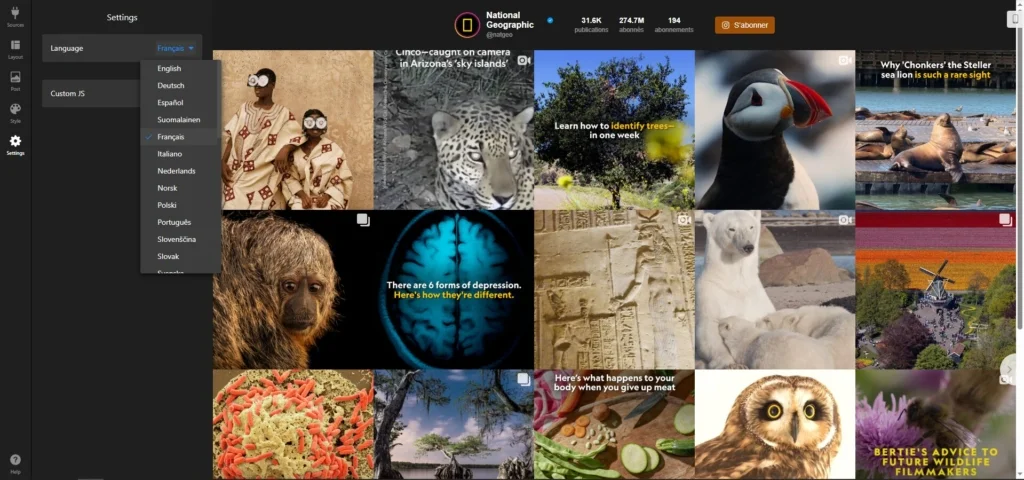
For most setups, you’ll only need to change the language if your website serves a non-English audience. The Custom JS option is there for users who want to track specific interactions via Google Analytics or other tools.
Step 7: Get your embed code and install
Once you’re happy with the preview, click the green “Add to website for free” button at the bottom of the editor or “Publish” in your Elfsight dashboard to display your installation code — a short HTML snippet.

Copy the code and paste it into your website. The exact placement depends on your platform: the embed is supported by WordPress, Wix, Squarespace, Shopify, Webflow, Elementor, HTML websites, and other CMS setups.
Troubleshooting quick check
- Feed not appearing: Make sure the code is in a Custom HTML or Code block, not a standard text block. Clear any caching plugins after installation.
- Empty feed or wrong posts: The Instagram account must be public. Private, age-restricted, or country-restricted profiles won’t load via the Account/Hashtag connection.
- New posts missing: Content refreshes every 48 hours. If posts are still absent after that, verify the source URL and that the account hasn’t gone private.
- Mobile layout issues: If you’re using Manual column/row settings, configure the mobile-specific values separately in the Layout tab — the widget doesn’t auto-sync desktop settings to mobile in Manual mode.
Other Ways to Add Instagram Feed to a Website
The Elfsight widget isn’t the only approach. Here’s how to set up an Instagram feed using other methods, with limitations explained.
Method 1: Instagram’s native oEmbed (single post embed)
Instagram offers a built-in embed option for individual posts. This places a single post card on your page — with the photo, caption, likes, and a link to the original.
- Open the Instagram post you want to embed on instagram.com (desktop).
- Click the three-dot menu icon (⋯) on the post and select Embed.
- Copy the embed code provided.
- Paste the code into a Custom HTML block on your website and publish.
Method 2: Instagram Feed on website code via the Instagram API
For developers who want full control, Instagram’s API lets you pull post data programmatically and render it with custom HTML, CSS, and JavaScript.
- Switch your Instagram account to a Business or Creator account (if it isn’t already).
- Create a Meta Developer app and add the Instagram Graph API product.
- Link a Facebook Page to your Instagram account and configure OAuth permissions.
- Generate a long-lived access token through the authorization flow.
- Use the Graph API endpoints to fetch your media and build a frontend to display it.
Optimization Tips for Your Instagram Feed
With your feed live, don’t just leave it at defaults. These are the things you might want to change immediately after the first install to make it work best.
- Use filters to curate content. On the Sources tab, you can use “Show Posts Containing” and “Hide Posts Containing” filters to include or exclude posts by hashtag, username, or URL to show only what fits the page (e.g., products or testimonials).
- Limit posts to control load time. The “Total Number of Posts” setting caps how many posts load. If your feed sits on a high-traffic landing page, displaying 6–9 posts instead of 20+ keeps load times fast while still showing fresh content.
- Place it where users already scroll. Instagram feeds perform best below the fold on product pages, in dedicated “social proof” sections, or above the footer – not above the fold, where it competes with your CTA.
- Use the Tile layout for visual feeds. If your Instagram is mostly product photography or lifestyle imagery, the Tile template removes captions and metadata, letting the visuals do the work.
- Optimize mobile columns. In the Layout tabs, switch to Manual and set mobile to 1-2 columns, even if you’re running 3-4 on desktop, so images don’t become too small to tap on phone screens.
- Add CTAs in the popup. When visitors click a post and the popup opens, custom Call to Action buttons can redirect them to a product page, sign-up form, or booking link. This turns passive browsing into a conversion path.
Real Team Using Instagram Feed
Andrew Chin runs Gigi Beauty PMU, a permanent-makeup studio website built on Squarespace. He added the Elfsight Instagram Feed widget to the homepage to display client results — before-and-after photos, procedure videos, and happy client moments — directly from the studio’s Instagram account.
“Elfsight allowed me to have the creative freedom I wanted, without the technical headaches I was facing before. And the best part — no developer needed”
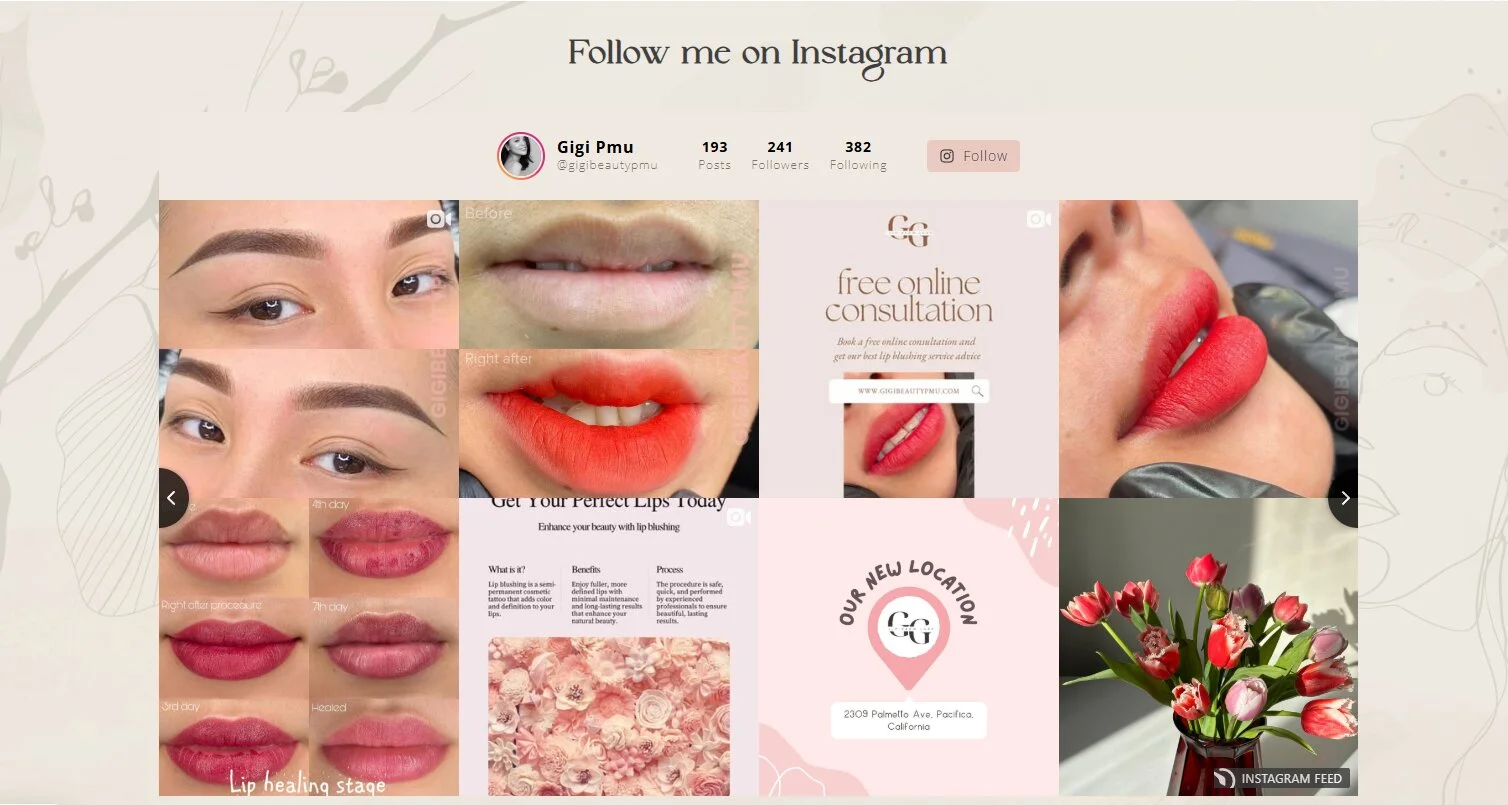
The feed sits alongside a photo gallery, YouTube videos, and review widgets, creating a visual proof section that lets prospective clients evaluate the work without leaving the website and feel confident to book.
Andrew’s approach shows a common pattern for service-based businesses: using the IG feed as a living portfolio that updates itself as new client photos go up on Instagram.
Frequently Asked Questions
Can I embed an Instagram feed on my website for free?
Does the embedded Instagram feed update automatically with new posts?
Can I embed Instagram Reels on my website alongside regular posts?
Will the Instagram feed widget slow down my website?
Does the Instagram feed work on mobile devices?
Conclusion
You now have a complete walkthrough for embedding an Instagram feed on your website: from choosing the right embed type, to configuring sources and layouts, to installing the code on any platform. Whether you go with a widget tool, Instagram’s native embed, or a custom API build, the setup steps above cover each path.
To get started with the no-code approach, head to the Elfsight Instagram Feed widget, pick a template, connect your account, and paste the code on your website. The free plan gets you a working feed in minutes — customize from there and make it your own.