Blogger Testimonials Slider widget
Create your Testimonials Slider widget
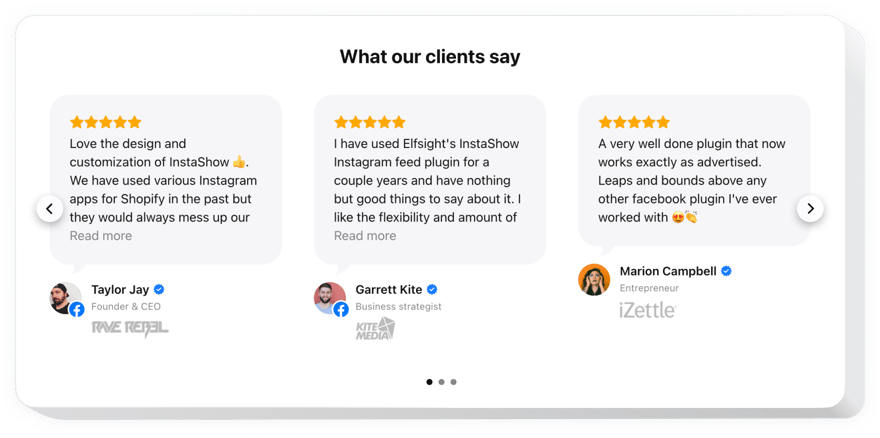
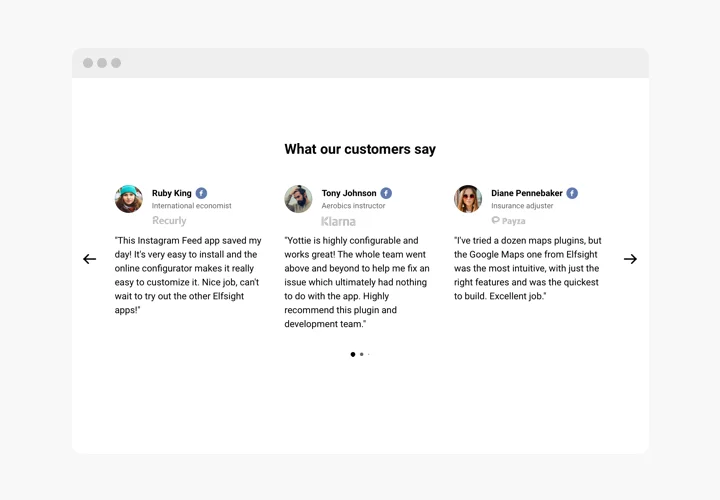
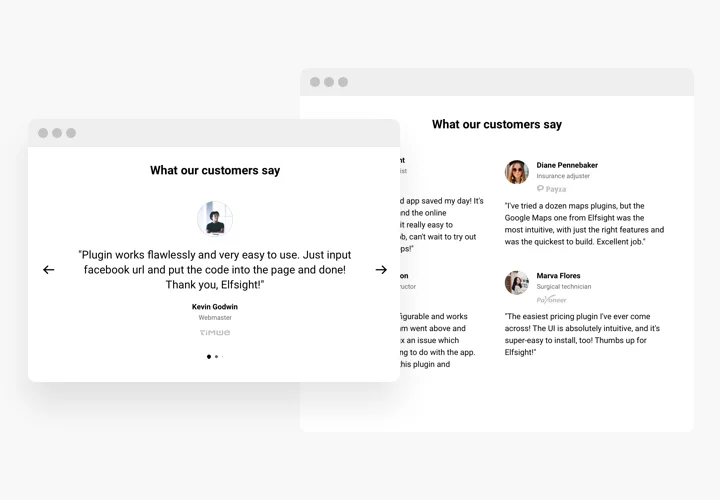
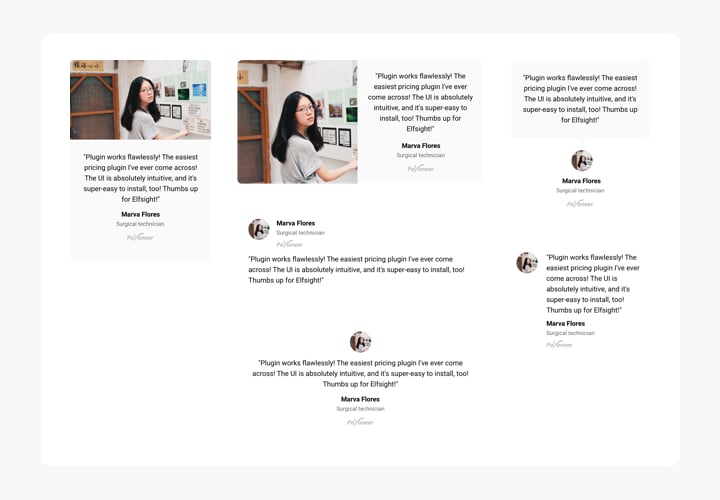
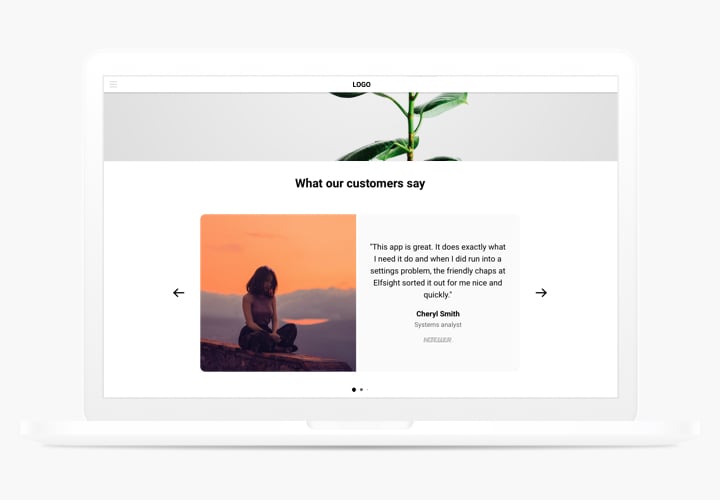
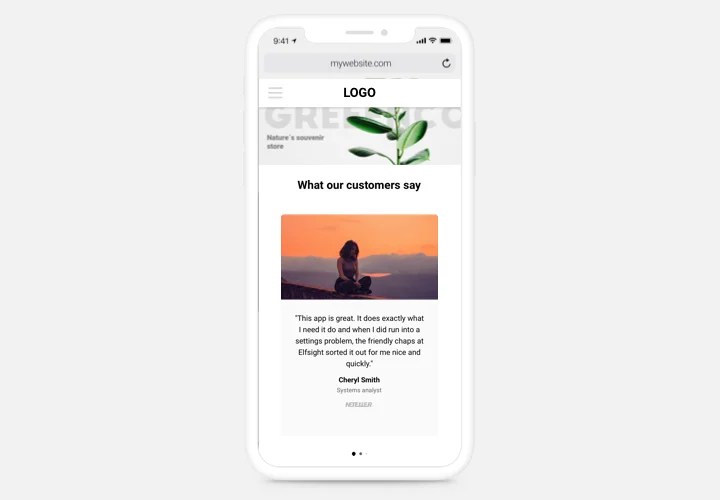
Screenshots
Description
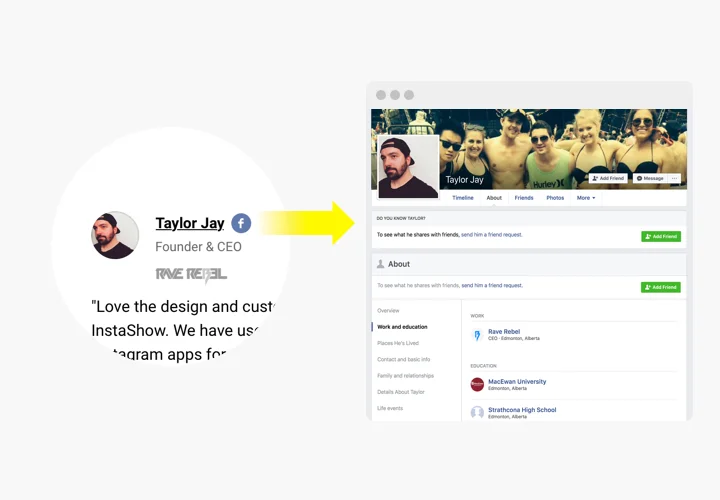
Testimonials Slider – a superb widget for adding feedbacks of your clientele on your own site. You can attach any kind of social proof to make reviews trustworthy: author’s name, picture, symbol of the company and even a URL to the site.
Boost trust in your business by demonstrating to users your happy clientele.
- Turn your reviews into trustworthy testimonials.
Display comprehensive info about the author of all your feedback, for example: name, company, and position; prove to readers, that they see testimonials of real clients. - Raise conversion up to 200%.
Make your reviews the decision-making argument, inserting them right where users take their decision about acquiring something from your site or registering there. - Add authoritative opinion.
Do you have users, whose view on your business will be really convincing for other visitors? Configure comprehensive testimonials with data about the author and grow your sales.
Features
The key aspects, which make Elfsight Testimonials Slider a useful widget for any Blogger website.
- Use caption for company name, position and other data;
- Add company, position and other info into caption;
- Edit the caption to display company, position and more;
- Provide a link to the website of the author for a more reliable presentation.
How to add Testimonials to Blogger website
Elfsight widget is maximum simple in terms of integration and doesn’t require any experience in web-developing. Accomplishing of the tutorial will only last for no longer than 2 minutes.
- Construct your personalized Testimonials Slider.
With the help of our free demo, create a plugin with preferable look and capacities. - Acquire the code for displaying the plugin.
After widget creation receive the code for Testimonials plugin from the appeared window on Elfsight Apps. - Reveal the plugin on Blogger site.
Display the plugin on the required place of the page and apply the changes. - The integrating is successful!
Go to your Blogger website, to see your testimonials.
Experiencing any troubles while adding or configuring the widget? Explore the detailed tutorial on adjusting of Testimonials Slider to Blogger or send an enquiry to our Support Center.
How can I add Testimonials Slider to my Blogger website without coding skills?
Elfsight provides a SaaS solution that lets you create a Testimonials Slider widget yourself, see how easy the process is: Work directly in the online Editor to create a Testimonials Slider widget you would like to see on your Blogger website. Pick one of the premade templates and adjust the Testimonials Slider settings, add your content, change the layout and color scheme without coding skills. Save the Testimonials Slider and copy its installation code, that you can effortlessly paste in your Blogger website with no need to buy a paid subscription. With our intuitive Editor any internet user can create Testimonials Slider widget online and easily embed it to their Blogger website. There’s no need to pay or enter your card credentials in order to access the service. If you face any issues at any step, please feel free to contact our technical support team.
