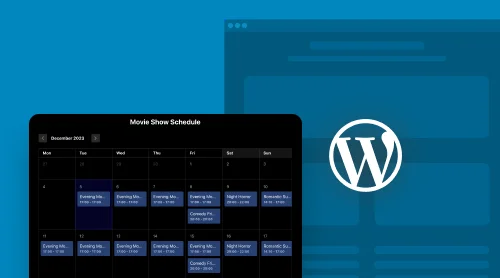
What is an Event Calendar? Why Embed It on Your Webflow Website?
An event calendar is a powerful plugin addition to your website that allows you to showcase and manage your occasions in a visual and organized format. Whether you’re hosting conferences, workshops, webinars, or social gatherings, a calendar on your website helps visitors easily access important details such as dates, times, locations, and descriptions.
It enhances the user experience, increases engagement, and drives event attendance.
Embed Event Calendar Plugin on Your Webflow for Free
Embedding the code-free Event Calendar widget from Elfsight on your website takes the benefits of an online schedule to the next level. Elfsight provides a feature-rich and customizable widget that seamlessly integrates with your Webflow website.
You can create a visually appealing and user-friendly event calendar that matches your website’s design and branding with no need to know how to code, and it’s completely free.
Experiment and make the most of the real-time setup demo below to create the plugin you’ve been longing for!
How to Create and Add Event Calendar Plugin to Webflow Website: Step-by-Step Tutorials
Elfsight offers a powerful and customizable Schedule plugin that seamlessly integrates with Webflow. In these tutorials, we will guide you through the creation and embed processes of the Event Calendar plugin to your Webflow website step by step. Let’s get started!
Step 1: Open the Event Schedule plugin online configurator
The first step in adding the code-free Event Calendar plugin to your Webflow website is to find the free builder. You can start working with the live demo above or sign up for an account. Once you’ve logged in, go to the “App Catalog” menu section and locate the Calendar widget via the search bar.
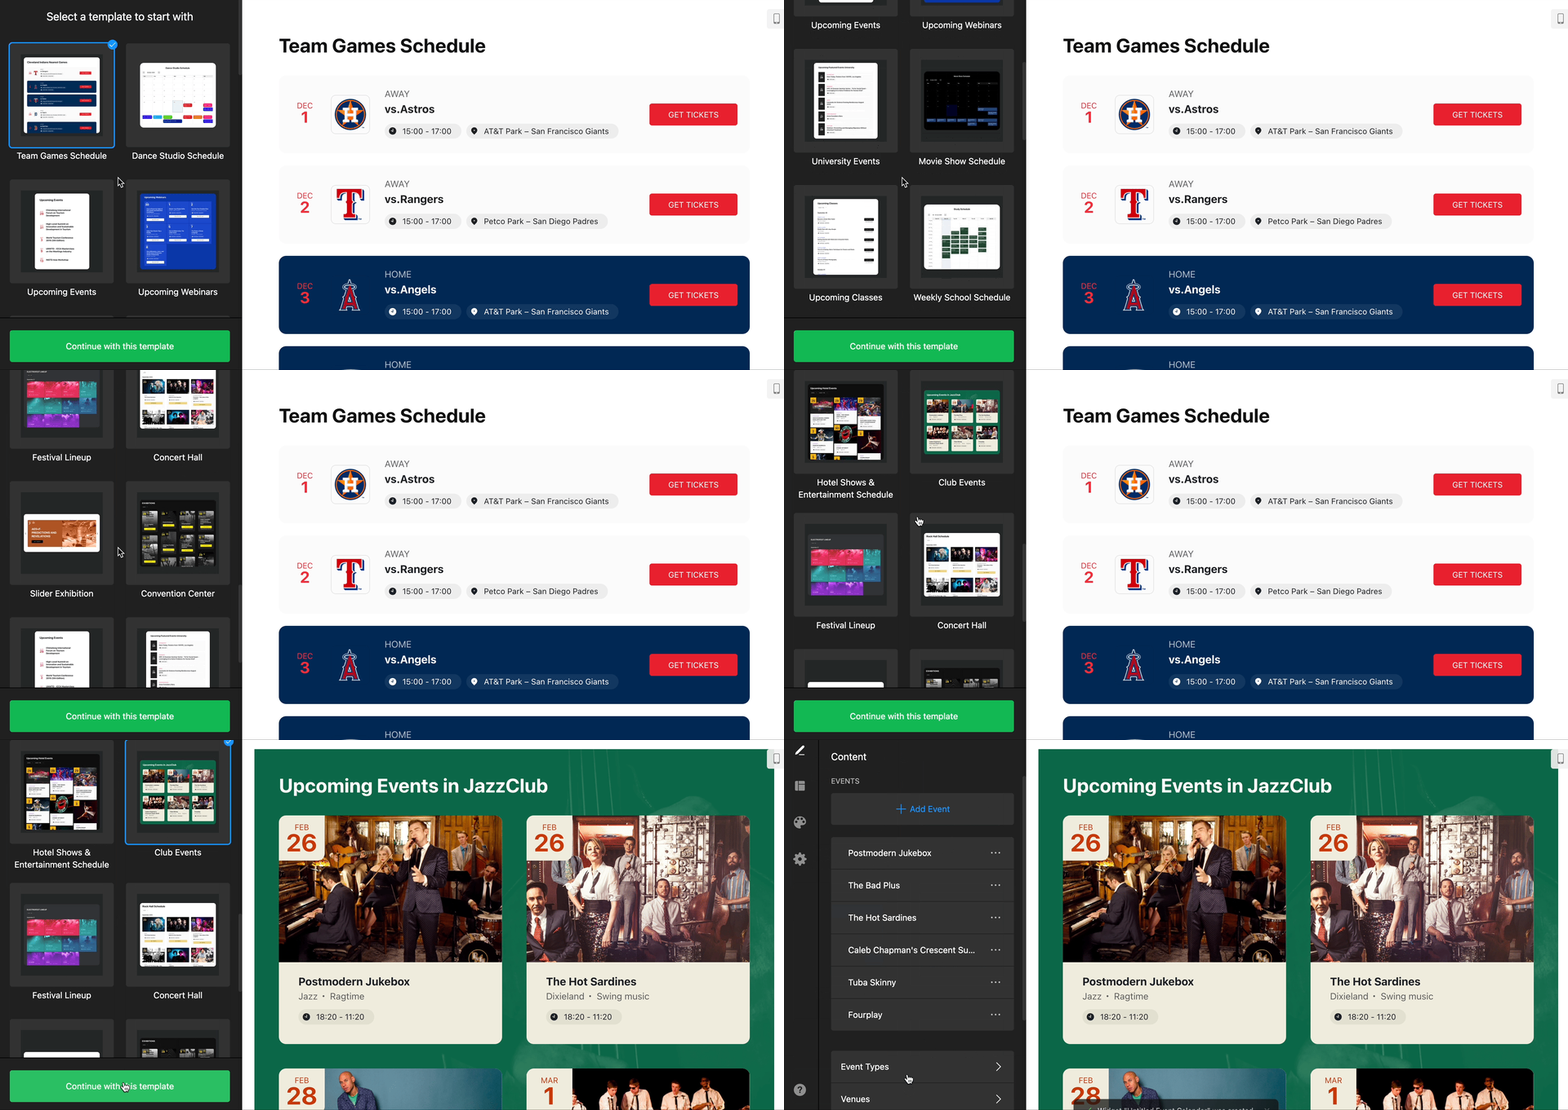
Step 2: Choose the Event widget’s template
Once you’ve logged in or got access to the live demo, navigate through the list of ready-to-use templates. Elfsight offers a wide range of pre-made designs for the Event Calendar, so make sure you specifically select the option that fits your Webflow website aesthetically and reflects the business needs.
Step 3: Specify event details
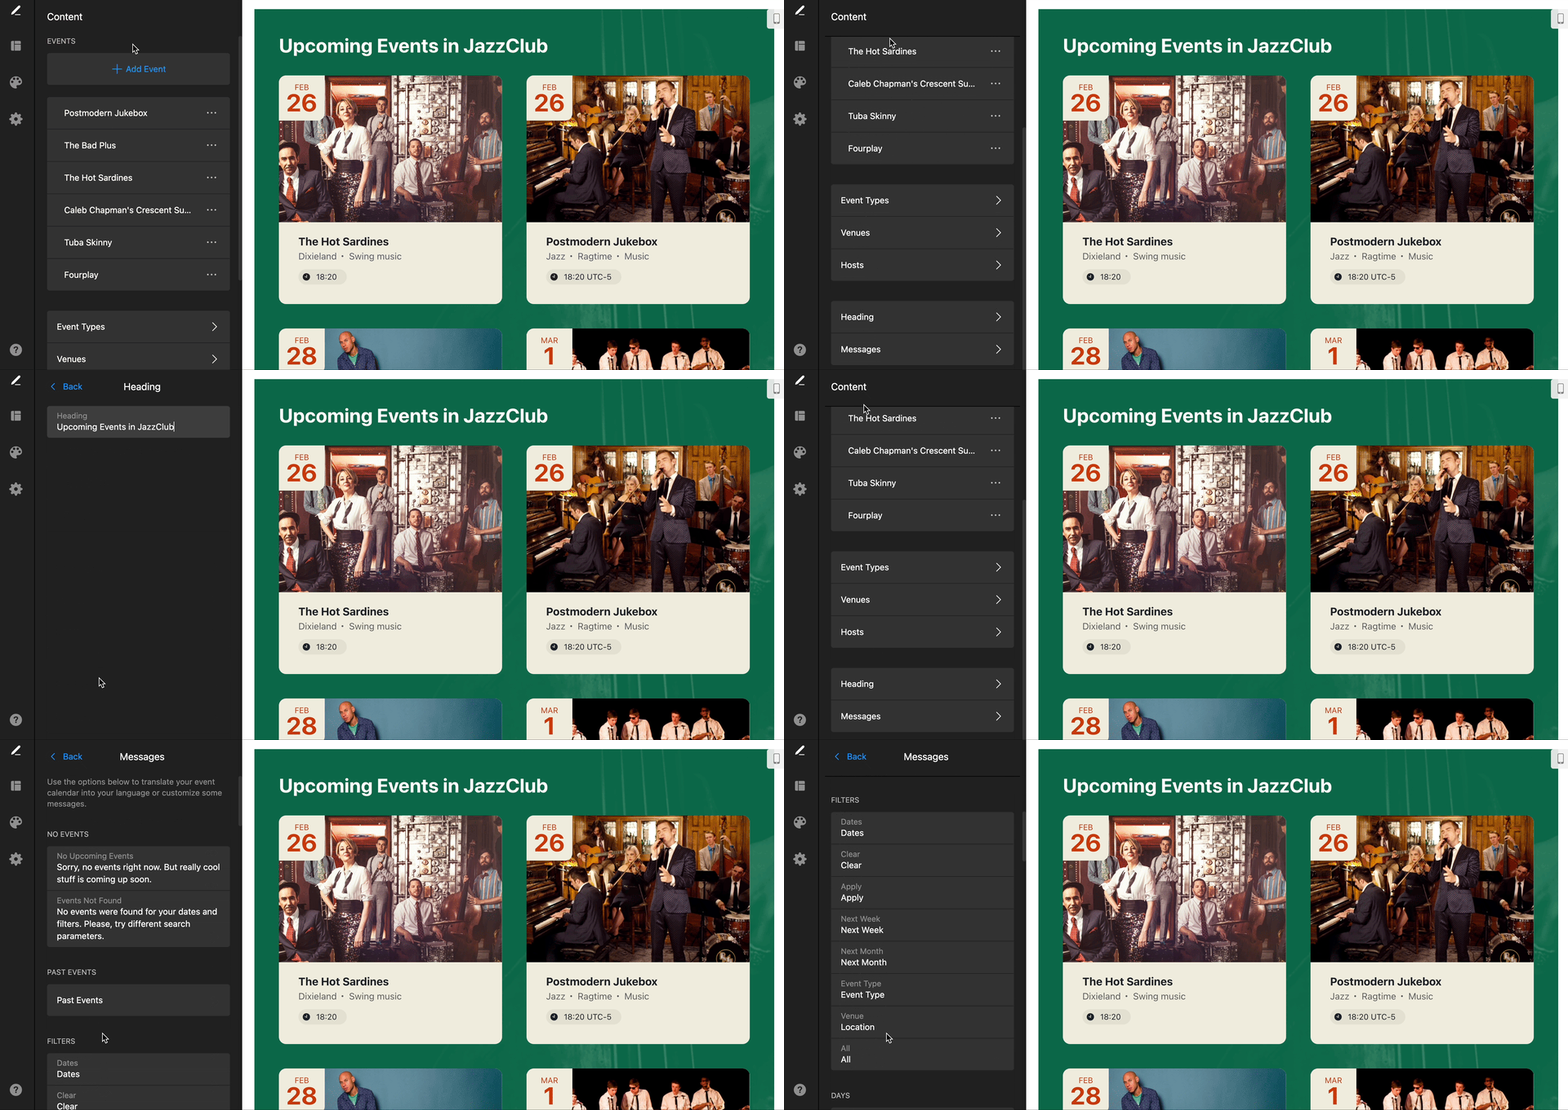
After selecting the Event Calendar plugin’s template, it’s time to specify the event details: title, duration length, time zone, description, image, venue, event type, tags, event color, CTA button, heading, messages, and video materials.
This flexibility enables you to seamlessly add and publish an unlimited number of events and manage them directly within Elfsight.
Step 4: Configure schedule layout, event filters, and elements
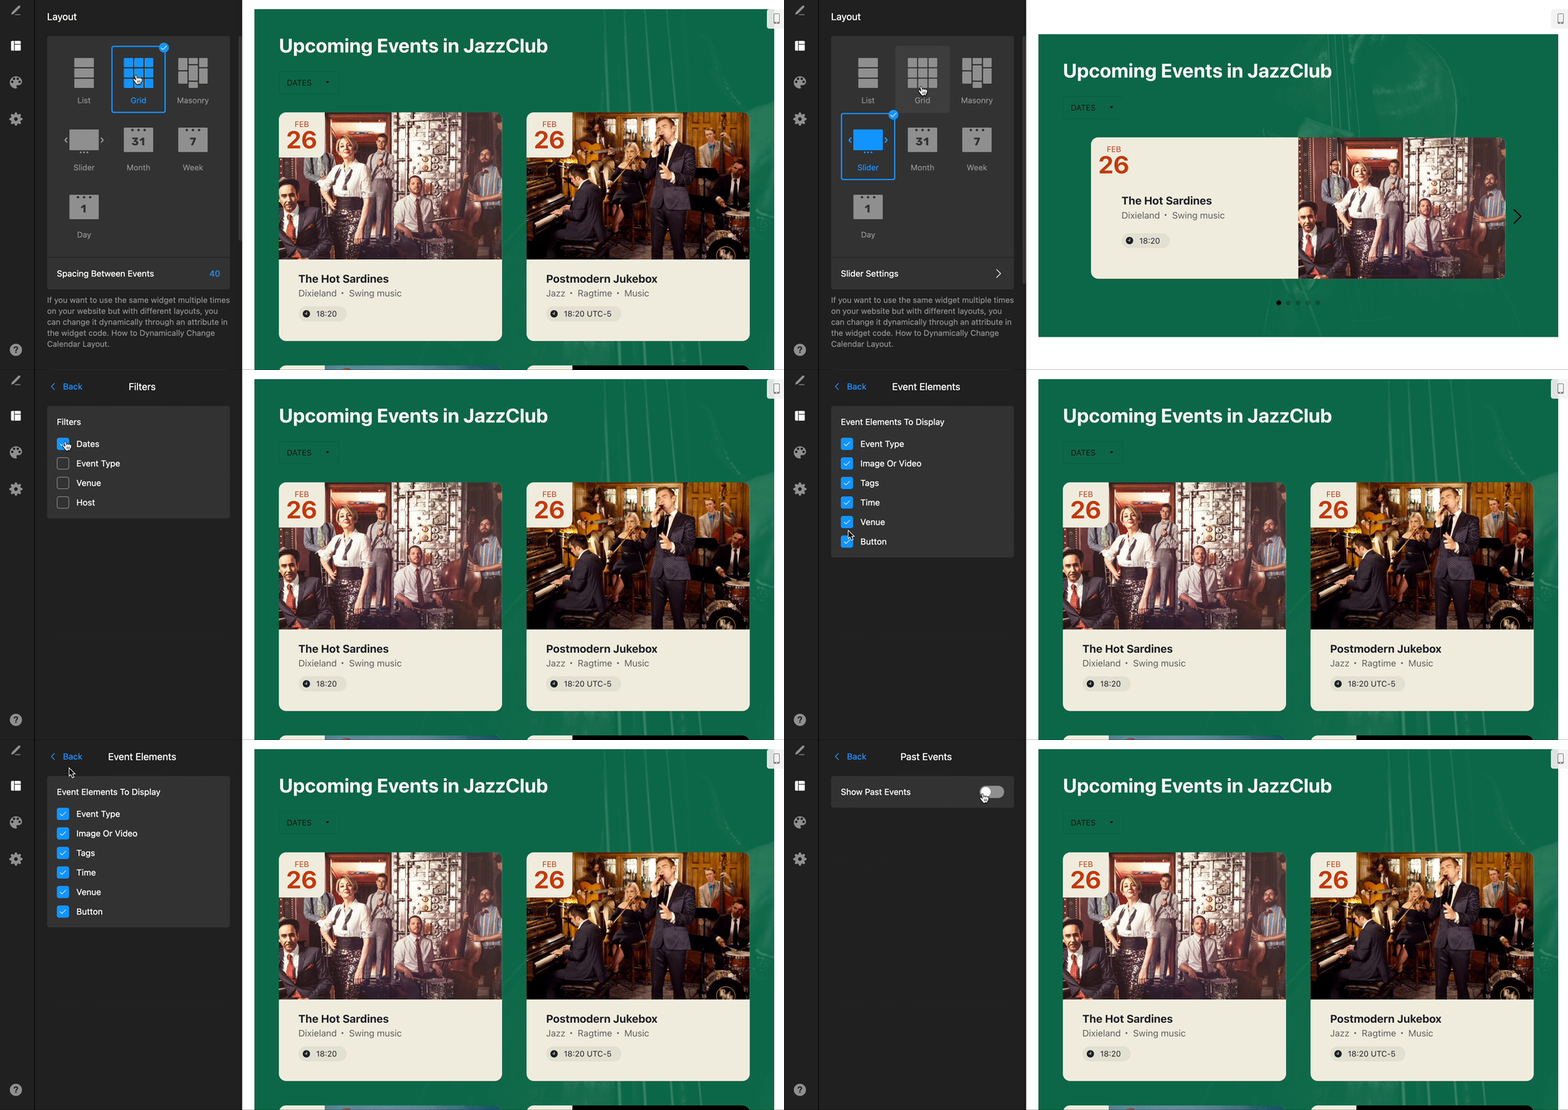
In this step, you can configure a range of settings to further customize the behavior and functionality of your Event Calendar. First of all, this is a layout choice—try out different styles to find the best one. You can also adjust the width and number of occasions shown to users.
What is more is that Elfsight provides options to enable event filtering, navigation controls, event previews, event elements, past events, group events, pick a time zone, and more. Take your time to explore the various settings and select the ones that enhance the user experience and align with your requirements.
Step 5: Customize the event calendar
Once you’ve selected the functionality of your calendar, go to the appearance tab. Here, you can customize various aspects of the calendar, such as the colors and fonts, to match the design and branding of your Webflow website.
With an intuitive and user-friendly interface, it’s so easy to create a calendar that perfectly aligns with your website’s aesthetics.
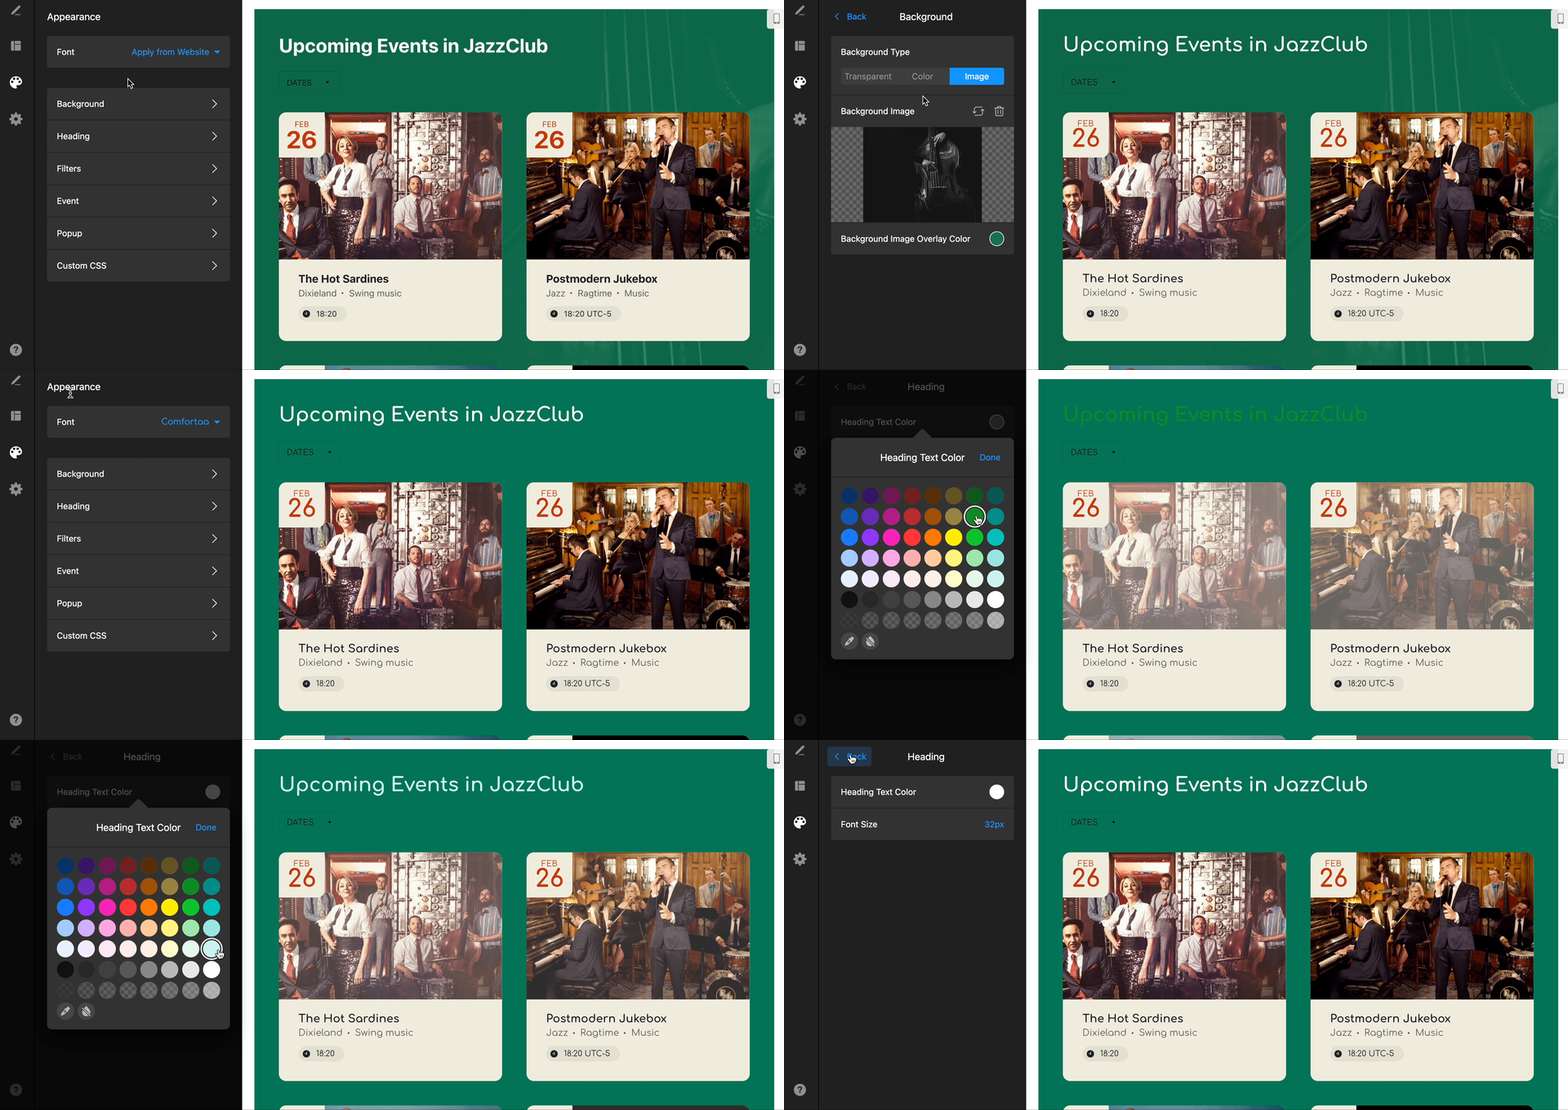
Step 6: Generate your unique embed code for your Event Calendar plugin
After customizing and configuring your Event Calendar, simply click on the “Publish” button at the top of the right side of the screen. You will be taken to the page with a generated embed code specifically for your Calendar plugin. Copy the code to proceed to the next step.
Step 7: Log in to Webflow
Now, open a new tab and log in to your Webflow account. Select the Webflow website where you want to add the Schedule plugin.
Step 8: Add the Event Calendar widget to your Webflow page
In the Webflow Editor, navigate to the page where you want to add the Schedule plugin. To add the plugin, you’ll need to insert an “Embed” element. Open the elements panel, locate the “Embed” option, and drag it onto your desired location on the website page. Paste the installation code generated into the code field.
Preview your Webflow website to see how the Event Calendar plugin looks and interacts with your design. Make any necessary adjustments or fine-tuning to ensure it embeds seamlessly within your website. Finally, click “Publish” to make your changes live and share your calendar with the world!
Usage Examples of Event Calendar Plugin for Webflow Website
With all the given information about the embed process of the code-free Event Calendar widget, we land on the section where the right choice means even more. How do you know what type of calendar your business needs? And which ones exist?
It should complement the Webflow website style and reflect the visual branding elements—fonts, color scheme, layout, etc.—and also be accessible and easy to use for visitors to get the maximum attention to upcoming events. This formula can be hard to wrap your head around at first. So, to take this weight off your shoulders, we have ready-to-use event calendar templates for free and no need to code at all.
You no longer have to start from scratch and browse the internet for inspiring ideas, as they are all here, in one place.
It’s time to explore some popular usage examples that demonstrate the versatility of this powerful calendar plugin:
Example 1: Team Games Event Calendar
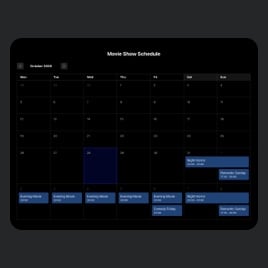
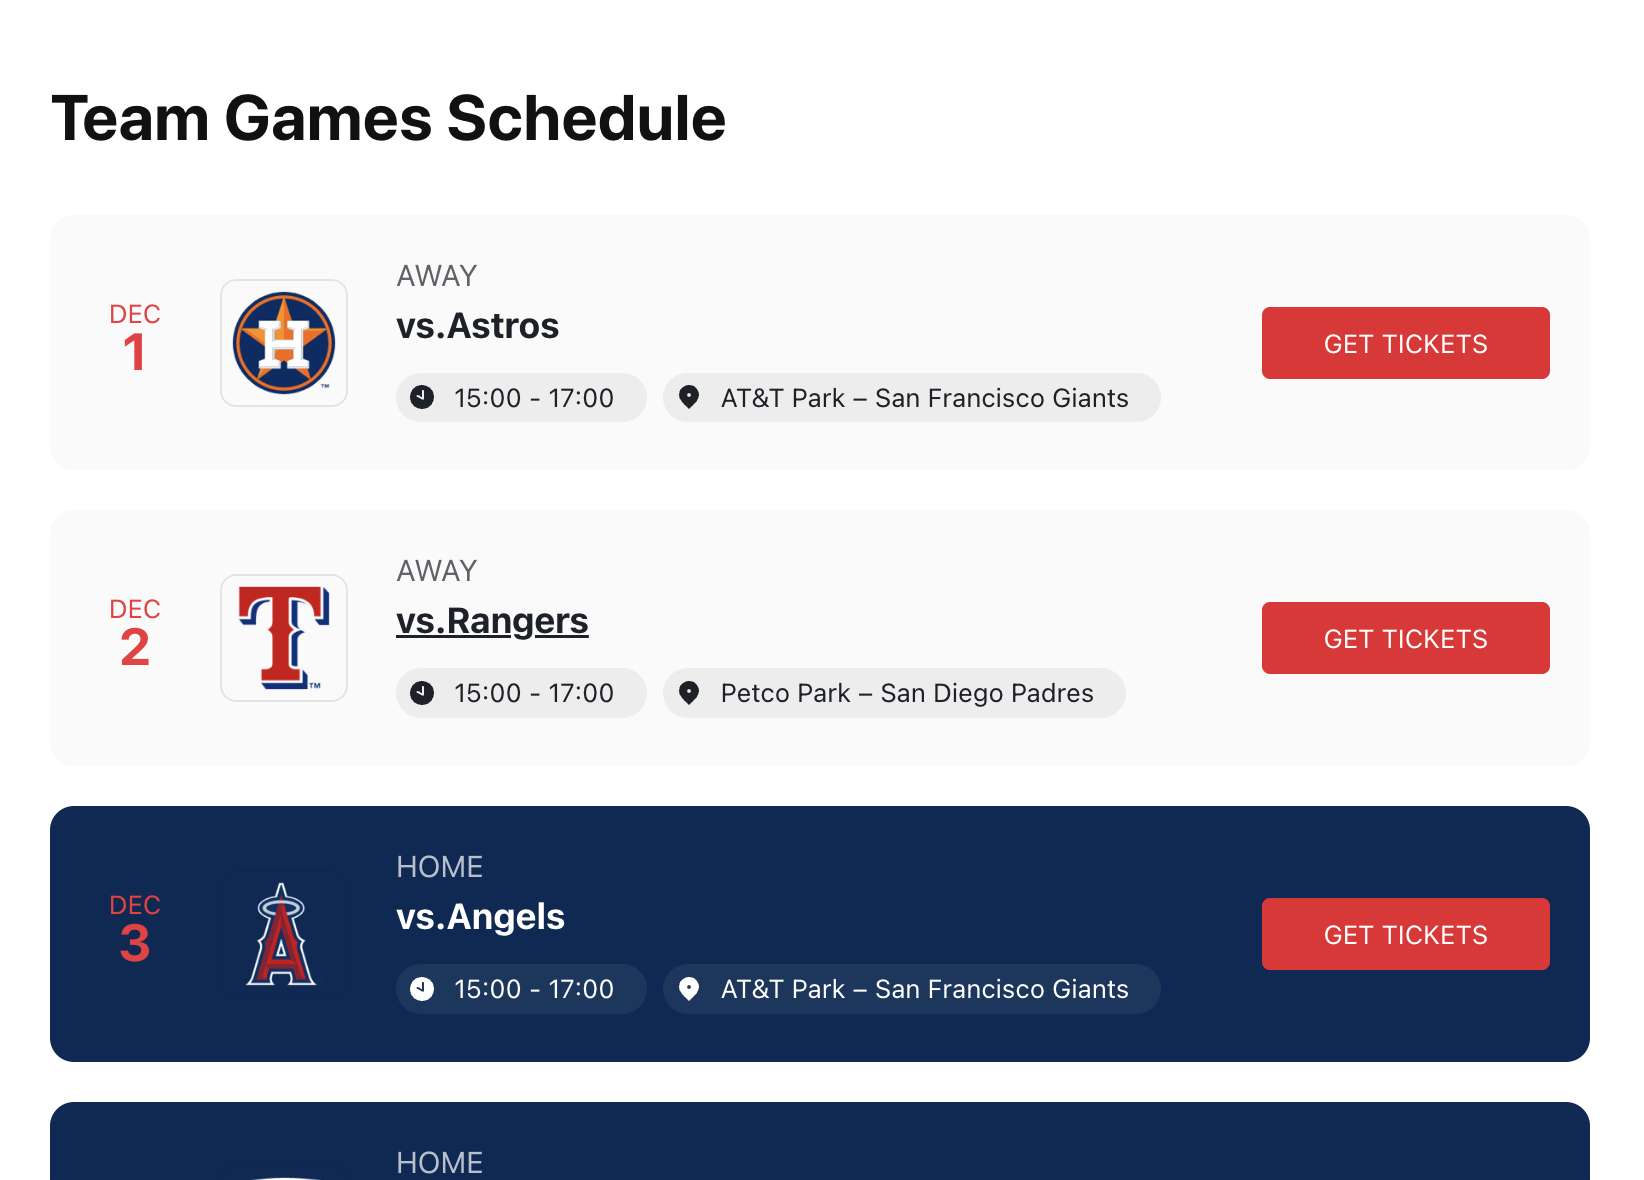
Create a calendar listing that displays all your upcoming events, their schedules, and venues right on the Webflow website with the Team Games Schedule template. And color code them! Yes, you’ve heard this right. Change the color of each event based on the chosen criteria or common sense.
With just a few clicks, you can also add compelling call-to-action buttons to direct website users to take action, like “Buy Tickets” or “Get More Info.” They will appreciate the convenience of having all the information they need in an organized and visually appealing format. It’s all about making them want to add the dates to their scheduler and stay up-to-date with upcoming events!
Example 2: Dance Studio Event Calendar
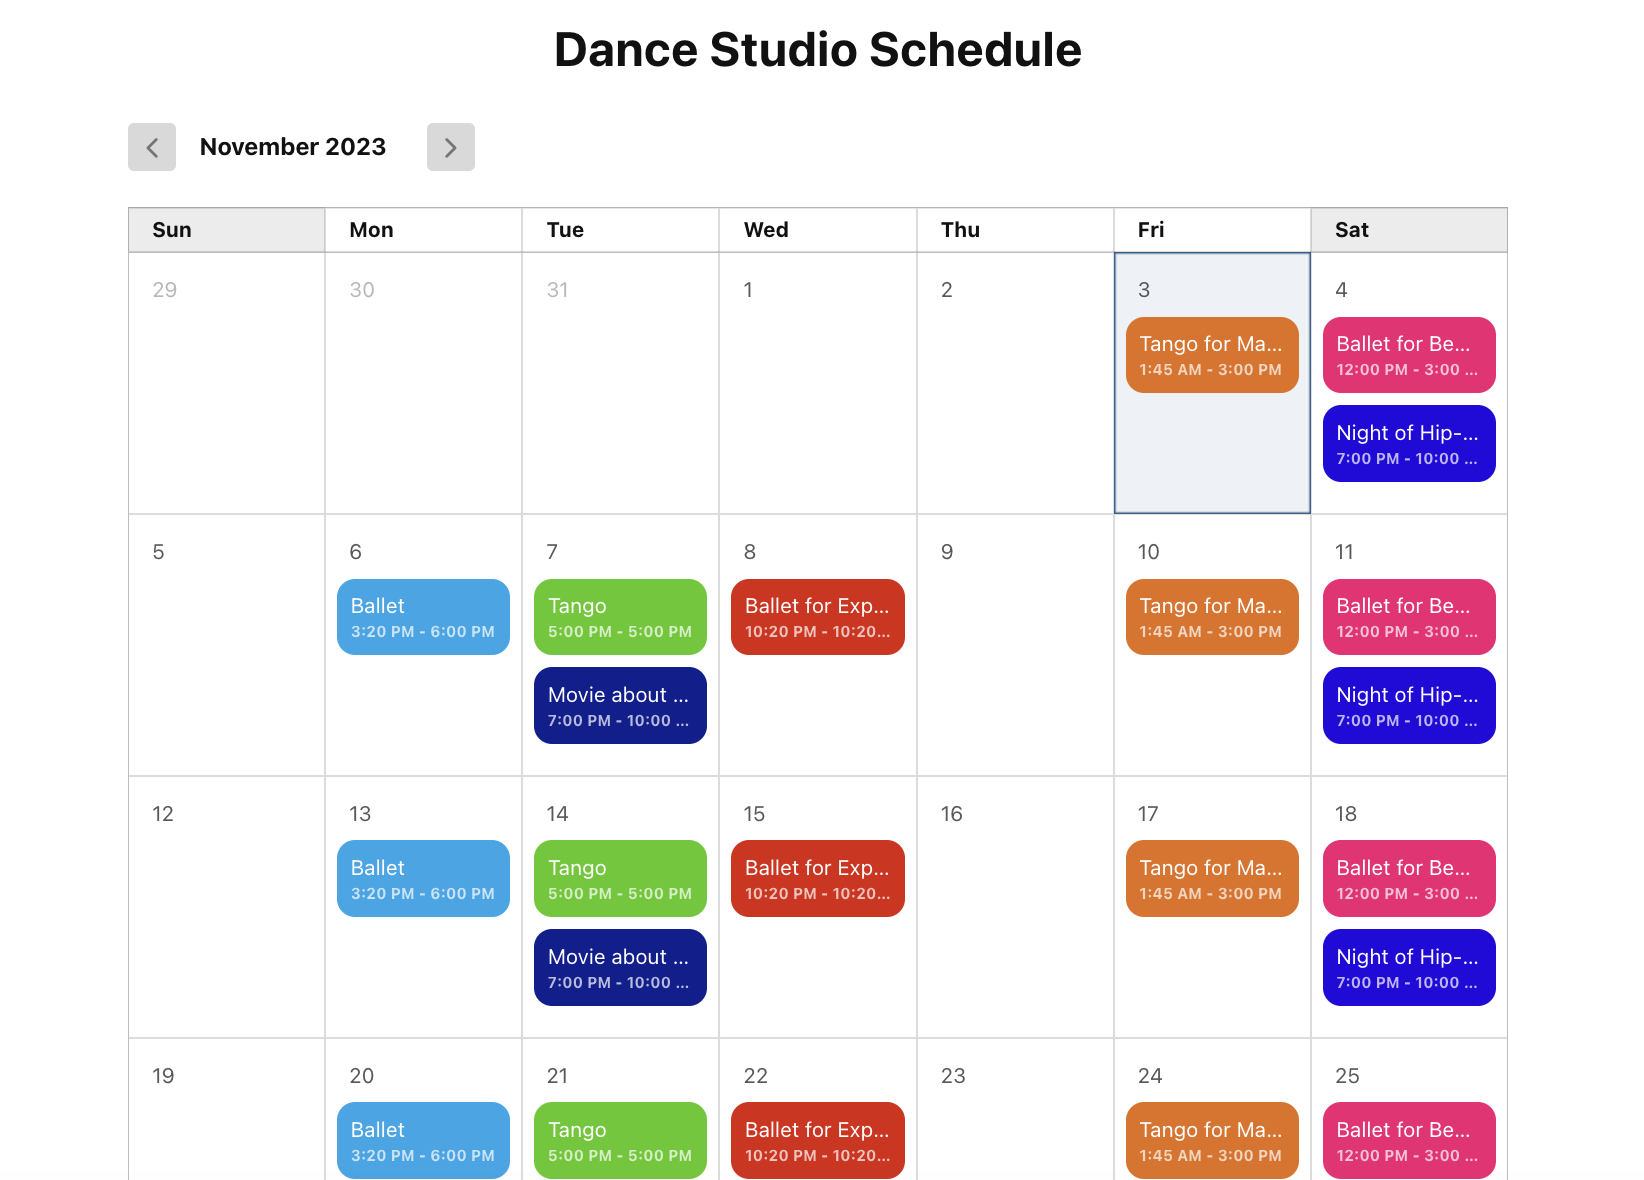
Running a business requires effective communication with your leads. Display different classes, workshops, and occasions on your Webflow website page—including details such as dates, times, levels, locations, and instructors—in a standard calendar format with colorful event cards using the Dance Studio Schedule template. And add links to register for classes directly from the calendar, making it a seamless experience for your students.
It allows potential customers to find fascinating events that suit their preferences and schedule, enhancing their experience and increasing the likelihood of them signing up. Keep everyone informed about the essentials with this go-to widget template option!
Example 3: Club Events Calendar
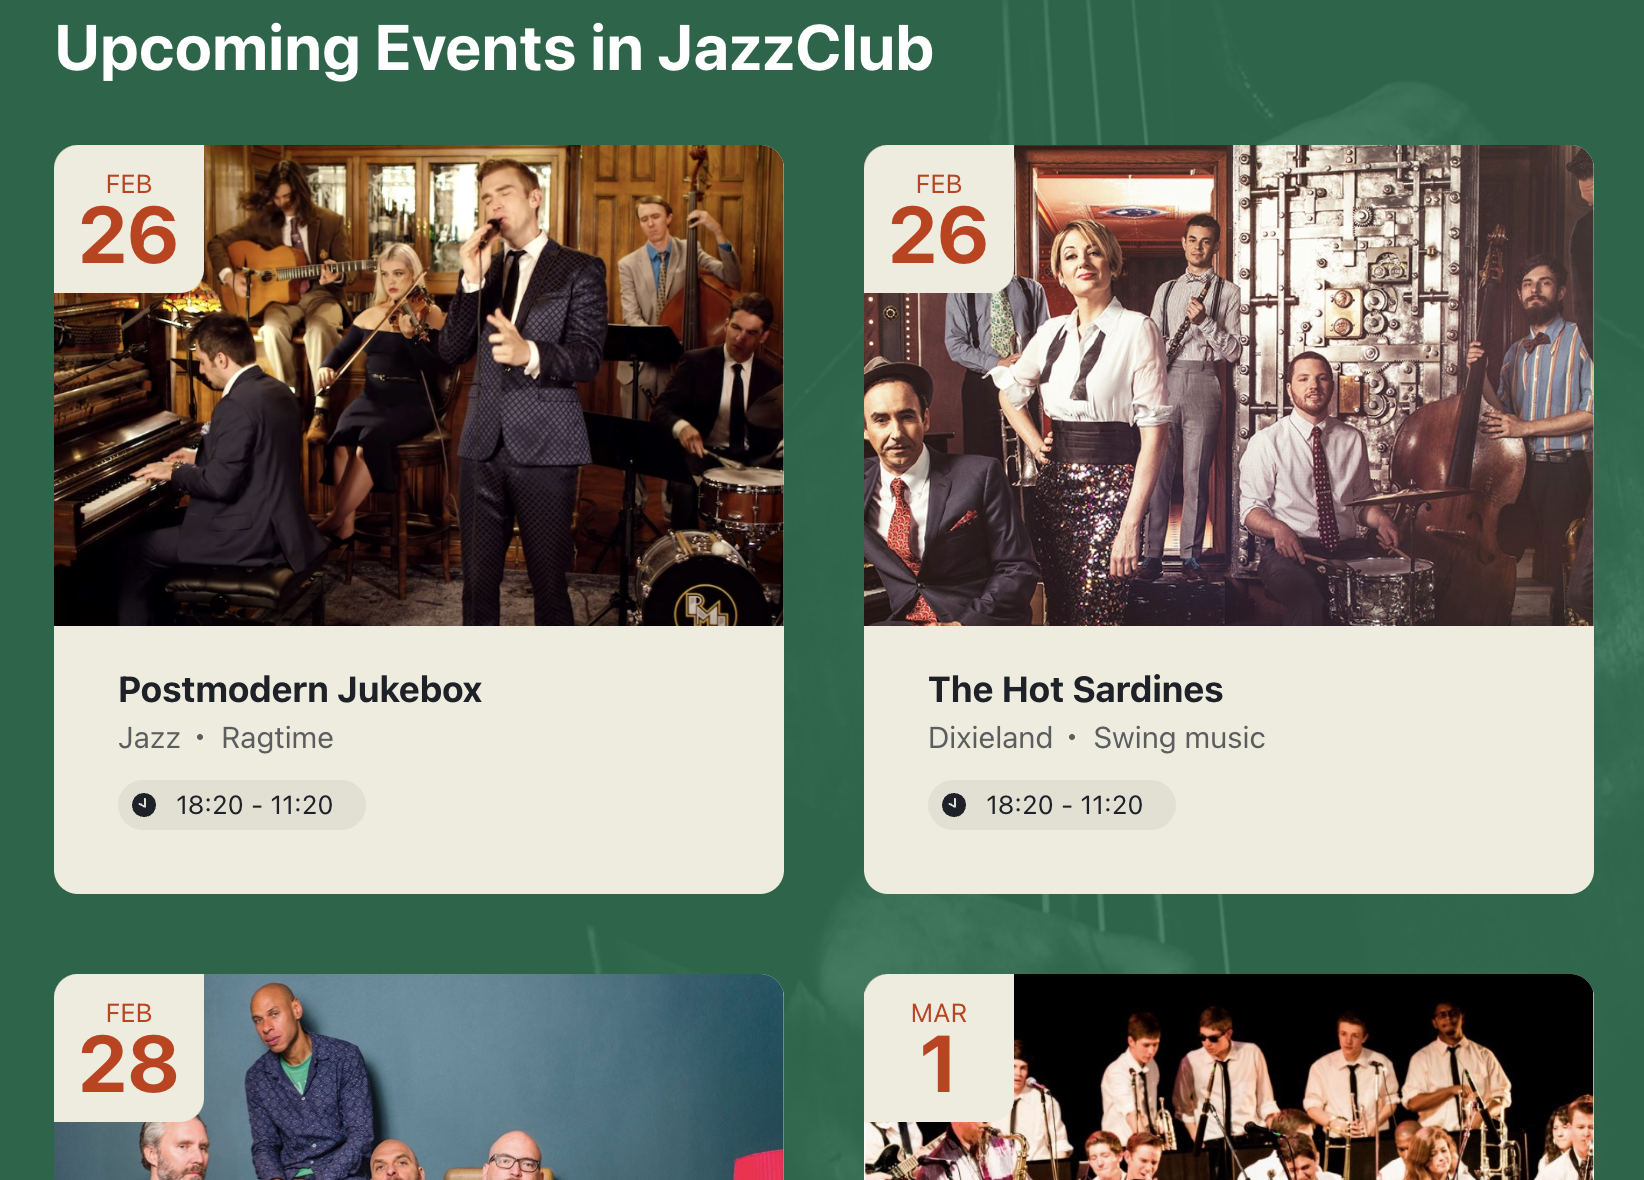
Another thing here is organizing events can be challenging without a clear way to present the schedule to potential attendees. If your business does events such as workshops, seminars, or social gatherings, the code-free Club Events template is an excellent choice.
Include event descriptions, add background imagery, secure timing, and attach tags so your Webflow website users can mark their calendars with reminders. Introduce the hosts and highlight the bright moments of what to expect.
Your guests will have no excuse to miss out on the fun! It’s not that difficult to capture the attention of your target audience and inspire participation.
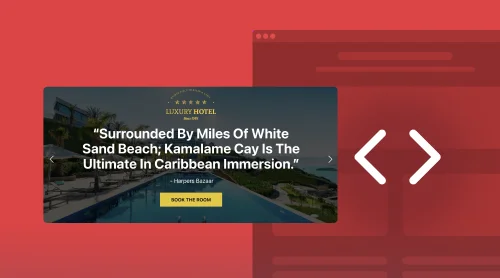
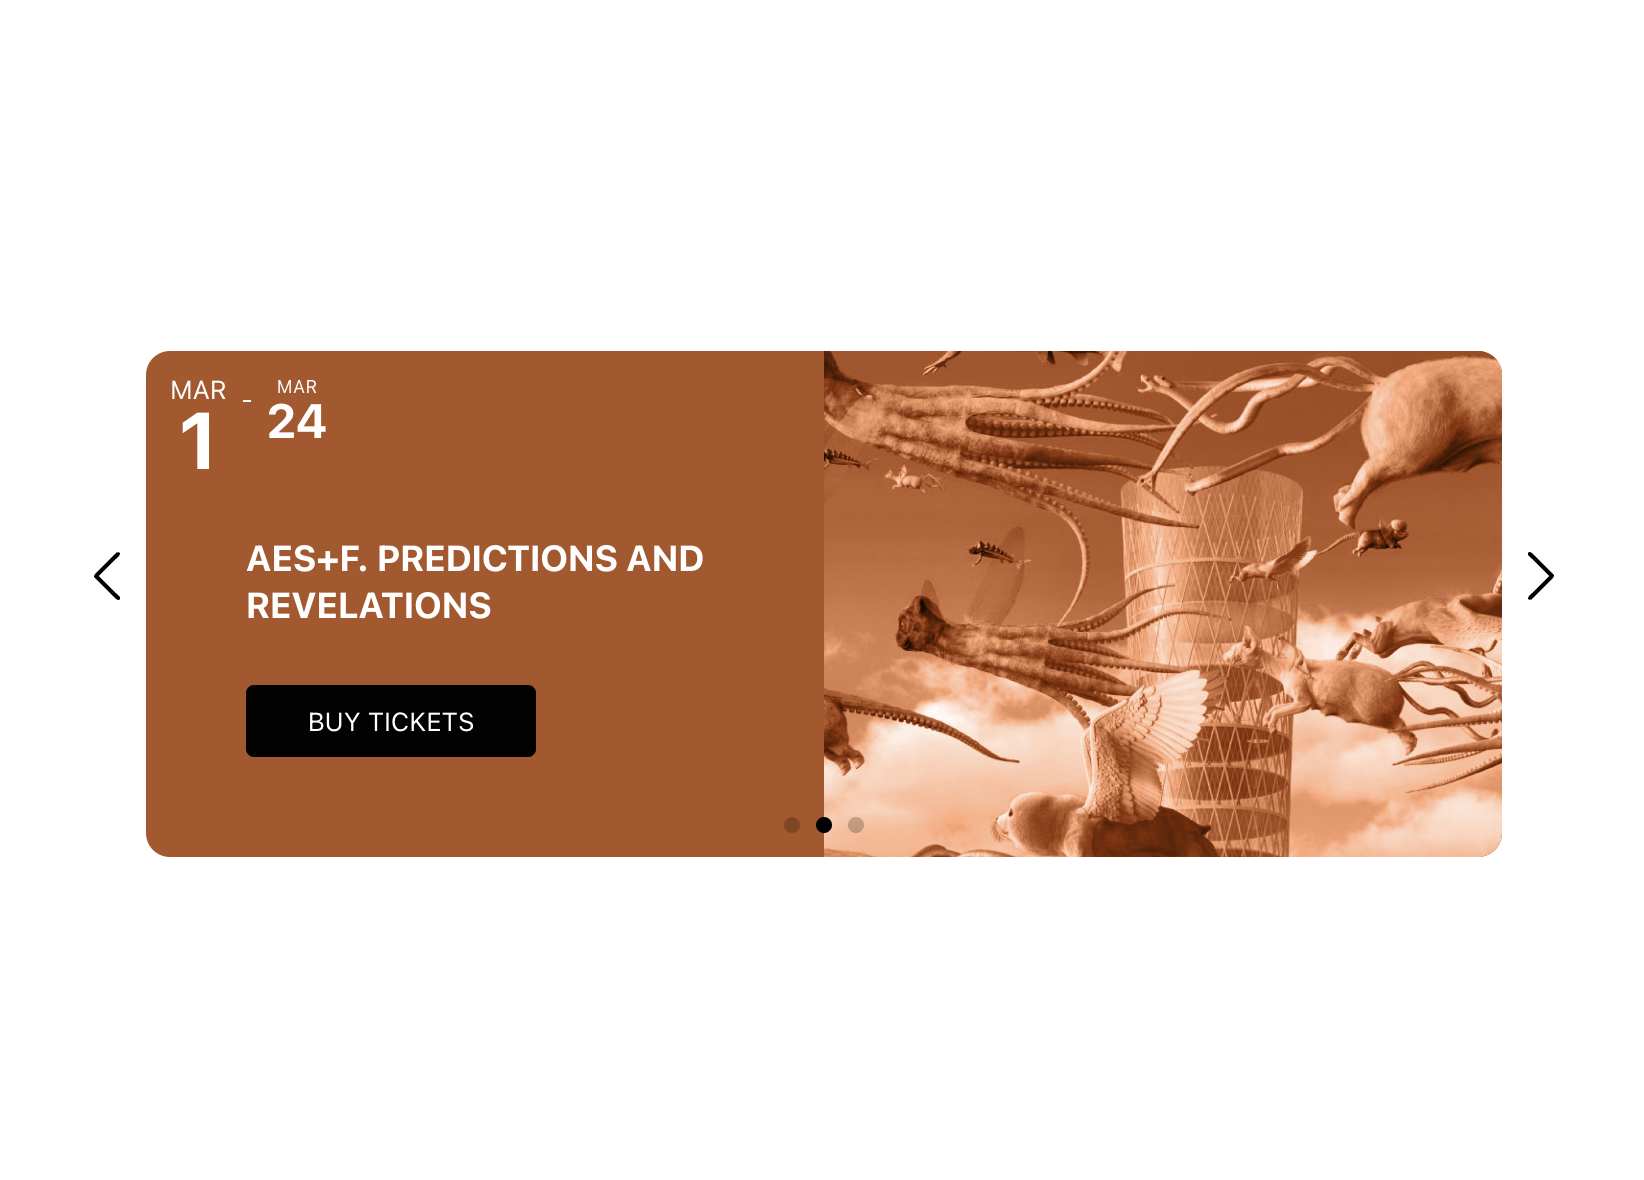
Example 4: Slider Exhibition Event Calendar
Turn the Event Calendar plugin into a stunning slider exhibition that takes such little space on a website page but can get you the needed conversion just as well. Users can easily navigate through the slider with the arrow buttons and click on the events to view more details: date, time, location, and visuals.
Create a dynamic experience for enthusiasts and undoubtedly leave a lasting impression.
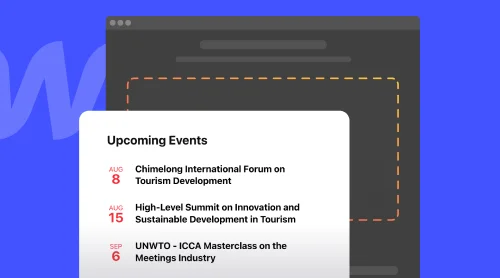
Example 5: Upcoming Events Calendar
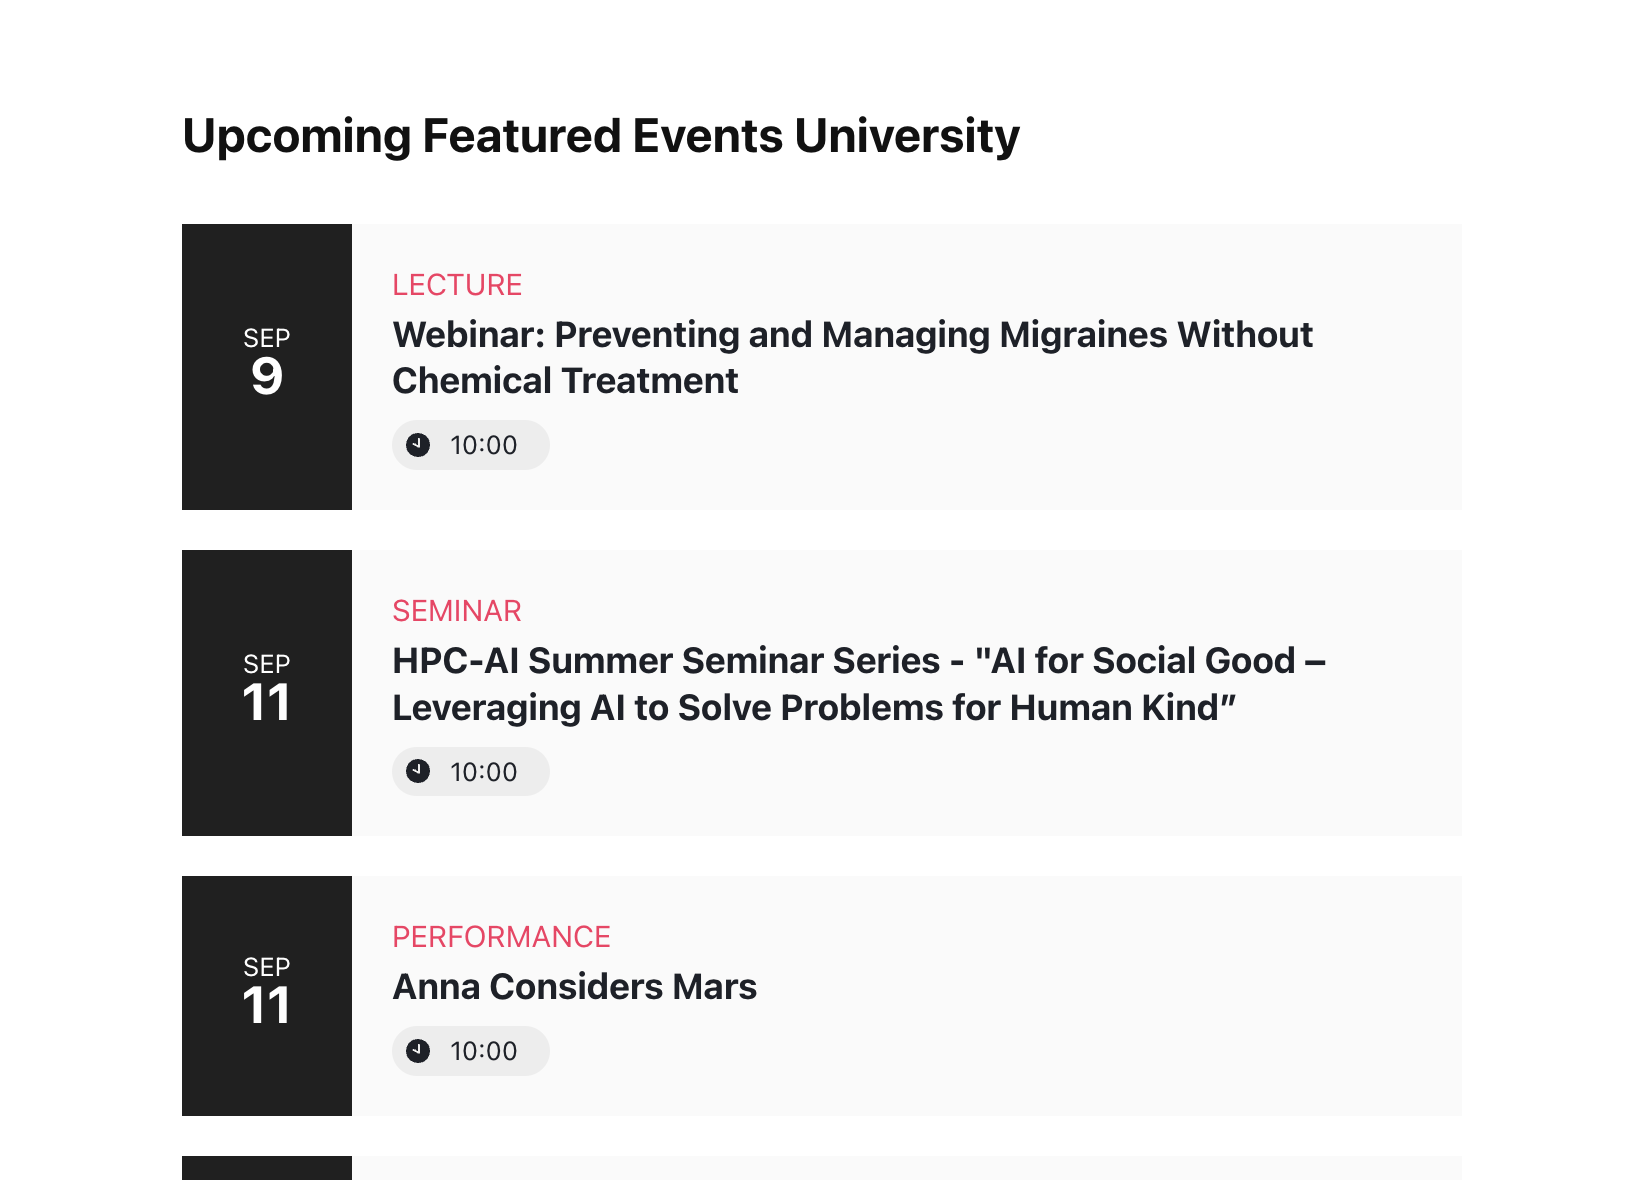
If you’re hosting a series of events, the Upcoming Events plugin template is a must-have for every business owner. This template is perfect for Webflow websites that host a wide range of events, such as conferences, workshops, seminars, or even community gatherings.
Each event listing can include a thumbnail image, event details—titles, dates, descriptions, and locations—and a call-to-action button for registration or ticket purchase. Ensure every user has a clear overview of what’s happening and can easily plan their participation: make your events truly stand out.
By embedding the code-free Event Calendar plugin on your Webflow website, you create an interactive space where visitors can explore upcoming events, view event details, and take action, whether it’s RSVPing, registering, or purchasing tickets. The available customization options can align the look and feel of the calendar with your Webflow website’s design and branding, making a cohesive user experience.
Explore our Selection of Event Calendar Templates for Webflow Websites
Where to Embed Event Calendar Widget on Webflow Website?
Choosing the right position to add the Event Calendar widget to your Webflow website is crucial for maximizing its impact and usability. Let’s explore different placement options and discuss the pros and cons of each. It will help you make an informed decision based on your website’s goals and design.
Below, there are four ideal positions to publish your widget for you to consider:
Events Placement #1. Homepage
Your website’s homepage is often the first point of contact for Webflow visitors, making it an ideal location to showcase your event calendar. Embed the code-free Event Calendar widget prominently on your homepage to grab your audience’s attention immediately and provide them with a snapshot of the upcoming events. This is a quick and easy access without any hassle that enhances the overall user experience.
| Pros | Cons |
|---|---|
| Central attention. By featuring the Event Calendar widget on your homepage, you highlight the significance of your upcoming events, capturing visitors’ attention right away. | Limited space. Depending on the size and complexity of your Webflow homepage, finding the right space for the Event Calendar widget might be challenging. Ensure it doesn’t overcrowd the Webflow website page and creates a balanced design. |
| Immediate engagement. Webflow users can easily interact with the calendar without navigating away from the homepage, leading to higher engagement and increased schedule exploration. | Relevance. Consider the overall purpose and content of your homepage. If events are not a central focus or if you have limited events, placing the Event Calendar widget here might not be the most effective use of space. |
| Seamless integration. Placing the Calendar widget on your Webflow homepage allows for better design integration, ensuring a cohesive and visually appealing website. | Attention diversion. While the code-free Event Calendar widget can grab attention, it shouldn’t overshadow other marketing elements on the homepage, such as calls-to-action buttons or key messages. |
Events Placement #2. Product Page
If you have an eCommerce website or sell products or services, you can get all the benefits and achieve greater sales numbers with the Event Calendar widget, for sure. Add and create a sense of urgency and highlight exclusive offers or launch dates tied to specific events.
This strategic placement not only enhances the user experience but also encourages users to take action and make a purchase. Place the Schedule widget near the product description or a dedicated section to maximize visibility.
| Pros | Cons |
|---|---|
| Relevant context. By featuring the code-free Event Calendar widget on product Webflow pages, you present website users with specific information related to the products/services they are interested in, increasing their engagement and driving conversions. | Overwhelming content. Ensure that placing the Calendar widget on each individual product page doesn’t make the Webflow website page overly crowded. It should enhance the user experience without distracting from product details. |
| Urgency and FOMO. The Event Calendar plugin on product pages can create a sense of urgency and fear of missing out (FOMO), leading to higher conversions and sales. | Relevance and quantity. If you have a limited number of events or if they are not directly tied to the products, this placement might not be as effective. |
| Improved user experience. Customers can easily see the event schedule and dates related to the product/service they are interested in, facilitating their purchasing decisions. | Design consistency. The Calendar widget looks better if it aligns seamlessly with the design of your product pages, both aesthetically and functionally, to maintain a cohesive user experience. |
Events Placement #3. Dedicated Events Page
Keep every upcoming event in a centralized location with the dedicated Webflow page on your website. This is an ideal placement for the code-free Calendar widget as it provides users with a comprehensive overview of all your published events and allows them to filter based on their preferences.
Create a seamless user experience, enabling users to view details, sign up or purchase tickets, and share upcoming occasions with friends or colleagues.
| Pros | Cons |
|---|---|
| Organization and clarity. The dedicated website page with the Event Calendar widget provides users with a clear and structured overview of the schedule, making it easy for them to explore and engage. | Navigation accessibility. Ensure the dedicated events page is easily accessible and well-integrated within your Webflow website’s navigation menu or site architecture, making it simple for the audience to find and explore. |
| Enhanced event details. With the dedicated website page for the calendar, you have more space to provide in-depth descriptions, photos, ticket information, and registration links, ensuring visitors have all the necessary details at their fingertips. | Reduced exposure. While the dedicated calendar page is beneficial for Webflow website visitors seeking extra information, it might not have the immediate visibility as the homepage or other highly trafficked pages. Consider additional promotion strategies to direct leads to this page. |
| Promotional opportunities. The dedicated website page on Webflow can add promotional elements, such as testimonials, event highlights, and social sharing options, enhancing visibility and encouraging attendees to spread the word. |
Events Placement #4. Sidebar or Footer
In addition to the specific pages mentioned above, you can add the Event Calendar widget to your website’s sidebar or footer to provide users with a consistent and accessible experience across all pages. This placement ensures that the calendar is easily accessible, regardless of the page viewing.
By placing the widget in the sidebar, Webflow users will be able to see the upcoming events no matter where they navigate on your site. Alternatively, placing the widget in the footer section maintains visibility without distracting from the main content of your web pages.
| Pros | Cons |
|---|---|
| Persistent visibility. The Calendar widget remains visible as visitors navigate through different pages of your Webflow website, ensuring they have ongoing access to the schedule and details. | Limited space. The sidebar or footer may have limited width, requiring the code-free Event Calendar widget to be condensed or adjusted in design to fit. Ensure that the calendar remains functional and user-friendly despite the reduced space. |
| Space efficiency. Placing the Calendar widget in the sidebar or footer allows you to free up more prominent space for other essential content while still providing visitors with easy access to occasion information. | Potential distraction. If you decide to add the Event Calendar widget to the sidebar or footer, it may lead to reduced visibility compared to more prominent placements. Be mindful of designing it in a way that doesn’t distract from other elements or overshadow critical content. |
| Enhanced website navigation. Embed the Calendar widget on your Webflow website in the sidebar or footer to have it as a useful navigation element, enabling visitors to explore upcoming happenings without interrupting their browsing experience. | Visibility impact. Consider the prominence of your sidebar or footer. If they are not easily noticeable or frequently viewed by visitors, this placement might not provide the desired exposure for your events. |
When you add the code-free Event Calendar widget to your Webflow website, choosing the right placement is key. Consider your website’s goals, design, and user experience to determine which option works best for you.
Whether you choose to feature the calendar on the homepage, product pages, a dedicated events page, or in the sidebar or footer, it should seamlessly embed with your website’s overall aesthetics and enhance the user experience, encourage engagement, and drive attendance.
10 Reasons to Add Event Calendar to Webflow Page
Adding the Event Calendar widget to your Webflow website can be a game-changer in terms of organizing and promoting your events. Whether you’re hosting conferences, workshops, webinars, or social gatherings, the Calendar widget offers numerous benefits. Let’s explore the top ten reasons why you should consider incorporating the schedule on your Webflow page:
- Enhance user experience. Add the code-free Event Calendar widget to your Webflow page to provide website visitors with an easy-to-use and visually appealing extension to explore your events. With a well-organized and user-friendly interface, your audience can conveniently browse through event details, such as dates, times, locations, and descriptions.
- Drive event attendance. The Calendar plugin plays an essential role in driving attendance numbers. By prominently displaying the schedule on your Webflow website, you capture the attention of your audience and create a sense of excitement and engagement for upcoming events. It, in turn, increases the likelihood of people attending.
- Encourage user engagement. The Event Calendar plugin offers an interactive element to your Webflow website, allowing visitors to explore event details and share them on social media platforms via the links. This level of engagement fosters deeper connections with your audience and encourages them to take action.
- Promote exclusive offers. The code-free Event Calendar widget provides an excellent way to publish exclusive offers tied to your events. Whether it’s early bird discounts, limited-time promotions, or special package deals, you can leverage the Schedule widget to generate excitement and boost sales. By highlighting these offers within the calendar, you create a sense of urgency for visitors to take advantage of the deals.
- Streamline event management. With the Event Calendar plugin, you can streamline the schedule management processes. From organizing event schedules and ticketing to managing registrations and sending event reminders, the calendar acts as a centralized hub for all event-related activities. It allows you to focus on executing successful occasions without the hassle of navigating multiple platforms.
- Establish credibility. Embed the Event Calendar on your Webflow page to showcase your professionalism and reliability. Visitors perceive businesses that display their event schedules transparently as active, credible, and committed. A well-maintained calendar demonstrates your dedication to keeping your audience informed about your latest occasions and reinforces your reputation in the industry.
- Create a sense of urgency. Incorporating the Event Calendar adds a sense of urgency to your events. By displaying the limited time frame of upcoming events, you create a call-to-action for the audience to take immediate action: sign up, purchase tickets, or save the event date. This urgency helps generate excitement and guarantees higher attendance.
- Boost conversions. If your occasions are tied to specific products or services, the schedule can be a powerful conversion tool. By showcasing events related to your offerings, you create opportunities for cross-promotion and upselling. The Webflow users who engage with your happenings are more likely to convert into customers as they perceive the added value of attending your events alongside your products or services.
- Foster community building. The schedule fosters community building and networking by bringing like-minded individuals together. Visitors who attend your events have the opportunity to connect, share experiences, and engage with your brand on a more profound level. Building a community around your events can strengthen brand loyalty and generate organic word-of-mouth marketing.
- Stay ahead of competitors. Add the code-free Event Schedule to your Webflow website page to set your business apart from competitors who may not offer the same level of event discovery and engagement. With a robust and interactive calendar, you position your brand as forward-thinking, technologically advanced, and dedicated to providing exceptional experiences. It definitely gives you a competitive edge in the market.
Now that you’re aware of the main reasons to add the Event Calendar to your Webflow page, it’s time to take action. Start by selecting the Calendar widget from Elfsight, customize it to match your brand, and seamlessly integrate it into your Webflow website. Elevate your organization and promotion today!
Conclusion: Add Event Calendar to Webflow with No Coding!
Adding the event schedule to your Webflow website page is a fantastic way to keep your visitors informed and engaged. With Elfsight’s free Calendar plugin, the process is simplified: you can seamlessly add a customizable and user-friendly schedule without a need to code.
Using the ready-to-use tutorials provided above, you can effortlessly customize the design, manage events, and adjust display settings, ensuring a seamless embed process on your website.
To get more details about the embed process of the code-free Event Calendar plugin, receive the comprehensive versions of tutorials, or contact the people in our inner circle community and Support Team, check the sources below:
Start enhancing your Webflow website today and add the Event Calendar plugin for free to provide your users with an exceptional browsing experience.


