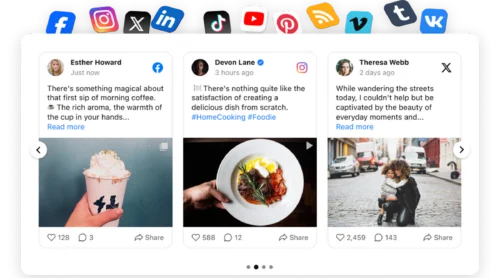

Try to embed your LinkedIn page the way you’d drop in a Facebook or Instagram feed, and you hit a wall fast: LinkedIn only lets you embed one post at a time — there’s no native option for a live, self-updating feed. For a platform built on company updates and professional credibility, that’s a real gap. Your strongest social proof stays stuck on LinkedIn instead of working on your own site.
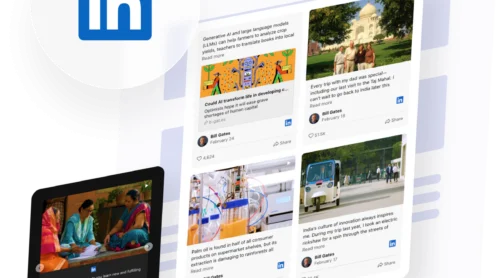
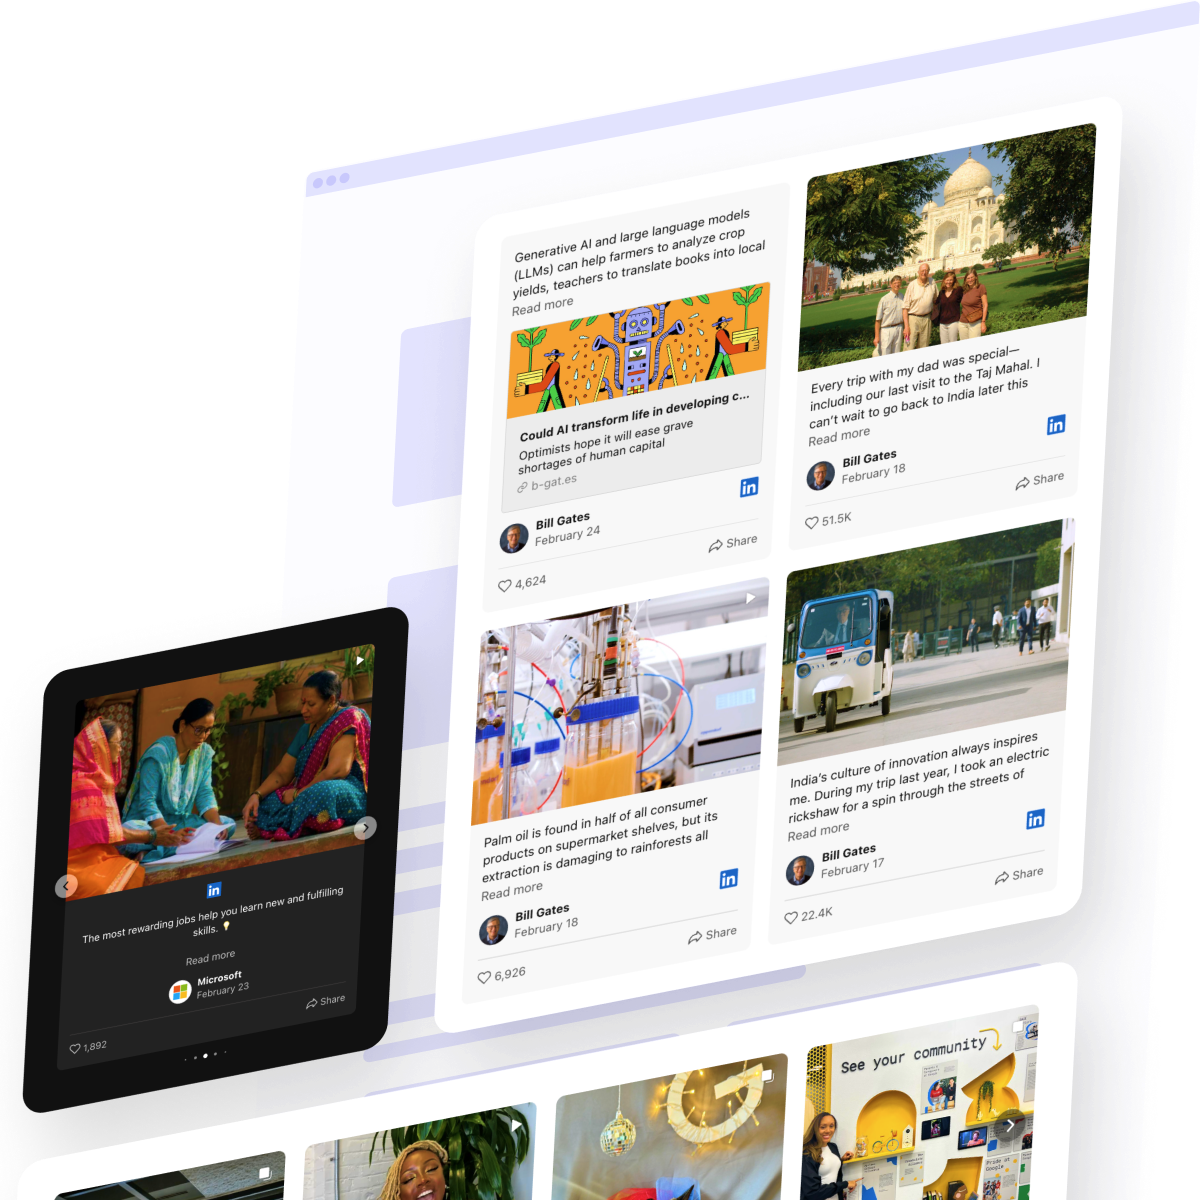
The LinkedIn Feed widget closes that gap. It pulls your company posts, images, and videos onto any website and refreshes them automatically. No code, no re-embedding every time you publish. Visitors see your latest activity without leaving your page, styled to match your brand.
- Walk through the no-code setup process from start to finish (with tips)
- Explore other ways for LinkedIn Feed integration so you can pick
- Tick all the boxes for the best widget experience for your website visitors
- Solve common issues so your feed goes live without a hitch and works smoothly.
Add LinkedIn to your website in 4 steps
Here’s a quick guide for anyone who wants to add LinkedIn posts to their website right away.
- Open Elfsight’s editor and pick a template.
- Customize your LinkedIn Feed widget.
- Click ‘Add to website for free’ and copy the code.
- Paste it into your website’s backend.
Connect & customize your LinkedIn Feed in the live editor!
Unlocking LinkedIn Feed capabilities
You’ve seen how quick and easy it is to display a LinkedIn Feed on your website. Let’s dive into the key features that make it so effective:
| Key Feature | Why it Matters |
|---|---|
| Displays Real-Time Content | Keeps your website up to date with the latest LinkedIn posts, including images and videos, ensuring visitors always see fresh content. |
| Customizable Layouts and Styles | Allows you to match the feed’s appearance to your website, enhancing visual appeal and brand consistency. |
| Pop-up Post Views | Provides an interactive way for visitors to explore posts in detail without leaving your website. |
| Seamless Integration | Works smoothly across all major CMS and website builders without requiring coding skills and across various devices. |
| Instant Embed Code Generation | Enables quick installation through an intuitive editor, making it easy to customize and add the feed to your website with a simple copy-paste snippet. |
These are just a few of the many benefits the LinkedIn Feed Widget offers. For the full list, check out the widget’s Features Page. With these powerful capabilities in mind, we can now move on to integrating the LinkedIn Feed into your website step by step.
Visual learner? Watch the full setup tutorial ↓
How to embed a LinkedIn Feed step by step
The steps below follow our recommended installation workflow for best performance, including some practical tips:
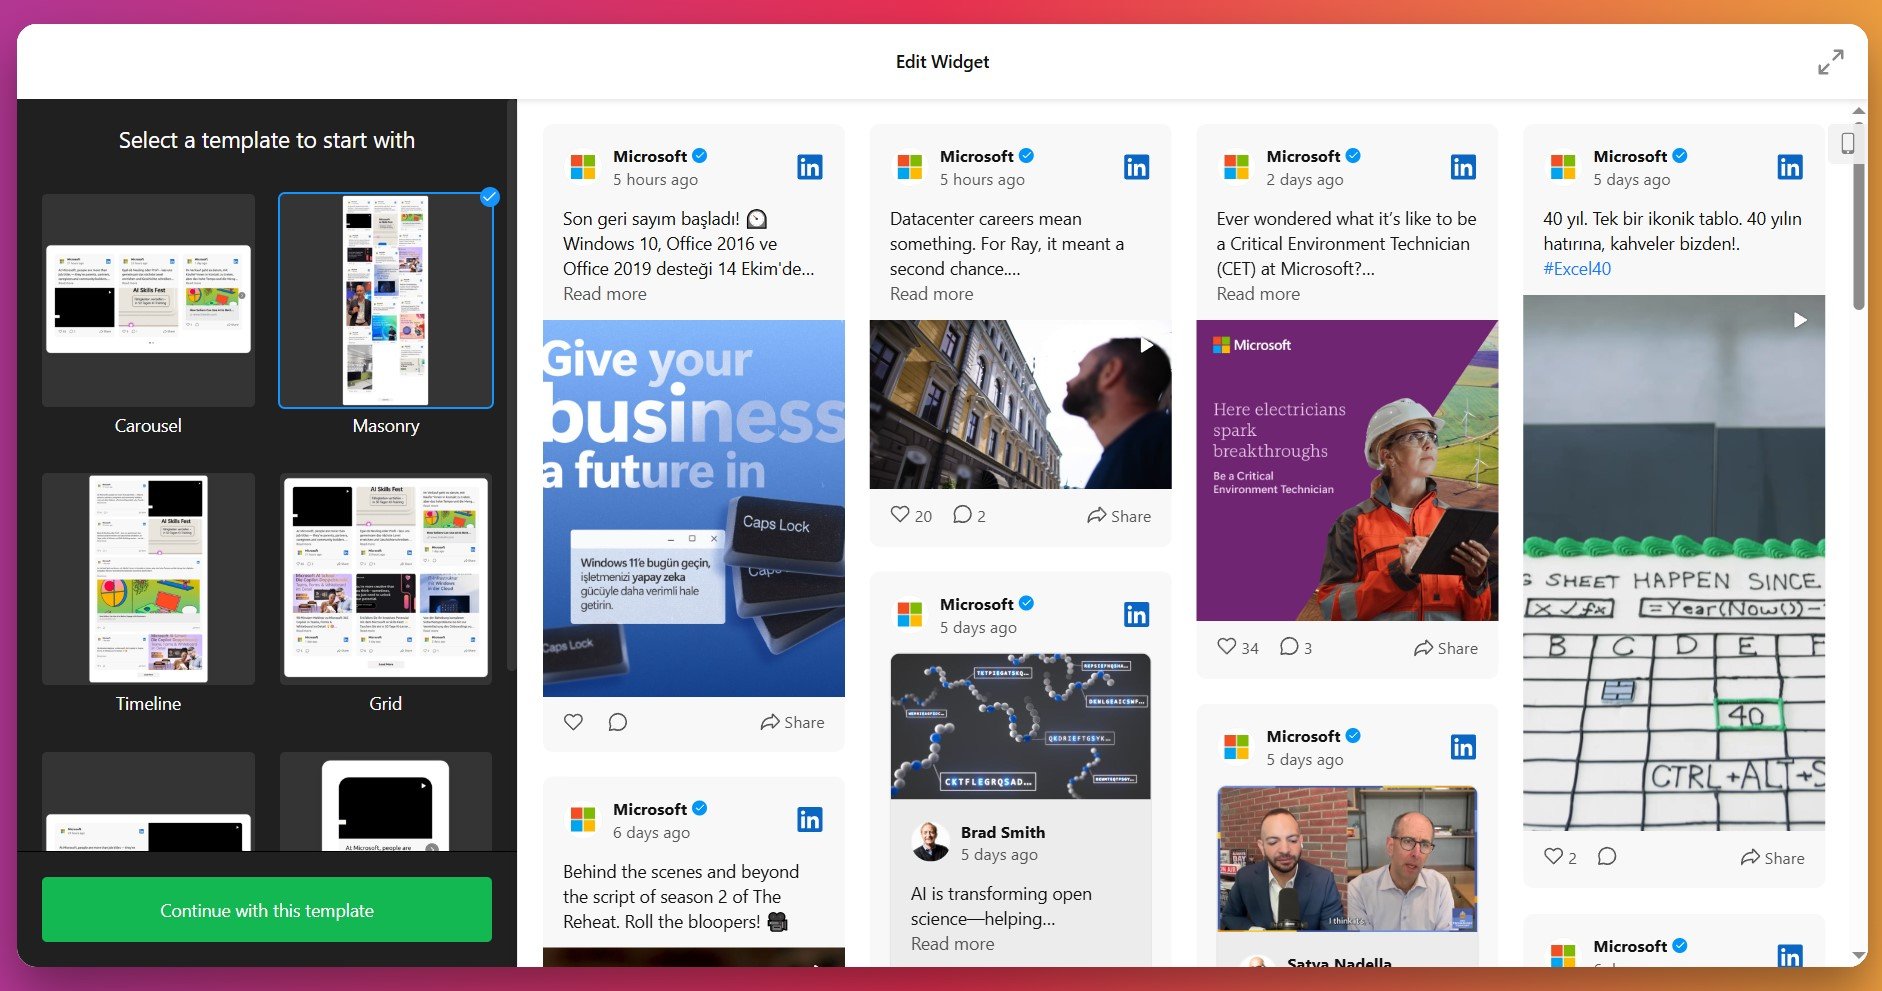
1. Choose a template
You start by opening the widget editor and picking a template. Templates set the base look of your LinkedIn feed – from a minimal professional List to a bold Carousel or Slider. Try a few to see which one fits your website layout and business tone.
Click “Continue with this template” once you have a base you like.
2. Add the content source
The next step is to tell the widget where to pull content from: paste the URL of your LinkedIn company page or personal profile to automatically fetch published posts. The editor will process the page and load existing posts (text, images, videos, attachments).
Use the feed controls to preview the posts and confirm they’re populating correctly.
3. Configure the layout
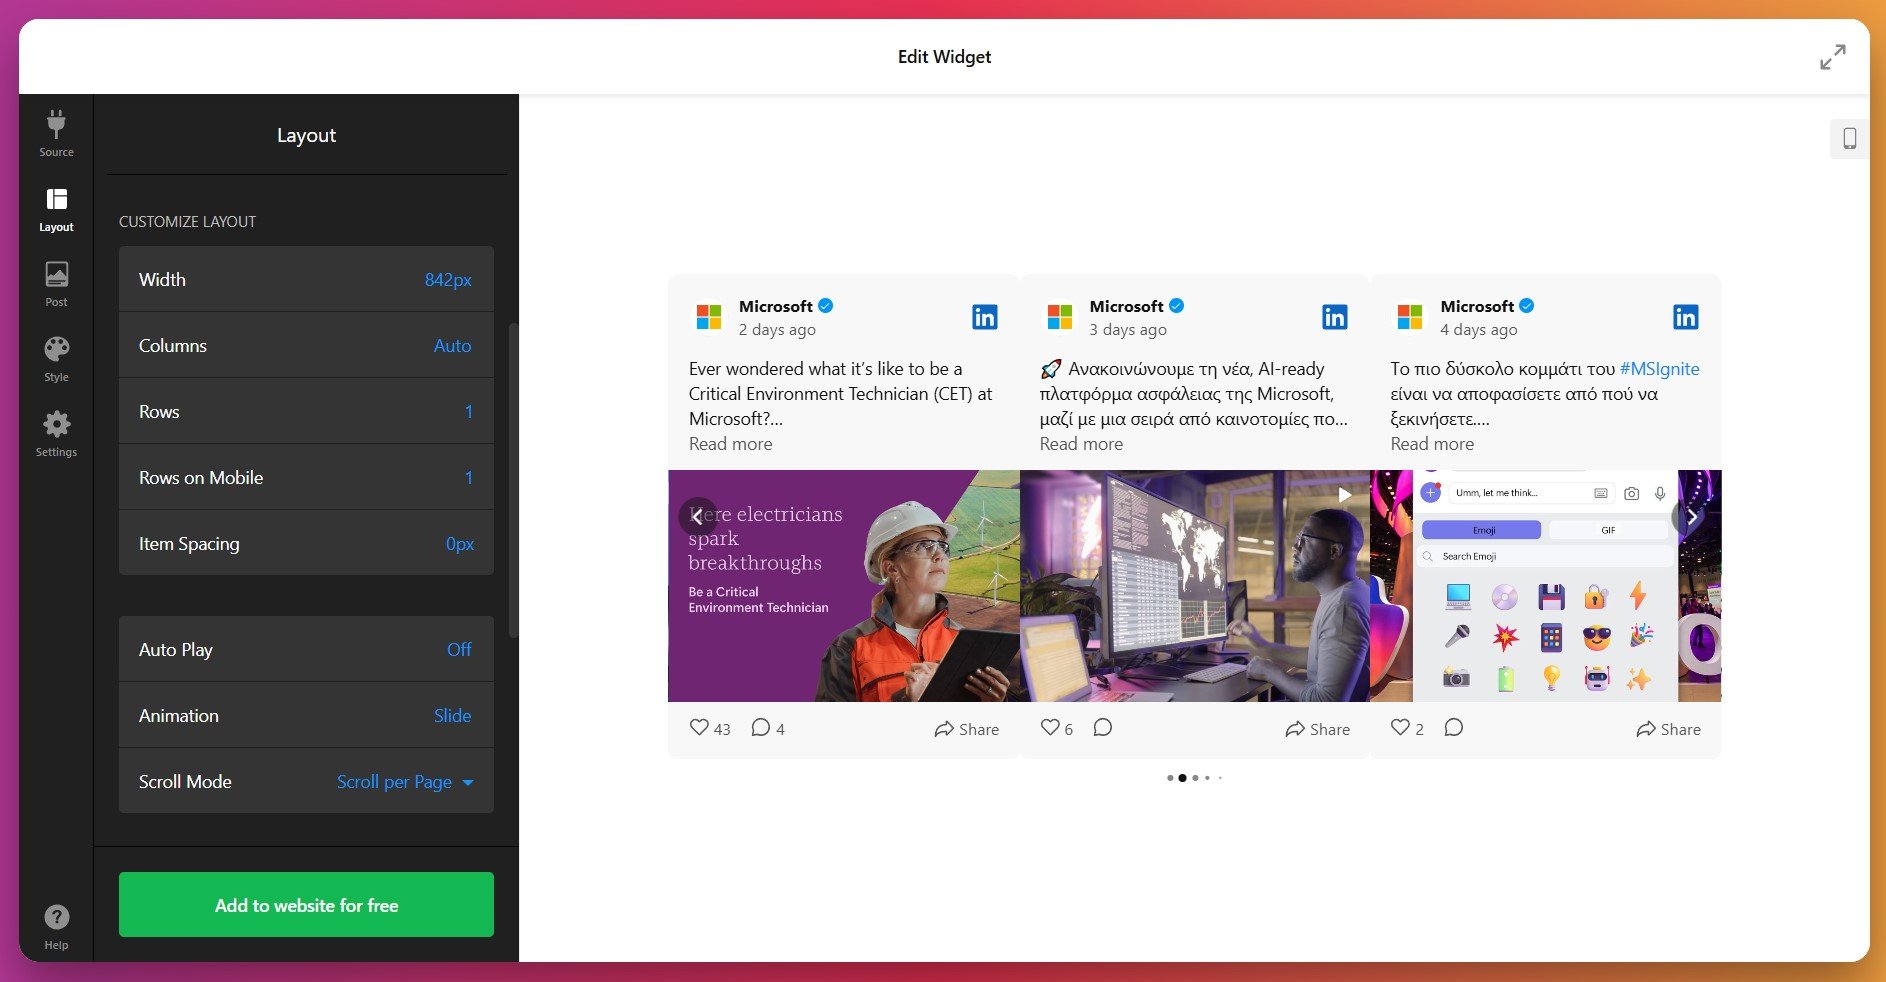
At this stage, you decide how your posts will be arranged. The Layout tab offers multiple display modes so you can match the widget to the page area and design hierarchy.
- Grid: Classic, symmetrical layout for multiple posts.
- Masonry: Responsive, variable-height tiles for mixed media posts.
- List: A vertical feed ideal for blog or news-style pages.
- Carousel: Rounded, compact carousel for a hero or sidebar slot.
- Slider: Compact rotating feed with navigation controls and autoplay options.
You can also adjust rows/columns, post width, spacing, set mobile vs desktop behavior, and pick the visible number of items before users have to click “Load more”, unless you opt for infinite loading.
4. Customize post display
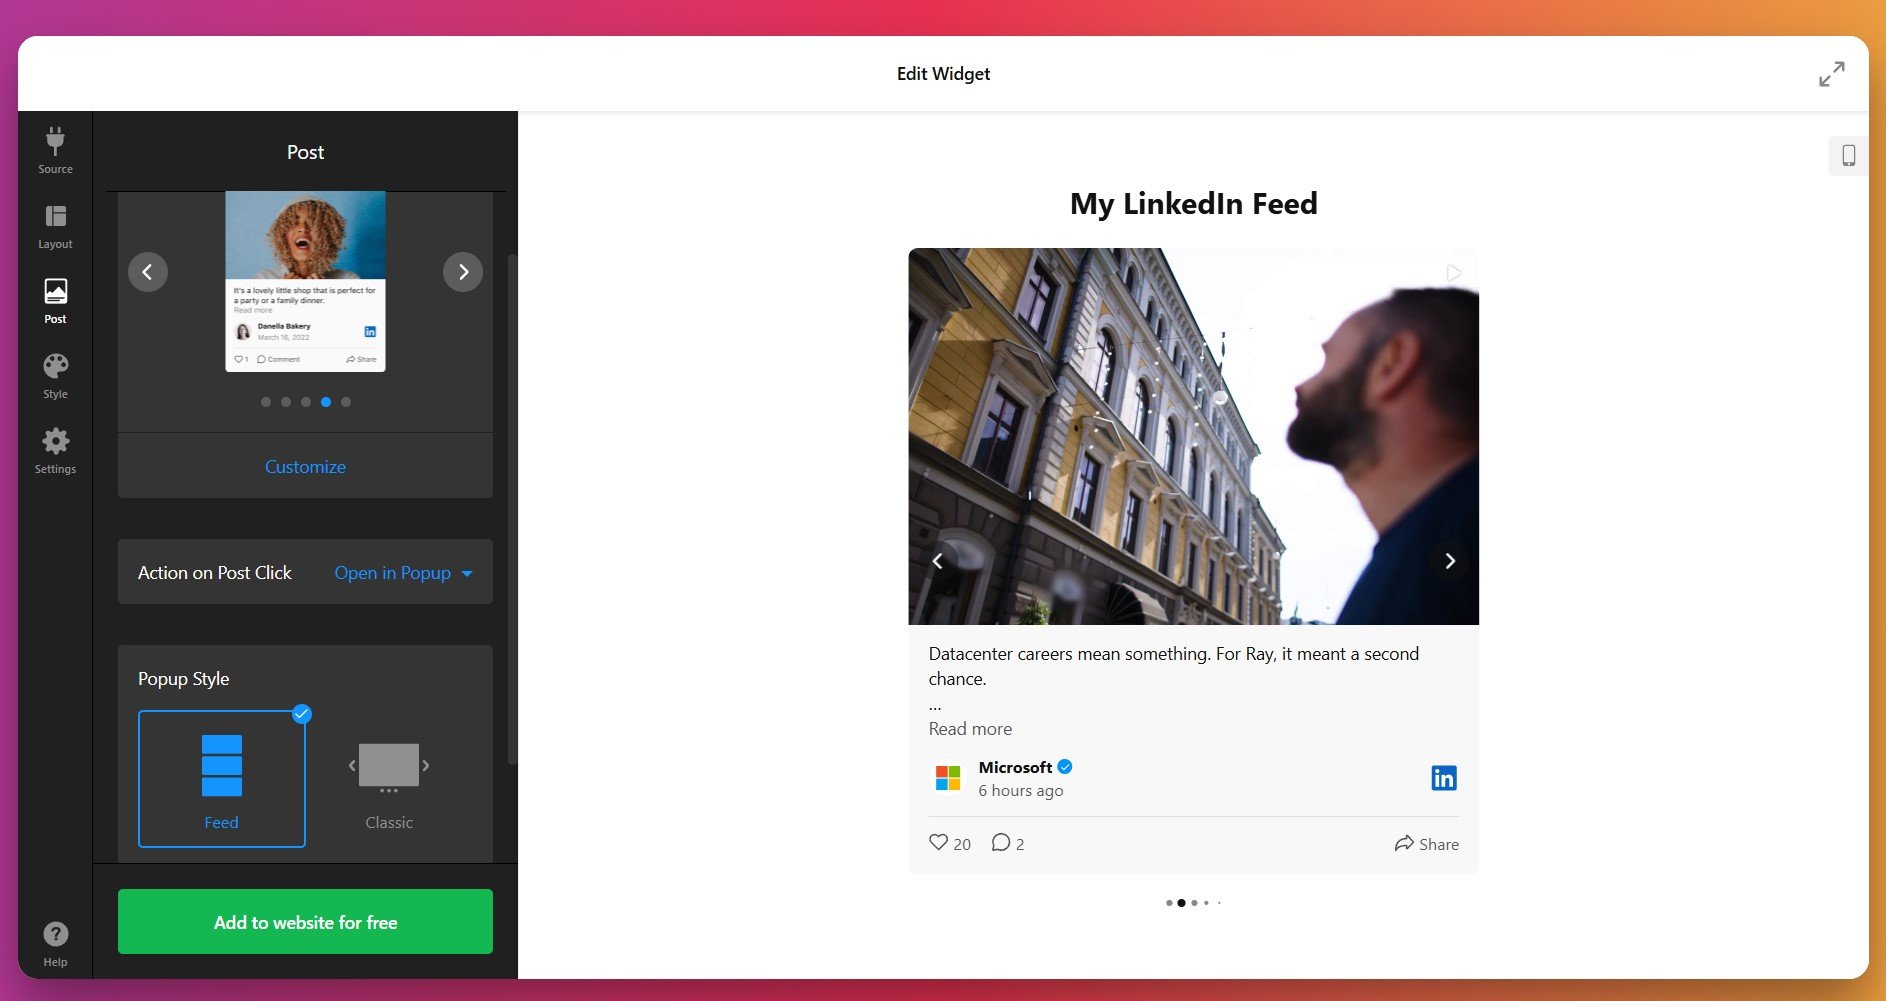
In the Post tab, you control each post card: there are multiple card styles, and you can toggle which elements appear (author avatar, author name, post text, date, action bar, source badge, attachments).
Choose what happens on click: open in a popup, open the original post on LinkedIn, or do nothing (static). This lets you either keep visitors on your website or drive them to LinkedIn for engagement.
5. Adjust the appearance
Under the Style tab, you can customize and match the feed to your brand:
- Color Scheme: Choose the Light, Dark, or Custom themes.
- Fonts: Pick the primary font for your feed from our library.
- Header and Post: Adjust the alignment, element colors, and text parameters.
- Navigation: Set the size and color of arrows in the default state and on hover.
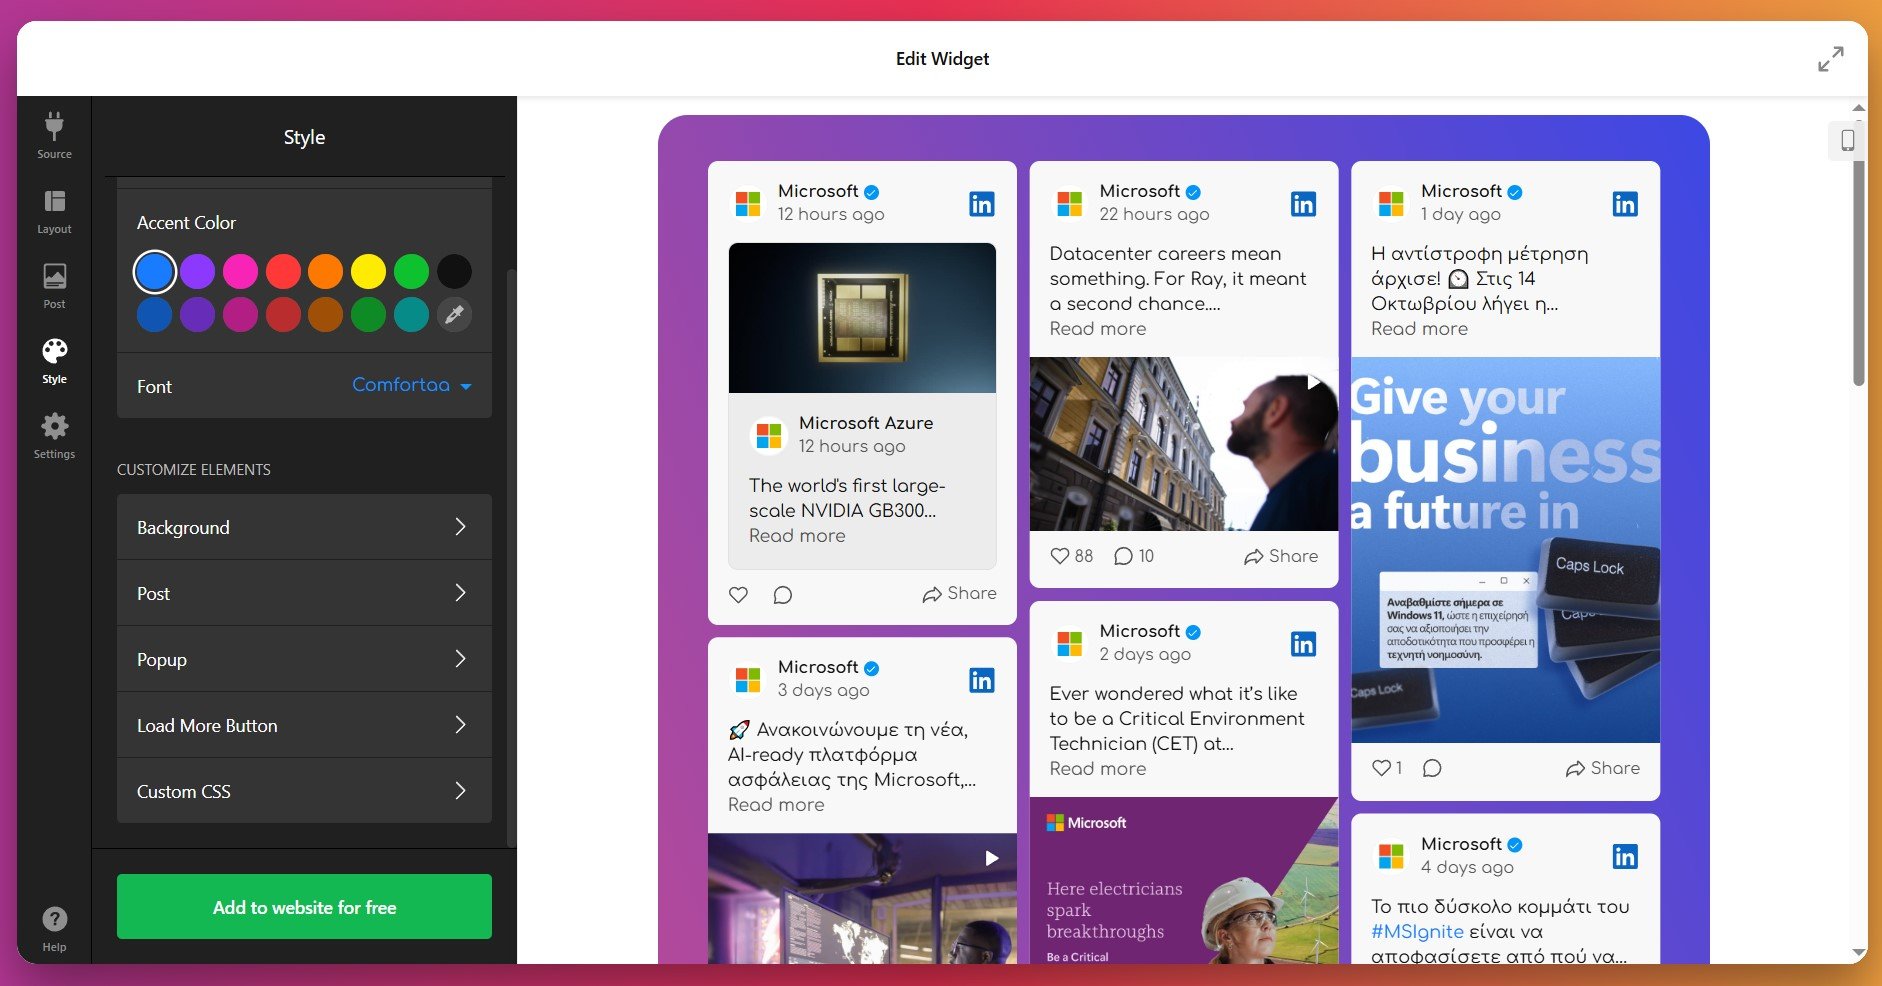
If you need exact brand compliance, the widget includes a Custom CSS editor for advanced styling. Want to try it but unfamiliar with coding? In the editor, you’ll find links to our Feature Request form and Forum discussions for ready-to-use CSS from other users.
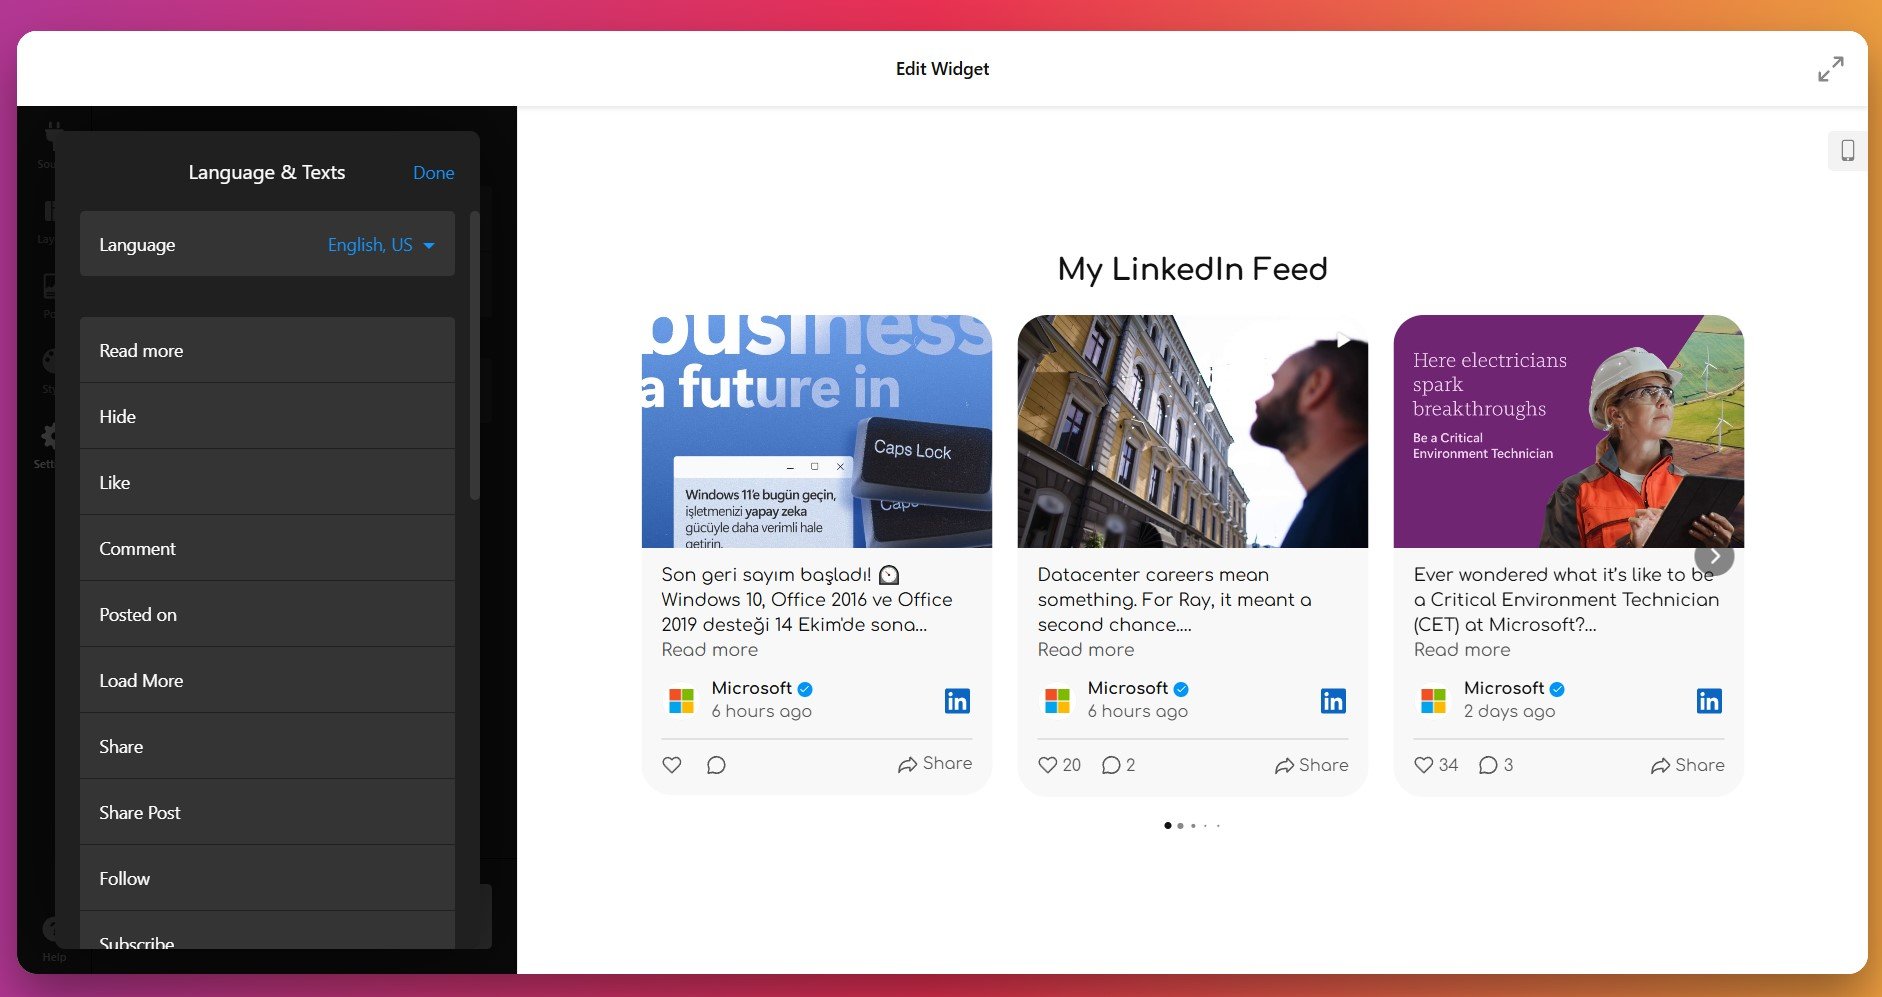
6. Configure the settings
As the last step, you modify widget behavior and global settings in the Settings tab: set localization (20+ languages), text labels, and add custom JS code if needed.
7. Get the installation code
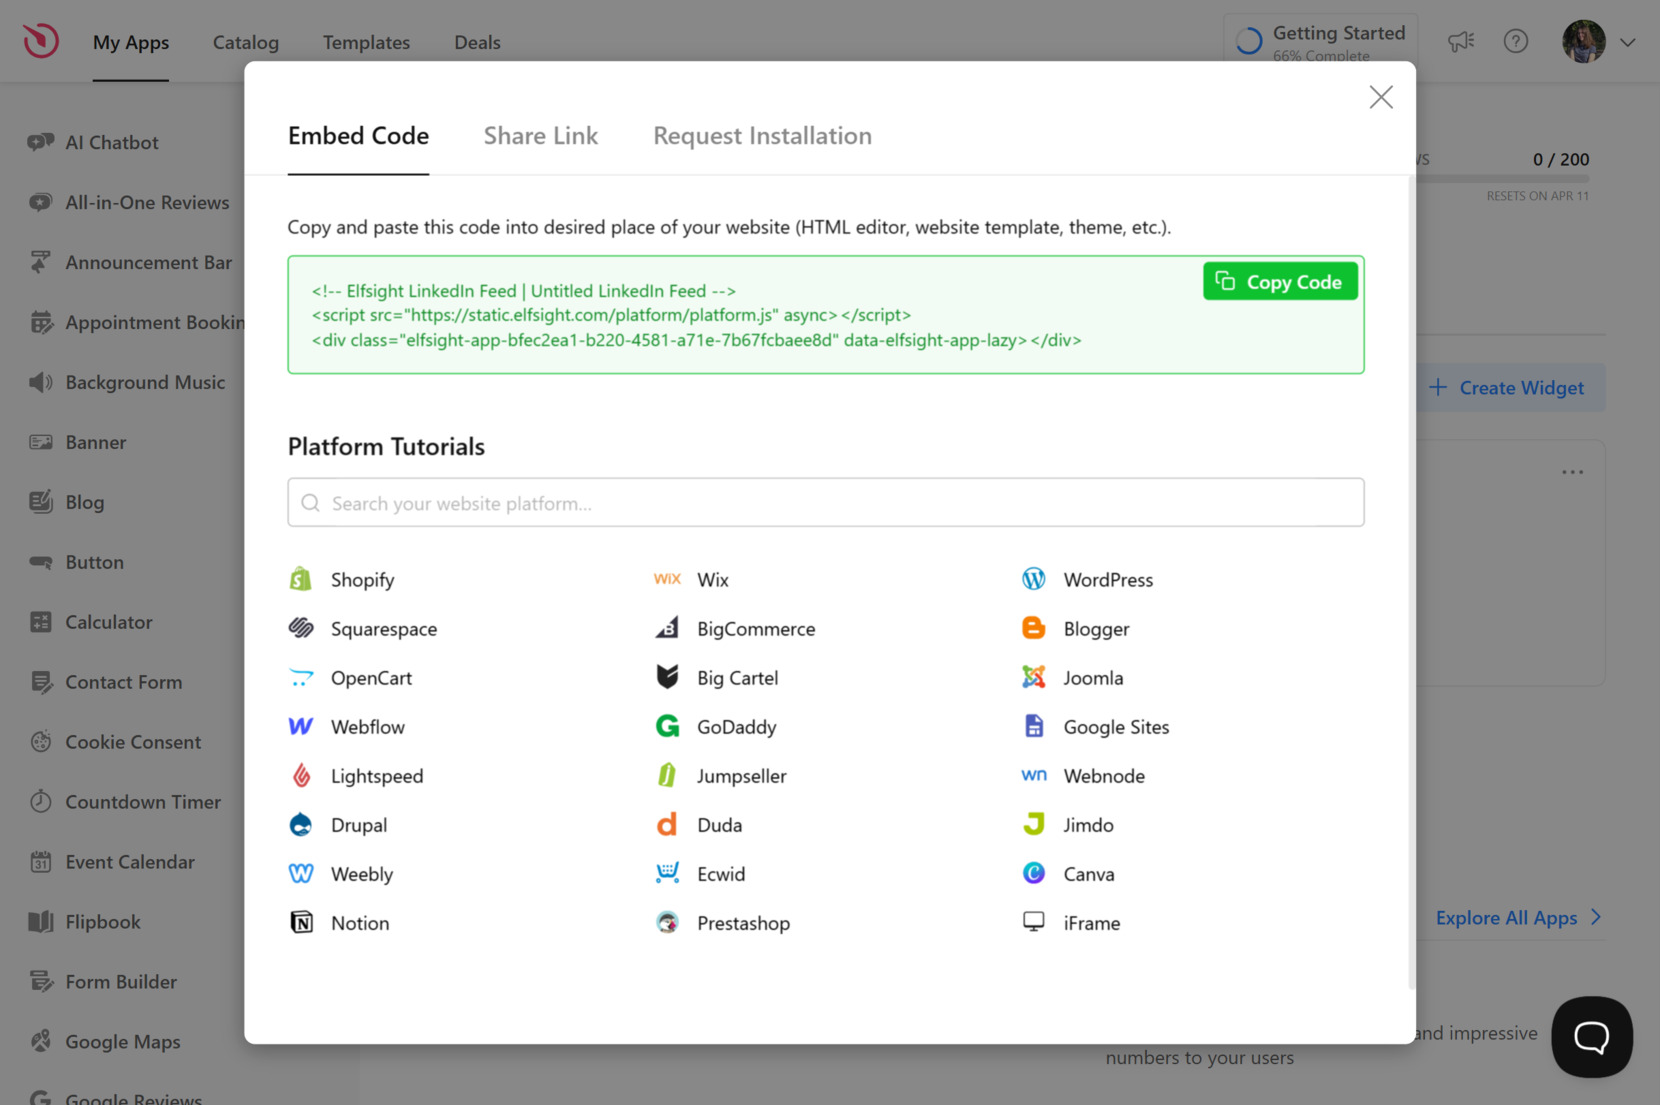
When the widget is ready, click “Add to website”. The editor will generate your personal embed code — copy it to your clipboard. This snippet contains all the widget settings you configured.
8. Embed LinkedIn on your website
With your widget fully configured and the Elfsight snippet copied, the only thing left to do is to choose where the widget should appear on your website. Below are three common methods — they work the same way for LinkedIn as for other Elfsight social widgets.
Option 1: Specific page
Quick workflow: Open page Editor → Insert HTML block → Paste code → Save & Publish
- Open your website Editor for the chosen page
- Insert an “HTML” or “Embed” block (or “Custom HTML” widget)
- Paste the Elfsight snippet into the chosen block
- Save to apply changes
- Resize the block as needed and preview in mobile view
Option 2: Inline widget on all pages
Quick workflow: Open website Editor → Paste code into HTML field → Save & Publish
- Open your website Editor
- Navigate to a site-wide HTML/Embed area (e.g., theme footer, global section, or a block that shows on every page)
- Paste the Elfsight snippet into the HTML field
- Save to apply changes
- Refresh to preview – the LinkedIn feed will display wherever that block appears
Option 3: Floating widget (specific or all pages)
For a floating placement (e.g., a corner feed or a persistent widget), add the snippet via your CMS/global custom code settings:
Dashboard → Settings → Custom Code → Body – Start
Choose page targeting if your platform allows (specific pages vs. all pages).
Alternative ways to show your LinkedIn feed
There are a few alternative methods for adding LinkedIn content to your website, though each comes with some notable trade-offs compared to a custom all-in-one solution.
LinkedIn’s Manual Embed
LinkedIn allows you to embed individual posts directly from the platform using a built-in feature.
- Go to the posts section and locate the content you want to display.
- Click the three dots in the upper right corner of a post and select “Embed this post.”
- Click the “Copy code” button in the popup window.
- Add the code to your page editor where you want the post to appear.
- Each post requires manual embedding, repeating the process for every piece of content.
More details are available in LinkedIn’s documentation.
WordPress plugin integration
WordPress users can install dedicated plugins from the official repository.
- Download and activate a compatible plugin from the WordPress plugin repository.
- Sign up for the plugin service, which typically offers a limited free trial period.
- Add your company or personal LinkedIn page URL through the plugin dashboard.
- Customize how posts appear using the plugin’s options panel.
- Copy the provided shortcode or PHP code and insert it into your WordPress pages.
More information can be found in WordPress plugin directories.
Third-party content aggregation services
Various social media aggregation platforms offer LinkedIn feed collection capabilities through their dashboards.
- Create an account with a content collection platform that supports LinkedIn.
- Input your company page URL or configure hashtag and keyword tracking.
- Adjust layout, colors, and display options through the service dashboard.
- Retrieve the JavaScript or iframe code generated by the platform.
- Paste the embed code into your website builder or content management system.
Additional setup guidance is typically provided in platform documentation. Look for Support or Help Center pages.
How do these methods compare?
| Method | Major pro | Major con |
|---|---|---|
| Elfsight | Automatic updates work on any website platform and require no technical skills or special permissions. | Use of a third-party widget is required. |
| Manual Embed via LinkedIn | No third-party service is needed, making it a straightforward option for single posts. | Each post must be added individually with no automatic updates, creating significant maintenance overhead. |
| WordPress Plugin Integration | Designed specifically for WordPress users with familiar dashboard controls. | Limited to WordPress only and often requires premium subscriptions for essential features like auto-sync. |
| Third-Party Content Aggregation | Can collect content from multiple social platforms in one place. | Requires admin access to company pages and typically offers limited free features. |
Pro tips for adding a LinkedIn Feed
- Boost trust with author info enabled. Users are more likely to engage with real people than brands. If you use personal branding alongside company updates, turn on author photos and names – this humanizes your feed instantly.
- Make posts clickable Many people don’t realize you can turn off popups and link posts directly to LinkedIn. This is ideal when your goal is driving profile traffic, connections, or lead outreach.
- Optimize loading speed. Limit initial load to 6–9 posts and enable “Load More”. This improves Core Web Vitals and prevents layout shift.
- Improve layout balance. In Post → Customize, adjust Image Ratio (original, 1:1 square, 2:3 vertical, etc.) to fit your exact website layout and requirements.
- Check LinkedIn updates. If image previews break or captions disappear, it often isn’t a bug — LinkedIn just changed their HTML structure. Reconnect your LinkedIn source to refresh permissions.
- Use post filtering. If your company posts a lot of jobs, they can overwhelm the feed. Use keyword-based filters (e.g. “hiring,” “remote,” “apply”) in the moderation settings to hide recruiting posts and keep the feed focused on content that builds trust.
Frequently asked questions
Why isn't my LinkedIn Feed widget showing any posts after setup?
Can I embed individual LinkedIn posts instead of a full feed?
Why isn't the feed updating with my newest LinkedIn posts?
Why is my LinkedIn Feed still showing a deleted post?
Any difference between embedding a company page feed vs personal profile?
Final thoughts
LinkedIn makes embedding a live feed harder than any other major network, but you’re not out of options. Native embedding works for the occasional single post, and aggregation tools pull in multiple networks at once, provided you have admin access and don’t mind the limits of a free tier. Each solves part of the problem.
If you want a feed that updates automatically, works on any platform, and matches your brand without touching code, a dedicated widget is the most reliable route. Set it up once, and your latest company updates, hires, and milestones show up where prospects actually make decisions — on your own website.