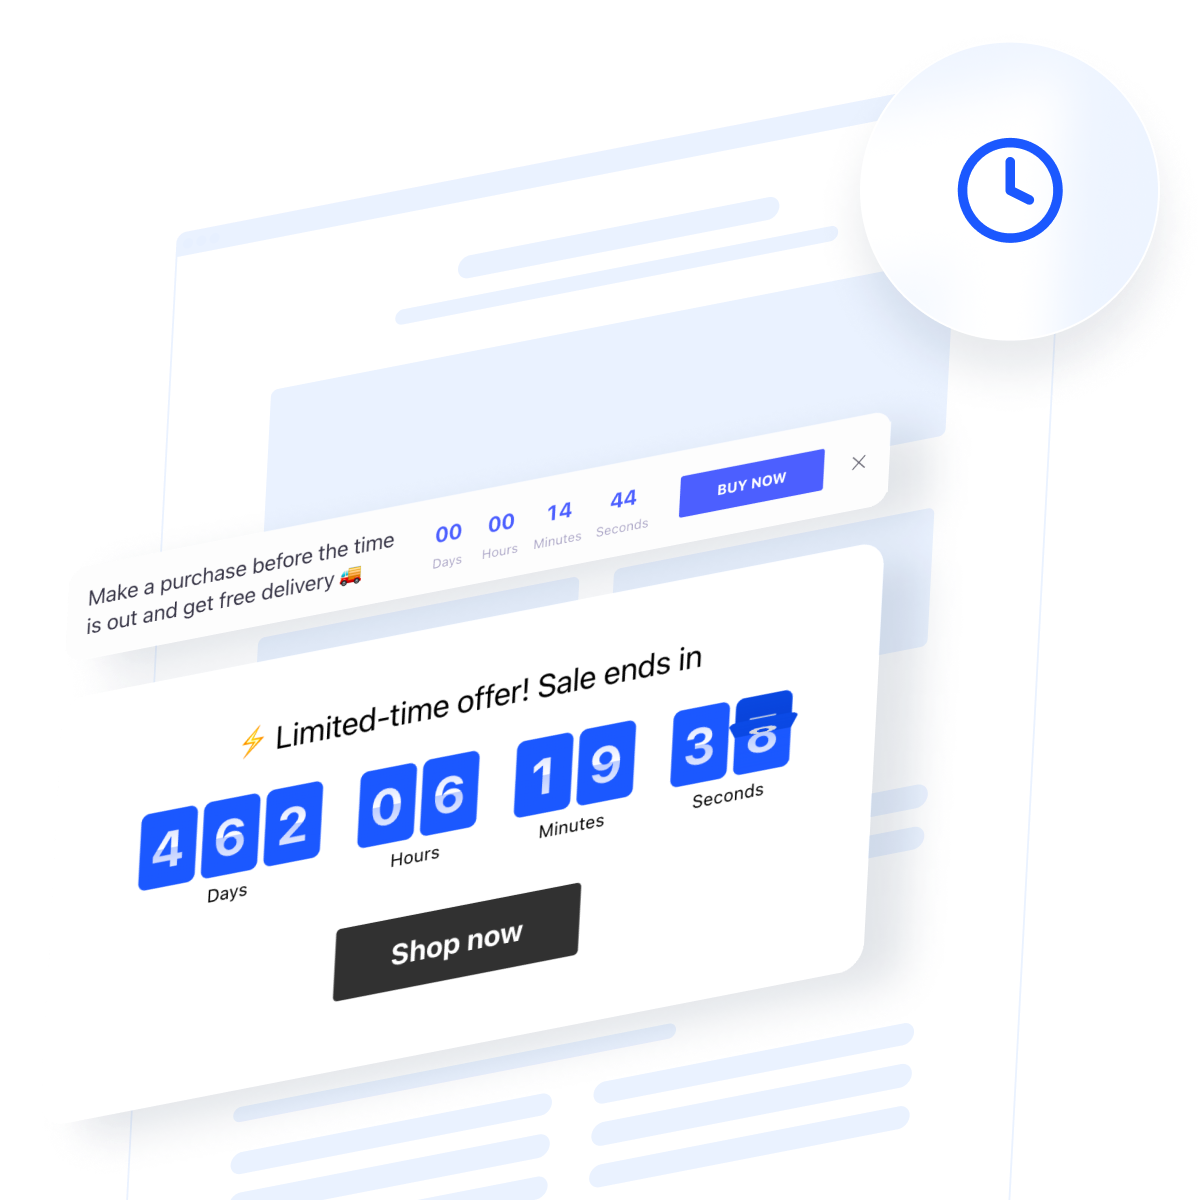
If you’re looking to boost engagement, improve conversions, or simply keep users informed about key events, a Countdown Timer is exactly what you need. It’s a powerful yet simple way to communicate time-sensitive messages to your website visitors.
Here are just of the advantages of having such a feature:
- Drive urgency and trigger faster decisions. Countdown timers create a real-time sense of scarcity, encouraging visitors to take immediate action before the opportunity disappears.
- Spotlight time-sensitive events with precision. Perfect for product launches, webinars, and holiday sales, timers make sure your visitors know exactly when something big is happening.
- Guide user attention to key offers. A strategically placed timer draws the eye and helps focus visitors on your most important campaigns, increasing their impact.
- Boost conversion rates with subtle psychological pressure. When users see time ticking away, it naturally pushes them closer to making a purchase or signing up.
- Build anticipation and engagement before the big moment. Use timers to warm up your audience for upcoming events, product reveals, or limited-edition drops — turning curiosity into clicks.
This simple addition to your website can have a powerful impact on user behavior — boosting engagement, driving urgency, and increasing conversions. Now, let’s explore how you can embed a countdown clock to your website with a no-code solution!
Quick Guide to Add Countdown Timer to Website
The quickest and easiest way to add a Countdown Timer to your website is by using the no-code widget from Elfsight. You don’t need coding skills — just a few clicks in a visual editor to build and embed your counter. Here are the steps:
- Open the editor and select a Countdown Timer template that fits your needs.
- Set your target date and time, and adjust widget settings and alignment.
- Customize the appearance and animation styles to match your branding.
- Click “Add to website for free“, copy the embed code, and paste it into your website’s backend.
See the widget in action – build your Countdown Timer in minutes!
Features of the Elfsight Widget
Once you’ve built your timer, Elfsight gives you full control over its appearance and behavior. The widget comes with powerful features designed to suit a wide range of business needs — from flash sales to product launches and seasonal events.
Here’s what it has to offer:
- Fully customizable design. Change colors, fonts, sizes, and labels to fit your site’s branding.
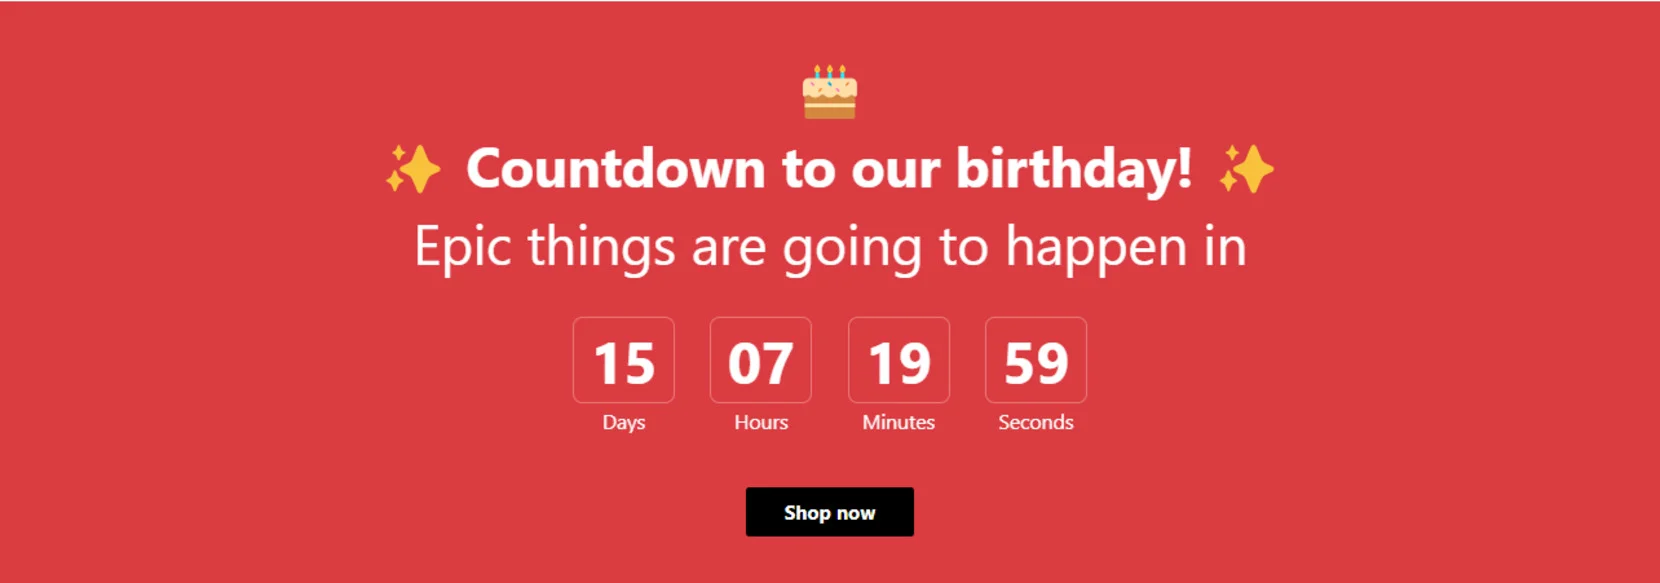
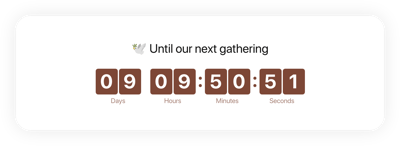
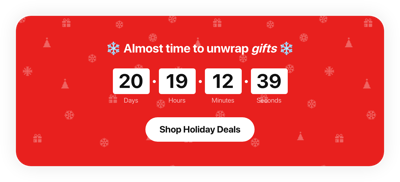
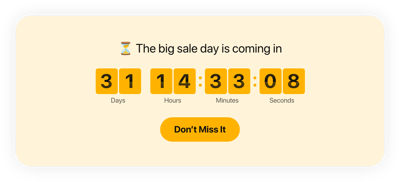
- Four timer types. Choose from start-to-finish, evergreen, recurring, or daily timers for maximum flexibility.
- Multiple layout options. Position the Countdown Display as a bar, boxed element, floating widget, or inline block.
- Custom call-to-action button. Add a clickable button with your own text and link to boost conversions.
- Visibility controls. Set start/end times, display conditions, or hide the timer once it hits zero.
- Mobile responsiveness. The Launch Countdown adapts seamlessly to all screen sizes and devices.
These flexible features make the Countdown widget a great fit for ecommerce websites, marketing campaigns, and time-sensitive promotions. Next, let’s dive into a step-by-step guide to help you set it up on your website.
Embed Countdown Clock to Website: Step-by-Step
Elfsight makes the installation process simple with a step-by-step builder that requires no coding skills. Below is a detailed guide to help you make the most of your counter:
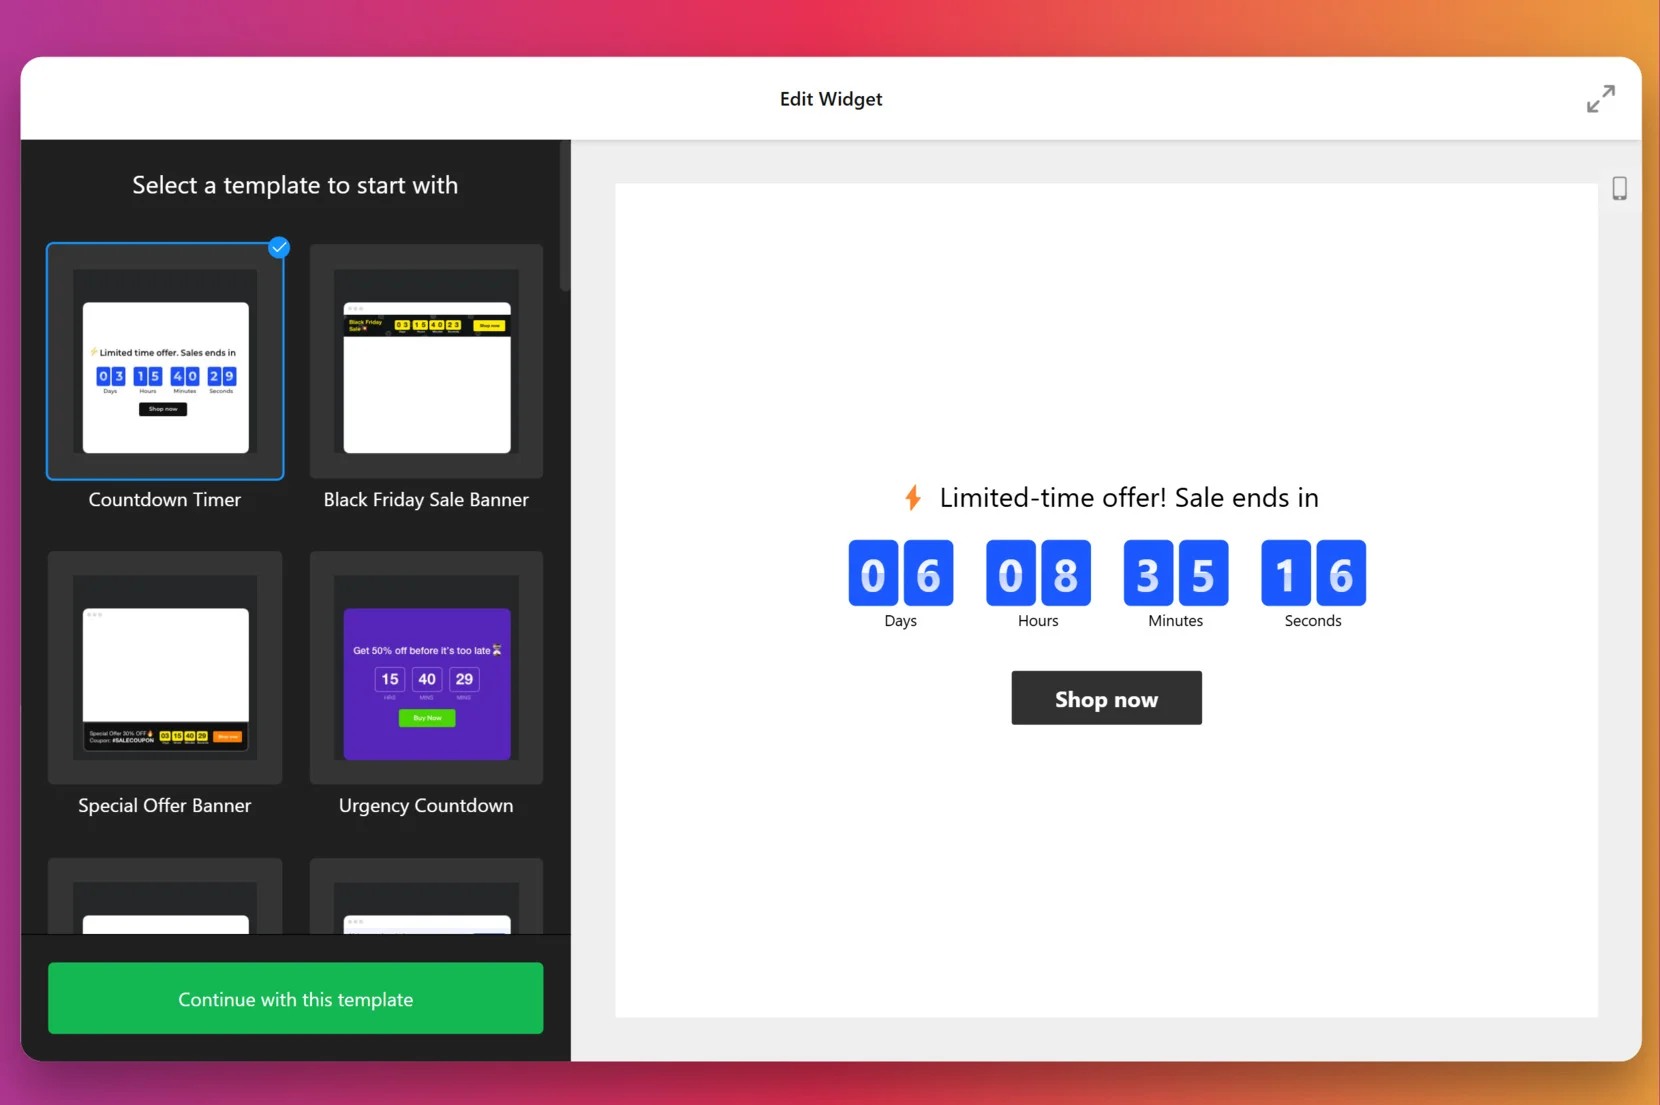
- Select a starting template. Open the editor and choose a template that suits your intent. Click “Continue with this template” to start customizing your widget with the selected design.

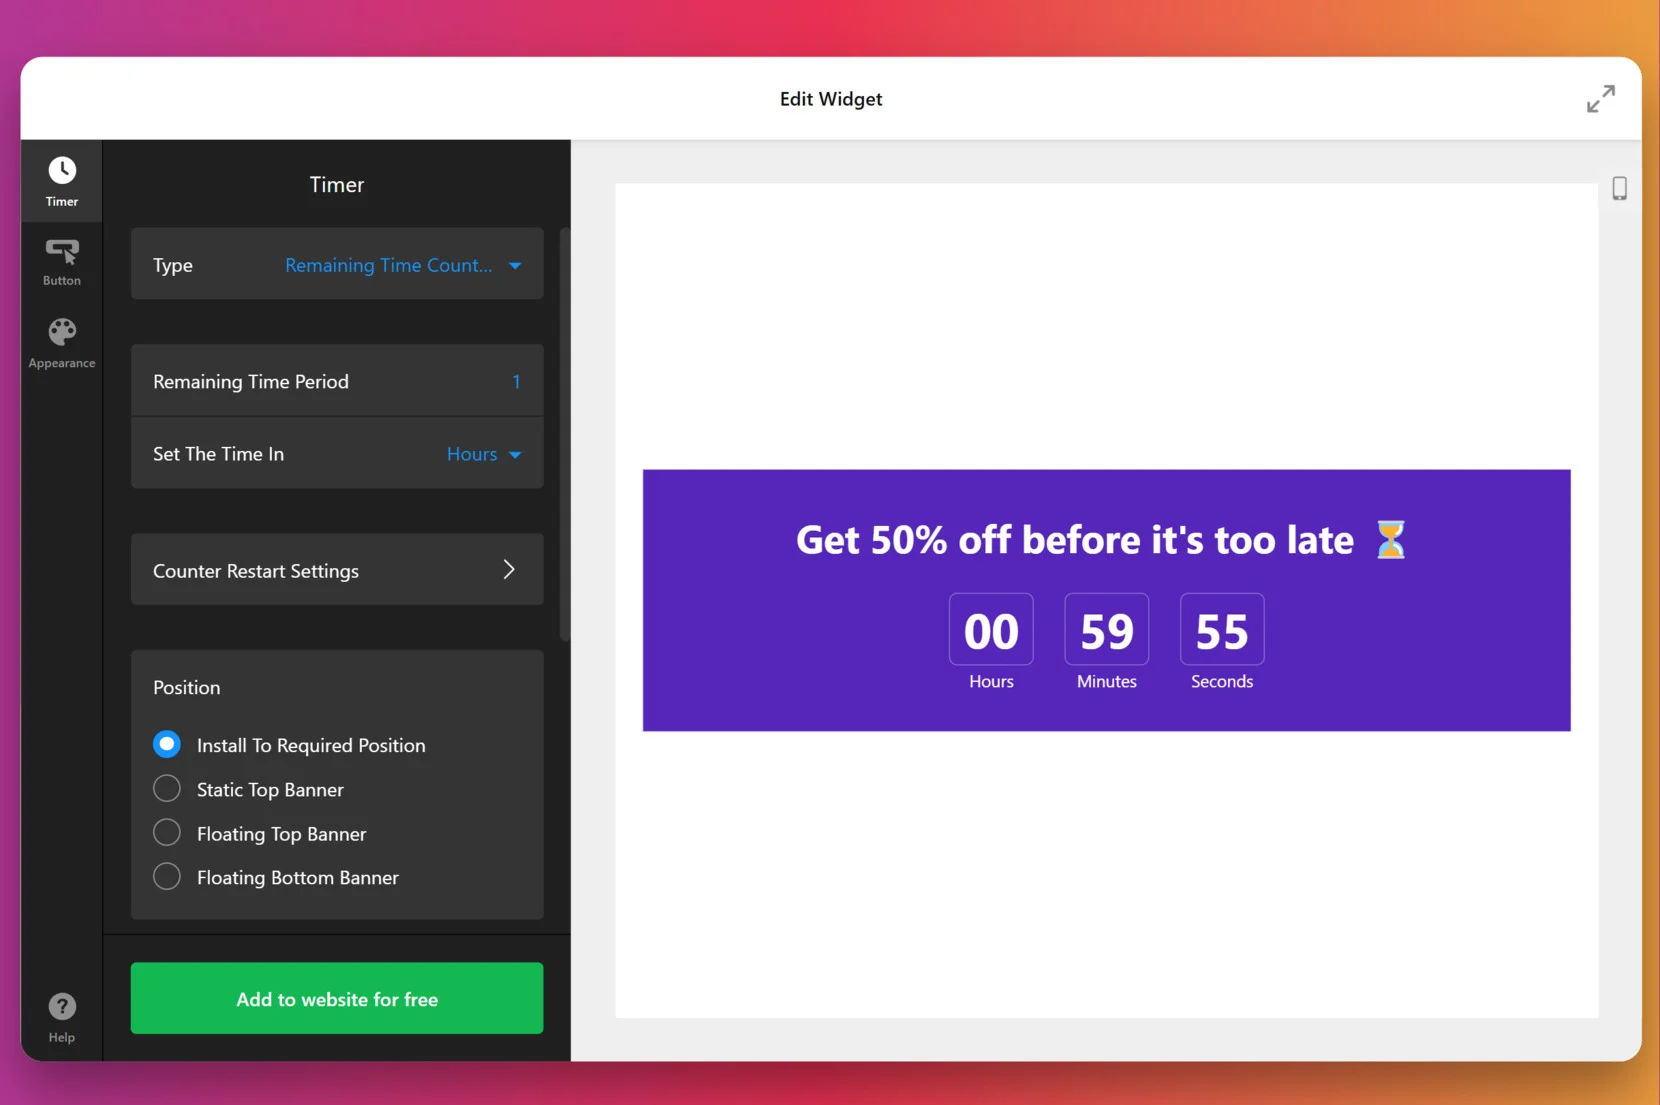
- Configure the timer settings. Go to the “Timer” tab and choose the countdown type: “Remaining Time Countdown,” “Start-to-Finish,” or others. Set the countdown duration, define the time unit (hours, days, etc.), and select the display position — fixed placement, static top, or floating bar.
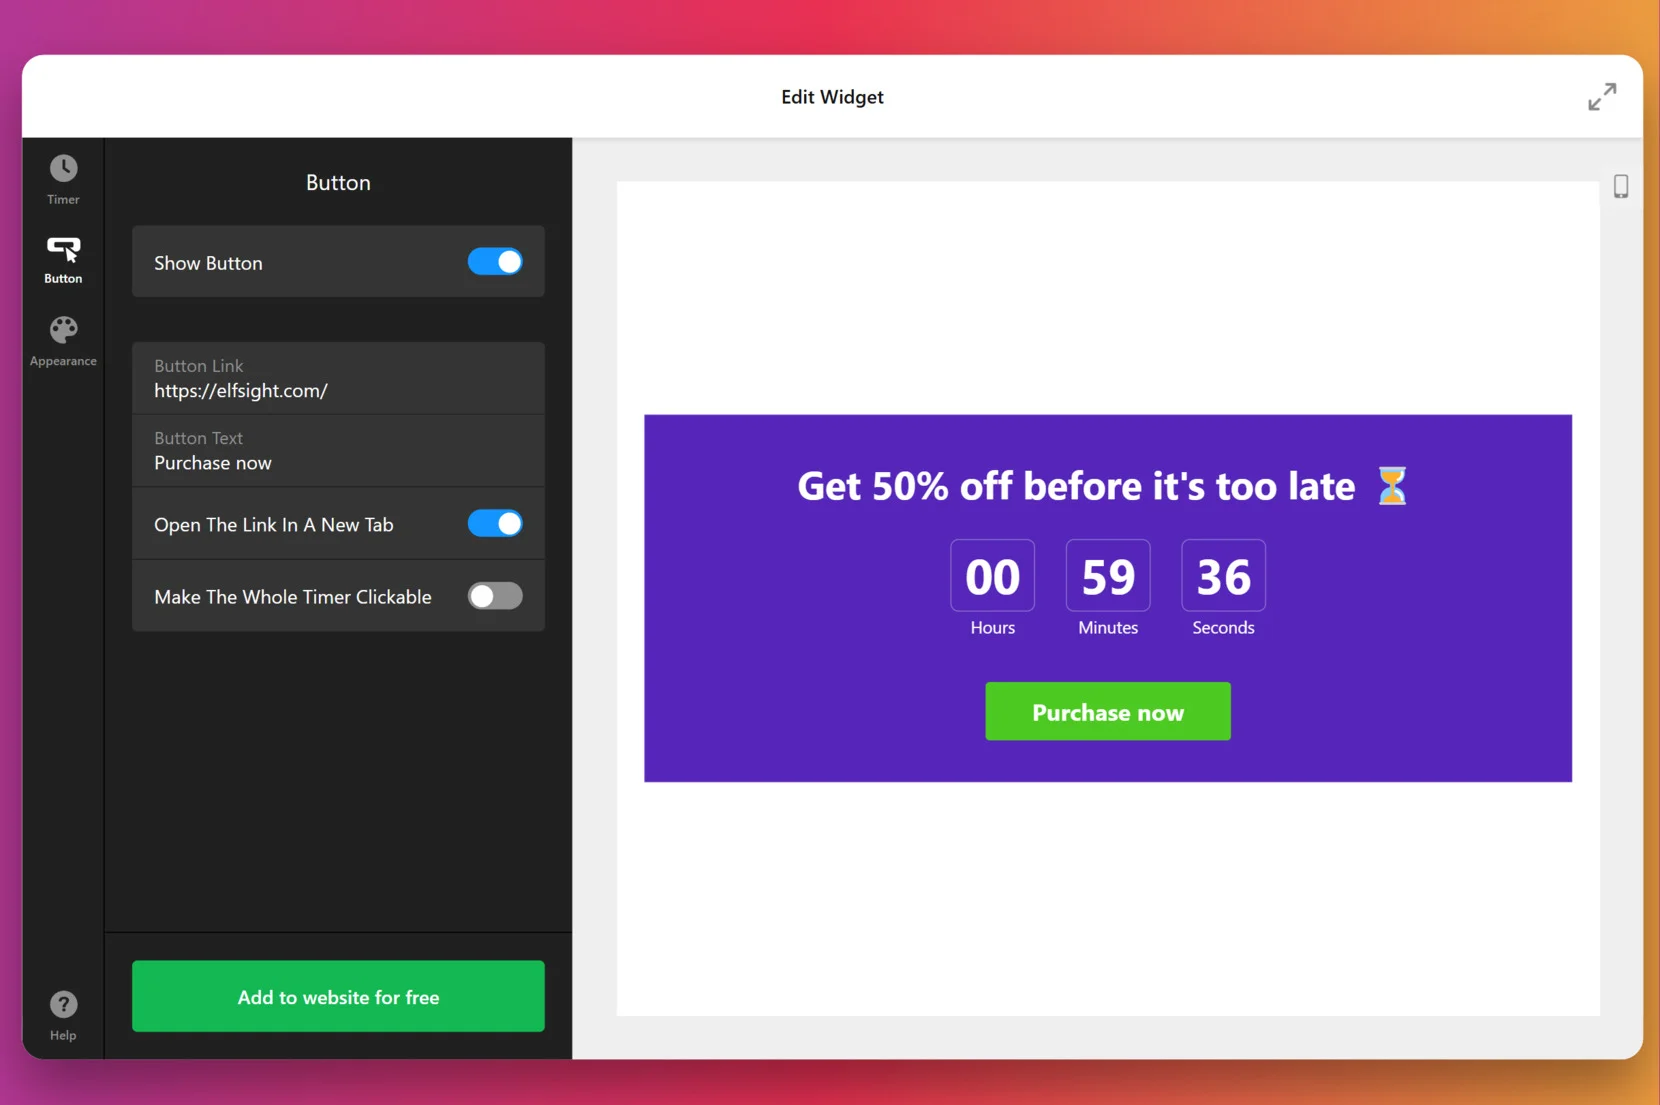
- Customize the call-to-action button. Switch to the “Button” tab. Enable or disable the button display, insert your custom URL, write your button text (e.g., “Purchase now”), and choose if it should open in a new tab or make the entire timer clickable.
- Style the widget appearance. Under the “Appearance” tab, pick from multiple timer designs, including standard styles or themed variations like “Holiday.” Adjust fonts, background colors, spacing, and apply animations or add custom CSS to fully match your branding.
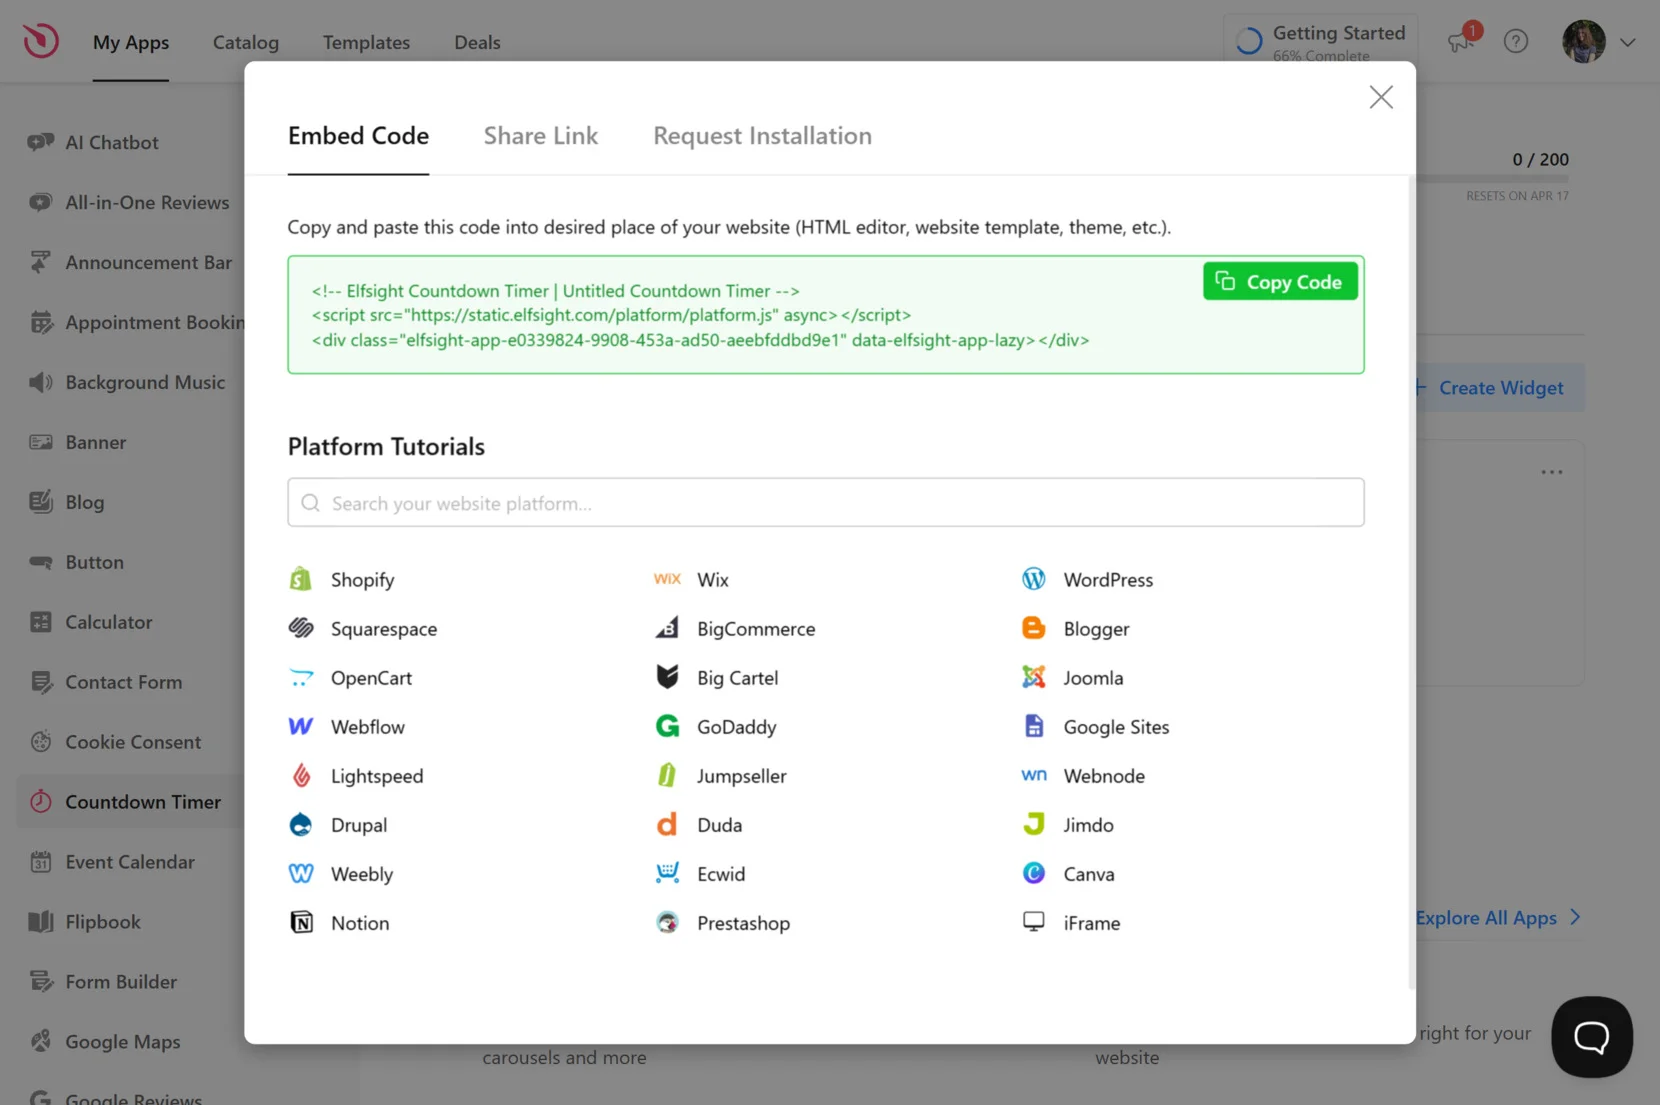
- Embed the countdown clock on your website. Click the green “Add to website for free” button. Copy the embed code provided in the pop-up. Then paste this code into the HTML section of your website builder. Save and publish your changes to make the timer live.

Once installed, your website countdown will display in real-time, encouraging visitors to take action and making your campaigns more effective. Below, we’ll look at some alternative ways to embed a timer to your website.
Other Ways to Add Countdown Timer
There are a few alternative solutions to embed a countdown timer on your website. In this section, we’ll describe using the basic HTML/JavaScript coding method.
How to Add a Countdown Timer Using JavaScript
This method involves embedding custom code directly into your site’s HTML. It’s flexible, requires no external services, and can be customized if you’re comfortable editing code.
Here’s the instruction:
- Open your website’s HTML editor. Depending on how your website is built, this might be within your CMS (like WordPress, Squarespace, or Webflow), your hosting provider’s file manager, or directly in your website’s code files if you’re working locally or via FTP.
- Insert the countdown container into your page. Locate the section of your HTML where you want the timer to appear — this could be within a hero banner, product page, or promotion block. Then paste the following code where the countdown should be rendered: “<div id=”countdown”></div>”.
- Add the JavaScript countdown logic. Scroll to the bottom of your HTML file, just before the closing </body> tag. Paste the script below. This code calculates the remaining time until your target date and dynamically updates the content of the countdown element every second:
<script> const targetDate = new Date("Dec 31, 2025 23:59:59").getTime(); const countdown = document.getElementById("countdown"); const timer = setInterval(function() { const now = new Date().getTime(); const distance = targetDate - now; const days = Math.floor(distance / (1000 * 60 * 60 * 24)); const hours = Math.floor((distance % (1000 * 60 * 60 * 24)) / (1000 * 60 * 60)); const minutes = Math.floor((distance % (1000 * 60 * 60)) / (1000 * 60)); const seconds = Math.floor((distance % (1000 * 60)) / 1000); countdown.innerHTML = days + "d " + hours + "h " + minutes + "m " + seconds + "s "; if (distance < 0) { clearInterval(timer); countdown.innerHTML = "EXPIRED"; } }, 1000); </script> - Save your changes and preview the website. Once you’ve saved the file and refreshed your browser, you should see the live countdown ticking down toward your set date and time. This timer updates in real-time and requires no additional interaction from the user.
Countdown Timer Methods Compared
Here’s how the Elfsight Countdown Timer stacks up against other common methods in terms of usability, customization, and ease of installation:
| Method | Major Pro | Major Con |
|---|---|---|
| Elfsight | Offers an intuitive visual editor and powerful customization without coding. | Advanced features require a paid plan after the free version. |
| JavaScript | Gives full control over the countdown logic and styling. | Requires coding skills and doesn’t include built-in responsiveness or design options. |
Next, let’s look at some expert tips to help you maximize the widget’s impact.
Tips for Getting the Most Out of Website Counter
Using a countdown timer effectively is more than just adding a clock — it’s about strategy, design, and timing. Below are key tips to help you get the best performance from your widget.
- Place it where it gets seen first. Position the timer above the fold so it grabs attention right away without scrolling.
- Use urgency-driven text. Pair the timer with phrases like “Only a few hours left” or “Offer ends soon” to spark action.
- Match it to your site’s look. Customize the font, color, and layout so the countdown clock feels native to your design.
- Set a precise end time. A clear, fixed deadline builds trust and helps visitors understand exactly how much time they have.
- Preview across devices. Make sure your website countdown looks perfect on desktop, tablet, and mobile screens.
- Keep your website fast. Avoid cluttering pages with heavy scripts — ensure your timer loads smoothly and quickly.
- Add a call-to-action. A timer works even better when it’s paired with a button leading to a product, signup, or offer.
- Automate with recurring timers. Use this option for daily, weekly, or repeated events without manually updating the clock.
Now, let’s look at examples of how different industries can use countdown timers to drive engagement and boost conversions.
Who Should Use a Countdown Timer: Use Cases
Countdown timers are effective across a wide range of industries, helping to build urgency, highlight limited-time offers, and boost engagement. Below are detailed examples of how different sectors use this feature to their advantage.
Application in eCommerce
Online stores use countdown widgets to boost conversions during flash sales, seasonal discounts, or product restocks. A visible timer on product pages encourages customers to act fast before the deal ends or items sell out.

Application in Events and Entertainment
Event organizers, artists, and entertainment companies use countdowns to build anticipation for live streams, concerts, ticket sales, or festival launches. Embedding a countdown clock on a landing page lets visitors know exactly when the event starts or ticket sales open, encouraging early engagement and participation.
Application in Education and Online Learning
Educational platforms and course creators use countdowns to highlight enrollment deadlines, exam schedules, or course launches. Displaying a timer on landing pages helps prompt sign-ups by signaling limited access or time-sensitive learning opportunities.

These examples show how versatile the countdown feature can be. Whether you’re launching a sale, promoting an event, or opening course registration, there’s a template that fits your needs.
Explore 50+ Countdown Timer templates


Troubleshooting Common Issues
While countdown timers are easy to use and highly effective, some users may run into challenges during setup or display. Below are the most frequent issues and how to solve them.
Why isn’t my Countdown Timer showing up on the page?
Why is the timer not displaying the correct time or date?
Can I run multiple timers on one page?
How do I update the timer after it's embedded?
What if the timer disappears after loading?
Once you’ve worked through these setup and display tips, your timer should be running smoothly.
Final Thoughts
Adding a countdown to your website is a powerful yet simple way to create urgency, highlight key offers, and guide visitors toward action. Whether you’re launching a product, running a promotion, or promoting an event, a responsive countdown module can make a meaningful impact on your user engagement and conversions.
With Elfsight’s Countdown Timer widget, you get a flexible and intuitive tool that works seamlessly across platforms, no coding required. From setup to customization, everything is built to make your launch countdown widget easy to integrate and effective right out of the box.
Need Help Getting Started?
We hope this guide gave you the insights you need to successfully embed a Countdown Timer on your site. If you have any questions or need help fine-tuning your setup, contact us —our team is here to support you. Elfsight is committed to providing user-friendly, no-code solutions to enhance your website’s performance.
Want to connect with others and share your ideas? Join the Elfsight Community to discover tips, post feedback, and suggest new features. We’d love to hear your thoughts — drop your suggestions in our Wishlist anytime.