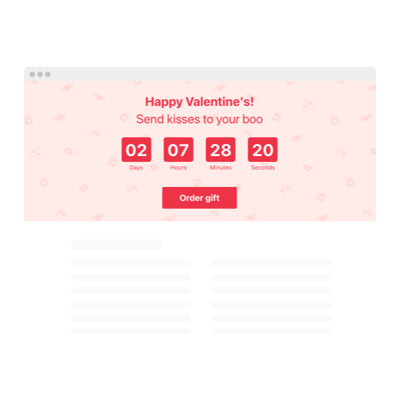
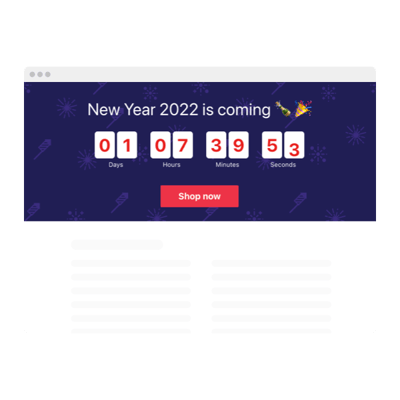
WordPress Event Countdown plugin
- 3 Types of Counters
- Custom Expiry Date Setup
- CTA Button
- 4 Switchable Count Units
- 3 Action After Timer Finishes
- 4 Layout Options
- 5 Timer Styles
- Advanced Design Settings
- 3 Number Changer Animations
- Mobile-Friendly
- Support Multiple Time Zones
- Custom CSS
- Seamless Website Integration
- Coding-Free Customization
Need a Different Template?


Here’s what people say about Elfsight Countdown Timer plugin


FAQ
How can I add the Event countdown timer to my WordPress website?
To embed the countdown timer for an event on your WordPress website, follow this straightforward process:
- Customize the plugin’s appearance so it suits your website’s branding and layout.
- Log in to your Elfsight dashboard or create a free account if you’re new.
- Copy the automatically generated installation code.
- Open your WordPress website.
- Paste the code where you want the countdown to appear. That’s it!
Need help? Check out our tutorial on how to embed a countdown timer without coding.
What happens after the countdown reaches zero?
The end of the countdown is just the beginning. You can choose from several powerful options: hide the timer entirely, show a message with a clickable call-to-action, or redirect visitors to any page you specify. It’s perfect for time-limited event campaigns, flash sales, or surprise announcements.
Which platforms support the plugin apart from WordPress?
This countdown is designed for universal compatibility. Whether you’re using a no-code website builder or a custom-built platform, the plugin integrates smoothly. Some popular supported platforms include:
Squarespace, Wix, HTML, Webflow, Shopify, Elementor, Google Sites, GoDaddy, and iFrame.
Is there a free version of the countdown?
Absolutely. Elfsight provides a Free plan that includes access to all features—no credit card is required. If your needs grow, you can upgrade anytime to a paid plan: Basic, Pro, Premium, or Enterprise, depending on your traffic requirements.
Do I need coding knowledge to use the plugin?
Not at all. The event-themed countdown is built with simplicity in mind—just copy and paste. No technical background is needed. Anyone can set it up in minutes using drag-and-drop builders or standard content editors, like WordPress.
Will the timer adapt to different time zones?
Yes. The plugin detects the user’s local time zone and adjusts the countdown accordingly. You can also choose a fixed time zone manually if you’re targeting a specific regional audience, like EST, PST, or CET.
Where on my WordPress website should I place the countdown?
Strategically placing the event-based timer can boost engagement and conversions. Here are common placement suggestions:
- Top banner or sticky header
- Landing pages or product promotions
- Blog announcements or launch articles
- Checkout and cart pages to create urgency
Can I customize the countdown?
Yes, the widget comes with deep customization options to match your brand and marketing strategy:
- Event details
Adjust everything from the timer label to the final message, CTA button text, redirect URL, and expiration action. - Display mode
Choose among static placement, sticky top banner, and floating top or bottom positions to grab attention. - Design flexibility
Tweak colors, fonts, animations, alignment, sizes, and even add custom CSS. From minimalist to festive styles, the options are all yours.
If you need help configuring it, our friendly Support Team is always ready to assist.
Help with WordPres Event Countdown Timer Setup and Website Installation
For further information on the plugin templates or assistance, we recommend checking out these options: