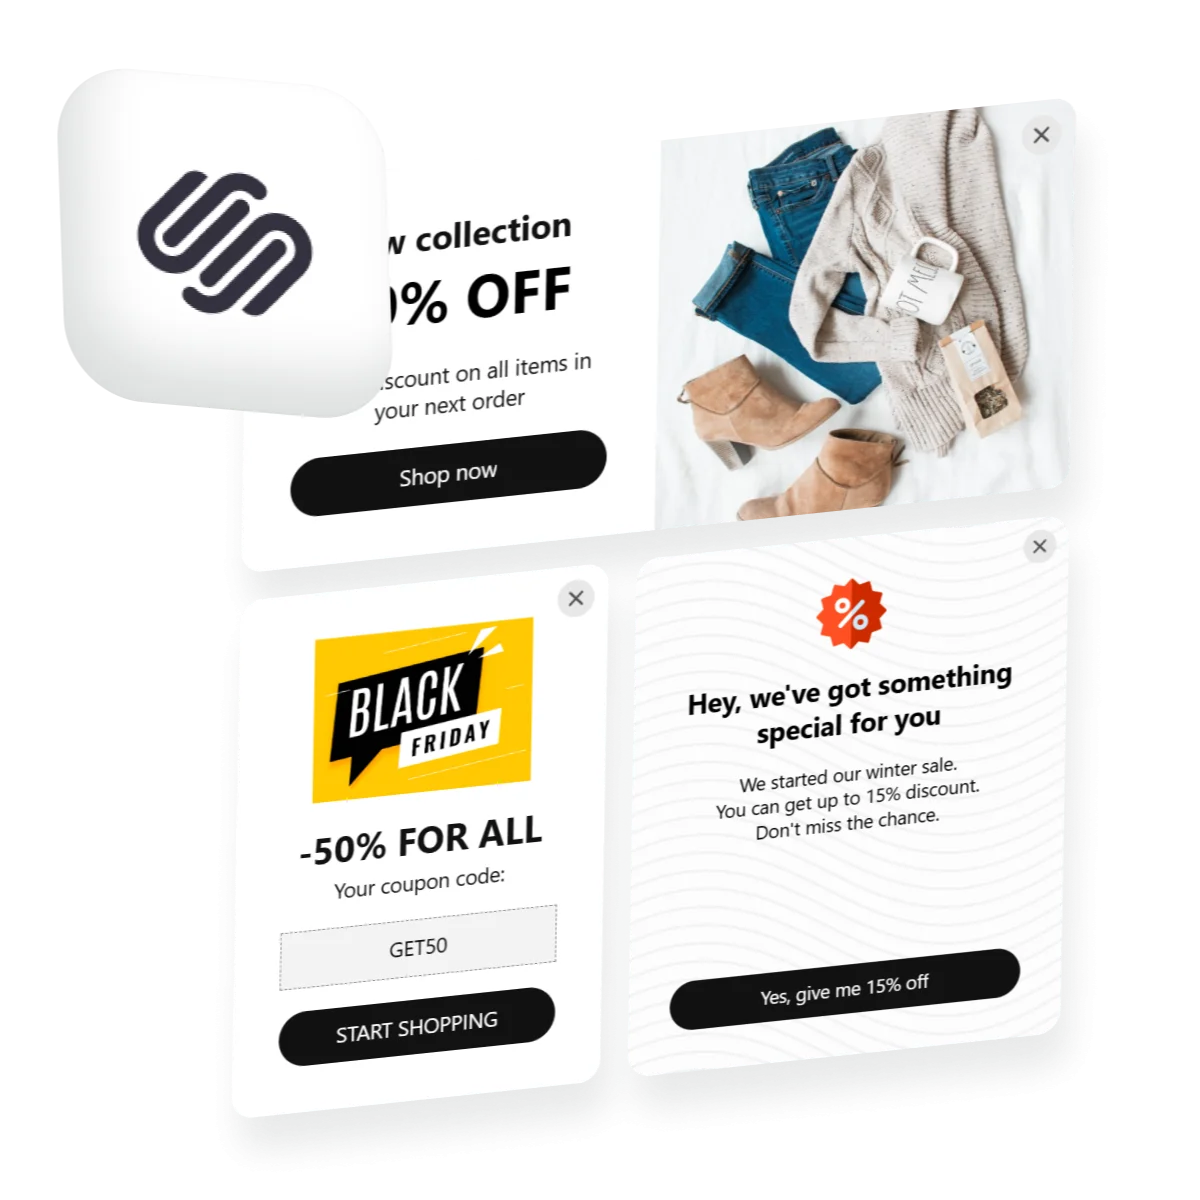
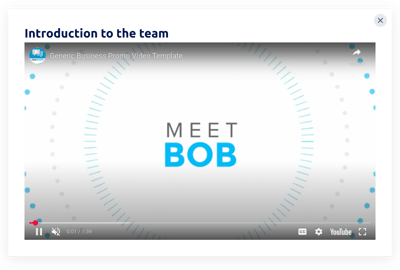
Creating an HTML popup is a simple and effective way to display important information or interactive content on your webpage. This guide explores two easy approaches: using a no-code widget for quick setup and crafting a native solution with HTML code.
Let’s dive in to exploring the ways as well as other useful info that will help you build a perfect popup for your HTML website.
Add a Popup to an HTML Site: Quick Way
The simplest approach to create an HTML notification popup is to use the Elfsight’s widget. This versatile solution works seamlessly with nearly all website builders and can be added to your site in just a few minutes.
Here’s how you can effortlessly add a popup to your website using this widget:
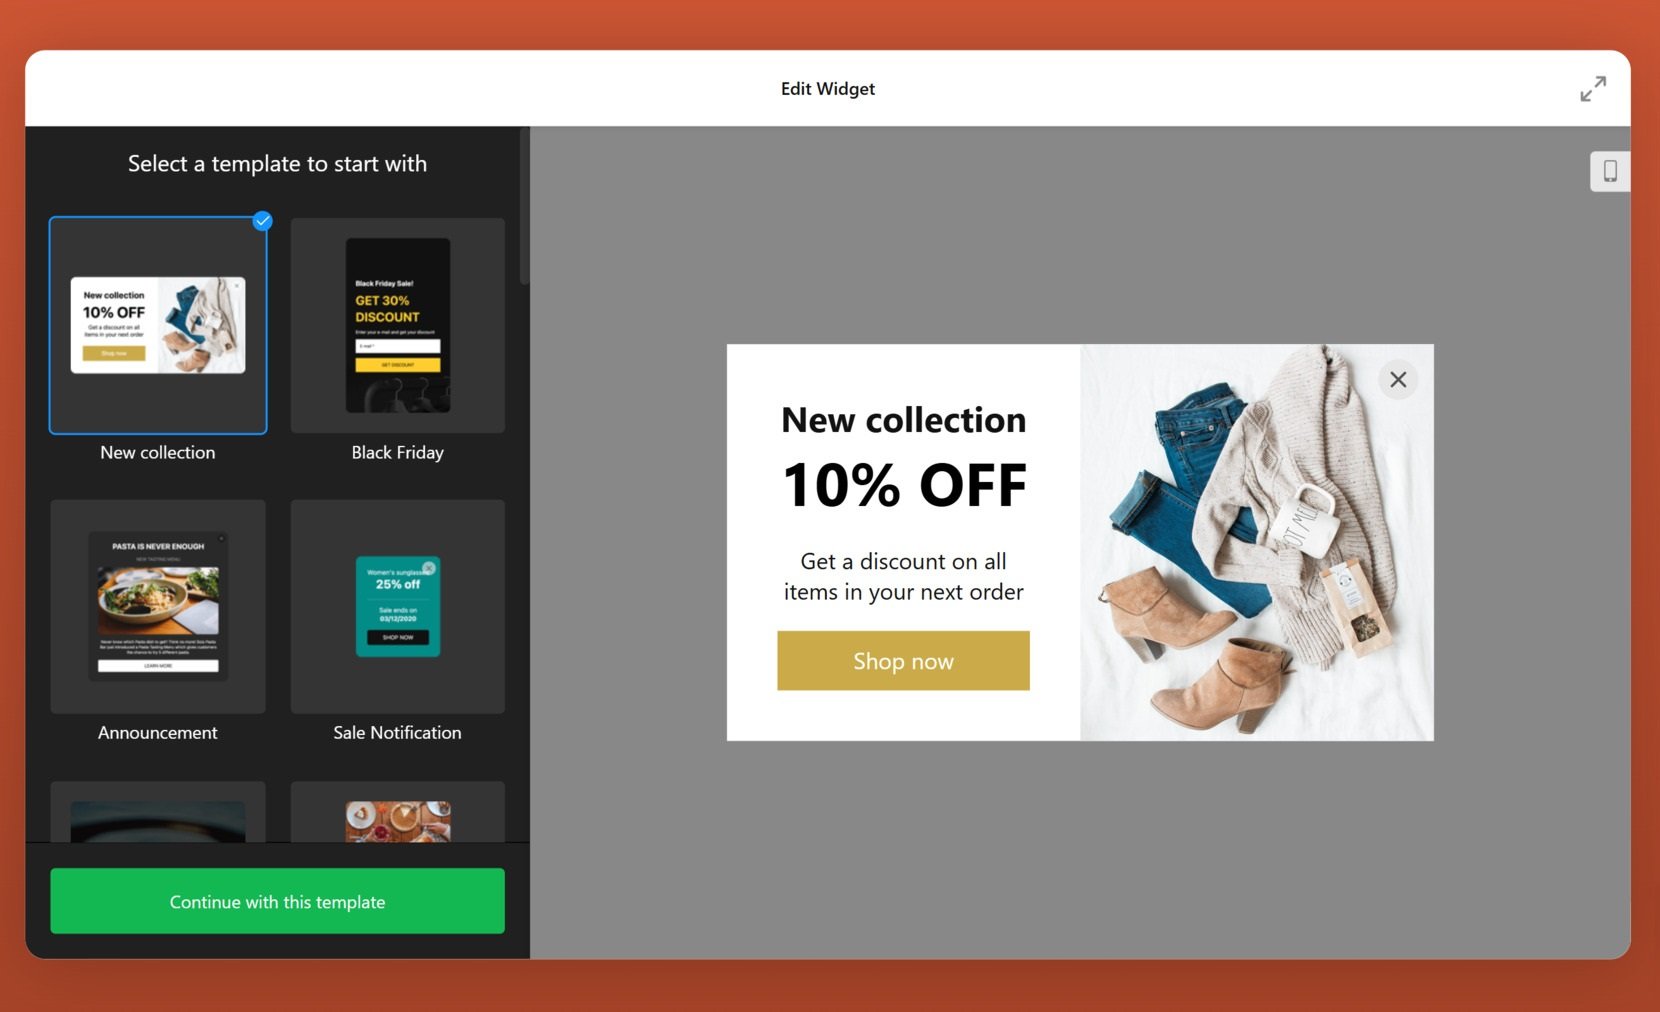
- Launch the popup editor and choose a pre-designed template or create your own custom popup.
- Personalize the settings and design: add and remove elements, update colors, and adjust the layout to match your site’s branding.
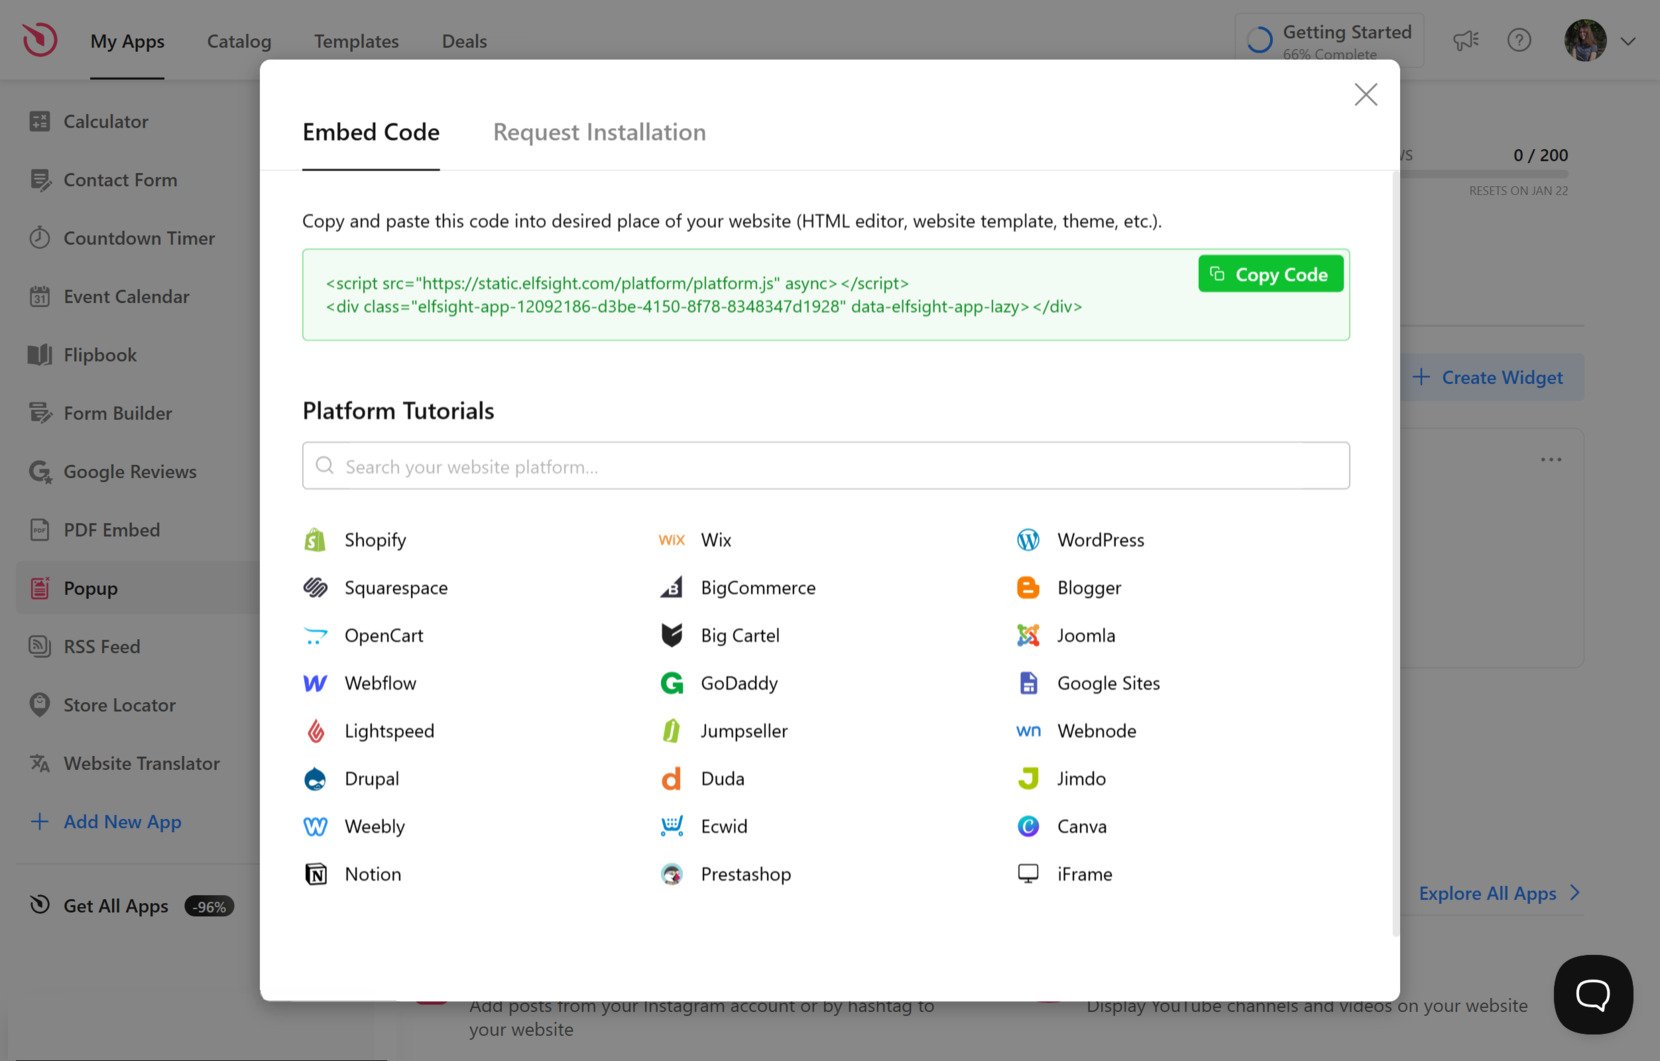
- Save your design and copy the provided HTML popup code.
- Paste the code into your website’s editor.
And you’re done! No coding experience is required. Elfsight makes it simple to design eye-catching popups with text, images, and other elements that perfectly complement your site’s look.
Create a popup and captivate your visitors with engaging content!
Create an HTML Popup: Detailed Guide
Now, let’s explore what the HTML Popup widget can do and how to set it up in more detail.
- Access the popup editor. Open the editor, pick a template that fits your needs, and click ‘Continue with this template’ to move forward.
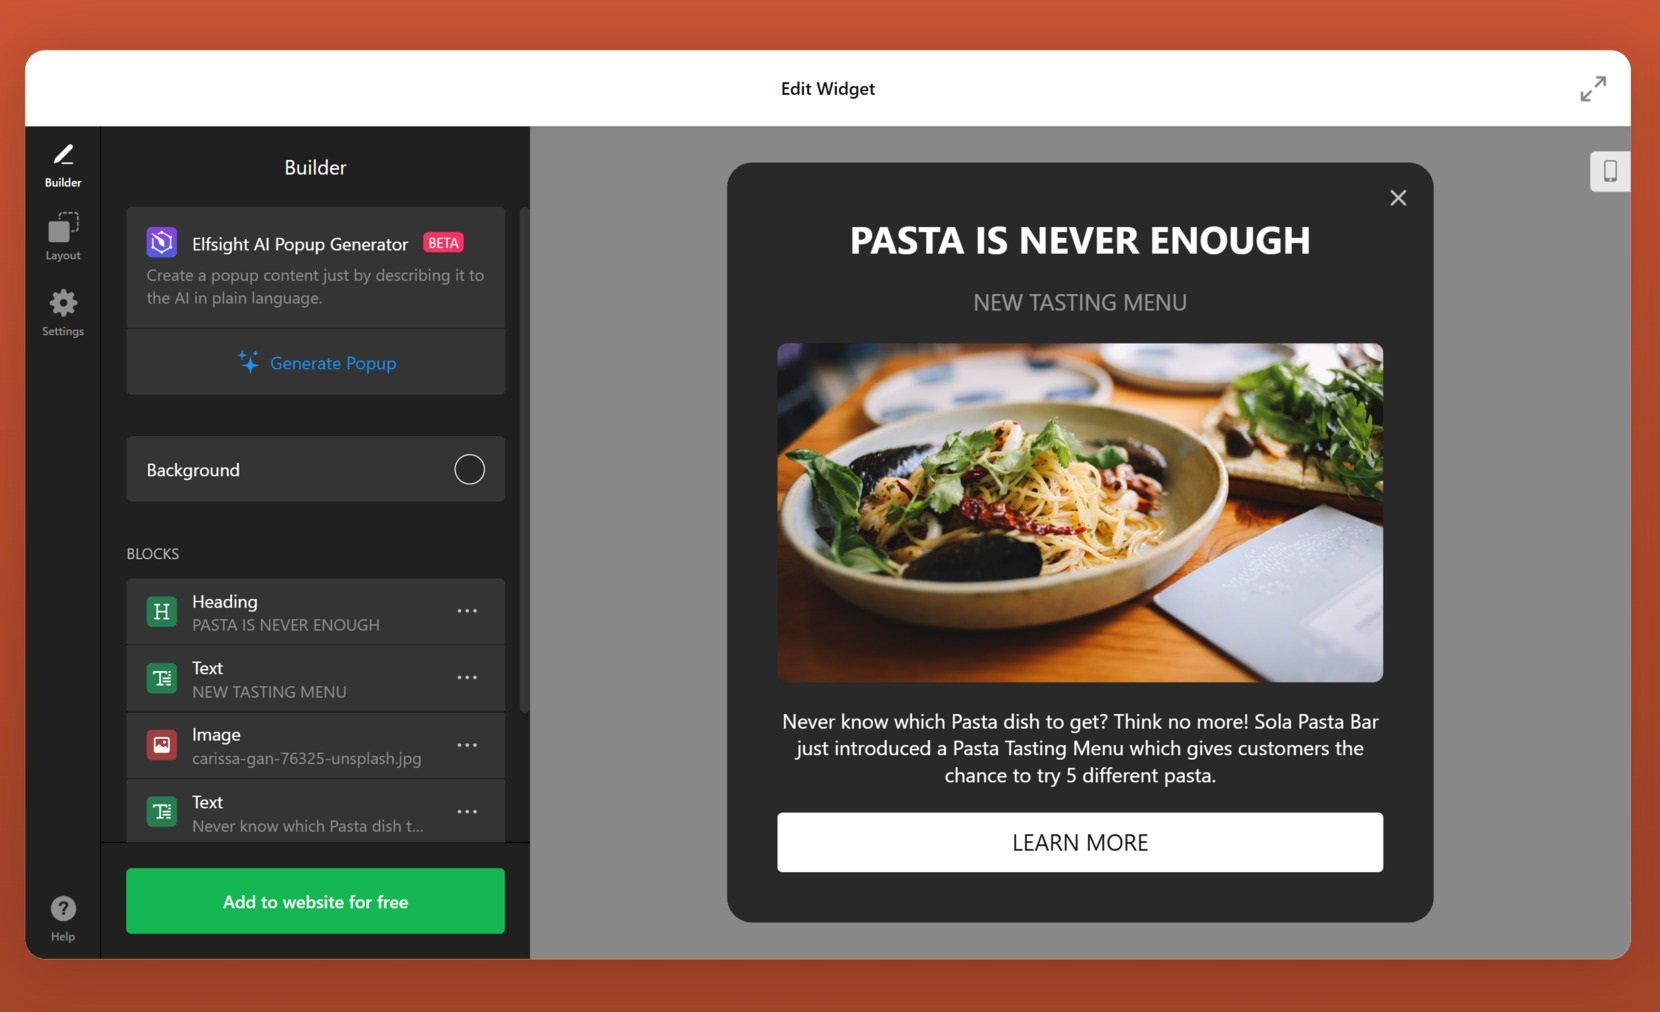
- Customize your HTML popup. Choose a background style—color, gradient, image, or video—and adjust the widget’s structure by adding or removing elements like images, text, headers, buttons, timers, and more. Tip: Use the AI Popup Generator to quickly create engaging content.
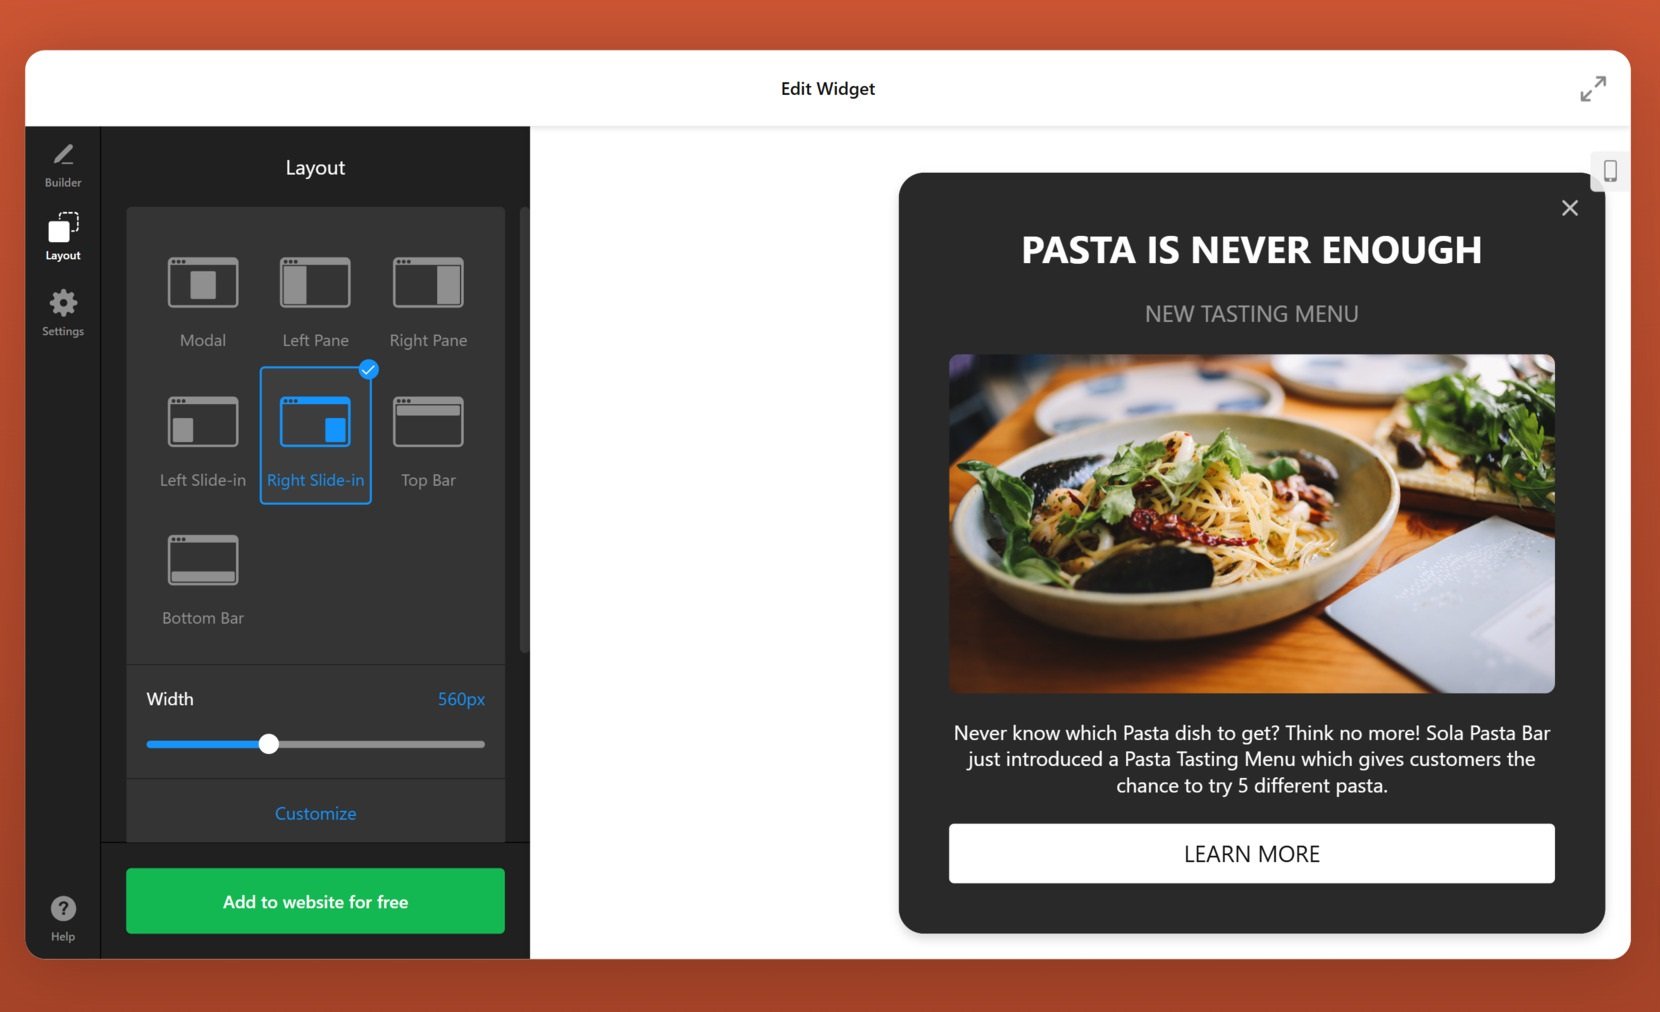
- Set the layout. Decide where your popup will appear on the page — left panel, top bar, modal, etc. Adjust the width, add animations, and enable reopen or close buttons.
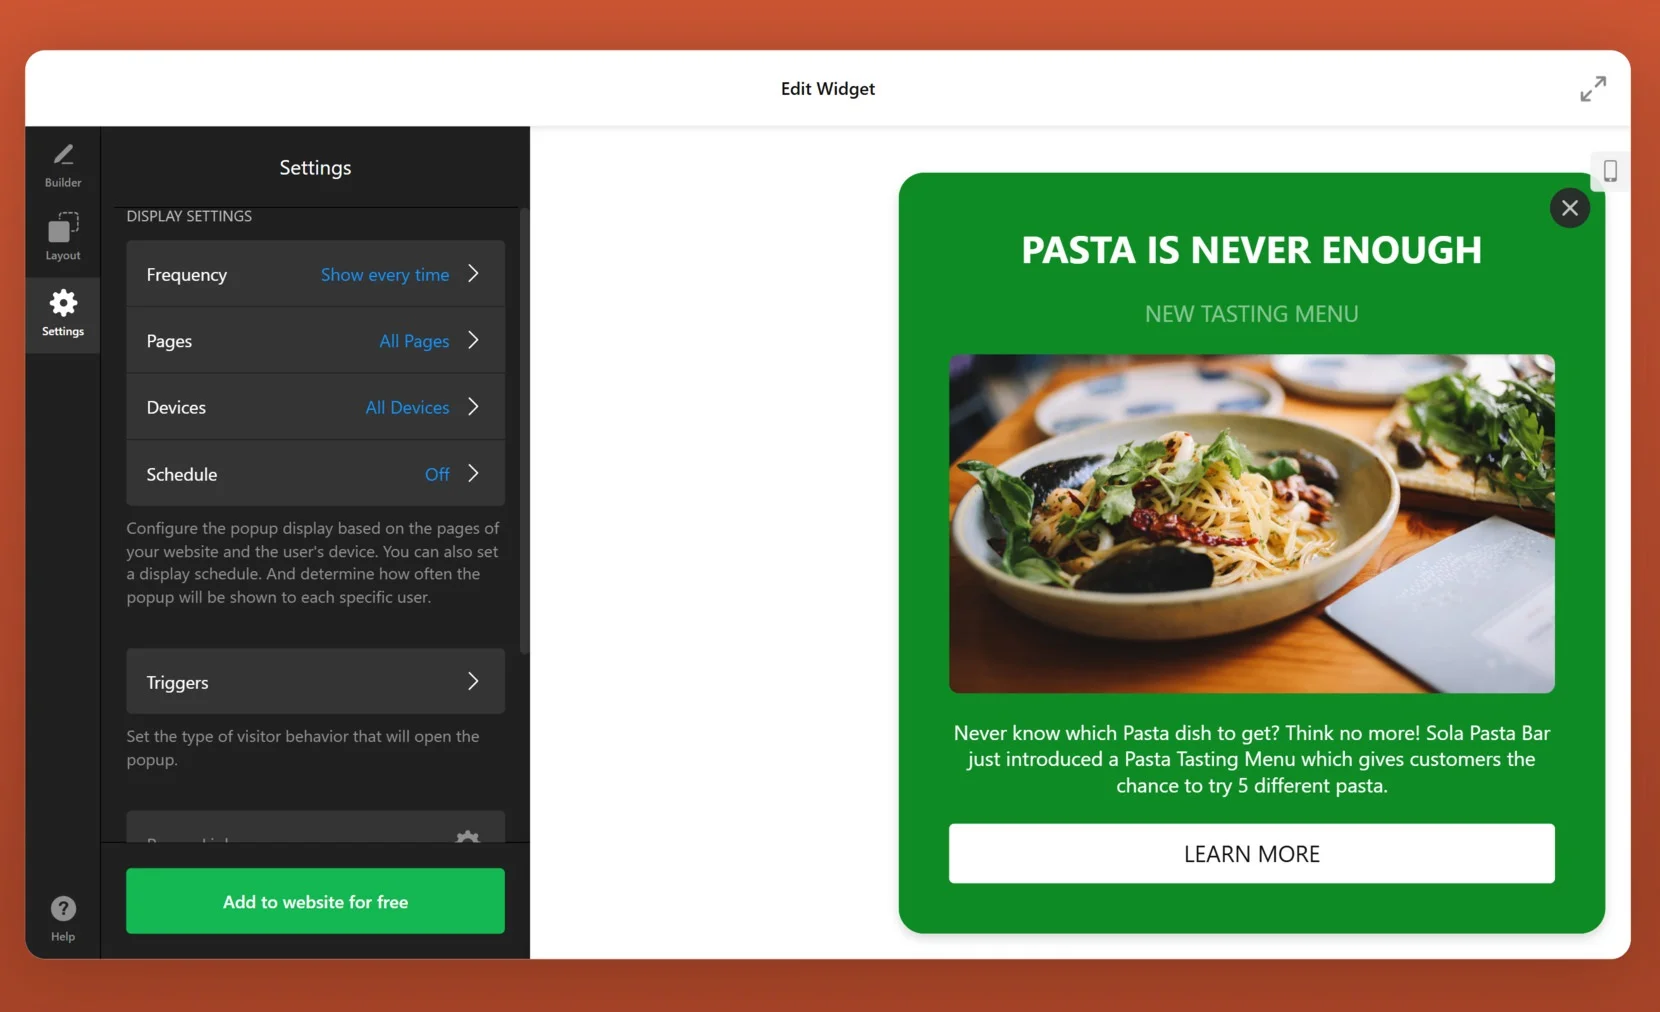
- Configure settings. Choose how often your popup should appear, which pages it will show on, and set up specific triggers or schedules for its display.
- Copy and embed the code. Once your design is ready, save and publish it. Copy the HTML snippet. Access your website backend. Choose the specific spot where you want the popup to appear, paste the pop up’s HTML code, and save your changes.
How to Make an HTML Popup Manually
If you prefer a hands-on approach, you can create an HTML popup manually using just a few lines of code. By combining HTML, CSS, and JavaScript, you’ll have full control over the design, behavior, and functionality of the popup.
Below is a simple pop up HTML code snippet to help you get you started:
<!DOCTYPE html>
<html>
<head>
<meta name="viewport" content="width=device-width, initial-scale=1">
<style>
/* Popup container - can be anything you want */
.popup {
  position: relative;
  display: inline-block;
  cursor: pointer;
  -webkit-user-select: none;
  -moz-user-select: none;
  -ms-user-select: none;
  user-select: none;
}

/* The actual popup */
.popup .popuptext {
  visibility: display;
  width: 560px;
  background-color: #33cc00;
  color: #ffffff;
  text-align: center;
  border-radius: 16px;
  padding: 18px 0;
  position: absolute;
  z-index: 1;
  bottom: 125%;
  left: 0%;
  margin-left: -200px;
}

/* Popup arrow */
.popup .popuptext::after {
  content: "";
  position: absolute;
  top: 100%;
  left: 50%;
  margin-left: -5px;
  border-width: 10px;
  border-style: solid;
  border-color: #555 transparent transparent transparent;
}

/* Toggle this class - hide and show the popup */
.popup .show {
  visibility: visible;
  -webkit-animation: fadeIn 1s;
  animation: fadeIn 1s;
}

/* Add animation (fade in the popup) */
@-webkit-keyframes fadeIn {
  from {opacity: 0;}
  to {opacity: 1;}
}

@keyframes fadeIn {
  from {opacity: 0;}
  to {opacity:1 ;}
}
</style>
</head>
<body style="text-align:center">

<h2>Popup</h2>

<div class="popup" onclick="myFunction()">Click here to learn more!
  <span class="popuptext" id="myPopup">Up to 50% off during the Christmas Sale!</span>
</div>

<script>
// When the user clicks on div, open the popup
function myFunction() {
  var popup = document.getElementById("myPopup");
  popup.classList.toggle("show");
}
</script>

</body>
</html>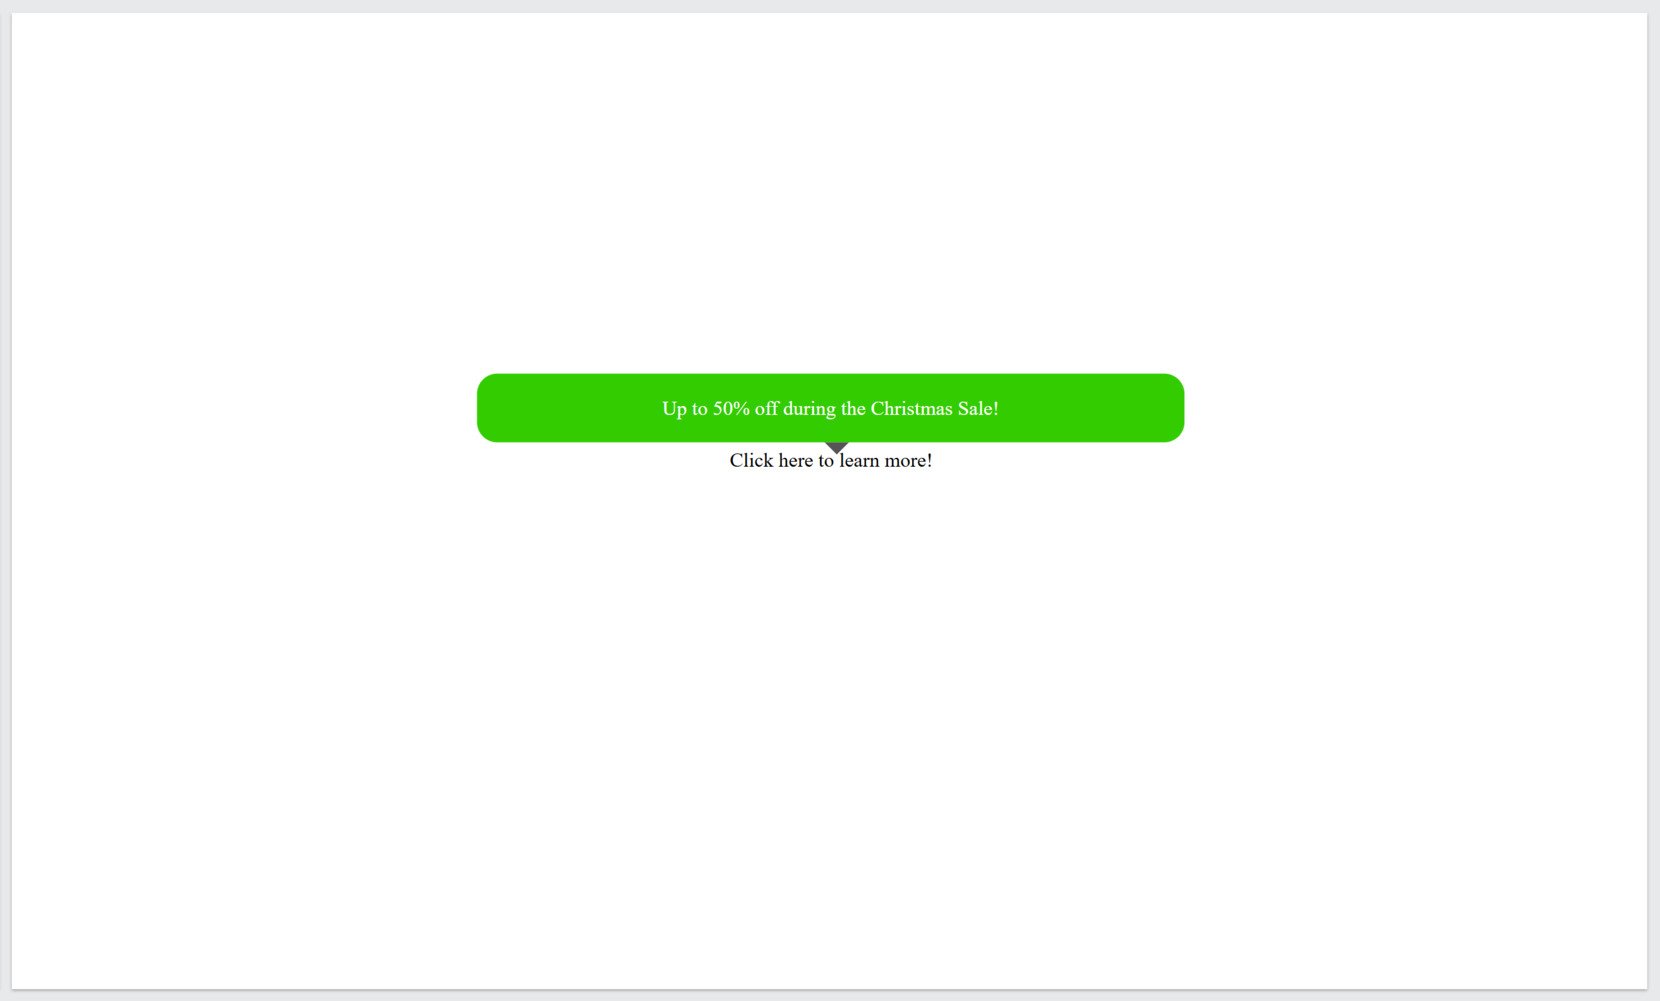
Here’s what you can customize in this HTML popup code to better fit your needs:
Popup content
- Text. Update the content inside the <span> tag with any message or information you’d like to display. For instance, replace “Up to 50% off during the Christmas Sale!” with your own text.
Popup size and shape
- Width. Adjust the width property in the .popuptext class to make the popup wider or narrower (e.g., width: 300px;).
- Padding. Modify the padding to control the spacing inside the popup.
- Border radius. Change the border-radius value to adjust the roundness of the popup corners.
Colors and styles
- Background color. Customize the background-color property in the .popuptext class for a new look (e.g., #ff0000 for red).
- Text color. Update the color property to match your website’s theme.
- Arrow color. Adjust the border-color property in the .popuptext::after class to match the popup’s background color.
Positioning
- Popup location. Change the bottom and left properties in .popuptext to reposition the popup. For instance, set bottom: 50%; to display it closer to the center.
- Arrow placement. Modify the left property in .popuptext::after to adjust the arrow’s alignment.
Animation
- Fade-in effect. Adjust the duration of the fade-in animation by changing the 1s value in @keyframes fadeIn and @-webkit-keyframes fadeIn to something faster or slower (e.g., 2s for a slower effect).
Interactivity
- Trigger text. Change the text inside the <div class=”popup”> tag to reflect your clickable call-to-action (e.g., “Click to reveal a secret!”).
- Trigger behavior. To create an HTML popup window onclick, modify the corresponding function in the <div> to trigger a different behavior, such as toggling a different popup or redirecting to another page.
Visibility settings
- Default visibility. Set the visibility property in .popuptext to hidden if you want the popup to remain invisible initially.
- Show/hide toggle. The show class can be modified to include additional effects, like sliding or zooming, for more dynamic interactions.
These options make it easy to tailor the popup to your website’s aesthetic and functional requirements.
Coding vs No-Coding Solutions
When deciding between using a no-code widget or manually coding an HTML popup, it’s important to understand the strengths and limitations of each approach. While both methods can help you achieve the same goal, they differ significantly in terms of ease of use, flexibility, and time commitment.
Below is a comparison of these two methods to help you determine which one suits your needs best.
| Feature | No-Code Widget | Manual Coding Solution |
|---|---|---|
| Ease of Use | Extremely user-friendly; no technical skills needed. | Requires familiarity with HTML, CSS, and JavaScript. |
| Customization | Pre-made templates with easy-to-use customization options (e.g., colors, layout). | Full control over design, animations, and behavior but requires coding skills. |
| Setup Time | Quick setup in minutes. | Takes more time to write, test, and debug code. |
| Flexibility | Limited by the widget’s features and settings. | Highly flexible; you can implement any desired functionality. |
| Integration | Simple copy-paste of code into website builder. | Requires manual embedding and adjustments in the HTML code. |
| Scalability | Suitable for users with limited technical resources. | Ideal for advanced use cases and unique requirements. |
| Maintenance | Updates and support typically handled by the widget provider. | Maintenance and updates must be managed manually. |
| Learning Curve | Minimal; accessible for beginners. | Steeper; involves learning coding skills. |
| Compatibility | Compatible with most website builders and CMS platforms. | Fully compatible but requires attention to site-specific constraints. |
While manually coding an HTML popup offers more control and customization, it requires more time and technical know-how.
For most users, the no-code widget solution is the easier and more efficient choice, especially if you need a fast, hassle-free way to integrate a popup on your website. With its simple setup, customization options, and ongoing support, the widget method proves to be the best solution for most users.
HTML Popup Widget’s Features
Website popups are an effective tool for capturing visitor attention and driving engagement. By strategically displaying messages at the right moment, popups can encourage users to take specific actions, such as signing up for a newsletter, claiming a discount, or exploring new content.
To make the most of the benefits HTML popups offer, the Elfsight’s widget provides a range of powerful features designed to maximize engagement, streamline workflows, and enhance user experience:
- AI-powered design. Harness the power of AI assistant to generate custom popups effortlessly. This feature allows you to quickly create tailored popups without the need for advanced design skills.
- Built-in form builder. Capture leads, gather feedback, and collect data all within your popup. The integrated form builder lets you create customized forms that enhance user interaction and help gather valuable insights.
- Display frequency control. Find the perfect balance between visibility and user experience by adjusting how frequently your popup appears. This feature helps you avoid overwhelming visitors while keeping your content fresh and engaging.
- Device-specific customization. Ensure your popups look great on any device — desktop, tablet, or mobile. This flexibility allows you to optimize the popup’s appearance and functionality, providing a seamless experience for all users.
- Powerful integrations. Connect your popup with popular tools like Mailchimp, Google Sheets, Zapier, and more. These integrations let you sync leads, automate workflows, and streamline processes.
- Multilingual support. Expand your reach globally by translating your popups into any language. This ensures your messaging is accessible and relevant to users from diverse cultural and linguistic backgrounds.
HTML Website Popup Examples
There are various popup types that can help increase engagement, capture leads, and drive conversions, each serving a specific purpose depending on the goals of your website. Here are some HTML website popup examples:
HTML Popup Box
This is a general-purpose popup that displays information or messages to your website visitors. It could be used for announcements, promotions, or notifications about new products or services. It’s an easy way to draw attention to key messages without overwhelming users.

Exit Intent Popup
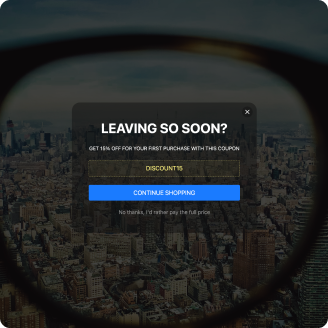
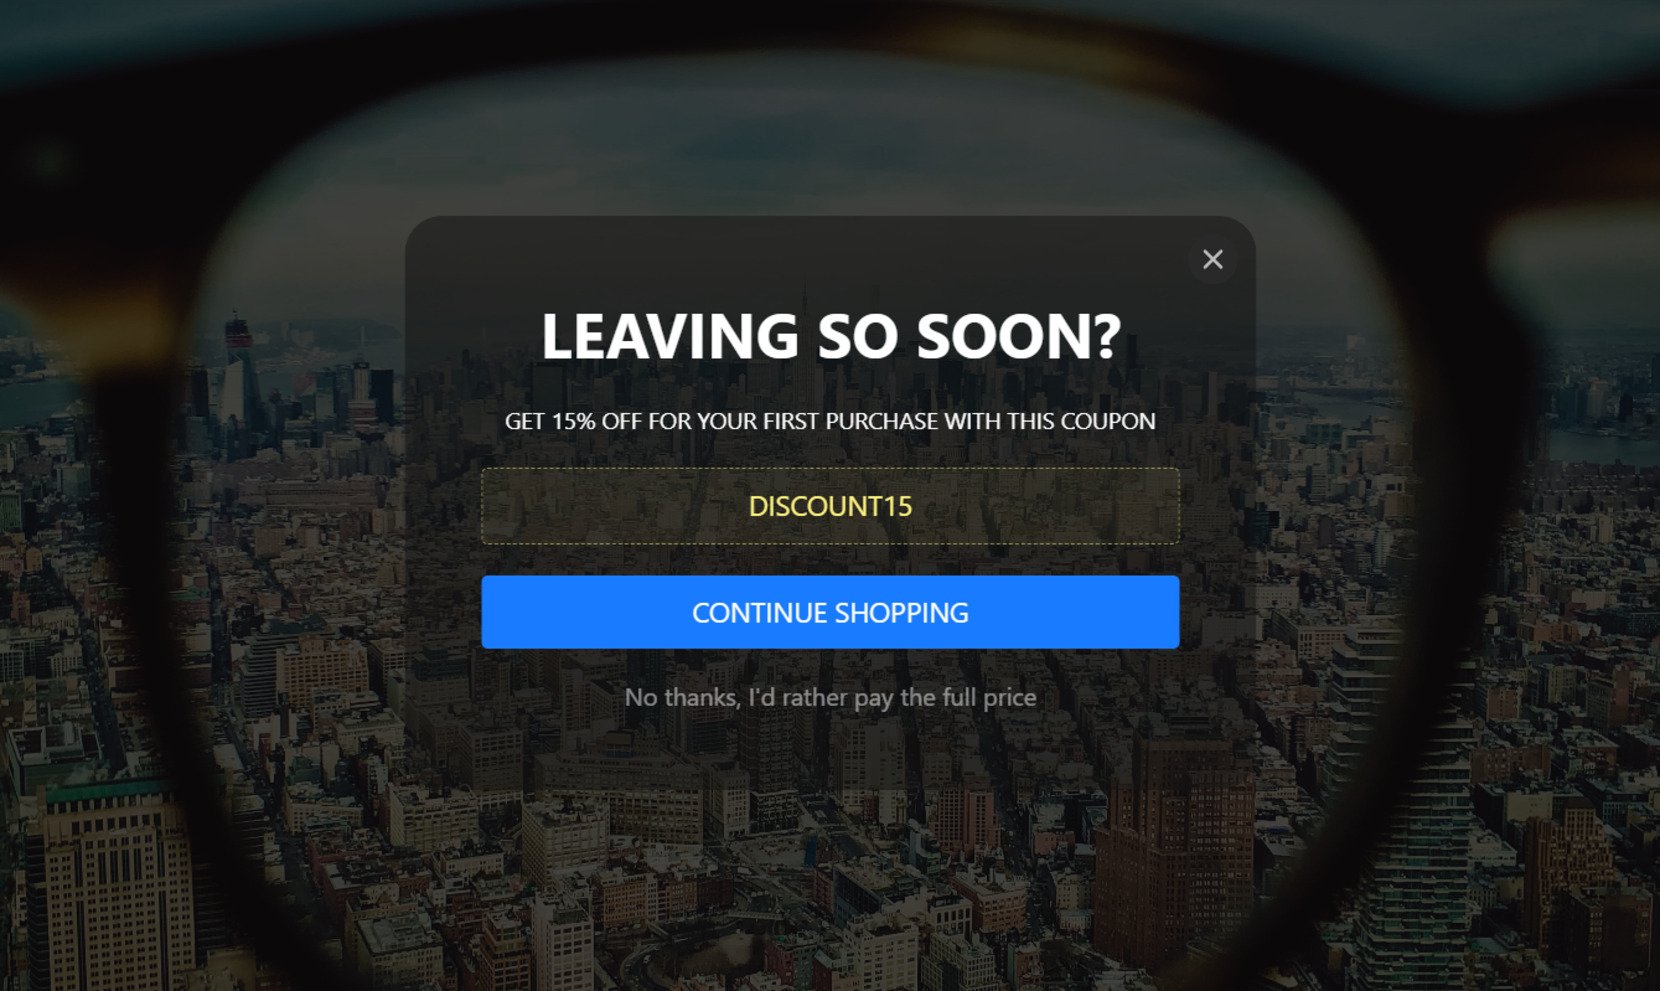
Triggered when a user shows signs of leaving your site (such as moving their cursor toward the top of the screen to exit), the exit-intent popup offers a last chance to engage the user. It might offer discounts, lead magnets, or other incentives to encourage them to stay on your site or complete a desired action.
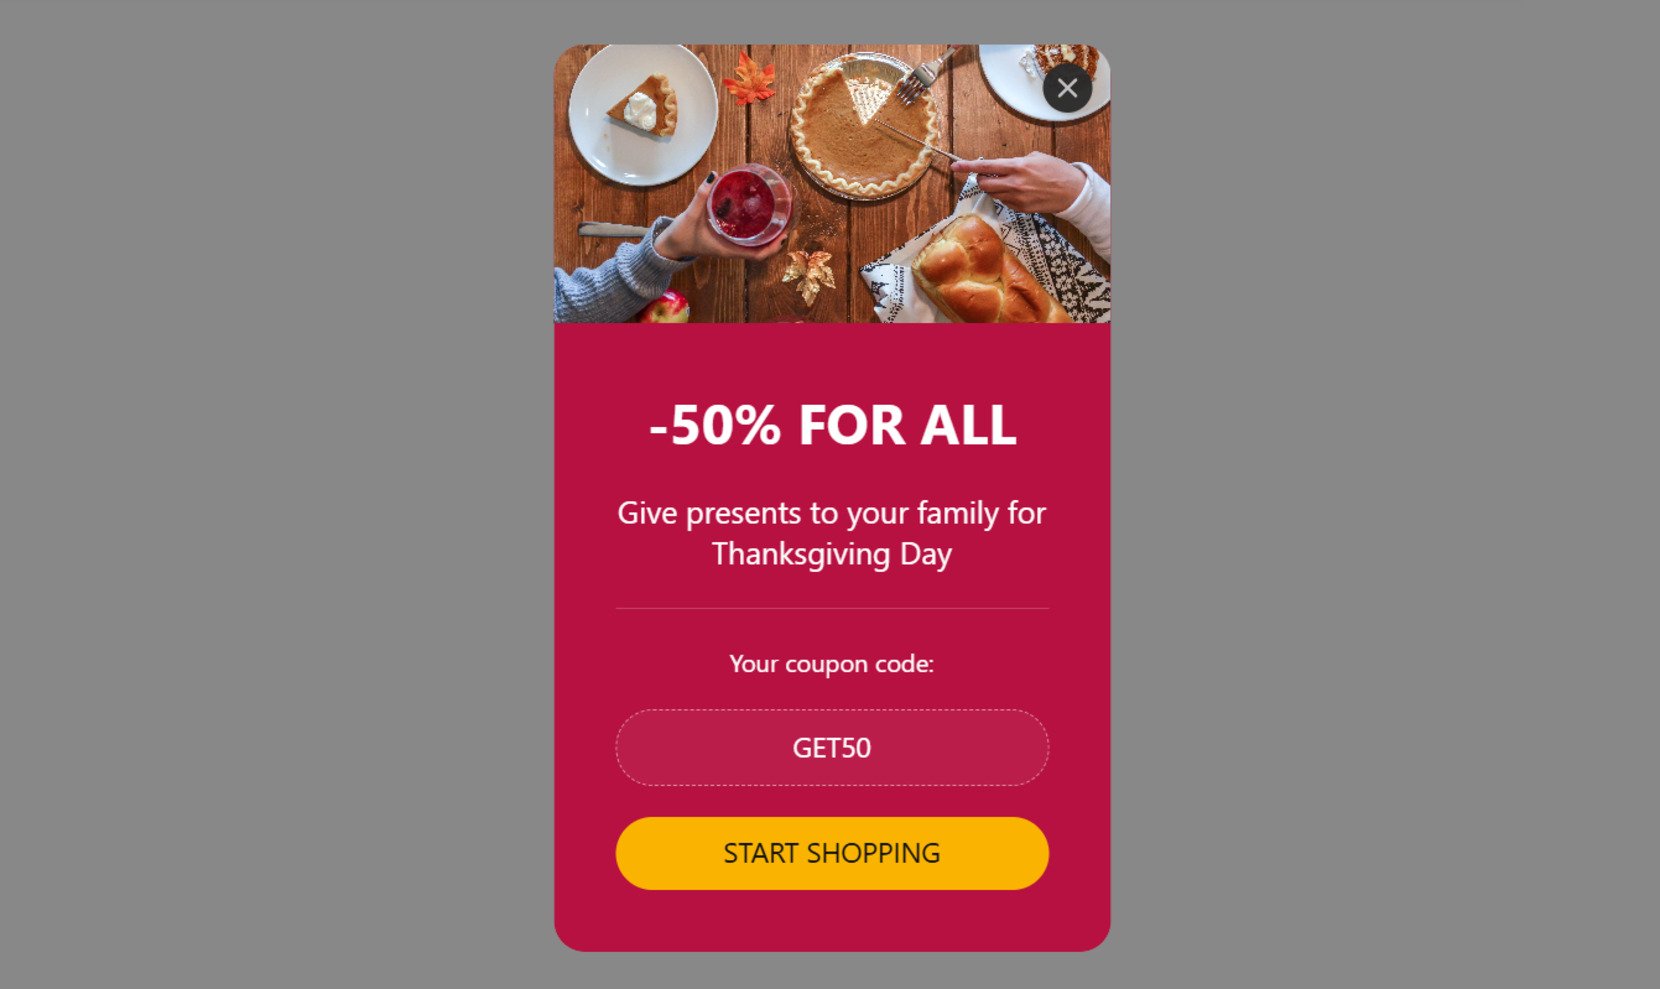
Discount Popup
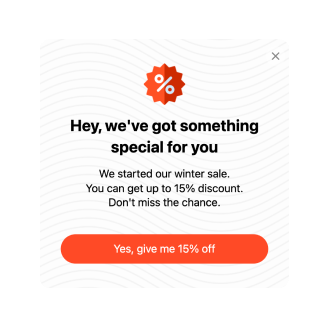
Designed to offer visitors a discount or special deal, this type of popup can encourage users to make a purchase. Often timed to appear after a certain amount of time or triggered by a specific user behavior, it can help increase conversion rates.
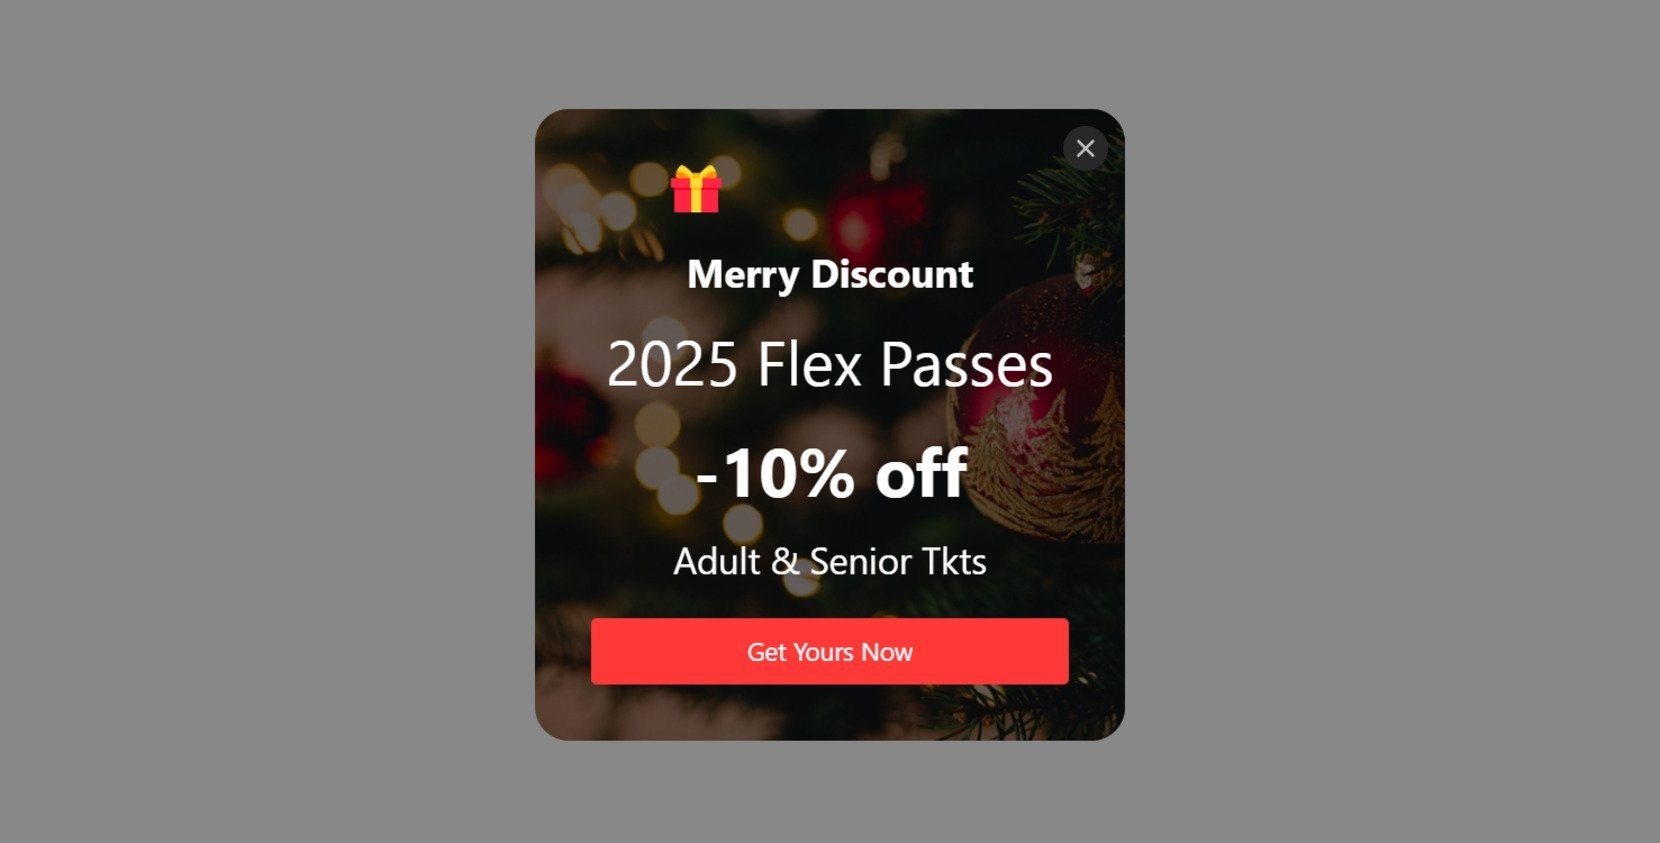
Sale Popup
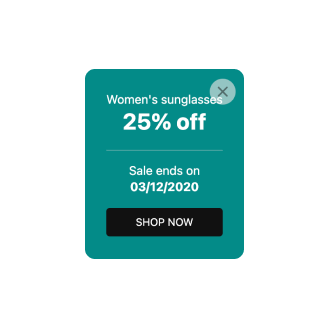
This popup is used to announce sales or limited-time offers. It’s typically bold and eye-catching, designed to grab attention and create urgency. By highlighting discounts, limited availability, or time-sensitive offers, it encourages users to take action quickly before the deal expires.
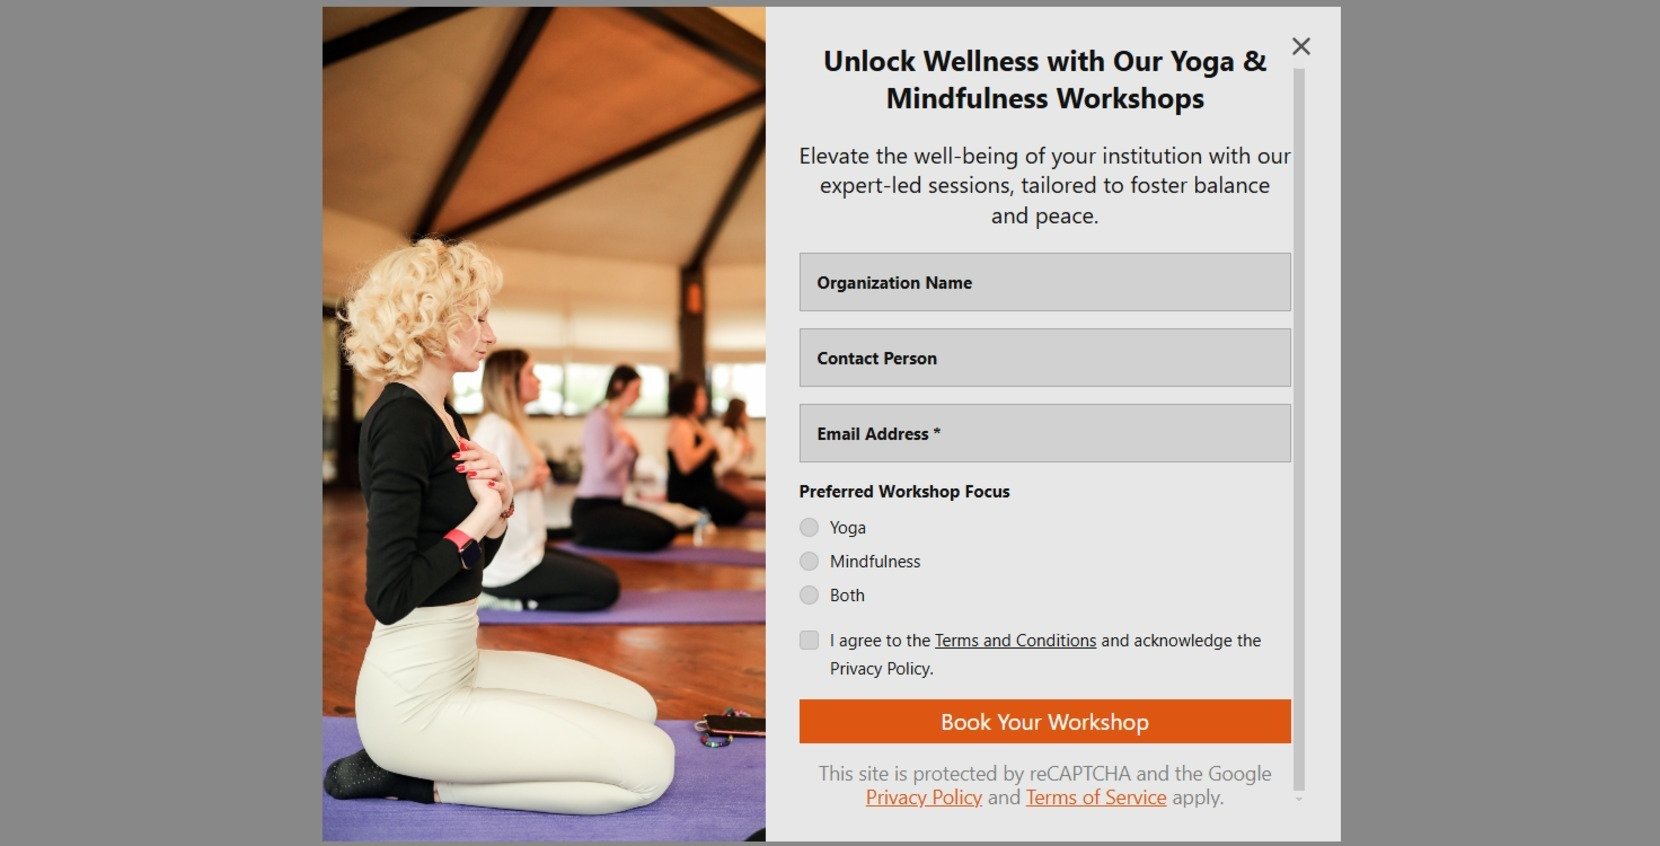
HTML Popup Form
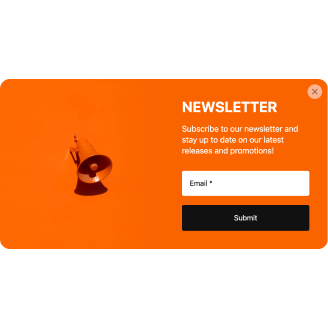
This type of popup is typically used for collecting user information, such as email addresses for newsletter signups, customer feedback, or survey responses. It’s a great tool for lead generation and increasing user interaction with your content.
Explore 100+ Popup templates
FAQ
What is the HTML tag for popups?
How to make a pop-up appear when you click a button in HTML?
How to make a popup card in HTML?
How to create a popup in HTML with CSS?
Conclusion
In conclusion, popups are a powerful tool for engaging visitors and enhancing user experience on your website. Whether you’re using a no-code solution like the Elfsight Popup Widget or creating a custom HTML popup manually, both methods offer unique advantages to suit different needs.
The Elfsight widget provides an easy-to-use, feature-rich approach with customizable designs, advanced targeting, and seamless integrations, making it an excellent choice for those looking to save time and enhance their site effortlessly. On the other hand, manually coding a popup gives you full control over design and functionality, allowing for more flexibility if you’re familiar with web development.
Regardless of the approach, popups can significantly boost user engagement, increase conversions, and drive business growth by delivering timely, relevant content to your audience.
Need More Info?
We hope this guide has provided you with valuable insights. If you’d like to learn more about developing an HTML popup notification for your website, don’t hesitate to contact us. Our mission at Elfsight is to deliver a smooth and successful experience by providing all-in-one no-code widgets for your business.
Become part of our dynamic Community, where creativity and expertise flourish. We encourage you to share any ideas for improvement by adding them to our Wishlist.


