Effective contact forms serve as a critical bridge between your website and potential customers, enabling effortless communication without forcing visitors to search for contact information or navigate external channels. However, the difference between a form that drives conversions and one that causes abandonment lies in thoughtful design, strategic field selection, and seamless user experience.
- Ask only for essential information: limiting fields to 3-5 critical data points significantly reduces abandonment
- Use clear, single-column layouts: vertical progression feels intuitive and respects user attention without forcing visual reorientation
- Mark both required and optional fields explicitly: ambiguity causes users to hesitate or provide incomplete information
- Reduce cognitive load through logical grouping: organizing related fields into sections makes longer forms feel manageable and purposeful
Understanding these principles is just the starting point. This guide covers everything you need: from a quick copy-paste setup to practical optimization tips to ensure your form drives results from day one.
How to Create Contact Form in 5 Minutes
If you want a hands-on shortcut to get a functional contact form up and running, you’re in the right place. With Elfsight’s Contact Form widget, you can set up and publish a custom form without any coding:
- Open Elfsight’s editor and pick a template.
- Customize your contact form widget.
- Click ‘Add to website for free’ and copy the code.
- Paste it into your WordPress website’s backend.
🚀 Create your contact form and add it to your website for free!
Contact Form Widget Use Cases for Your Website
Different situations call for different kinds of contact forms. Whether you want to gather customer feedback, streamline support, or handle sensitive requests securely, the right form structure helps you connect more easily and efficiently. Below are five practical use cases, each with a template tailored to fit the audience and their needs.
💼 Business Inquiries – General Contact
Applies to: small businesses, agencies, consultants, freelancers, professional service providers.
Goal: Make it easy for potential clients or partners to get in touch and start a conversation
User motivation: High — visitors want quick communication and expect a straightforward experience
Template match: Business Contact Template
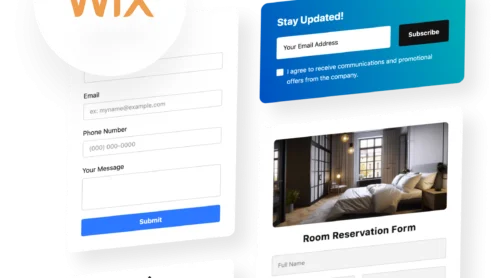
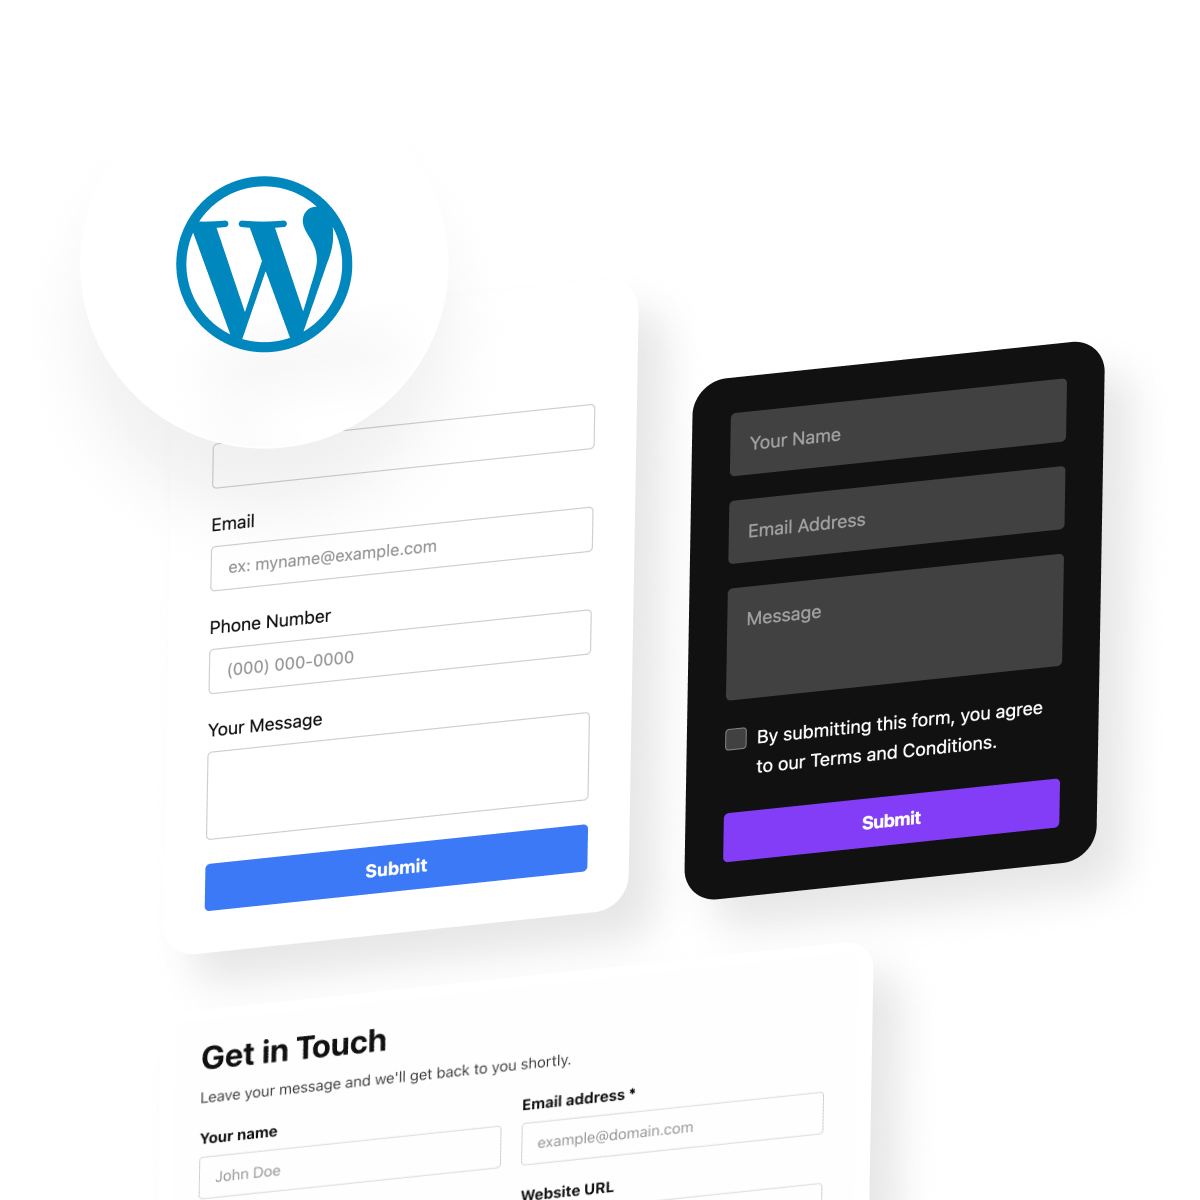
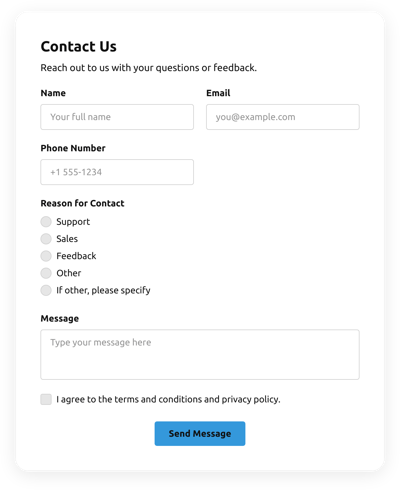
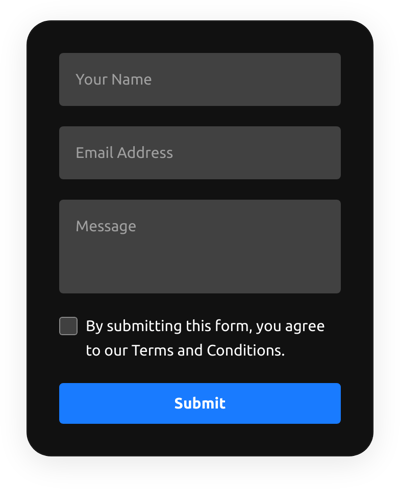
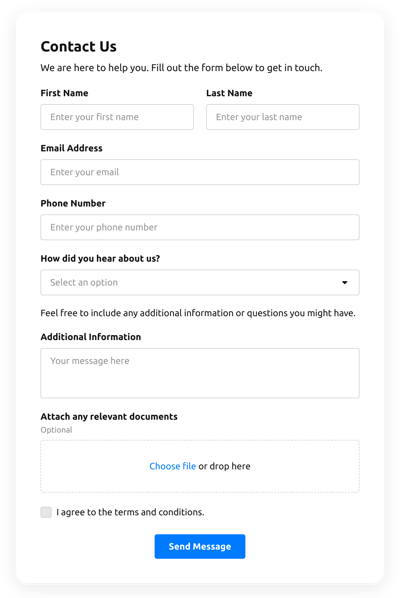
The Business Contact Form template keeps things clean and professional. It asks only for essential details like name, email, phone, and a message, making it simple for anyone to reach out without hassle. This reduces friction and ensures you receive clear, actionable inquiries right in your inbox. The design adapts to your website’s style, so first impressions always feel trustworthy.
Recommended Structure
- Name and email fields (required)
- Optional phone number
- Message box with placeholder text
- Clear “Send Message” button
🔒 Secure Support – Confidential Contact
Applies to: HR teams, legal services, support desks, organizations handling sensitive information.
Goal: Provide a safe, private way for users to share confidential concerns or issues
User motivation: Moderate to high — users need assurance their data is protected
Template match: Secure Contact Form
The Secure Contact Form template is designed for privacy and trust. It features strong data protection statements and the option to hide fields that aren’t relevant. Users feel safe submitting sensitive details, knowing their information goes directly to the right person. This is ideal for support requests, whistleblowing, or HR communication where confidentiality matters.
Recommended Structure
- Name and/or anonymous option
- Email or phone (optional)
- Message field with “confidential” label
- Data privacy notice
💳 Payment Requests – Transactional Contact
Applies to: service providers, freelancers, small business owners, event organizers.
Goal: Collect payment-related details and requests securely and efficiently
User motivation: High — users want a quick, clear way to submit payment info or queries
Template match: Payment Contact Form
The Payment Contact Form template streamlines the payment process by combining contact fields with payment details. It guides users to submit requests for invoices, receipts, or payment issues without confusion. Secure input fields reassure users, while your team receives all essential information for fast follow-up.
Recommended Structure
- Name and email (required)
- Payment method selection or reference number
- Amount or service description
- Message or questions box
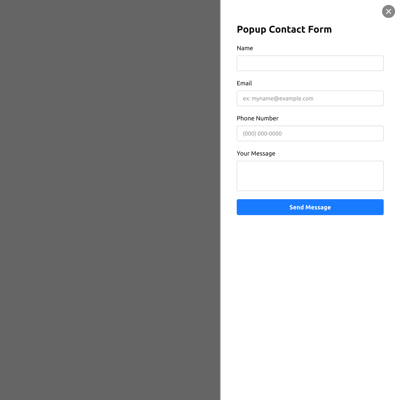
📥 Floating Contact – Always Accessible
Applies to: ecommerce, SaaS, membership platforms, customer support teams.
Goal: Offer instant access to support or feedback from any page on your website
User motivation: Spontaneous — users reach out when they have questions or need quick help
Template match: Floating Contact Form
The Floating Contact Form template stays visible as users browse, so help is never more than a click away. This boosts engagement and makes it easy to collect feedback or solve issues on the spot. Users appreciate the convenience, especially if they have questions during checkout or while exploring your offerings.
Recommended Structure
- Compact name and email fields
- Short message or question box
- Always-visible “Contact Us” or chat-style button
- Optional rating or feedback field
📷 File Upload – Submissions & Applications
Applies to: creative agencies, job recruitment, tech support, contests, application forms.
Goal: Allow users to submit images, documents, or screenshots along with their message
User motivation: High — users want an easy way to provide supporting files or evidence
Template match: Image Upload Contact Form
The Image Upload Contact Form template simplifies collecting files directly through your form. Whether it’s for job applications, bug reports, or creative briefs, users can attach images or documents without sending separate emails. This saves time for both parties and ensures you have all the context needed to respond effectively.
Recommended Structure
- Name and email fields
- File upload button (accepting images/docs)
- Message or description box
- Confirmation of successful upload
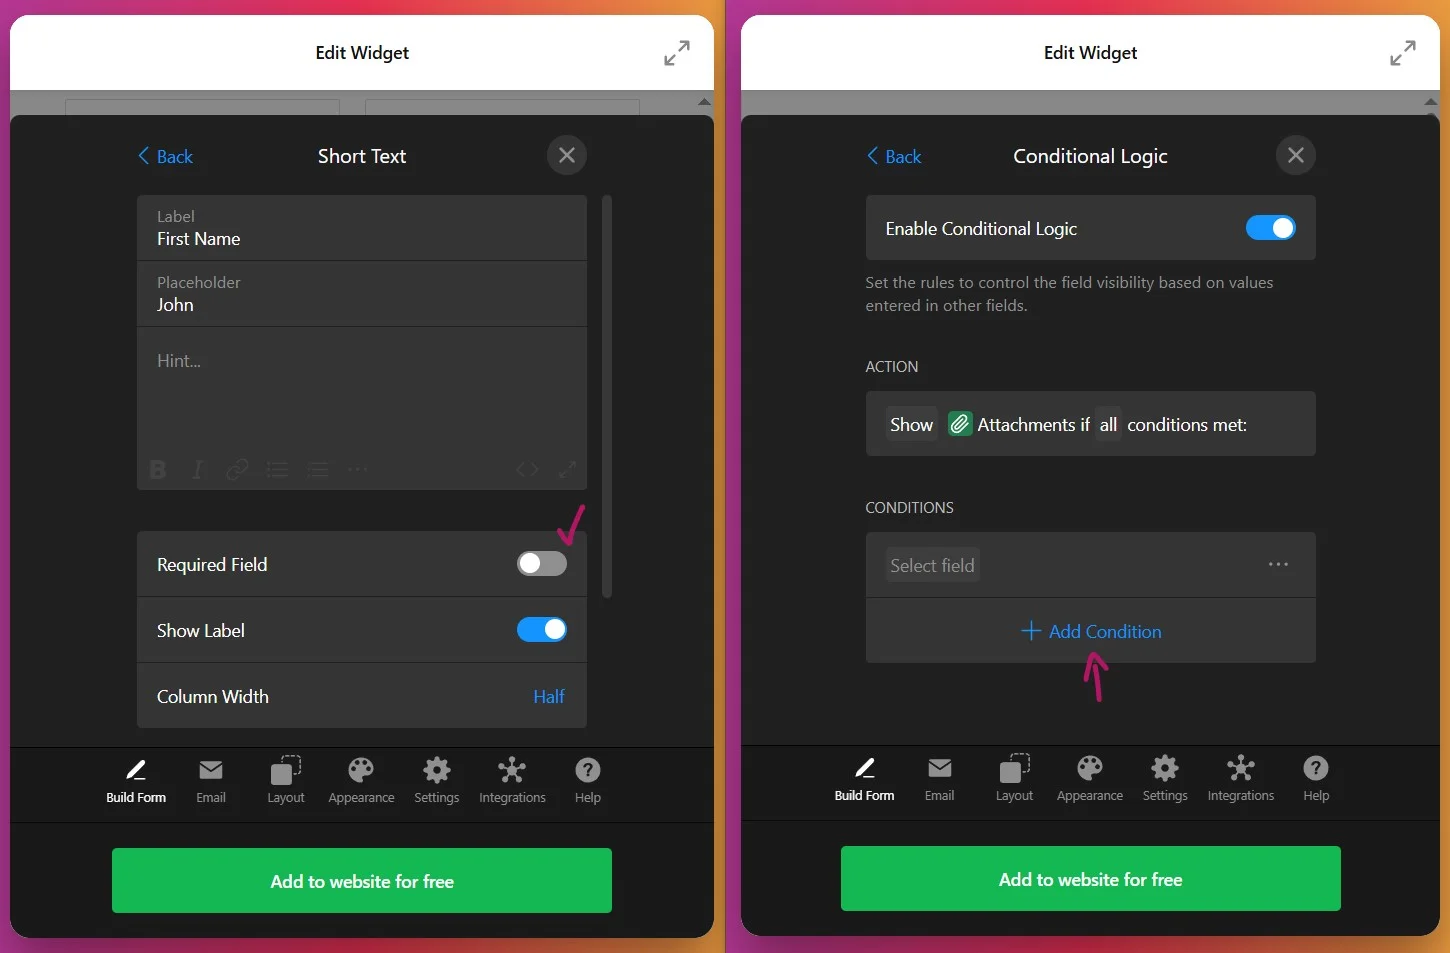
📌 Conditional Logic – Smart Forms
Applies to: customer support, sales teams, technical services, organizations with multi-step processes.
Goal: Offer a personalized experience by displaying only the fields relevant to each user’s request
User motivation: Moderate to high — users prefer quick, tailored forms that skip unnecessary questions
Template match: Conditional Logic Contact Form
The Conditional Logic Contact Form template reacts to user choices, revealing only the next relevant question or field. This keeps the form short and user-friendly, even for complex scenarios like technical support or multi-service inquiries. Users appreciate not having to scroll past irrelevant fields, which speeds up completion and reduces drop-off.
Recommended Structure
- Initial topic or reason for contact (dropdown)
- Conditional follow-up fields (based on prior answers)
- Contact info fields (name, email)
- Summary or confirmation step
Explore 100+ Contact Form templates


Common Contact Form Headaches—and How to Make Them Disappear
Creating or using a contact form on your website can feel like a moving target. Sometimes forms don’t show up, submissions never arrive, or fields just confuse everyone. Here are the top hurdles people run into with contact forms—and how Elfsight’s widget turns each one into a non-issue.
| Widget Issue | Why It Happens | How Elfsight Helps |
|---|---|---|
| Form not displaying or loading | Outdated plugin, shortcode errors, or widget conflicts break display | Automatic Updates keep your widget current and visual embed options avoid shortcode errors |
| Form submissions not sending | Server issues, mail filters, or broken email setup block messages | Built-in Email Routing with tested deliverability and submission storage—never lose a message |
| Fields don’t work or show errors | HTML/CSS problems, missing required info, poor validation | Drag-and-drop editor ensures field logic and validation work out of the box |
| Layout breaks on mobile or in different languages | Theme or language compatibility issues, RTL text not supported | Responsive design and full language/RTL support for seamless display everywhere |
| Spam or junk submissions | Bots and bad actors fill forms with junk data | Captcha options and spam filters keep your inbox clean |
| Users abandon form | Too many fields, unclear labels, or confusing flow | Customizable templates and helper text make forms simple and inviting |
| No feedback after submission | Missing or generic confirmation, no success/fail message | Personalized success messages and optional redirects for clear next steps |
Most contact form problems come down to structure and clarity. Next, you’ll see how to customize Elfsight’s widget step by step so your form works exactly how you want.
How to Create and Customize Contact Form for Your Website
A Contact Form should reflect your brand, collect only the details you need, and fit perfectly with your website’s workflow. This walkthrough covers every stage of customization so you can build a form that attracts leads, eases support, and supports your business goals.
1. Select a Chat Template
Open the Contact Form editor and browse available templates, such as Email Form (newsletter and list building), Support Request Form (customer service and issue tracking), Callback Form (phone contact requests) and other preset designs.
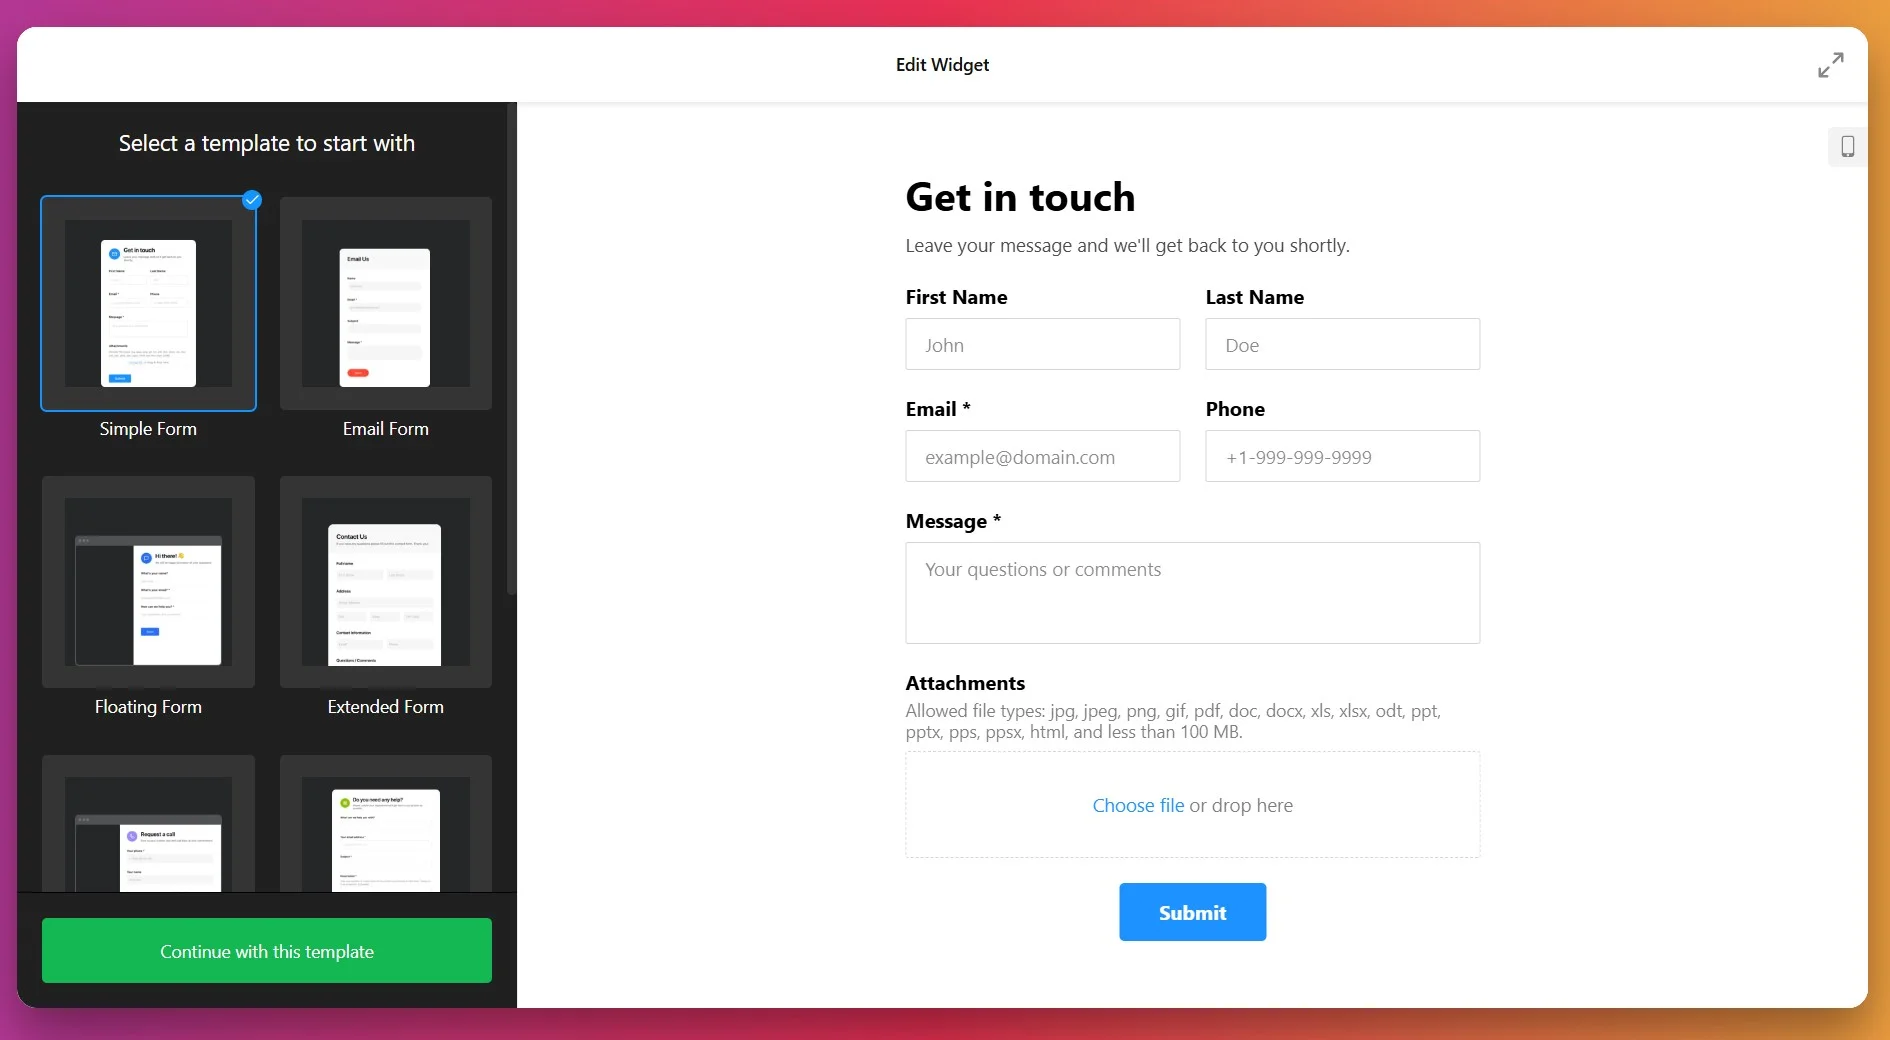
Click “Continue with this template” to proceed with your selection, or start from scratch with a blank form if you need a highly customized approach.
2. Add and Arrange Your Form Fields
Navigate to the ‘Build Form’ tab and click “Add Field” to construct your form structure. The Contact Form widget offers 20 types of fields organized into three categories:
- Inputs (Short Text, Long Text, Website URL, Phone Number, Numerical fields, Date, Time, File Upload, Hidden fields)
- Static Text Elements (Labels, Headings, Paragraphs for instructional text)
- Selection Fields (Multiple Choice, Image Choice, Dropdown menus, Consent checkboxes)
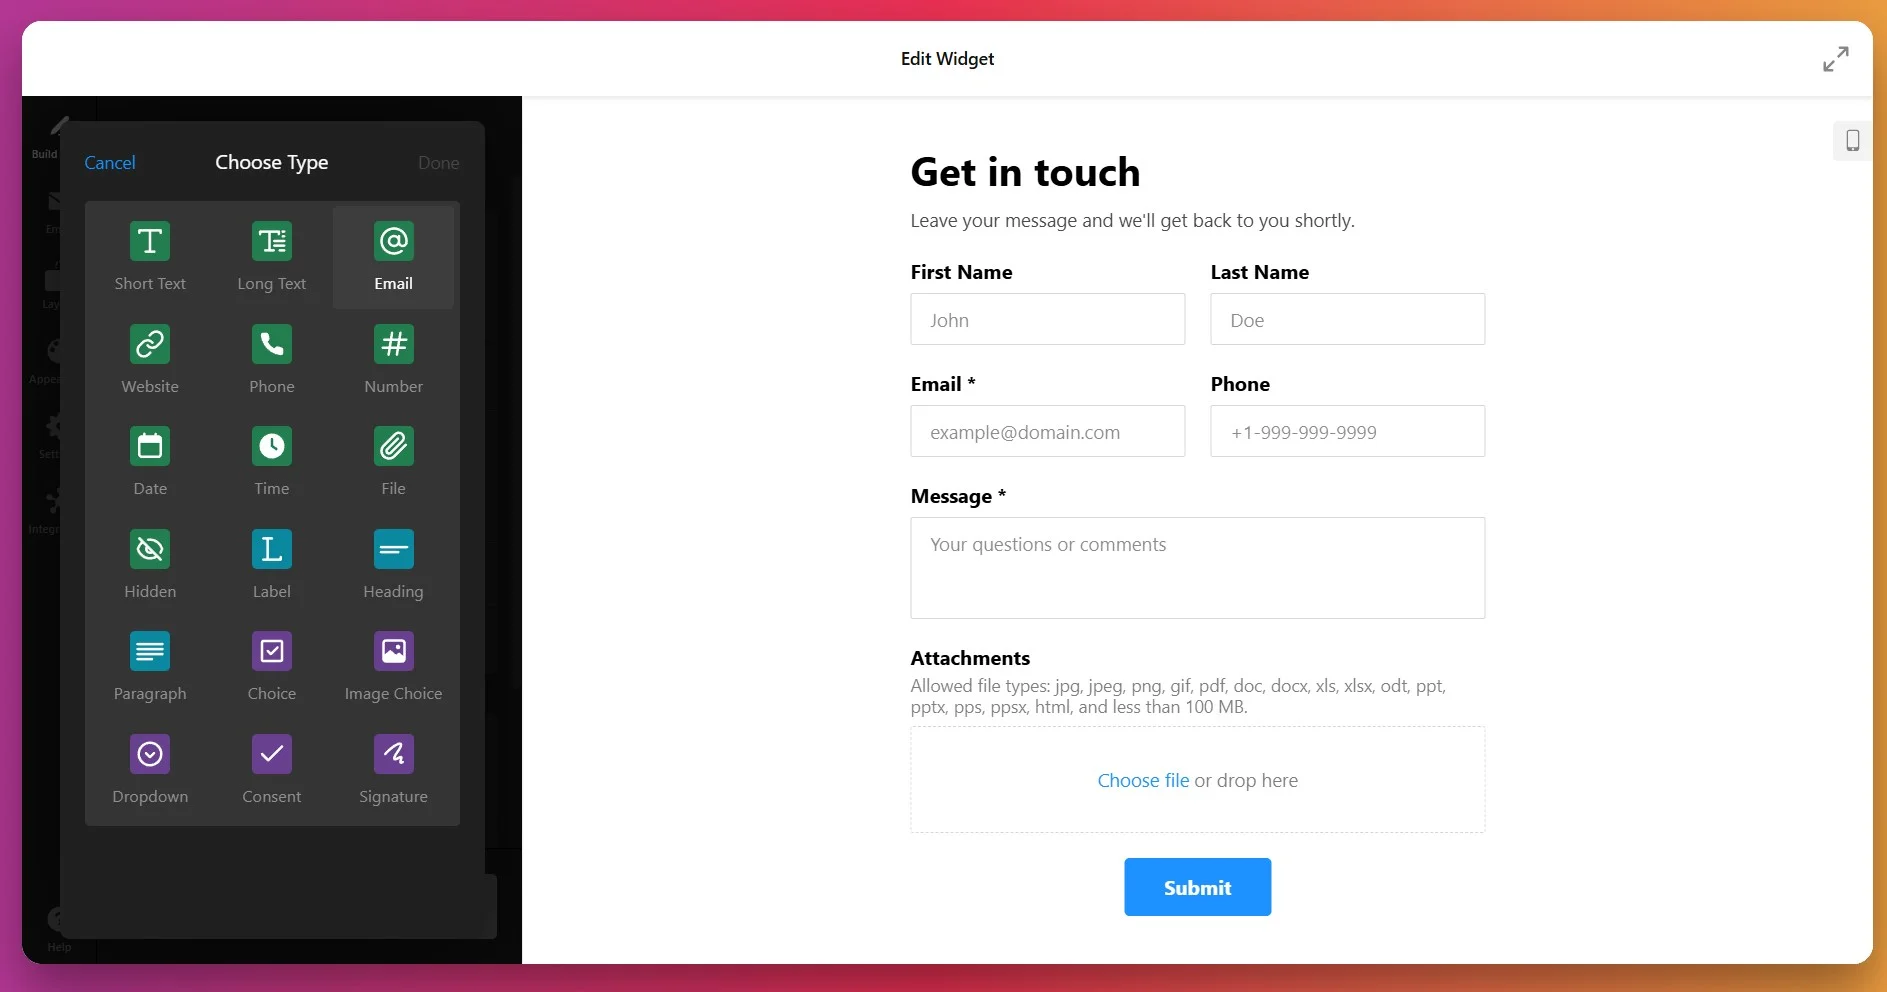
Add only the fields essential to your business goals—fewer required fields significantly increase completion rates. Use drag-and-drop to reorder fields logically and mark fields as required by toggling the “Required Field” option(*).
Customize field labels and add placeholder text (e.g., “name@example.com” for email fields) to guide visitors in providing information in the correct format.
3. Set Up Email Notifications
Click the ‘Email’ tab to configure how submissions reach you. Enable Admin Notifications so you receive an email each time someone submits the form—specify the recipient email address and customize the notification subject line to make incoming submissions easy to identify.
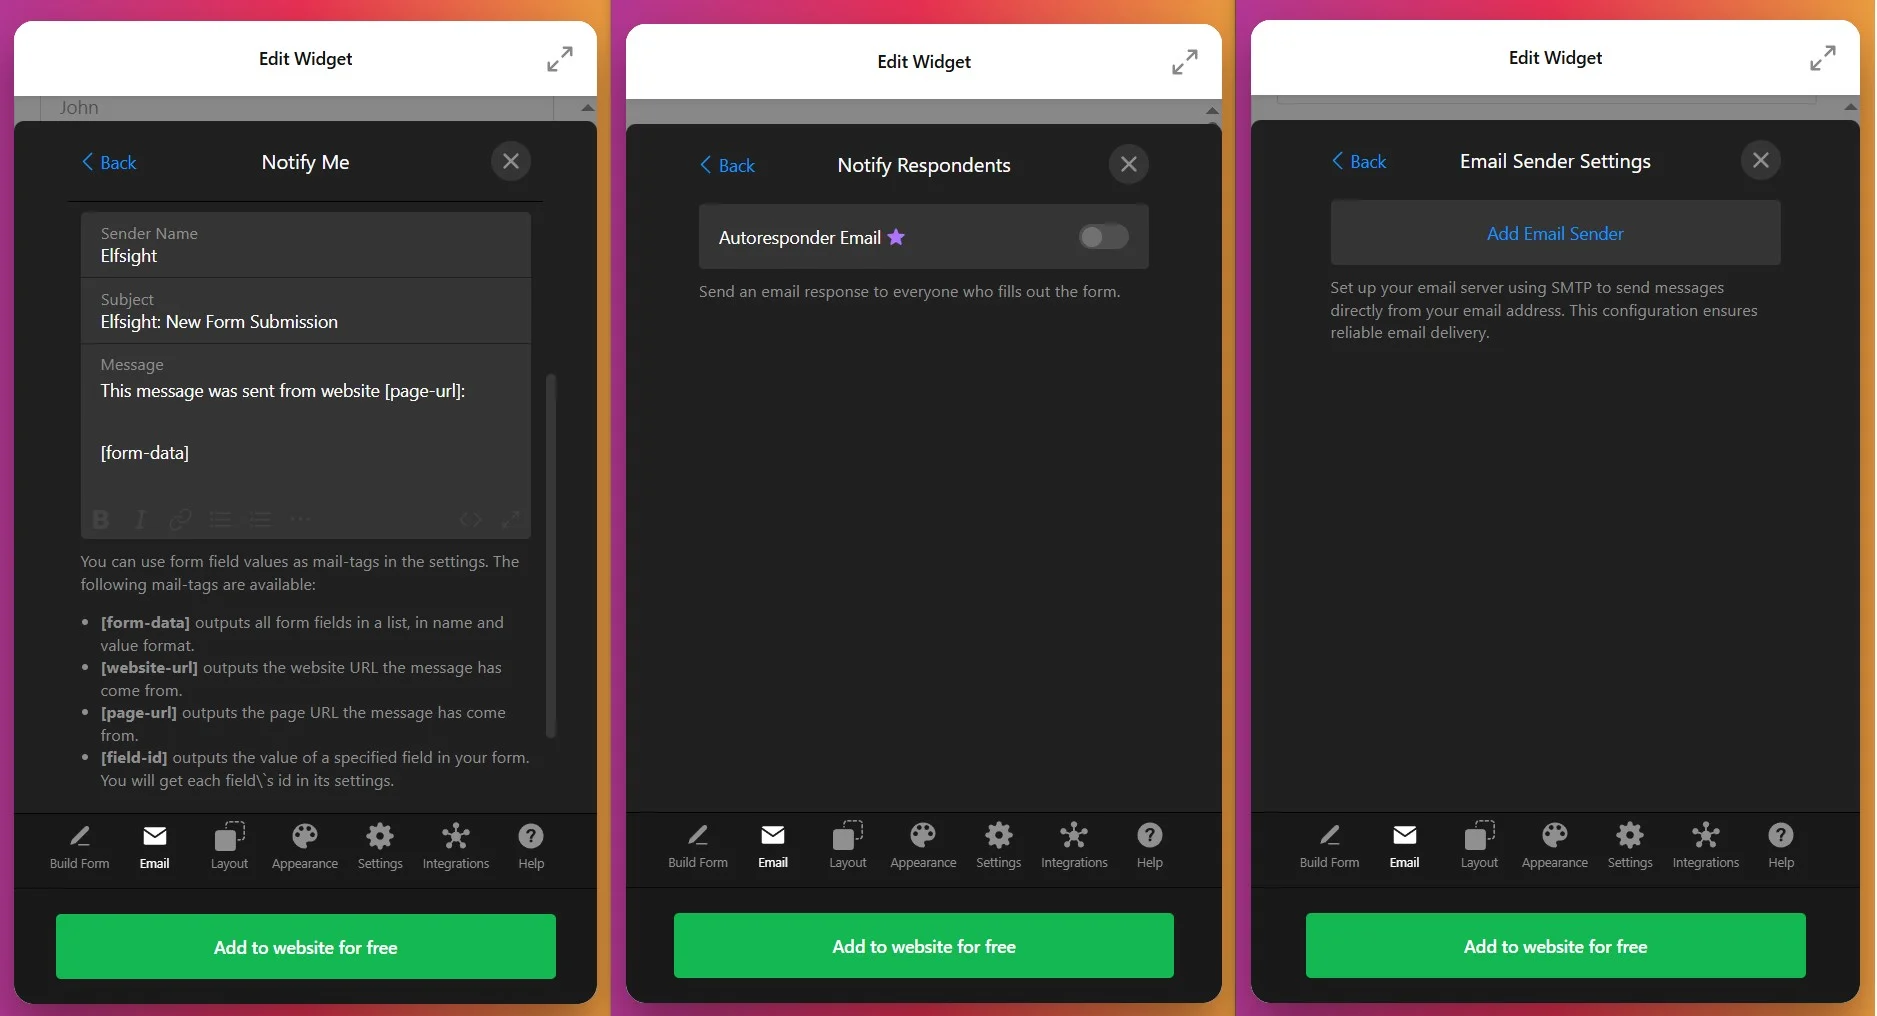
Create Confirmation Emails automatically sent to respondents after form submission—this reassures visitors their message was received and sets expectations for your response time (e.g., “We’ll respond within 2 business hours”). For advanced email control, configure SMTP settings to send notifications from your own email domain rather than Elfsight’s servers, improving deliverability and brand consistency.
4. Customize Layout and Display Behavior
Open the ‘Layout’ tab to choose how your form appears:
- Select Inline to embed the form directly into your page content (ideal for dedicated contact pages where visitors expect to fill out a form immediately)
- Or Floating Pane to display the form as a slide-in panel from the left or right side of the screen (perfect for capture forms on high-traffic pages like pricing or product pages where you want the form accessible but not obstructive)
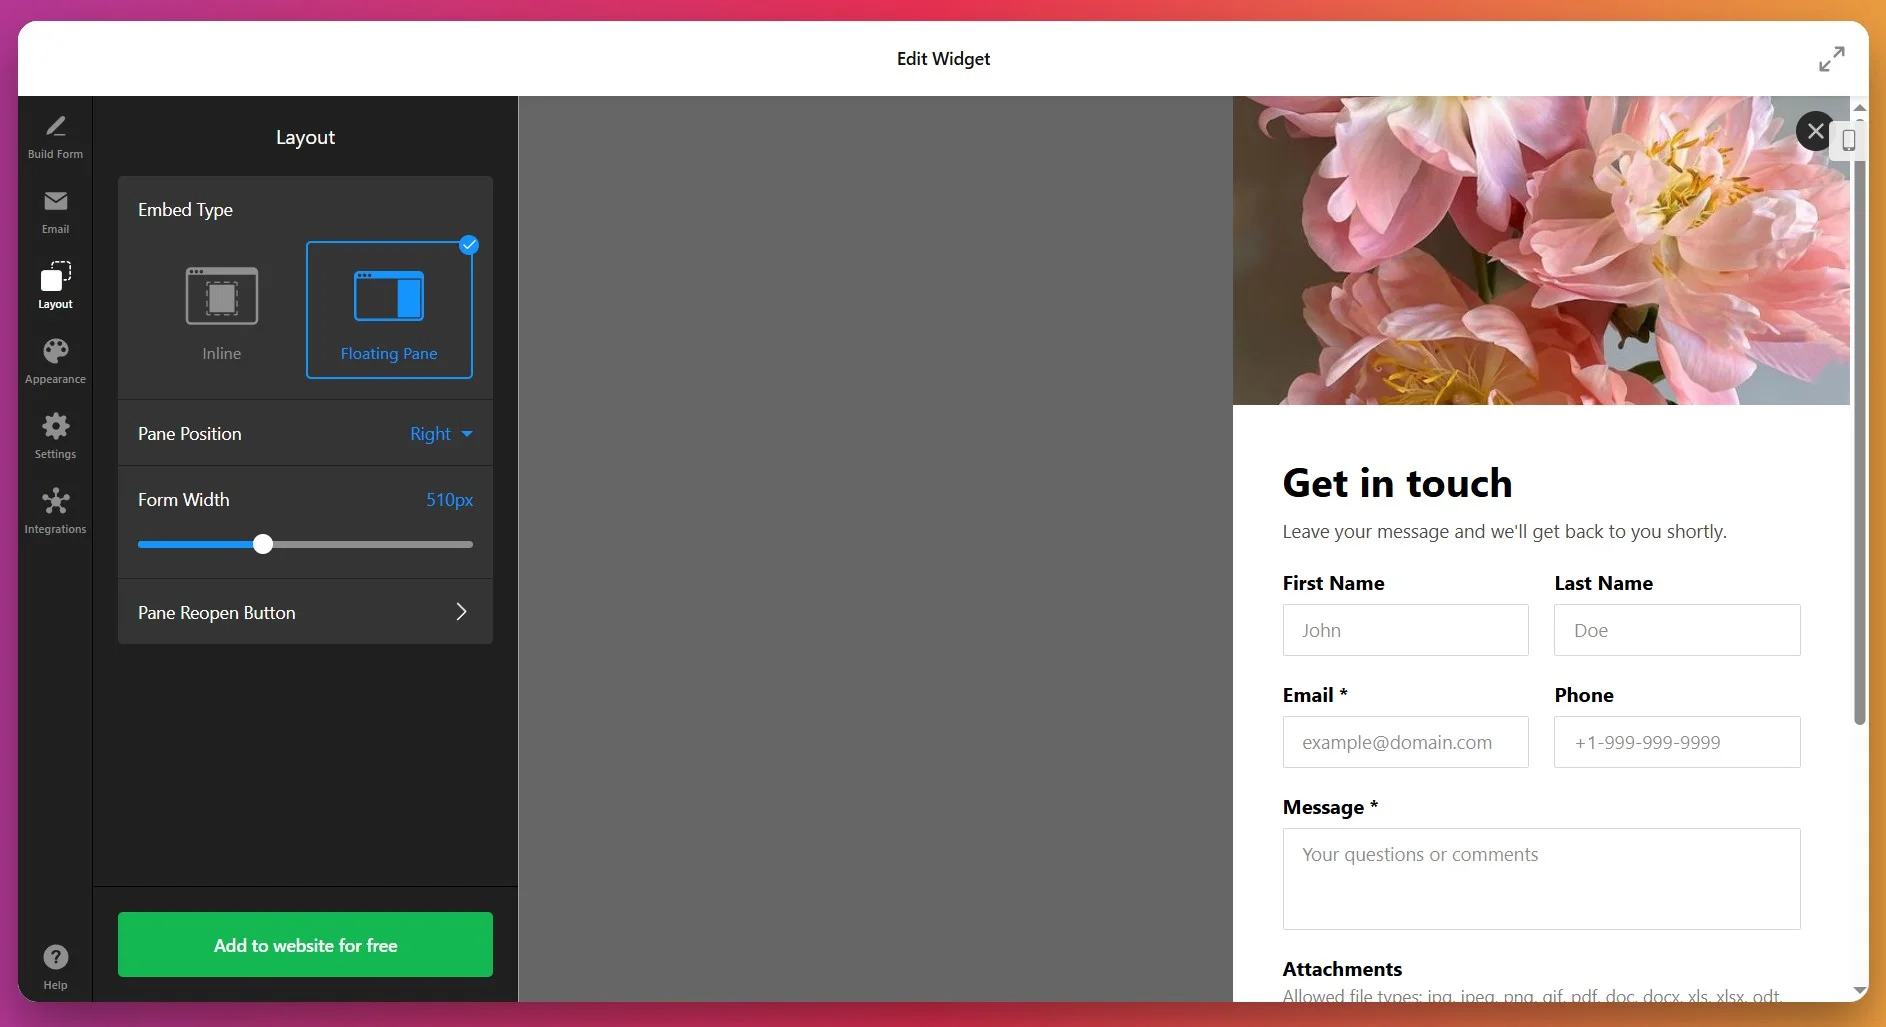
For inline forms, adjust form width (from 100px to 1200px) and enable Full Width to stretch the form across its container. For floating panes, select which side of the screen the pane slides in from, and customize the reopen button icon, text, and positioning so visitors can access the form again after closing it.
Choose whether form fields arrange vertically (standard single-column layout, mobile-friendly) or horizontally (multiple fields per row, saves space but requires careful mobile optimization).
5. Style the Appearance to Match Your Branding
Navigate to the ‘Appearance’ tab to customize visual elements. Choose from 5 pre-built style templates or customize from scratch. Apply your brand Accent Color—this color automatically applies to buttons, progress bars, field focus states, and active elements.
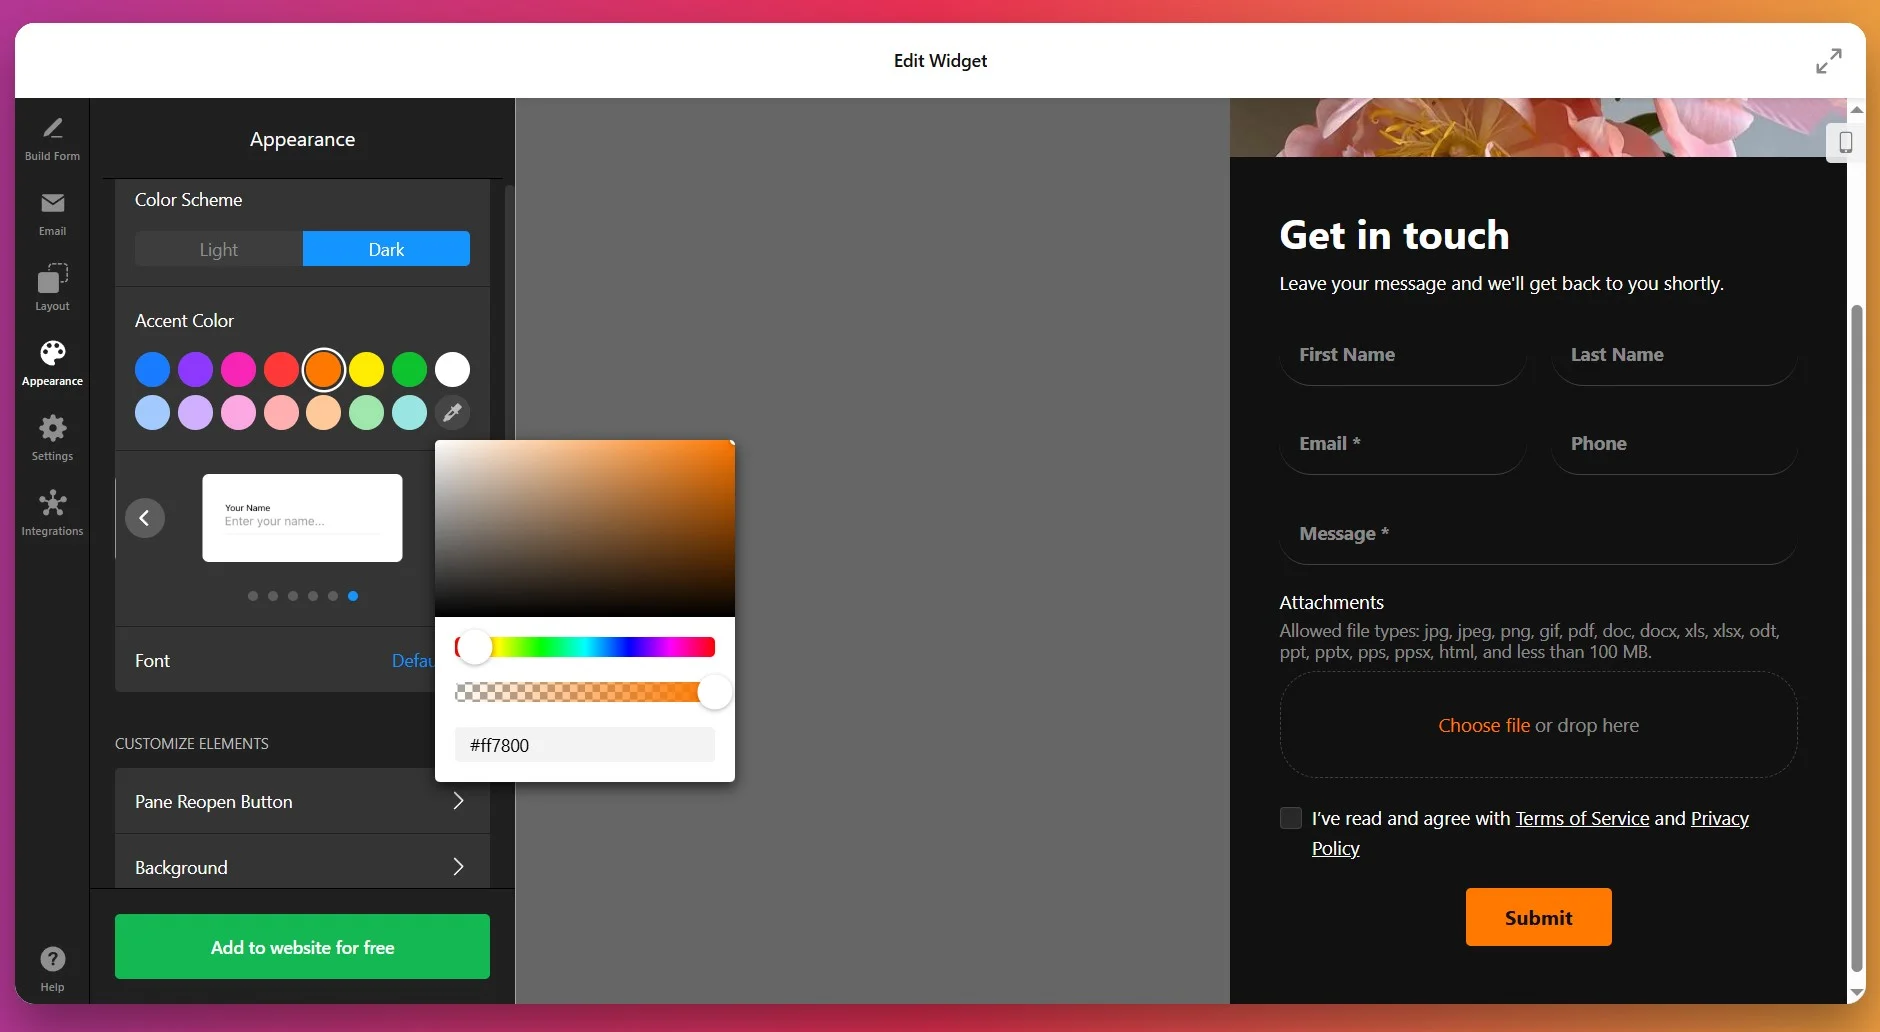
Select a Font matching your website (system fonts like Arial/Helvetica load faster than custom fonts). Then, configure elements:
- Form background color/Image,
- Text Colors,
- Button Styling,
- Border Styles & Thickness
- Shadow Effects.
For advanced customization, use the Custom CSS field to apply precise styling rules, or the Custom JavaScript option to trigger events when specific fields are completed or forms are submitted.
6. Configure Form Settings and Post-Submission Behavior
Click the ‘Settings’ tab to define critical form behavior. Under Post-Submit Action, choose between showing a Success Message (customizable text displayed after submission—encourage users to check their email for confirmation), redirecting to a URL (send users to a thank-you page or specific product page), or displaying no action (form clears silently).
Enable Google reCAPTCHA protection (choose Checkbox or Invisible type) to prevent spam submissions from bots while maintaining user experience. Set your form language to match your audience (50+ languages supported), and customize all text labels including button text, field labels, and error messages.
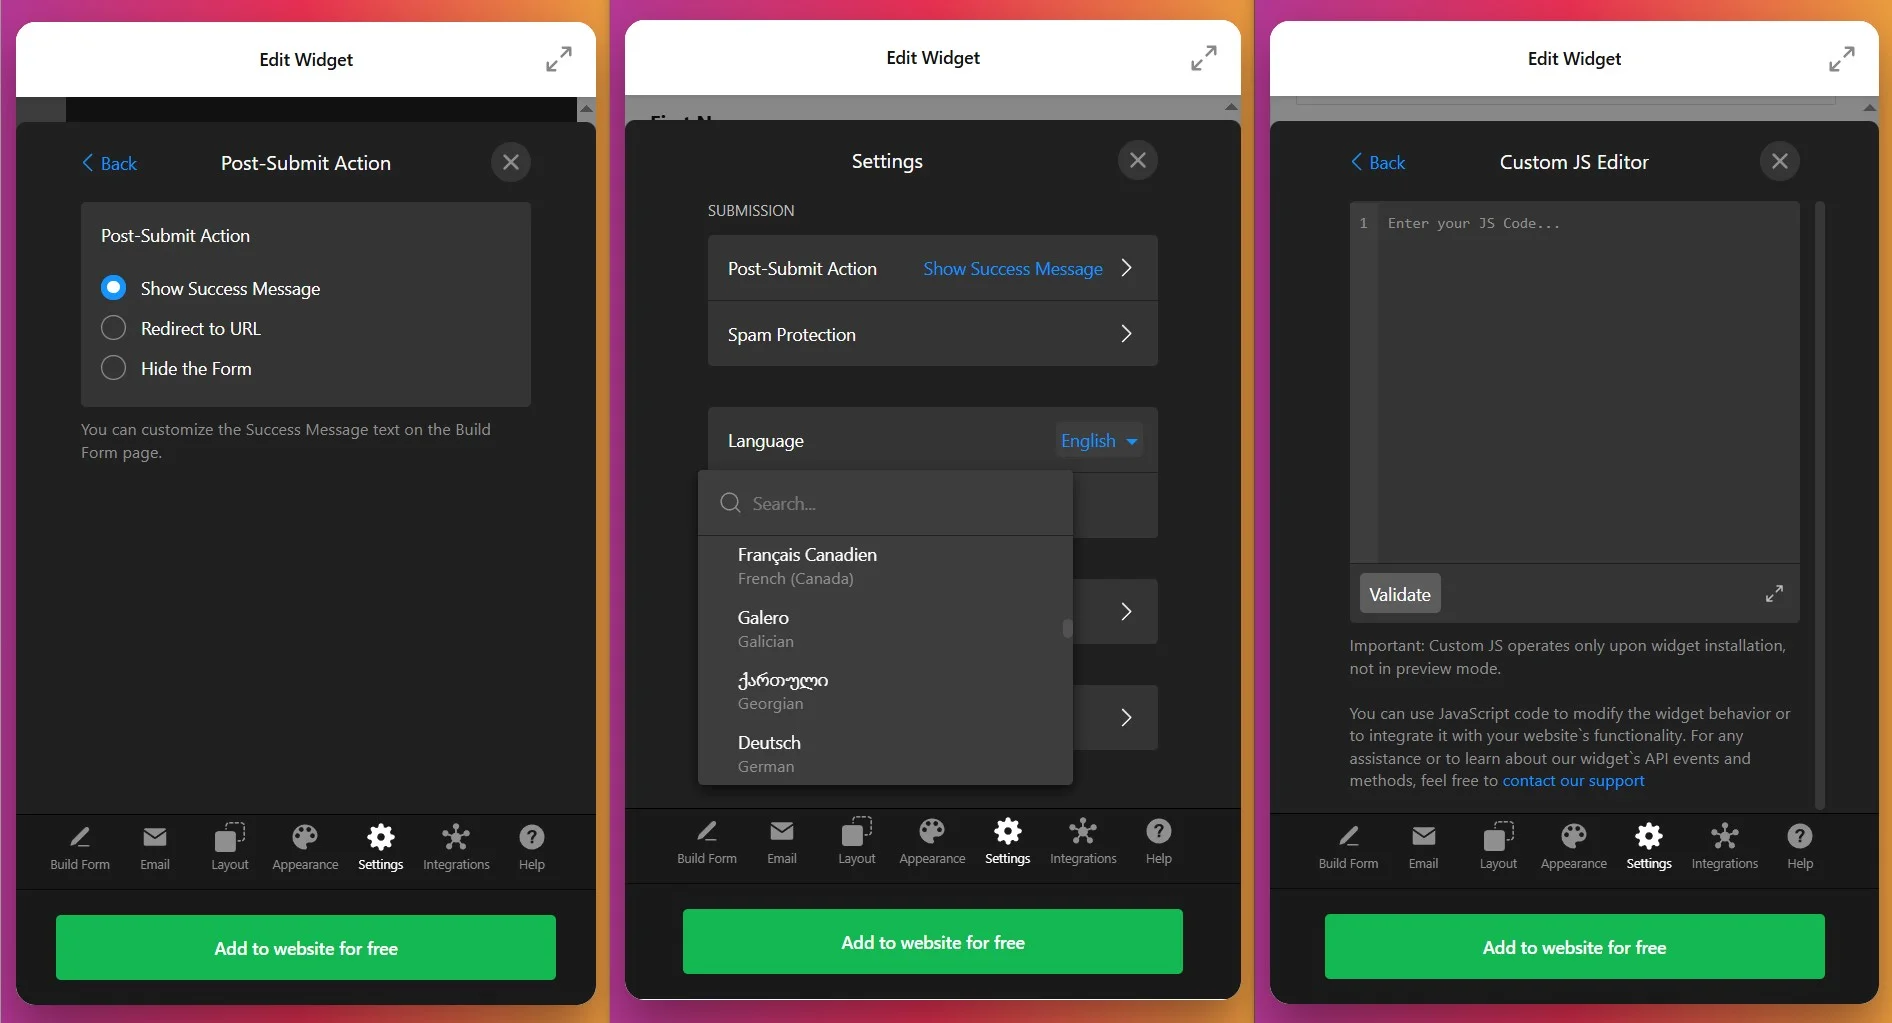
Configure field visibility rules—show or hide fields based on user selections to create conditional logic (e.g., “If Industry = Healthcare, show HIPAA compliance checkbox”). Enable prefill options to populate form fields with URL parameters, allowing personalized form experiences when sharing links.
7. Add Advanced Integrations and Automation
Then navigate to the “Integrations” tab to connect your form to external services:
- Google Sheets automatically exports submissions to a spreadsheet for data analysis and team sharing
- Mailchimp adds form respondents to your email marketing lists for automated follow-up campaigns
- Zapier unlocks 5000+ integration possibilities—automatically creating tasks in project management tools, sending data to CRM systems, or triggering SMS notifications
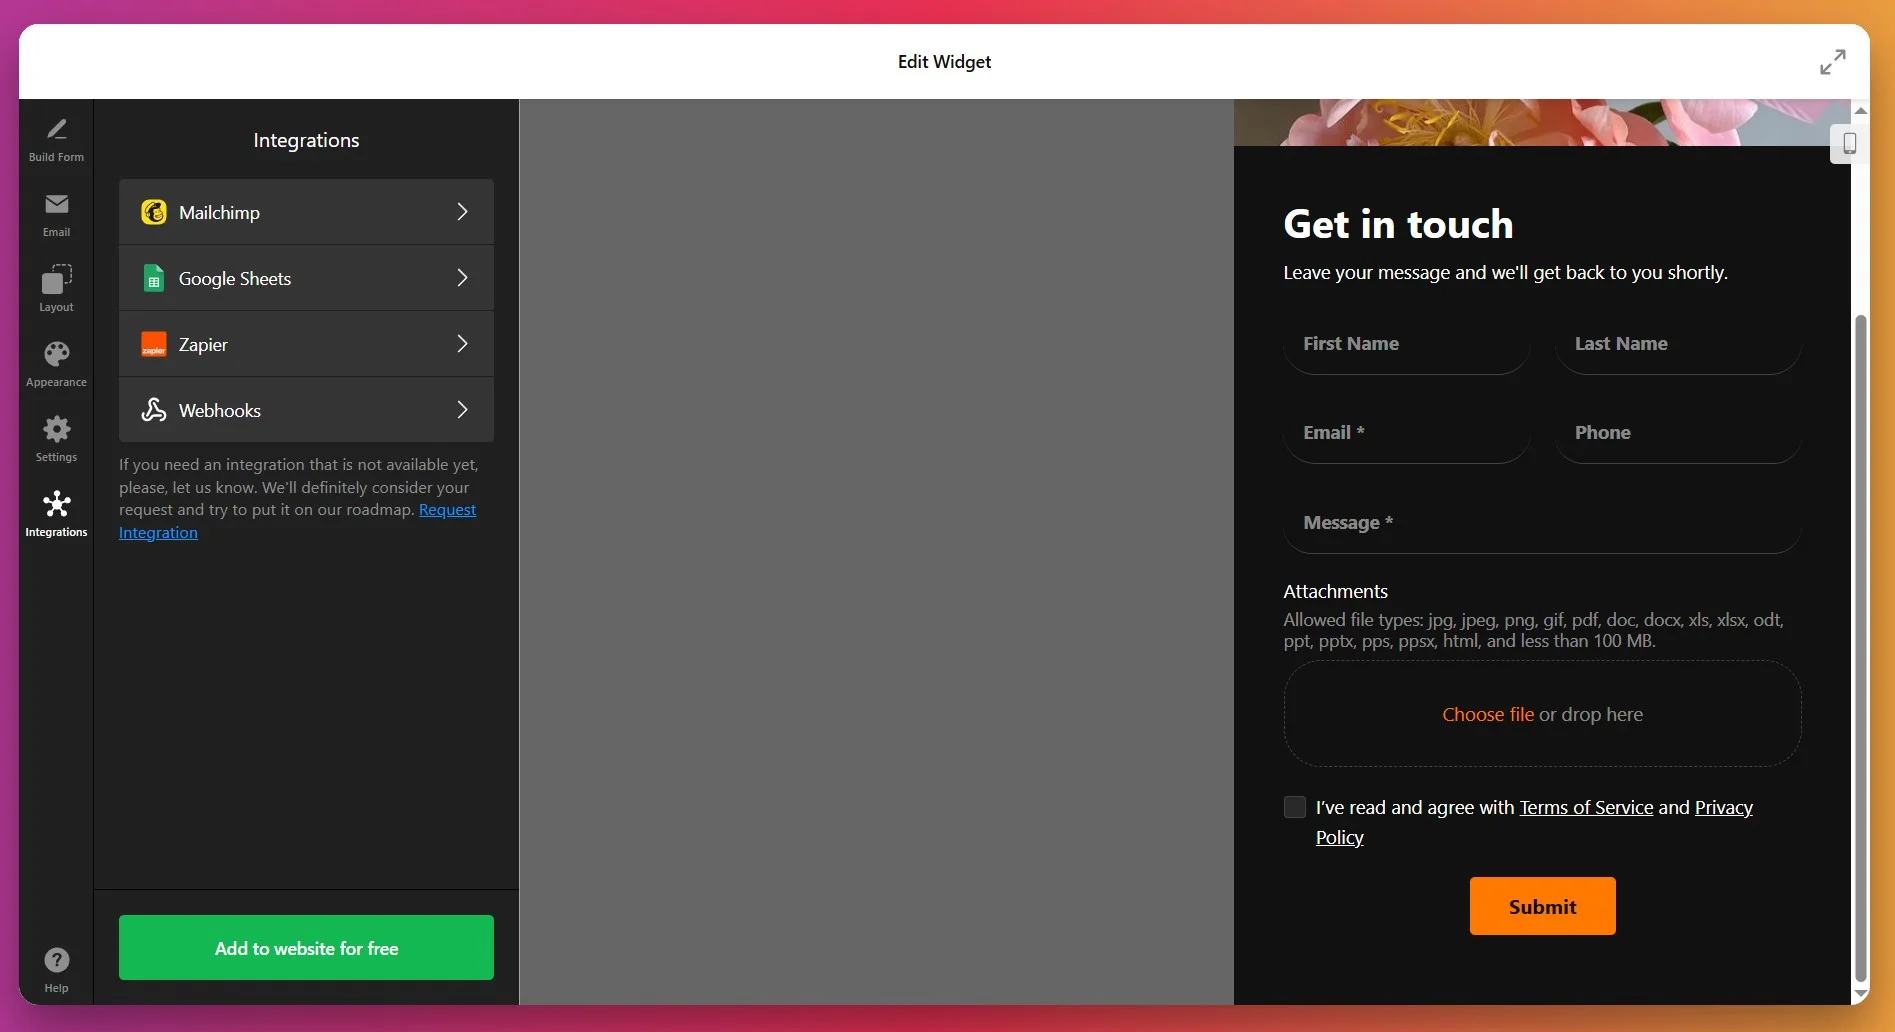
Each integration eliminates manual data entry and ensures submission data flows seamlessly into your business systems.
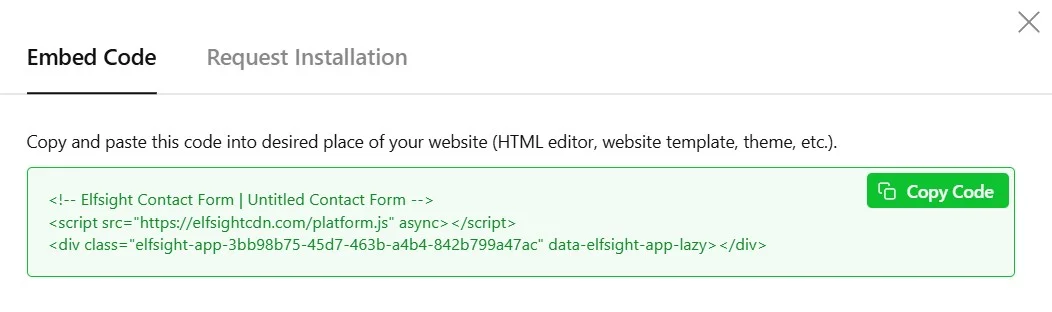
8. Embed the Form on Your WordPress Website
Click “Add to website for free” to generate your unique installation code:
📝 Contact Form Optimization Tips
A clear, inviting contact form helps visitors feel at ease and boosts the chances they’ll reach out. These practical tips make it easier for people to connect and help you see more genuine inquiries:
- Stick to the essentials. Ask only for the information you truly need. Too many fields slow people down and make the form feel like a chore.
- Use a logical, single-column layout. Arrange fields vertically in the order most people expect. This keeps things simple and reduces confusion.
- Make labels and instructions crystal clear. Use straightforward field labels and brief hints so users know exactly what to enter, avoiding any second-guessing.
- Highlight errors in real time. If someone makes a mistake, show a helpful, specific message next to the field so they can fix it quickly and confidently.
- Let users choose how to be contacted. Offer the option to provide either an email or phone number, rather than forcing both. Respecting privacy builds trust.
- Use conditional logic for smarter forms. Only show extra questions when they’re relevant—this keeps the form short and tailored to each visitor.
- Optimize for mobile devices. Make sure every field, button, and message is easy to tap, read, and complete on a phone or tablet.
- Test, tweak, and learn. Run A/B tests on layouts, field orders, and button text to find what works best for your audience. Small changes often make a big difference.
Contact Form Widget Issues & Solutions
Still have questions about setting up or customizing your Elfsight Contact Form? You’re in the right place—here are answers to the most common ones.
How do I add the Contact Form widget to my website?
Can I connect the form to a custom button so it opens in a popup?
Where do form submissions go and how can I access them?
How do I make a field required or optional?
Is it possible to change the form layout after publishing?
Can I create a multi-step contact form?
What field types and formats can I use in the Contact Form?
Is the Contact Form widget responsive and mobile-friendly?
Have More Questions or Ideas?
We hope you now have a clear path to build and adjust your Contact Form to fit your website’s needs. If you run into any issues or want to share how your form turned out, we’re here to help. Let us know your thoughts or questions, and keep up with Elfsight on X, Facebook, and LinkedIn for more tips and updates.