
Overview
Your AI agent answers most questions on its own. For the rest, the visitor fills in the chat's ticket form and the request becomes a Zendesk ticket in the queue your agents already work.
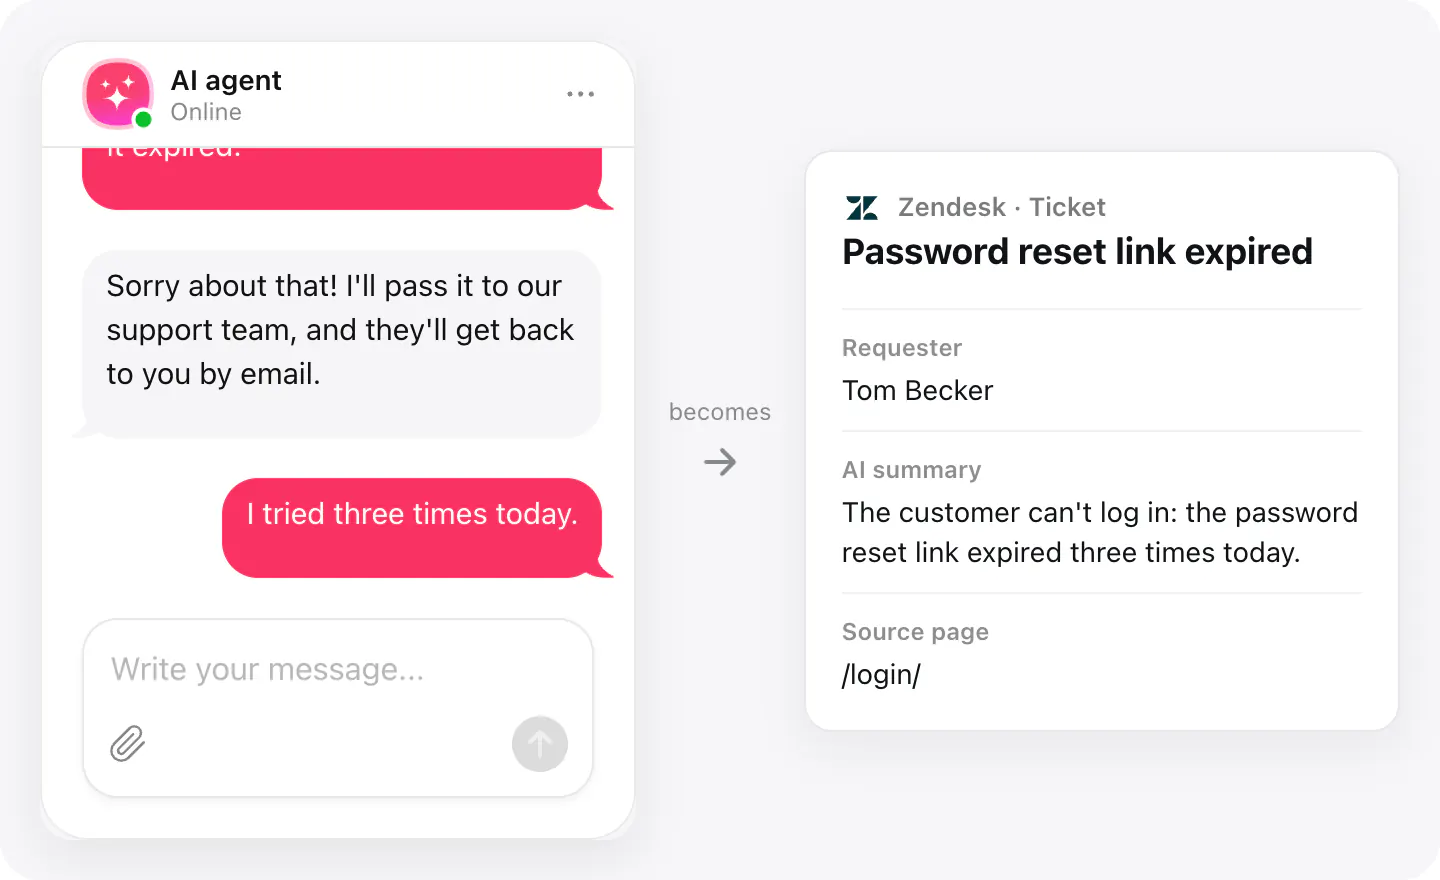
The visitor is the ticket's requester: Zendesk matches them by email to a user it already has, or adds a new one. The first comment carries what they asked, an AI summary, the page the chat started on and, if you turn it on, the transcript — your agent answers without asking the visitor to start over.
What you can do
These are the jobs the integration is built for.
Create tickets
A request for your team becomes a Zendesk ticket with the chat topic as its subject and the conversation's details in the first comment.
Reply to the right person
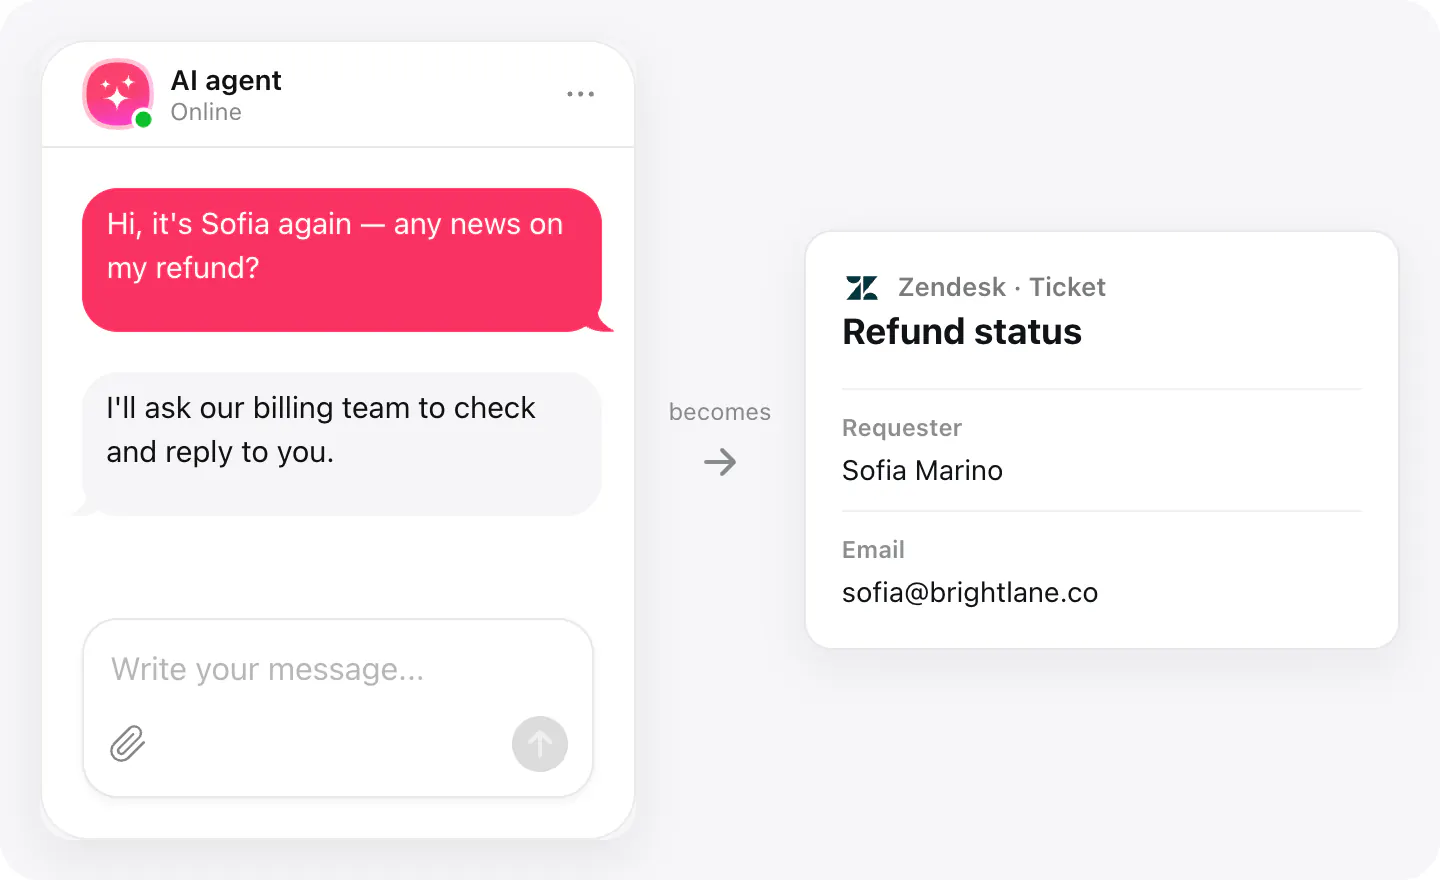
The ticket's requester is the visitor: someone already in Zendesk is matched by email, someone new is added as a user.
Attach the conversation
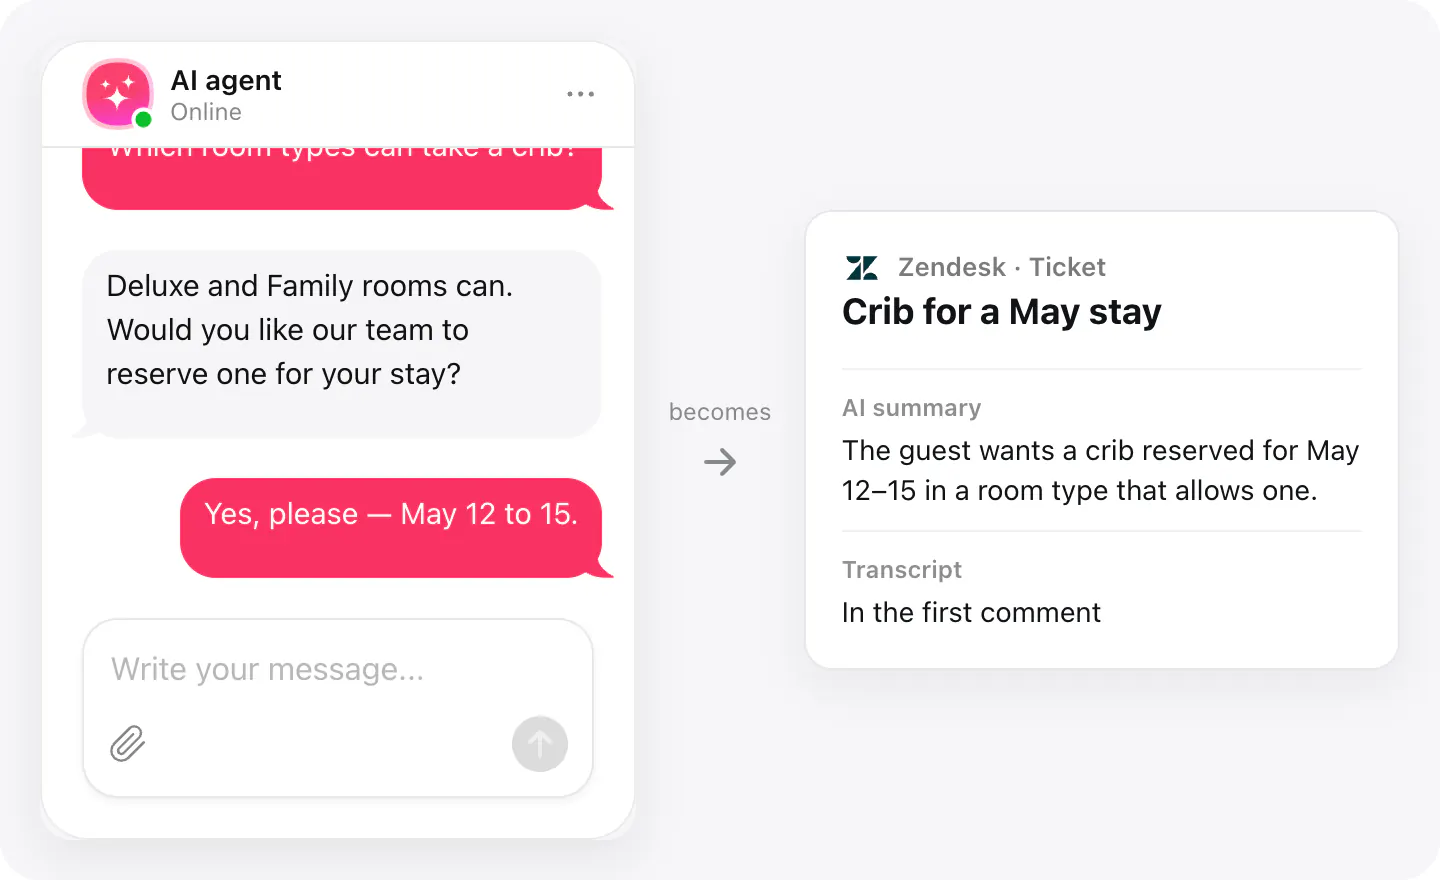
Turn on attaching the conversation, and the whole transcript goes into the ticket's first comment, after the summary.
Set up
Connect Zendesk in your widget's Integrations, then choose it in the Create ticket skill.
- Open your AI Chatbot widget, go to Integrations and choose Zendesk.
- Enter your Zendesk subdomain — the part before .zendesk.com — then sign in and allow access.
- In Agent skills, turn on Create ticket, pick Zendesk, choose when the agent offers a ticket and whether to attach the conversation.
Connected apps and their status are listed in Integrations in your widget, where you can disconnect access at any time.
Requirements
- An AI Chatbot widget published on your site.
- A Zendesk account whose user can allow access to create tickets and users.
What gets sent
What the integration passes on.
The visitor's name and email (the requester)
The visitor's request, in their words
Chat topic (the ticket's subject)
AI summary of the conversation
The page the chat started on
A link to the chat in your dashboard (not with White Label)
The full transcript, when you turn it on
If nothing arrives
- Check the subdomain. Enter only your Zendesk subdomain — «acme» for acme.zendesk.com — not the full address.
- Check the skill. Create ticket needs Zendesk picked in the skill itself.
- Connect again. If access was revoked in Zendesk, or the user who allowed it lost their permissions, tickets stop. Connect Zendesk again in the widget's Integrations.
How businesses use it
The same connection, set up for different kinds of business.
- Online storesOrder, delivery and refund problems become tickets your support team handles with the summary at hand.
- SaaS & softwareLogin and billing issues go straight to the support queue, with the page the user was on.
- Hotels & rentalsBooking changes and special requests reach the reservations team as tickets with the guest's details.
- InsuranceClaim and policy questions the agent shouldn't answer alone become tickets for your service team.