WordPress Subscription Form Plugin
Create your Subscription Form plugin
Why People Choose Elfsight
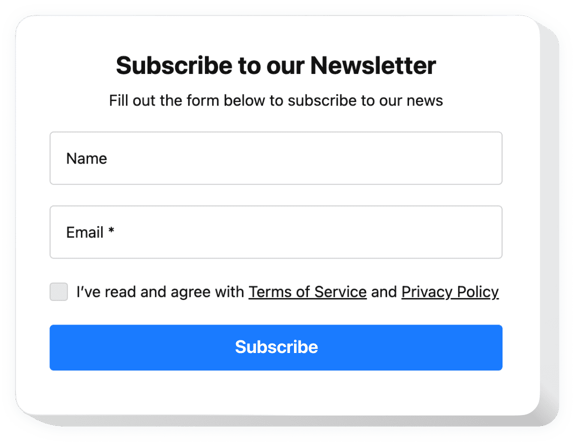
Your visitors love your content – now give them an effortless way to stay connected. The Elfsight Subscription Form helps you collect emails and build your community right from your WordPress website.
No coding, no setup headaches. Just pick a layout, adjust the colors, write your message, and you’re ready to roll. It fits neatly into any design and works perfectly whether you’re running a blog, an online shop, or a creative portfolio. Elfsight makes turning visitors into subscribers feel completely effortless.
Did you know?
Studies show that nearly 90% of Americans subscribe to at least one brand’s newsletter, and about three-quarters follow up to ten.
Why not make sure your business is one of them? Start using Elfsight’s WordPress Subscription Form today and keep your brand in that daily scroll.
Key Features of the WordPress Subscription Form
These are the reasons why so many WordPress users trust Elfsight:
- Custom fields: Decide whether to ask for name, email, or both – or keep it ultra-simple.
- Design that fits your brand: Choose from various templates, colors, and fonts to make the form match your website perfectly.
- Easy integrations: Send form data automatically to Mailchimp, Zapier, or any other connected platform.
- Smart validation and logic: Built-in validation and conditional fields help you collect accurate data with a smooth user experience.
- Spam protection: Built-in reCAPTCHA keeps your list clean and protects against unwanted signups.
- Email notifications: Receive instant alerts for new subscriptions and send automatic confirmation messages to subscribers.
How to Add the Subscription Form to WordPress
Embedding a subscription widget is very simple and fast:
Method 1: Inline Embed
Best for showing your form directly in a blog post, landing page, or homepage section.
- Select a template: In the Elfsight editor, choose a layout that you like.
- Customize the form: Add fields and email address for notifications, choose the layout and colors, and adjust the setting. Make the form feel like part of your brand, not an add-on.
- Generate the code: Once you’re happy with the setup, click “Add to website for free”. A small piece of embed code will appear, copy it.
- Embed on WordPress: Open the WordPress editor, add a Custom HTML block in the section where you want the form to appear, and paste the code there.
- Save and preview: Publish your changes. Your subscription form should now appear right where you placed it.
Method 2: Floating Form
This approach is perfect if you want the form to stay visible across your website, like a button or banner that follows your visitors as they scroll.
- Choose a layout: In the editor, select a floating template that suits your design.
- Customize your widget: Add fields, set colors, icon, position, and how it behaves when users interact with it.
- Generate the code: Click “Add to website for free” and copy the provided snippet.
- Embed on WordPress: Go to Appearance → Widgets or your theme’s footer settings, add a “Custom HTML” or “Text / Code” widget, and paste the snippet.
- Save and test: Update your changes and make sure your form appears exactly where you want it.
If you need help along the way, check full guides in our Help Center or read our blog article on how to add a subscription form to WordPress. You can also visit our Wishlist to suggest new features or track what’s coming, and keep an eye on updates in the Changelog.
