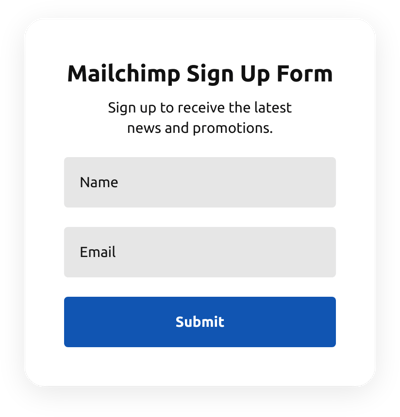
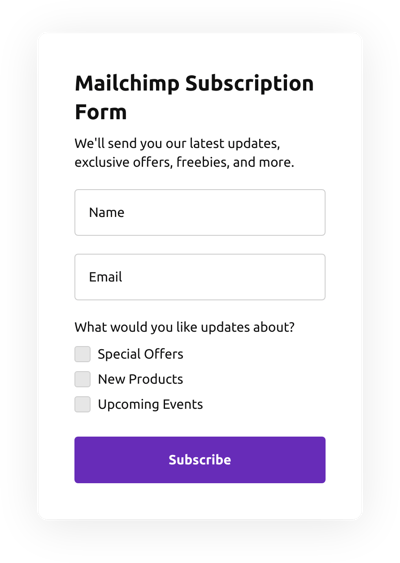
Joomla Mailchimp Forms extension templates


Why Elfsight Joomla Mailchimp Forms extension is the Best?
If you’re on the hunt for a highly responsive and flexible form to boost engagement rate and get more potential clients to your Joomla, then the Mailchimp Forms extension from Elfsight is the best choice to set your brand apart. Our pre-made solutions can improve the Joomla site’s user experience and raise purchases in a couple of minutes. Save time and cash on employing a programmer since the setup procedure is fast and doesn’t need coding expertise!

Joomla Mailchimp Forms Features and Integrations
How to Create Mailchimp Forms template for Joomla Website
To make the Mailchimp Forms extension for Joomla, use the steps from the detailed tutorial:
- Choose the Mailchimp Forms template from the list and press the “Use Template”.
- Modify the template’s elements to meet your interest and apply all adjustments.
- Sign in to the account.
- Obtain your personal code to add the form on your Joomla website and the direct URL-link.
Do you face any issues building your form template? Feel free to get in touch with the Elfsight Support Team.
How to add Mailchimp Forms to Joomla Website
In order to add the Mailchimp Forms extension to the Joomla webpage, follow the uncomplicated guideline:
- After editing your Mailchimp Forms template, sign in to your Elfsight account.
- Get the unique form code.
- Enter the form code into your HTML editor.
- Congrats! You have added the Mailchimp Forms extension to the Joomla webpage successfully.
Came across any difficulties during the setup process? Don’t hesitate to get in touch with our customer service. We will be happy to support you.
FAQ
What is the Joomla Mailchimp Form?
The Mailchimp Form is a form widget that gathers consumer details and automatically signs them up to the email list since the form is synced to your Mailchimp profile.
Should I have a Mailchimp account to use the Joomla Mailchimp Form?
Yes. To enjoy using the Mailchimp Form to the maximum extent, you must have a Mailchimp account.
Is the Mailchimp Forms template suitable for any other website builder or CMS besides Joomla?
Absolutely! The form template for Mailchimp Forms extension is entirely compatible with any content marketing systems and websites.
What kind of integrations can I sync to the Mailchimp Forms?
You may sync Google Sheets, Zapier, and Mailchimp to the Mailchimp Forms using the online demo editor after choosing the template.
Where can I share my Mailchimp Forms besides the Joomla website?
You can promote the form through different marketing platforms, but we suggest checking out these options to enhance orders:
- Distribute the direct URL to the form.
- Include the form to your emails.
- Embed the form into the landing page.
- Spread the form link across your social media channels.
What elements can I customize in the Mailchimp Forms template?
You’re able to personalize all the elements of the Mailchimp Forms via our demo editor, including the text fields to fill out, heading, cover image, logo image, footer, positioning, layout, button icon, color palette, success message, and so on.
How do I export my form data?
To export your form results, it is necessary to sync the Mailchimp Forms with an integration application like Google Sheets, Zapier, or Mailchimp. Therefore, view the guide:
- Find the “Integrations” menu option in the online demo editor.
- Choose the integrator you would like to use.
- Link the form to the selected application integration by completing the criteria for each service.
How do I set up notifications for my form?
In order to get the form notifications and continuously get emails, complete these steps:
- Locate the “Email” menu tab in the live demo.
- Select the “Notify Me” button.
- Activate “Email Notifications” to receive notifications when an individual submits the form.
- Add your email address and modify the text message notification.
- Navigate back to the “Email” menu and choose the “Notify Respondents” option to send an email reply after someone fills out the form.
- Activate “Autoresponder Email” and write the text message.
Is the Joomla Mailchimp Forms extension templates responsive?
Yes, certainly, the Mailchimp Forms are completely responsive and designed to work efficiently with different screen resolutions, OS, and browser platforms on every digital device.
Can I add the floating Mailchimp Forms extension to my Joomla website?
Absolutely, even if you’ve selected the embedded template at first. In order to adjust the layout and make the Mailchimp Forms floating, check out these guidelines:
- Open the “Layout” menu tab in the online demo configurator.
- Hit the “Pane” layout option shown on the screen.
- Change the settings for the placement and floating button.
- Customize the floating button in the “Appearance” tab and save the edits.
- Sign in to your Elfsight account and get the code to embed on the Joomla webpage.
How do I add a CAPTCHA to my Joomla form template?
To embed a CAPTCHA protection to the Mailchimp Forms template and stay protected from spam, complete this uncomplicated guideline:
- Locate the “Settings” tab in the live demo.
- Look for “Spam Protection” and press on it.
- Toggle on “Enable reCAPTCHA.”