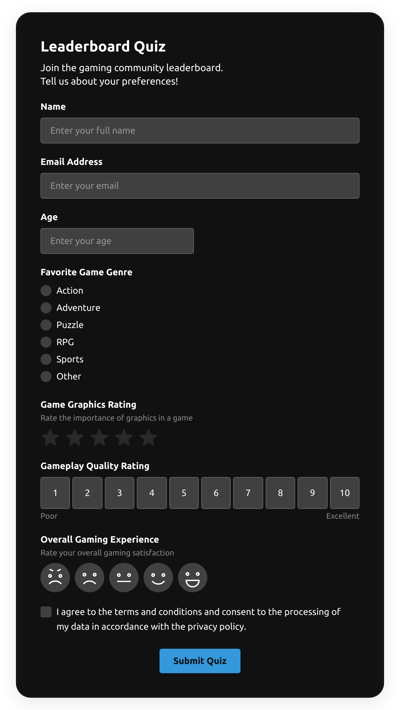
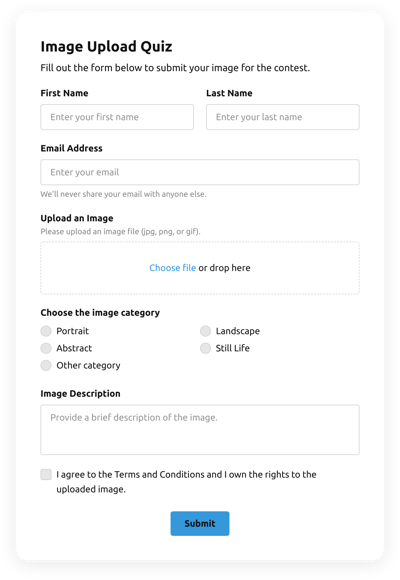
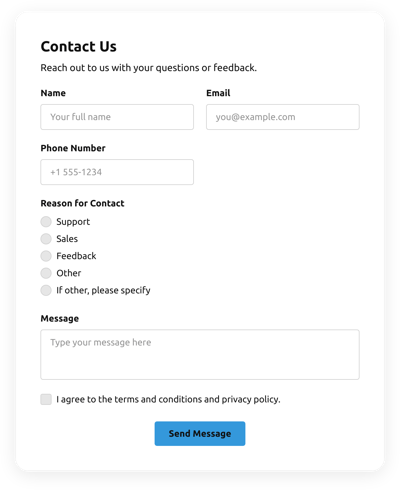
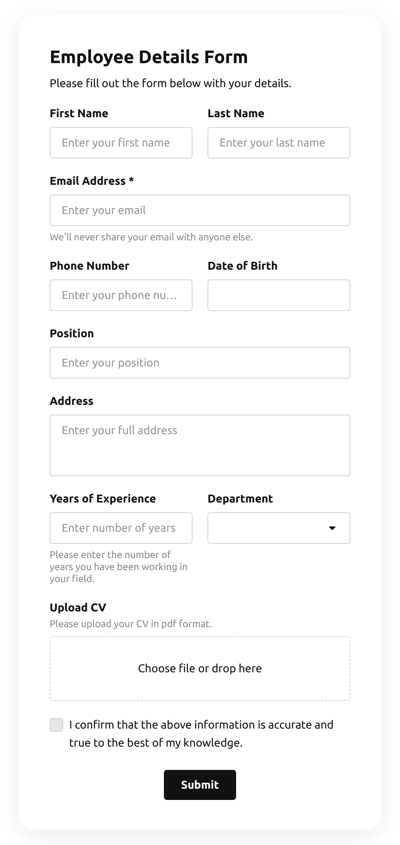
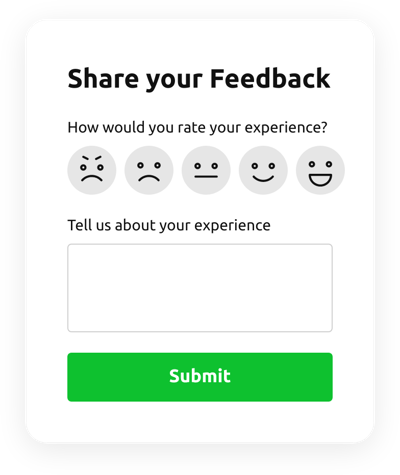
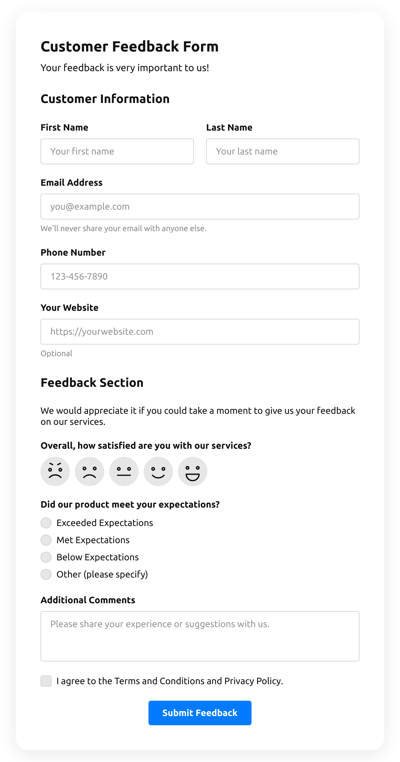
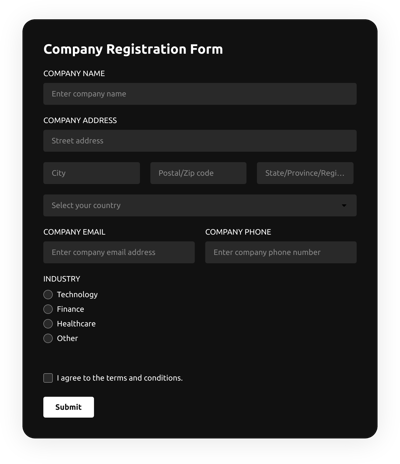
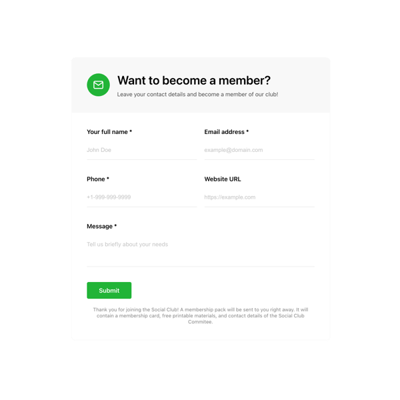
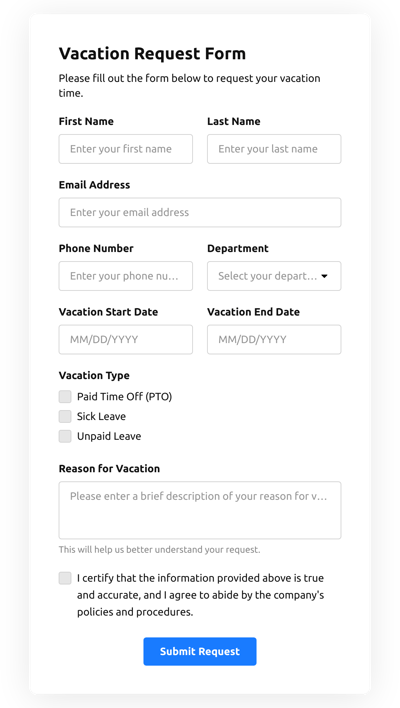
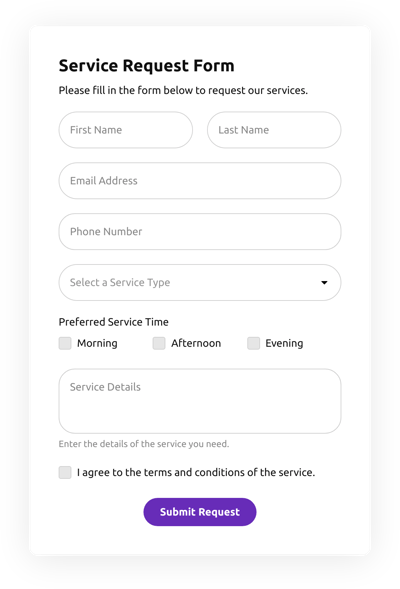
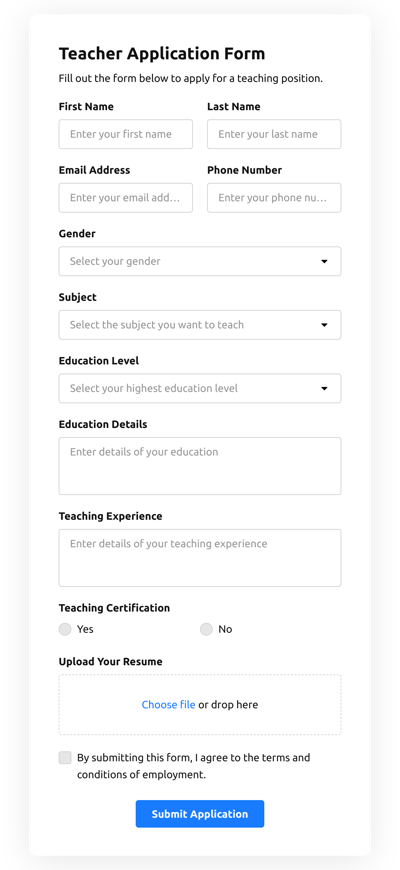
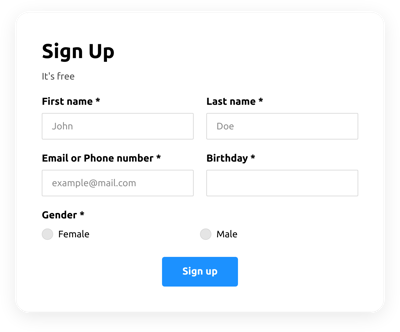
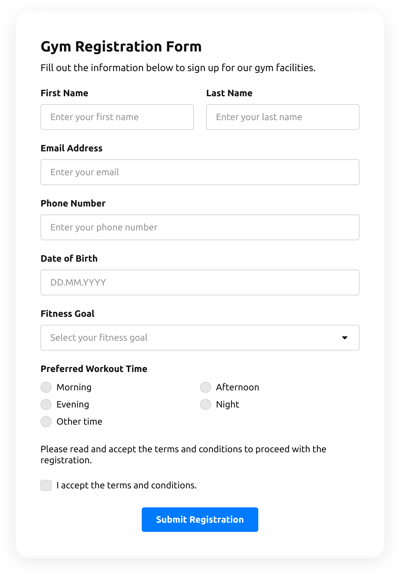
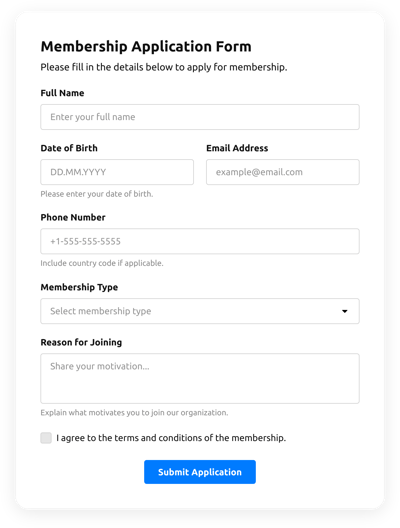
180+ HTML Form Templates for Websites


What Is Form Builder Template?
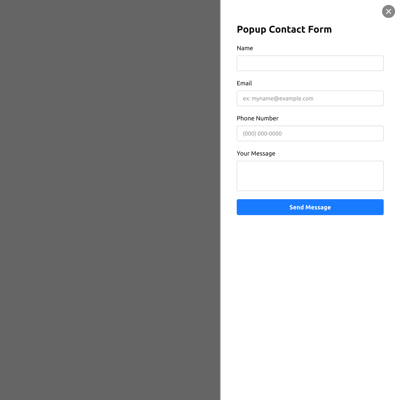
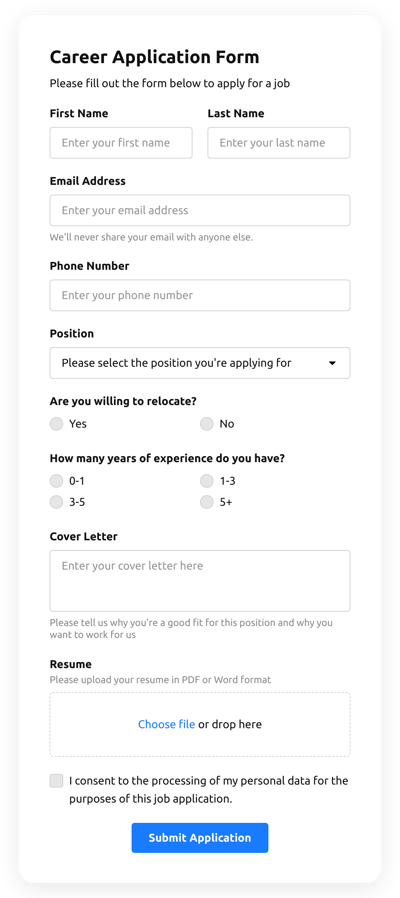
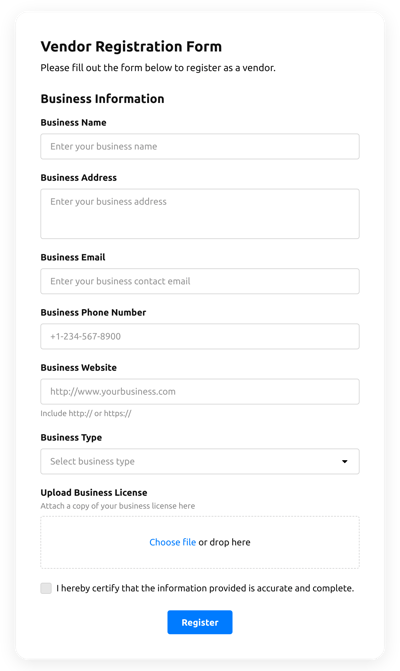
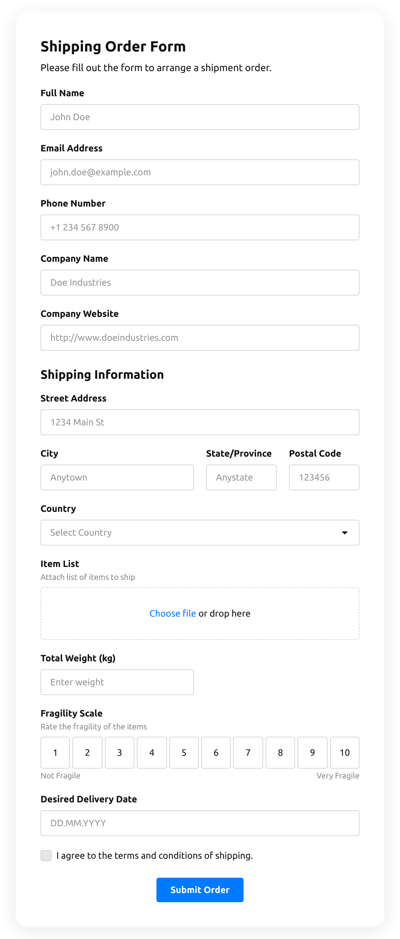
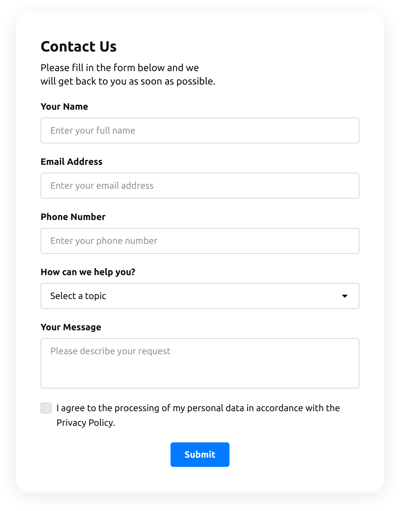
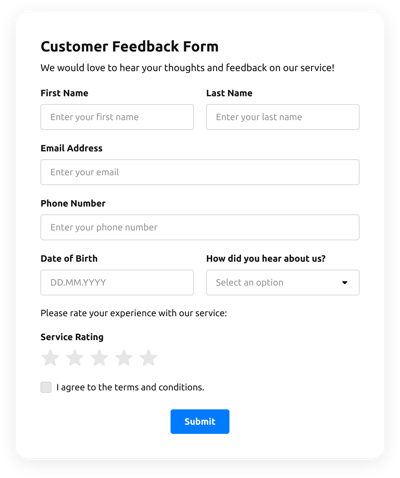
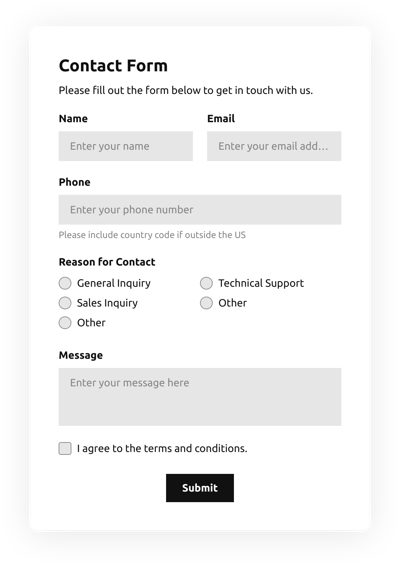
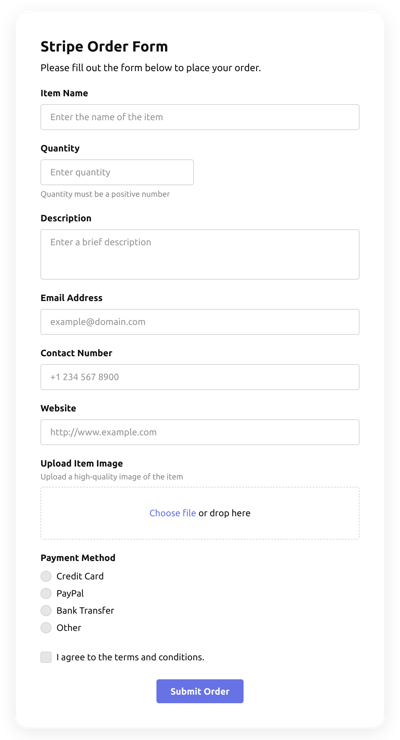
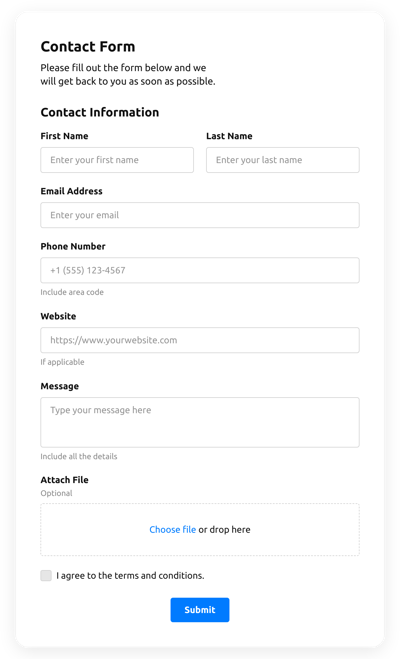
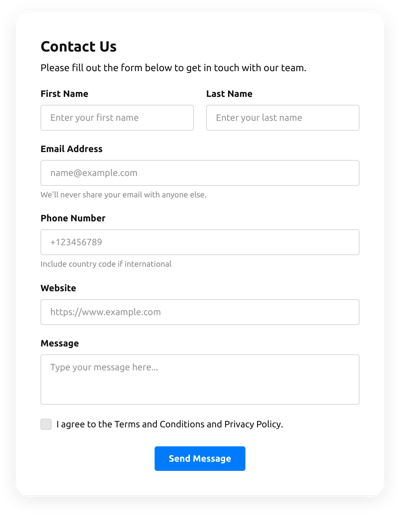
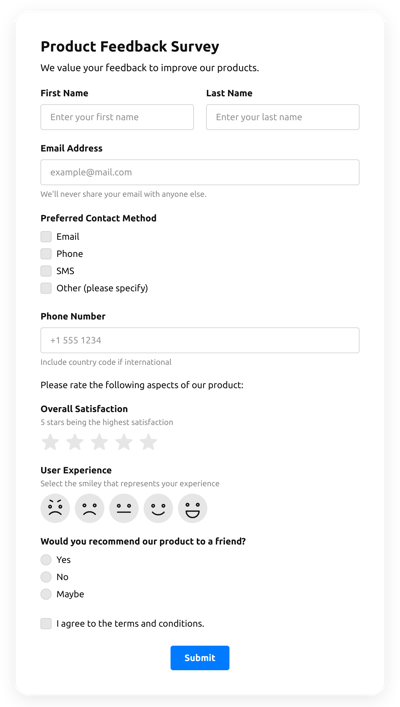
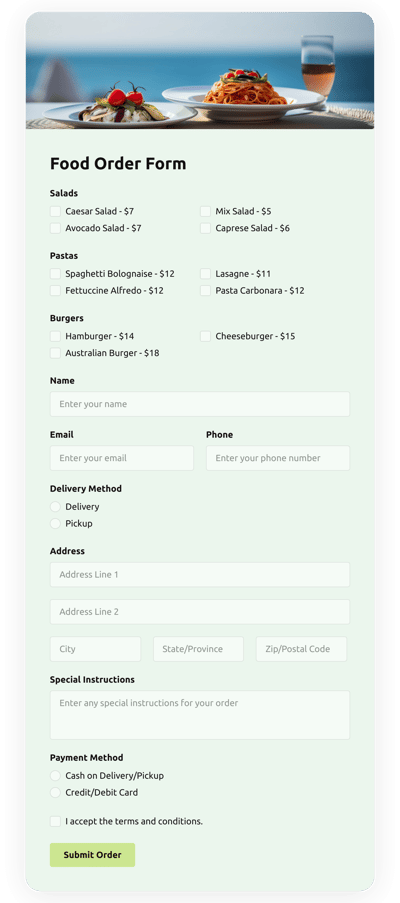
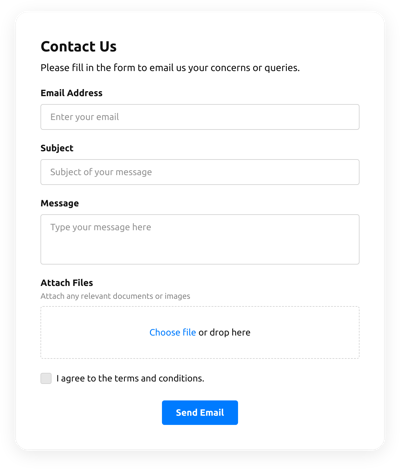
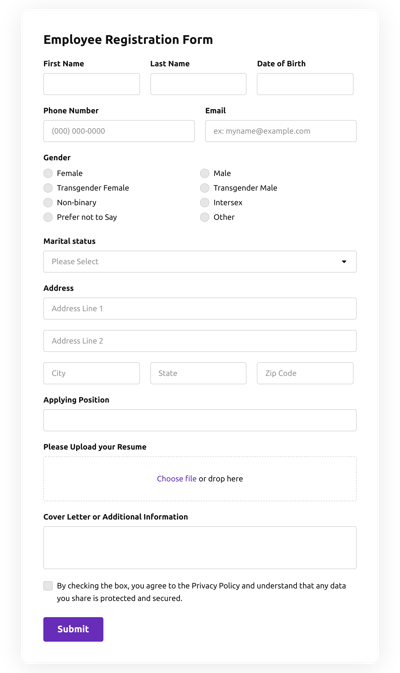
It’s a pre-made form layout created for popular use cases: contact forms, appointment requests, registration forms, feedback surveys, quote requests, job applications, and many more. Just pick a template, customize the fields to match your needs, and add it to your HTML website.
No coding, no design experience, and no complicated setup required. With these templates, you can collect data, handle user requests, or automate lead capture instantly. Check them out today!
Top Form Builder Template Features
You will find Form Builder templates packed with essential, flexible features to help you gather information. Here’s what you can configure and customize:
- Adapt the fill-out fields for your case.
If you don’t know where to start, let us help you. Our templates already come with preselected fields, but some may not work for your business. Change them to build a new structure or use the AI generator to create something unique. - Add custom header, button, and success message.
Some of the elements can help you set the tone and purpose of your form. This includes a custom header, the right text for the submit button, and a warm thank-you note in the success message. Make them clear, enticing, and visually distinct. - Enable multiple email alerts.
Decide who receives submissions: you, your team, or multiple departments. Plus, you can also notify a responder and set up an email server. - Turn on spam protection.
All templates include built-in spam filtering powered by Google reCAPTCHA. It is totally free, yet a super-effective solution on the market. Protect your inbox and data from bots. - Sync integrations to your form .
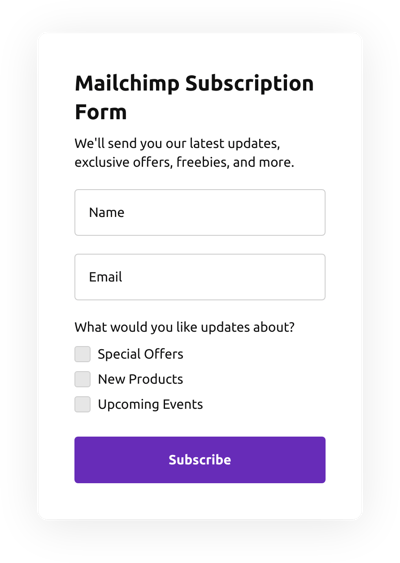
Collect all the submissions and send your data automatically. Explore all the possibilities with the supported integrations: Google Sheets, Mailchimp, Zapier, and Webnook. No need for a double effort! - Personalize the design.
Some design elements of a form template may not appeal to you, and this is okay. You can change every bit of it. Go through each setting in the Appearance tab and adjust colors, fonts, style, etc. - Use custom JS and CSS.
If you know how to code, feel free to use the built-in CSS and JS editors. Make your form truly unique and functional beyond the template options. But remember, it is not necessary.
How to Add Form Builder Template to Website?
You’ll need to complete just four simple steps:
- Select the template. Explore the template catalog and choose a form layout based on industry, purpose, or style.
- Adapt the form to your business. Customize fields, labels, colors, and steps. Add validation, upload options, instructions, and post-submit behavior settings.
- Get the installation code. Click “Add to your website for free” to generate the HTML code based on your final template.
- Embed it on your website. Go to your HTML website dashboard, pick the desired page or section, and paste the code.
If you face difficulties during installation, the Help Center, Elfsight Community, and our support team are always ready to help.
FAQ
Can I use a template for free?
Yes, all Form Builder templates are available for free. Customize them as much as you need and embed them on your HTML website without limitations.
Each template comes with a lifetime Free plan that includes essential features for collecting data and receiving submissions.
Can I change a form template’s design?
Yes, you can fully customize the design of any Form Builder template. Adjust the colors, fonts, layout, and field styles using the built-in visual editor.
Do I need to edit my website’s HTML to use preset forms?
No major HTML editing is required. You only need to paste a small embed code into your website page. The form will appear instantly and won’t affect your existing design or layout.
What are the best examples of using form templates?
Form Builder templates work for almost any website. Here are some ideas organized by business type:
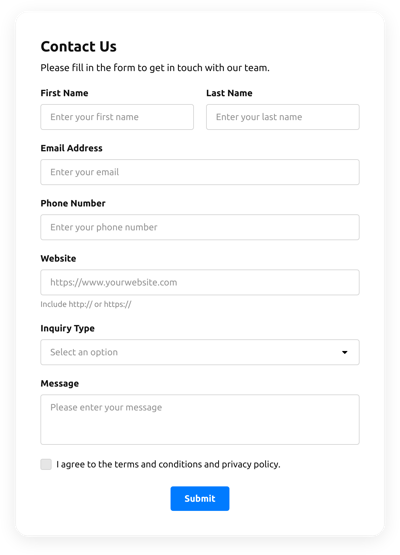
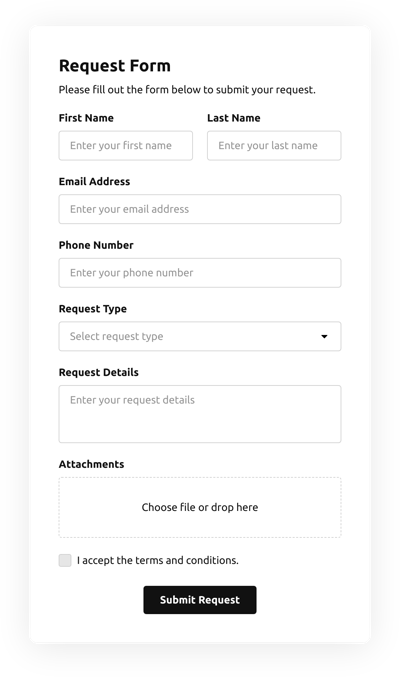
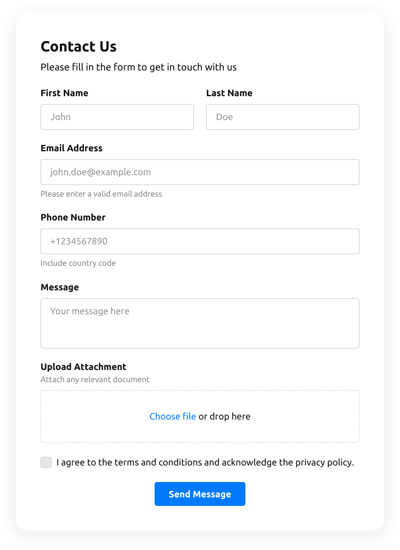
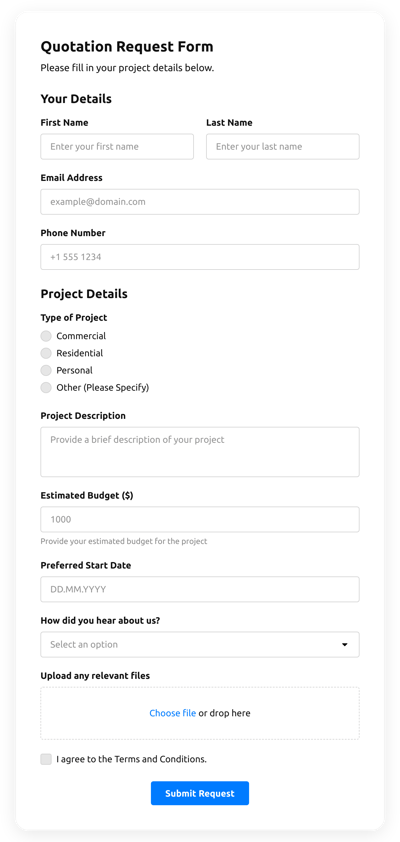
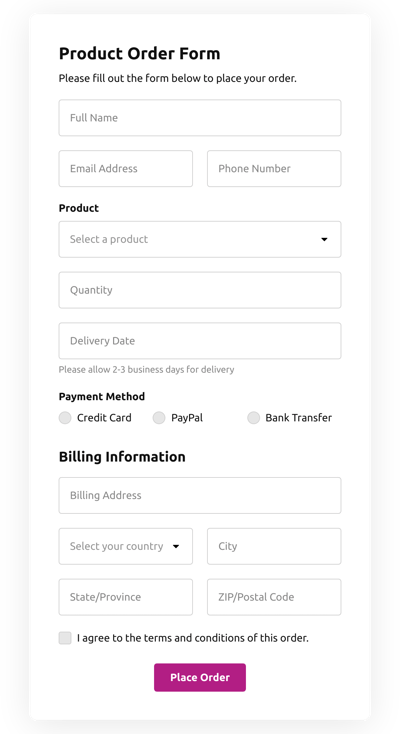
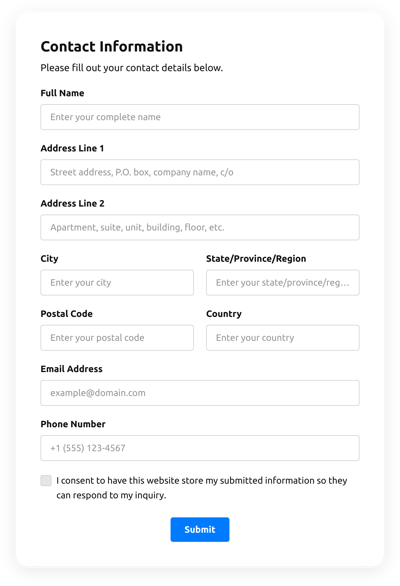
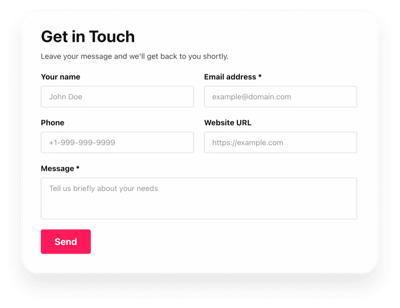
- Small businesses. Collect inquiries, price requests, or service bookings using ready-made Contact or Request templates.
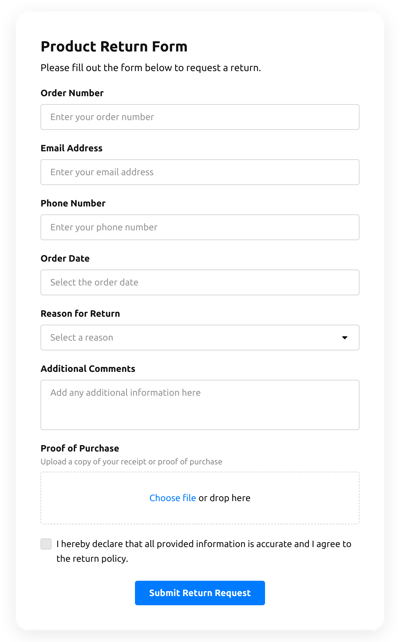
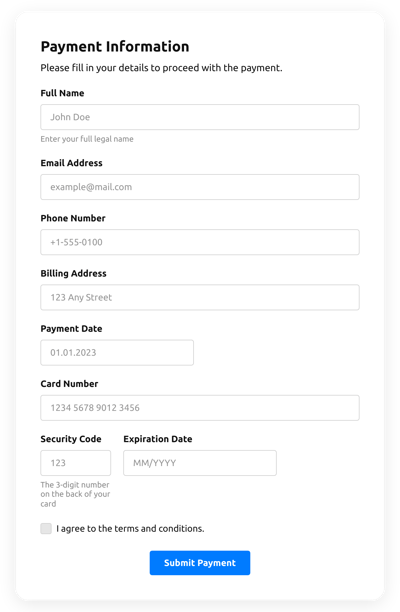
- E-commerce. Use product feedback forms, return request forms, or multi-step assistance forms.
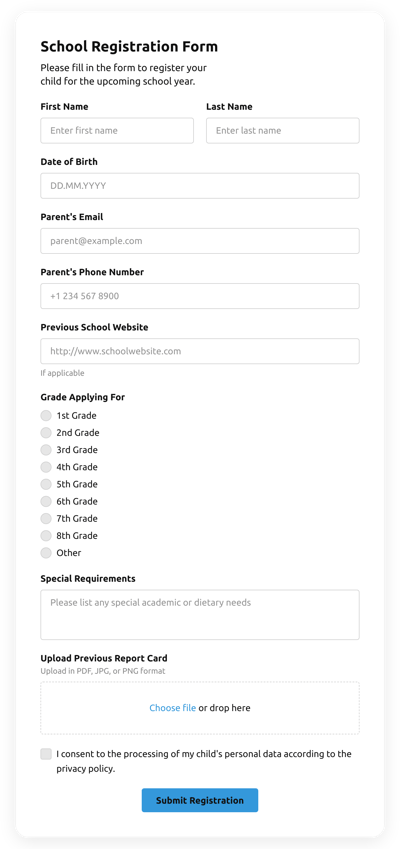
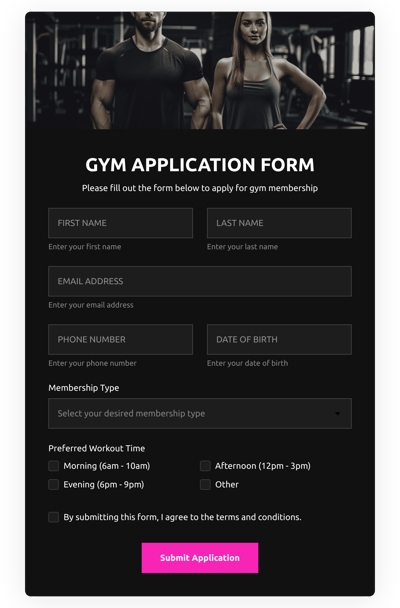
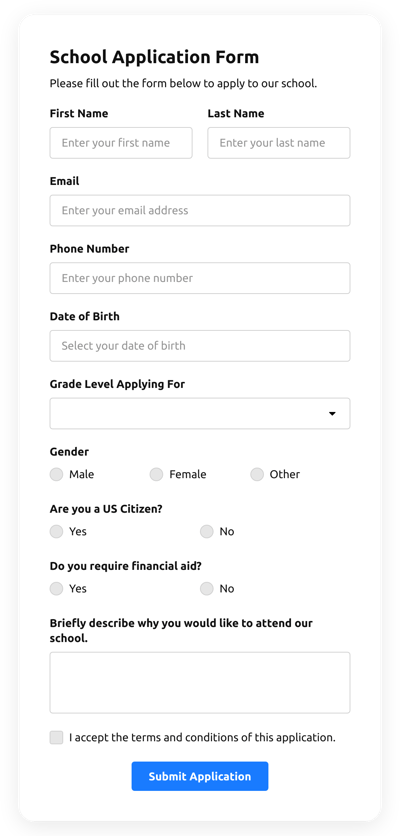
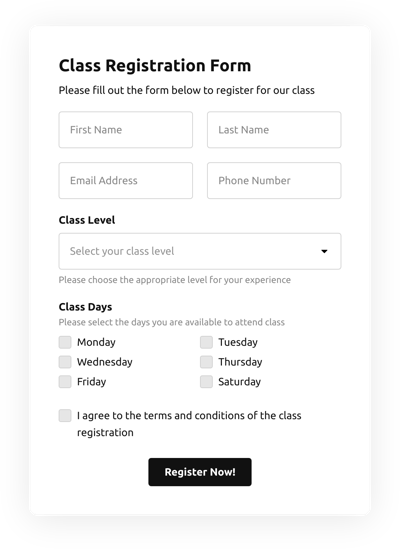
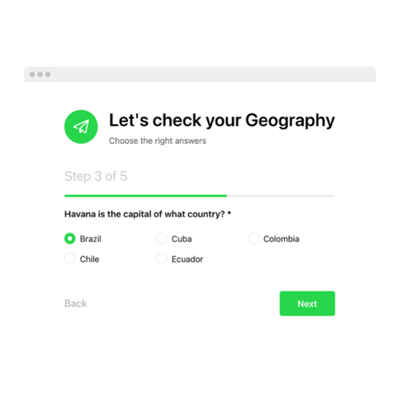
- Education. Enrollment or course sign-up templates break long forms into steps, improving completion rates and keeping student data organized.
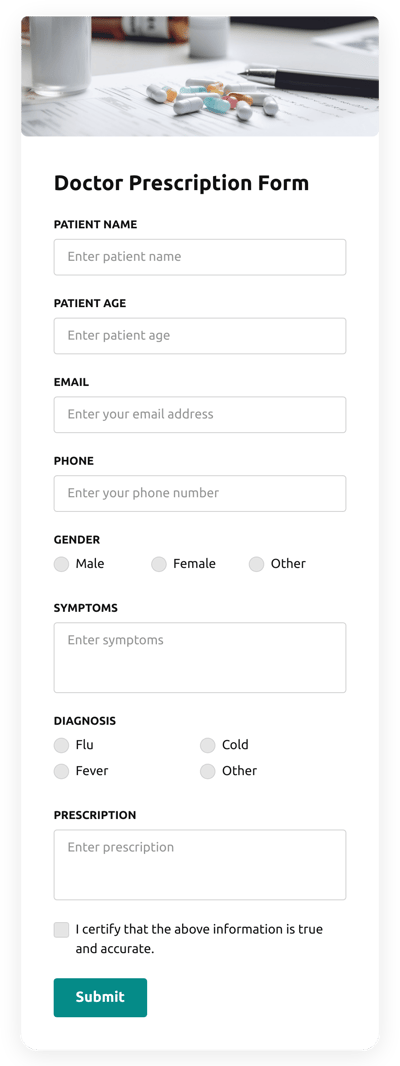
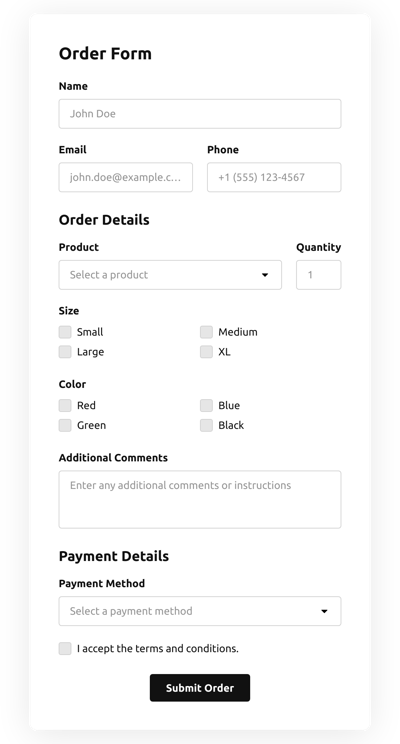
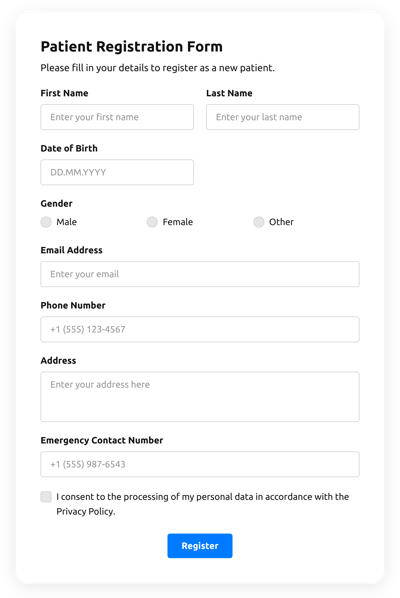
- Healthcare. Appointment or patient intake forms let clinics gather essential details in advance, reducing wait times and minimizing paperwork.
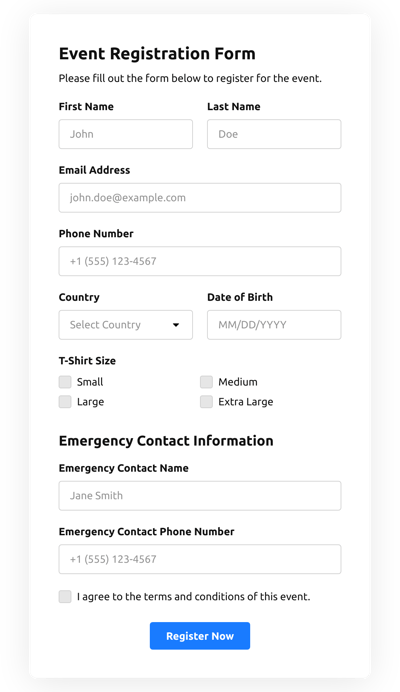
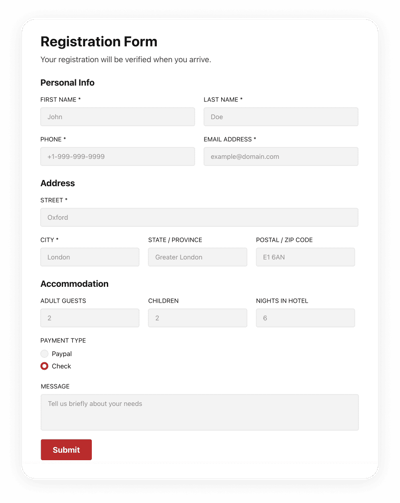
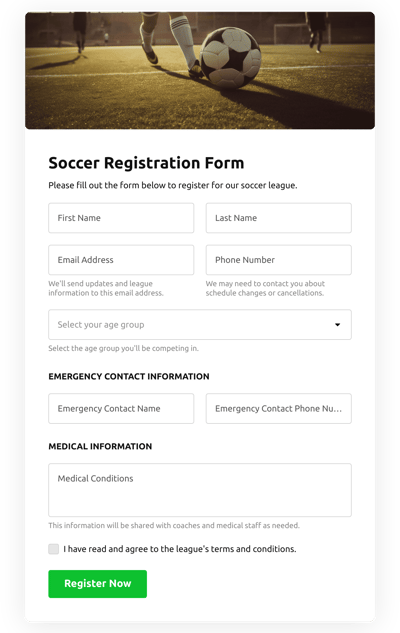
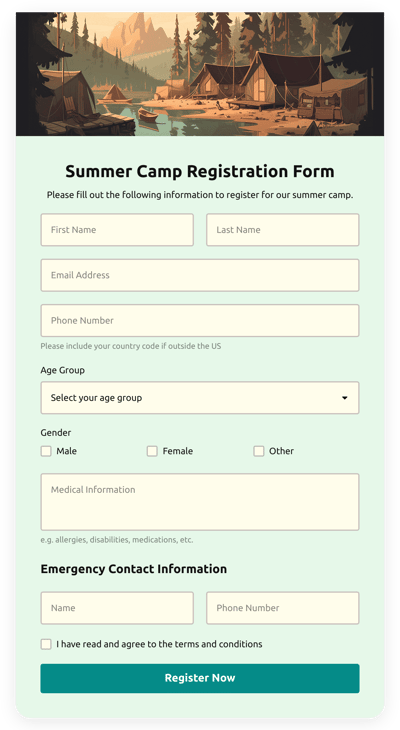
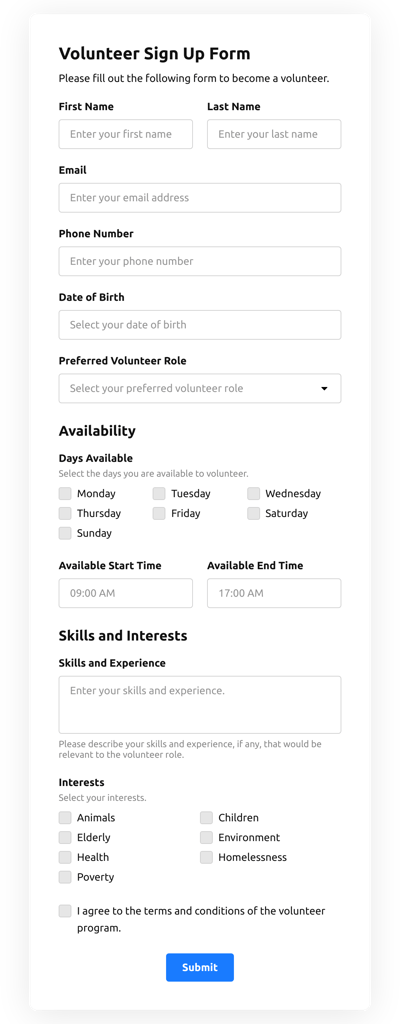
- Events. Registration or volunteer forms help organizers collect attendee information, preferences, and availability in a clear, centralized way.
If you don’t see a template that matches your industry, you can suggest one in our Community Wishlist. We’ll take it into account.
Can I create my version of a form with templates?
Yes, you can fully customize any form template. Open the live editor, choose fields, adjust the layout, and personalize the design. You can also start with a blank template and build every detail yourself, from field structure to post-submit logic.
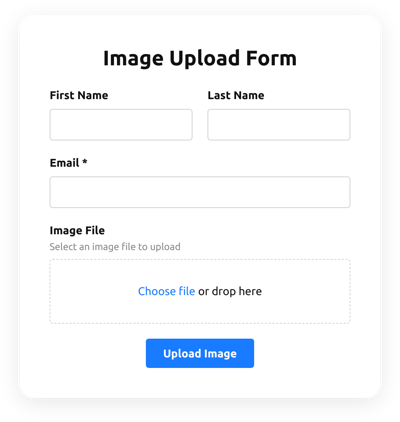
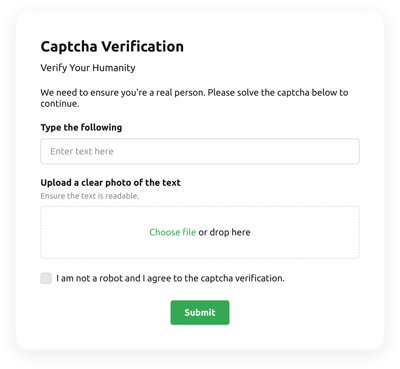
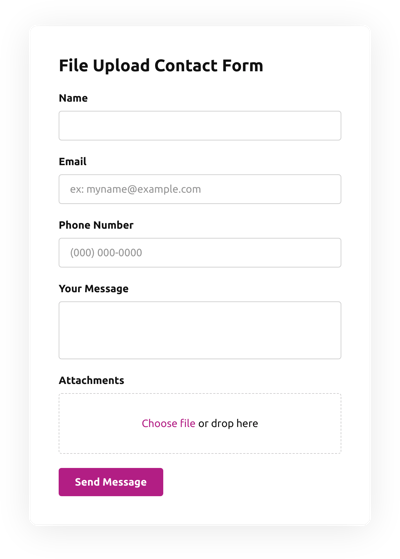
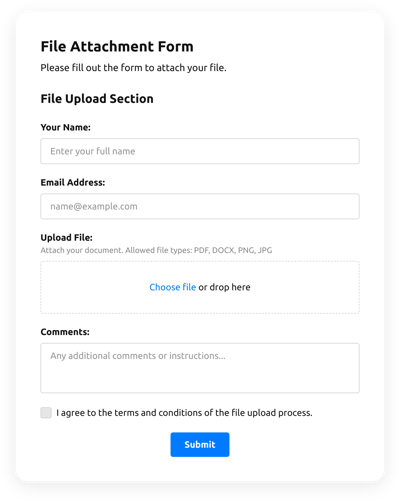
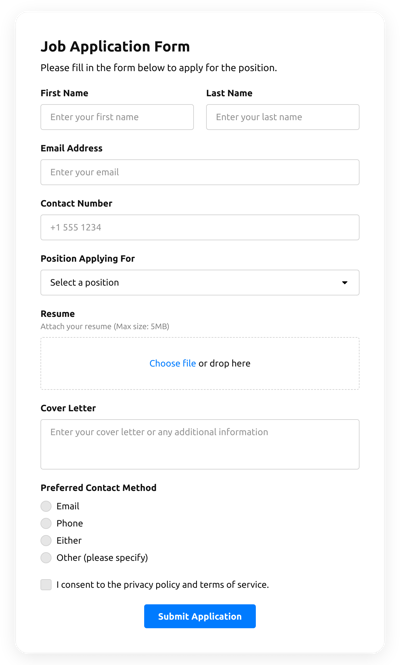
Can I allow users to upload files to the form template?
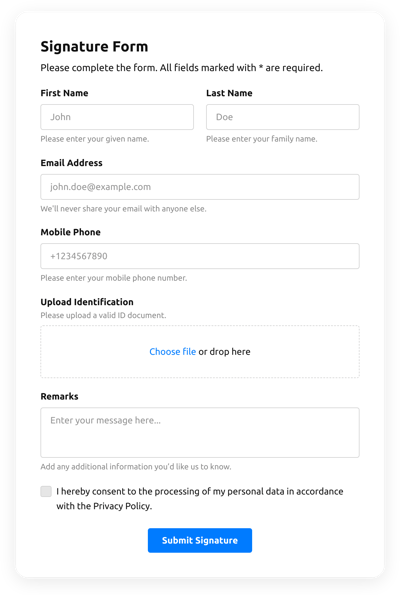
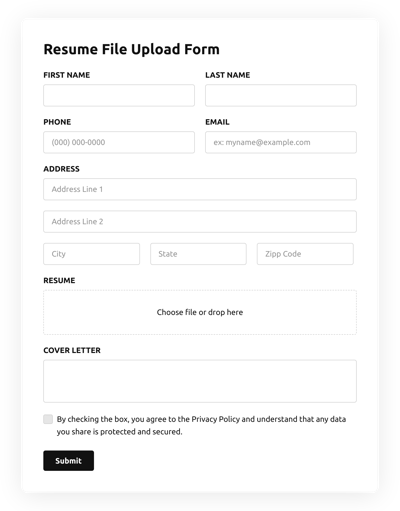
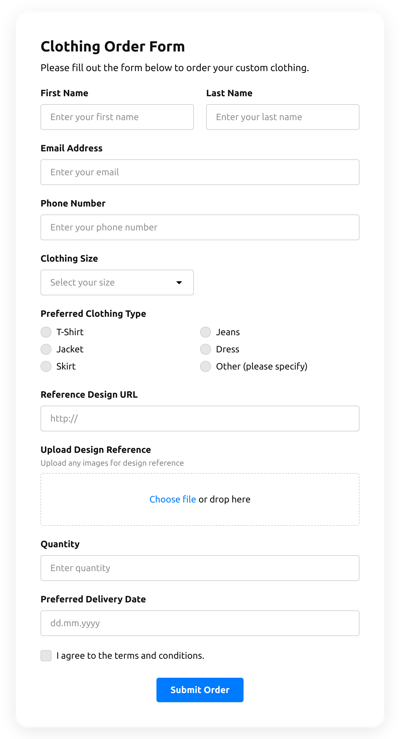
Yes, the templates for a Form Builder support file upload fields. Add a File field to receive documents, images, PDFs, or other file types.
Can I turn a simple template into a multi-page form?
Yes, simply switch the layout to Multistep and add additional pages to create a step-by-step experience.
