Facebook Page Google Reviews Widget

Create your Google Reviews widget
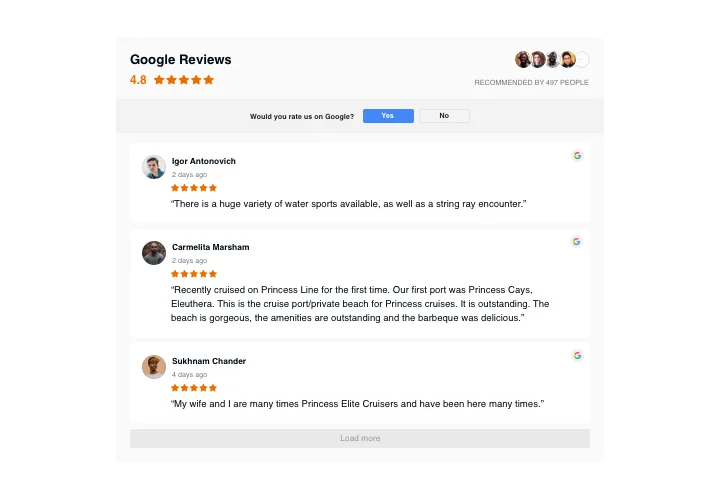
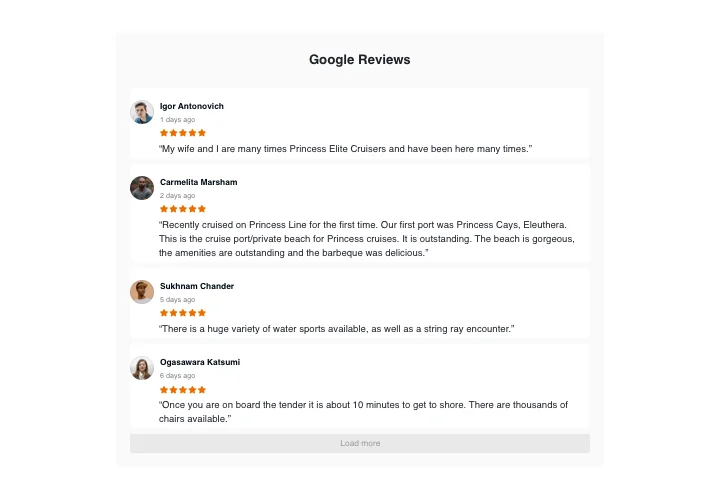
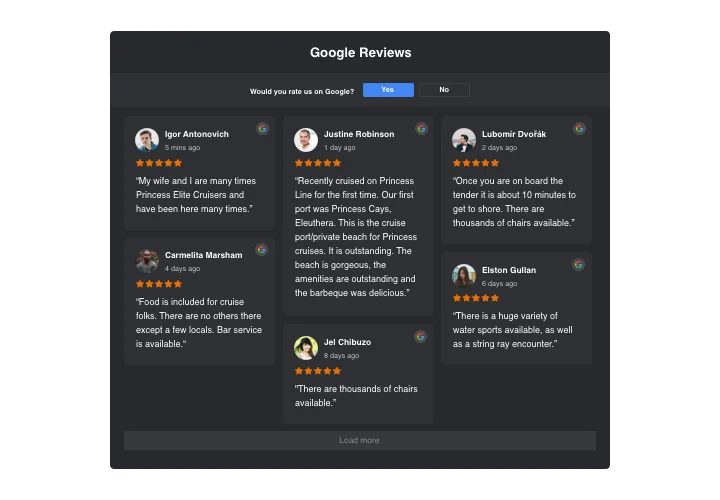
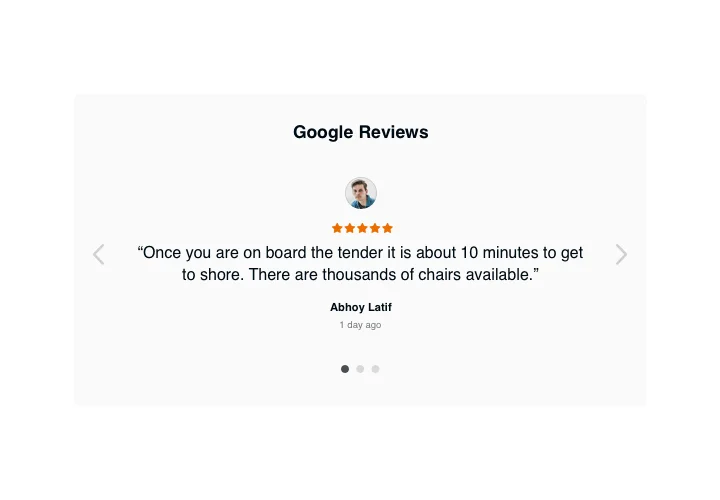
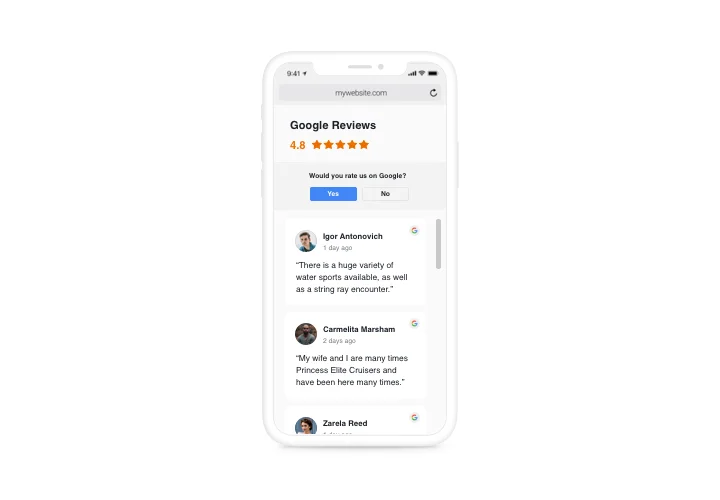
Screenshots

Why People Love Elfsight
People have always trusted recommendations from others, and in today’s world, online reviews are the modern version of word-of-mouth. With Elfsight’s Google Reviews widget, you can take the feedback customers leave on your Google Business Profile and show it right on your Facebook Page.
This way, your followers don’t just hear from you, they hear from real people who’ve already tried your products or services. For a small business, it’s a chance to stand out in a crowded market. For bigger brands, it’s a way to keep proving your value.
Adding the widget is quick and doesn’t require any coding. You just drop it onto your page, adjust the look so it matches your style, and your reviews are live.
Did you know?
Research by BrightLocal shows that 98% of consumers read reviews before making a purchase decision.
Display your Google reviews directly on Facebook with Elfsight and help visitors make quicker, more confident choices.
Key Features of the Facebook Google Reviews Widget
- Share Real Google Reviews on Facebook: Pull reviews directly from your Google Business Profile and display them on your Facebook Page. From star ratings to heartfelt comments, your audience sees the real voices of your customers.
- Customizable Layouts: Pick from various layouts available like list, grid, or carousel to fit your page’s design and personalize it with your own colors, fonts, and styling.
- AI-Powered Review Summaries: Too many reviews to show at once? Let Elfsight’s AI highlight the most important parts so followers can quickly catch the key points.
- Encourage More Reviews: With the built-in “Write a Review” button, your followers can head straight to your Google Business Profile to leave their feedback. It’s a quick way to collect even more reviews.
- Mobile-Friendly: No matter where your visitors are, the widget adapts to their screen and looks great everywhere – on desktop, tablet, or phone.
- Advanced Filtering Options: Choose which reviews appear by filtering based on keywords, ratings, or sentiment. You stay in full control of what’s displayed.
- Easy Setup, No Coding Required: Adding the widget doesn’t require technical skills. Just grab the embed code from the Elfsight editor, paste it into your Facebook Page, and you’re done.
Experiment with layouts and features in our live editor – no sign-up needed.
How to Add the Google Reviews to Your Facebook Page
You can add reviews to your Facebook Page in two main ways: directly on the page itself, or inside posts and ads.
Method 1: Embed on Your Facebook Page
This option adds reviews directly to your page, keeping them visible in one consistent spot.- Choose Your Layout: Open the Elfsight editor and select the layout you like best.
- Customize the Widget: Adjust the design and decide which reviews you want to feature.
- Generate the Embed Code: When you’re happy with the setup, click “Add to Website for Free” and copy the generated HTML code.
- Embed the Code on Facebook: Go to your Facebook Page, click “Edit Page,” and insert the embed code into the HTML section. Save your changes, and your reviews will appear.
Method 2: Embed in Facebook Posts
This method works if you’d like to feature reviews in specific posts or highlight them in paid ads.- Pick a Layout: In the Elfsight editor, choose the layout that works best for your post.
- Customize the Widget: Adjust the size, design, and reviews so they fit naturally into your content.
- Generate the Embed Code: Once your widget looks the way you want, click “Add to Website for Free” and copy the code.
- Embed the Code in Your Post: When creating a post, add an HTML block and paste the code inside. Your reviews will now display right within the content.
Need a hand? Our Help Center has detailed step-by-step guides and the blog shares tips on how to add Google Reviews to your website. You can also connect with other users in the Community Forum, request new features in the Wishlist, or track updates in the Changelog.