jQuery Instagram Feed plugin

Create your Instagram Feed plugin
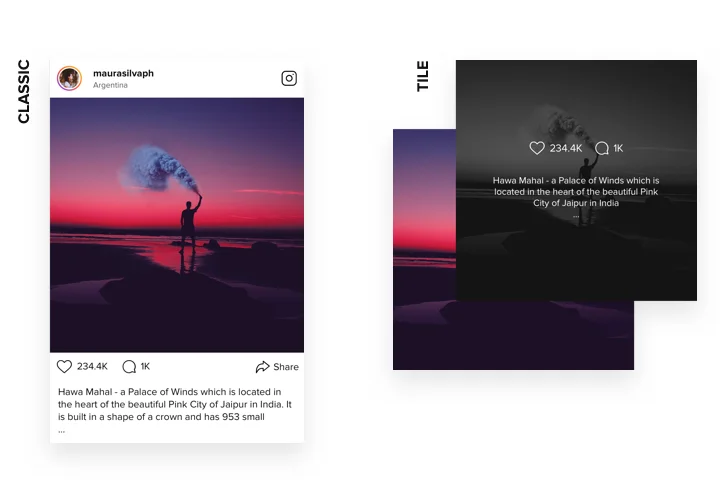
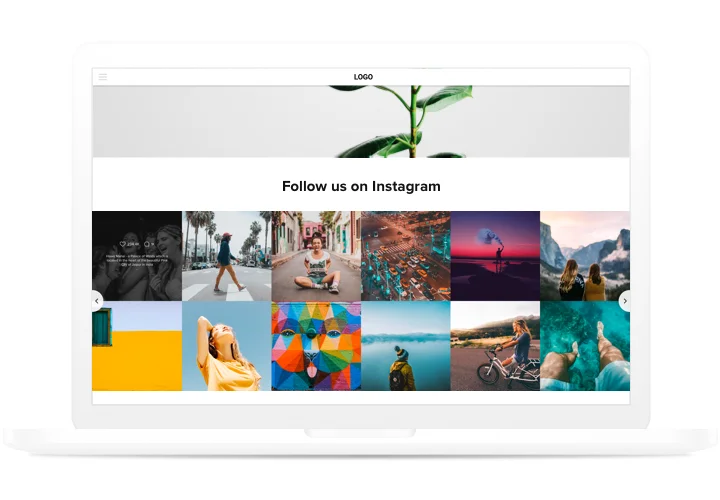
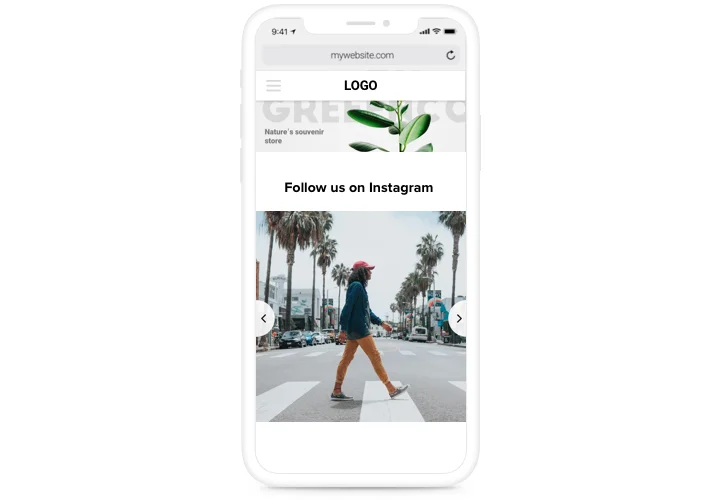
Screenshots


Embed Instagram Feed on jQuery
Want to showcase exciting Instagram contents on your website? The Instagram Feed plugin can really help. Created to seamlessly integrate with jQuery, this plugin brings your website to life. Effortlessly share posts, profiles, or feeds by user or hashtag without any coding. With great features and advanced customization options, you can adjust the plugin to perfectly fit your website’s aesthetics.
Start using the jQuery Instagram Feed plugin by Elfsight and enhance your social media engagement!
Main features of Instagram Feed by Elfsight
Embed the Instagram Feed plugin into jQuery to discover a wealth of fantastic features. Here are several of our key advantages:
- Filters and moderation. Adjust your feed by including or excluding specific hashtags and users. This lets you control both the content and the visual aspect of your photo set.
- Advanced design and customization. Easily change layouts, switch color palettes, or implement custom colors. You can also enable or disable certain elements to match your preferences.
- CTA buttons for posts. Add adjustable CTA buttons to any post in your feed. Embed links to product pages, personal blogs, or other media.
- Totally responsive. The Instagram Feed plugin looks and works perfectly from any device, ensuring that your content is displayed in the best possible way.
- Real-time updates. Benefit from automatic updates to your content with no need to refresh or wait, guaranteeing that your feed is always up-to-date and engaging.
How to embed Instagram Feed on my jQuery website?
Here’s a simple guide to embed the plugin on your jQuery website. It will only take several minutes and requires no coding.
- Create your custom Instagram Feed plugin
Begin with any template in the demo, connect your profile or desired hashtags, and adjust the plugin to your preferred style and options. - Receive the personal code to embed the plugin
Once you’ve built your plugin, you’ll get an individual HTML code in your dashboard. Copy the which contains all the information about your plugin’s adjustment. - Showcase the plugin on your jQuery website
Choose the areas of your website where you want to display the plugin, and paste the code there. Save your changes.
That’s it! Now, check how the plugin is performing on your website.
If you experience some obstacles, please read our article on how to add the Instagram feed to your website.
Is the Instagram Feed plugin for jQuery free?
Why should I add an Instagram feed to jQuery?
Why should I embed an Instagram feed on jQuery with Elfsight?
What other plugins for jQuery do you have?
We encourage you to check out more solutions to share a feed from diverse platforms. See these ones: Facebook Feed, LinkedIn Feed, or Twitter Feed.