jQuery Instagram Feed plugin

Create your Instagram Feed plugin
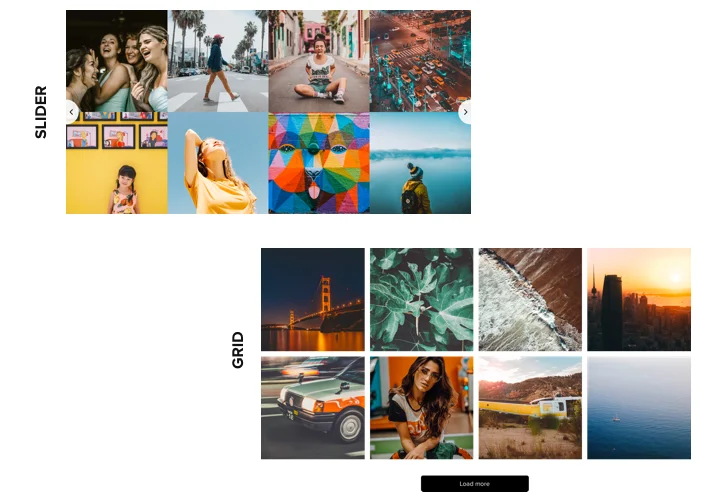
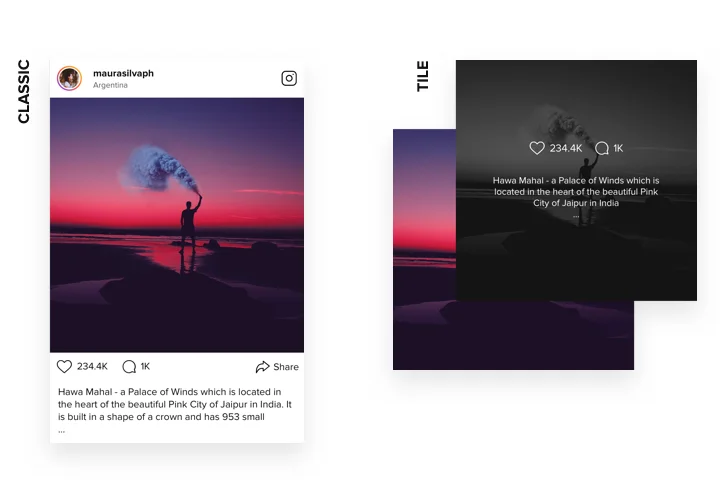
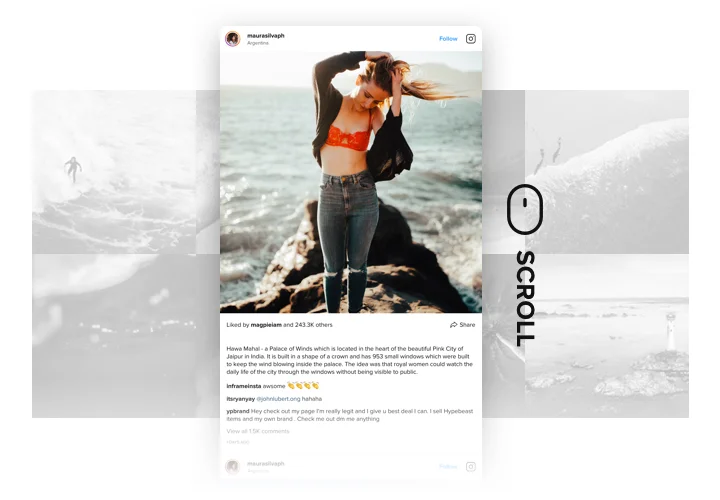
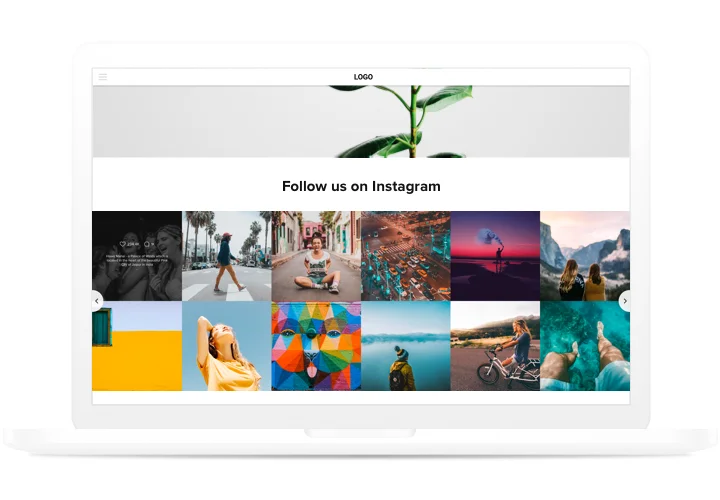
Screenshots


Why People Love Elfsight
Instagram is where your freshest content lives, so why hide it behind a link? The Elfsight Instagram Feed lets you display posts, reels, and hashtags directly on your pages without complicated scripts. Whether you’re running a personal portfolio, a small online shop, or a community blog, this plugin slides right into place.
Wouldn’t it be great if you could keep visitors scrolling without sending them off to another app? Elfsight does exactly that. Setup is copy-paste simple, even if you’re not a developer. If you can drop a file into a folder, you’re already halfway there.
Did you know?
According to the Social Media Industry Benchmark Report, Instagram drives over 1,000% more engagement compared to Facebook for brands.
Start using the Elfsight Instagram widget on your jQuery website and turn casual browsers into loyal fans.
Key Features of the jQuery Instagram Feed
Elffsight packs a surprising punch for something so easy to use. Here’s why developers and beginners alike love it:
- All types of content: Display posts, reels, or hashtag collections to keep your pages lively and up to date.
- Flexible layouts: Grid, slider, or collage views let you match the look of your existing design with just a few clicks.
- Smart filters: Show only certain hashtags, highlight featured posts, or hide content you’d rather not share.
- Built-in moderation: Approve images before they appear so everything stays on brand.
- Custom styling: Tweak colors, fonts, and spacing until the feed feels like it was built for your project.
- Mobile friendly: Your feed looks sharp on phones, tablets, and desktops out of the box.
- Quick setup: Add the snippet, refresh the page, and you’re live. No wrestling with complex code.
Play around with these features in the live editor – no account needed.
How to Add the Instagram Feed to jQuery
Installing the jQuery Instagram plugin is easier than setting up a slideshow. Here’s a quick step-by-step guide:
Method 1: Inline Feed
Perfect when you want the feed right inside a page, like a homepage or gallery.
- Pick a Template: Open the Elfsight editor and choose a template you like.
- Personalize the Widget: Customize colors, layout, and filters to match your project.
- Generate the Code: Click “Add to website for free” to generate your unique code.
- Embed on jQuery: Insert the snippet into the HTML where you want the feed to appear and save the file.
Method 2: Floating Feed
Ideal if you’d like the feed to stay visible as visitors scroll.
- Choose a Template: Pick a floating layout in the Elfsight editor, such as a side panel or sticky footer.
- Customize: Adjust the position, size, and other settings to fit your design.
- Generate the code: Click “Add to website for free” and copy the generated installation code.
- Embed on Your Website: Paste the code before the closing tag so it shows across your pages.
Need guidance? Visit our Help Center for clear instructions or check out our blog article on how to add an Instagram Feed to your website. Join the Community Forum to swap tips with other users, leave your feature requests in the Wishlist, and see the latest updates in the Changelog.