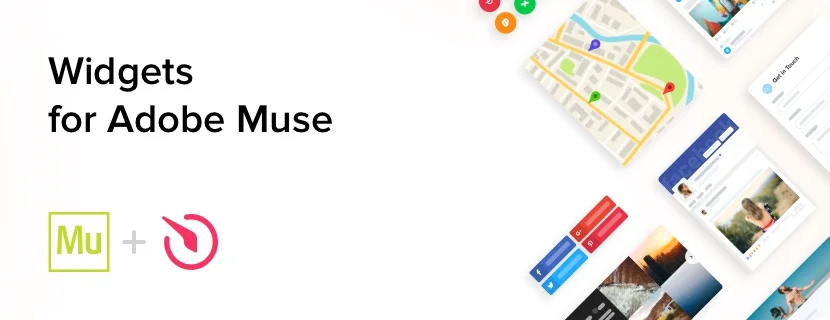
The Best Adobe Muse widgets
Examine the list of all free Adobe Muse widgets
The best solution for your Adobe Muse website

For almost 6 years now, Elfsight have been creating the most successful premium widgets. Our plugins allow you to maximize the number of leads, integrate your website with social networks or handle any other issues, which appear for the majority of business sites.
We are glad to offer different plans: from free to premium. We aim to provide your business a possibility to grow together with our team and reach any pitch.
What makes Elfsight Adobe Muse widgets one of the best?
To show you that our plugins is what you really will enjoy, we have collected a list of features, which make them maintain top positions among others:
- Free setting help;
- Completely adaptive on all devices;
- No coding abilities needed;
- Varied user settings of the interface;
- Intuitive UI;
- SaaS solution for perfect loading speed;
- Regular automatic updates;
- Competent support with any queries.
Discover all benefits of Elfsight widgets using the free option or buy the wanted plugin with 20% discount.
How to Install the widgets on a Adobe Muse website
You will find maximum information about the adding of a particular plugin in our help center.
- Select the required widget and shape it in the panel;
- Copy plugin code into your site (into the HTML code of the page or the template: sidebar, footer, etc.);
- Integration is successfully complete!
Would like to have free help in creating your Adobe Muse widget? Didn’t manage to handle the installation? Please, write to Elfsight customer support, and we will be happy to help you.
Which way do I embed the widgets into my Adobe Muse theme?
You may insert the widgets into your website. Simply open the admin panel and do the following actions:
- Go to theme settings;
- Choose the part where you want to add the widget on;
- Add the code from the Elfsight Apps and apply your modifications.
You’re done.


