
WordPress Pricing Table plugin

Create your Pricing Table plugin
Screenshots
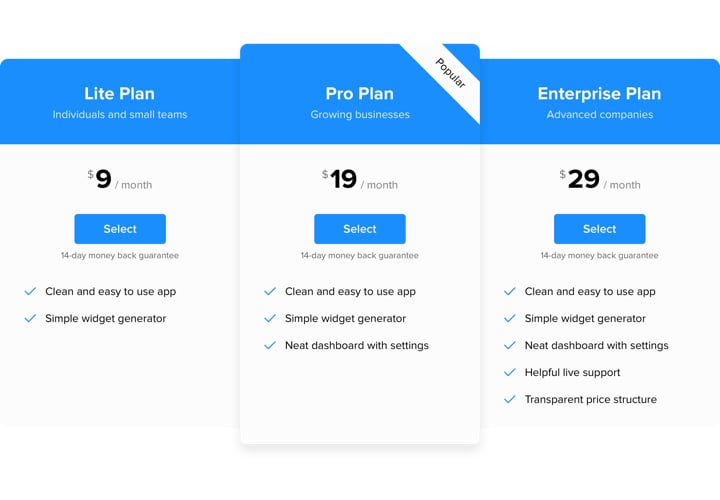
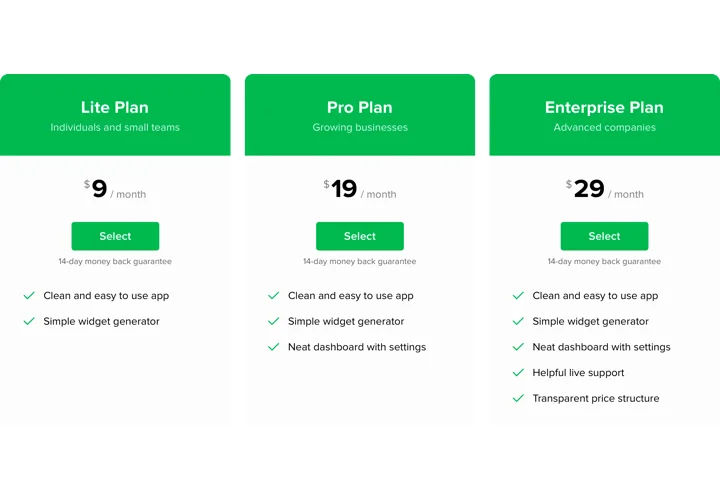
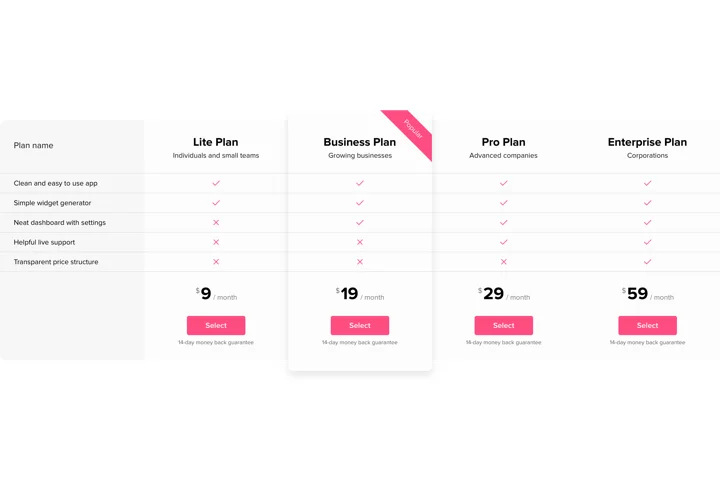
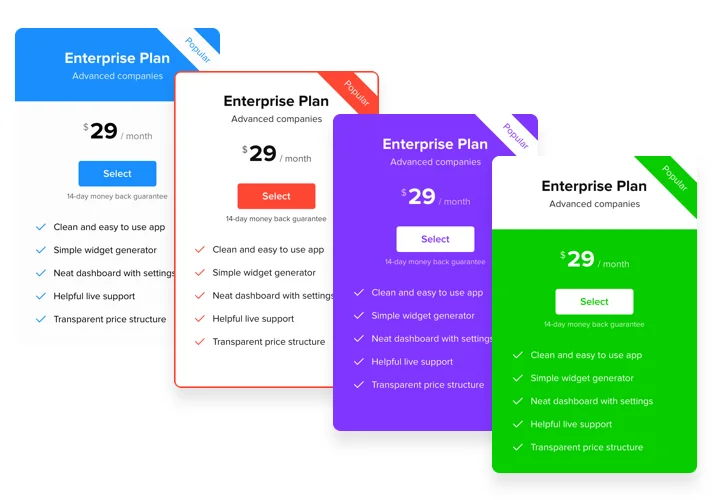


Add a pricing table to your WordPress website
A clear pricing table helps visitors compare your plans side by side before they decide. With a WordPress Pricing Table from Elfsight, you set up the columns, pick a skin and place it on your page, and the layout stays responsive on mobile.
You can arrange predefined column elements, choose from predefined skins with different color schemes and show features in predefined feature styles. Each plan button can link to the page you need, and you can switch buttons, images and feature lists on or off for every column.
Try all the features in the free editor before you add the table to your website.
Main features of the Pricing Table widget
Here is what you can set up in the Elfsight editor:
- Customizable plan details: Add titles, images, prices, feature lists, and buttons, and choose which elements to display.
- Flexible appearance: Adjust colors and styling to match your website.
- Feature descriptions: Explain what each plan includes with icons and helpful hints.
- Action buttons: Link each plan to a checkout, signup form, or another page.
- Responsive layouts: Keep pricing readable on desktop and mobile.
- Recommended plan highlights: Use labels and custom styling to draw attention to a preferred option.
- Prices and discounts: Display crossed-out original prices alongside current prices.
- Currency options: Choose the currency and symbol for your offers.
- Pricing models: Present fixed, subscription, or custom pricing.
- Monthly and yearly tabs: Use Multiple Tables Mode to display separately configured pricing tables as tabs.
- Price captions: Add VAT, tax, billing, or other explanatory notes beneath prices.
Explore the live editor to try all available settings.
Add your pricing table without a separate plugin
You do not need to install a plugin: the widget goes into the standard Custom HTML block of WordPress. It works with classic and block themes, and with any theme or builder on one page. If you use Elementor, add it with the HTML element in the free version. The step-by-step instructions are in the installation section below.
How to add Pricing Table to WordPress
Follow these steps to add your pricing table to one WordPress page with the Custom HTML block, or to all pages through the Theme Editor or the Customizer.
Add to one page with the Custom HTML block
- In the Elfsight editor, click Add to website for free and copy the code.
- In your WordPress admin, go to Pages → hover over the page you need → Edit.
- Click the blue + (Block Inserter) and select Custom HTML.
- Drag the block to the place where the table should appear.
- On WordPress 7.0+, click Edit HTML and paste the code.
- On WordPress 7.0+, click Update in the modal window. Then click Save or Publish to make the table live.
Add to all pages via Theme Editor
This method works for classic themes.
- In the Elfsight editor, click Add to website for free and copy the code.
- In your WordPress admin, go to Appearance → Theme File Editor.
- In Theme Files, choose Theme Footer (footer.php).
- Paste the code before the closing </body> tag.
- Click Update File.
Add to all pages via Customize
This method works for classic themes.
- In the Elfsight editor, click Add to website for free and copy the code.
- In your WordPress admin, go to Appearance → Customize.
- Select Widgets in the left-hand menu.
- Click the blue + icon and choose Custom HTML.
- Paste the code into the HTML field.
- Click Publish.
Having troubles with adding the plugin to your website? Leave a message for our support team – they’ll help you solve all kinds of problems.