
Wix PayPal integration app
Create your PayPal Button app
Screenshots

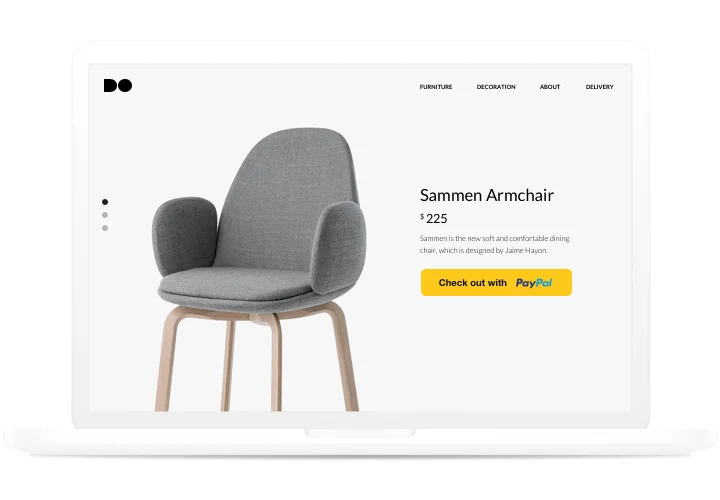

Why add a PayPal button to your Wix website
Wix gets your website live – a PayPal button lets it start taking payments. One widget covers one-time purchases, recurring subscriptions and donations, so you don’t need a separate tool for each.
Tax and shipping, set as fixed amounts or percentages, are included in the PayPal checkout total, and you can style the button to match your design. Running more than one website? Elfsight isn’t tied to Wix, so the same button can run on your other websites as well.
Key Features of the Wix PayPal Integration
Built for the payments small businesses, creators and non-profits actually collect:
- Purchases, subscriptions and donations – set up one-time payments, recurring billing or a donation button in a single widget.
- Tax and shipping in the PayPal total – add them as fixed amounts or percentages, and they are included in the checkout total.
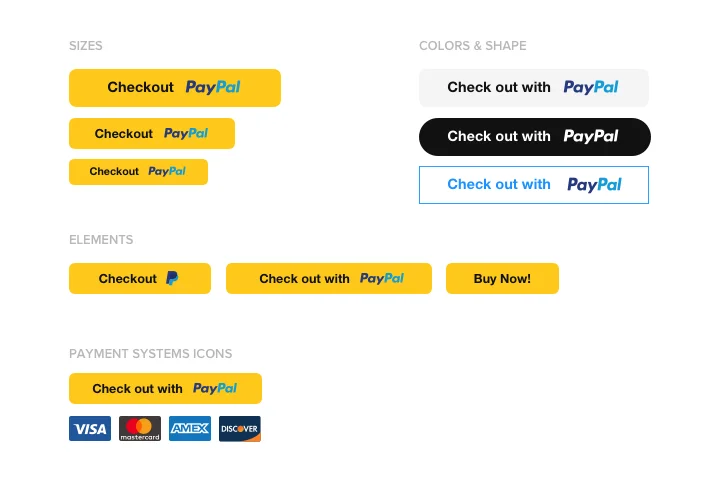
- Button design – adjust size, width, shape, colors, borders and corner radius to match your Wix website.
- Card icons – show or hide Visa, Mastercard, American Express and Discover icons under the button.
- Multiple currencies – use more than one currency for prices, taxes and shipping.
- Redirect after payment – send buyers to a custom thank-you or confirmation page after a successful transaction.
- Donation amount – set a fixed amount or let donors choose their own.
Want to see it in action? Try every feature in the live editor – no fees and no registration.
Made for Wix Editor and Wix Studio
- Works in both editors – add the button with Embed HTML in Wix Editor or Embed Code in Wix Studio.
- Fits every screen – stretch the block in the editor and set up the mobile version separately.
- One button, many websites – Elfsight isn’t tied to Wix, so the same button can run on your other websites too.
- Update without reopening Wix – change the button in Elfsight, and the published button updates automatically.
How to add the PayPal Button to Wix
Set up the button in the Elfsight editor first, then click “Add to website for free” to get your installation code. Wix offers several ways to place it: an inline button on a page or a floating button across your website.
Good to know: the steps differ slightly between Wix Editor and Wix Studio, so both are covered. Wix places embedded code inside a frame – after adding the button, stretch the block until it fits without scroll bars.
Method 1: Add an inline button in Wix Editor
- Open your website in Wix Editor.
- Click the + icon, open Embed Code and select Embed HTML.
- Click Enter Code, paste the installation code and click Update.
- Drag the block to where the button should appear and stretch it until the button fits with no scroll bars.
- Switch to the mobile editor, resize the block for phones and click Publish.
Method 2: Add an inline button in Wix Studio
- Open your website in Wix Studio.
- Click the + icon, go to Embed & Social and select Embed Code.
- Click Enter Code, paste the installation code and click Update.
- Place the block and stretch it until the button fits without scroll bars.
- Adjust the block in the mobile view and click Publish.
Method 3: Show a floating button on chosen pages or every page
- In your Wix dashboard, open Settings and go to Development & Integrations → Custom Code.
- Click + Add Custom Code and paste the installation code.
- Set Place Code In to Body – start.
- Choose all pages or pick specific pages, then click Apply.
Custom Code is available on Wix Premium plans with a connected domain.
Method 4: Add the button without an iframe (advanced)
Use a Custom Element if you have a Premium plan, a connected domain and no Wix ads. Follow the Custom Element guide in our Help Center for the exact steps.
The button may not appear in the Wix editor or preview – check the published page.
After publishing, run a test payment action on the live page to make sure everything works.