
Shopify Maps app with Google Maps
Create your Google Maps app
Screenshots
Why add a map to your Shopify store
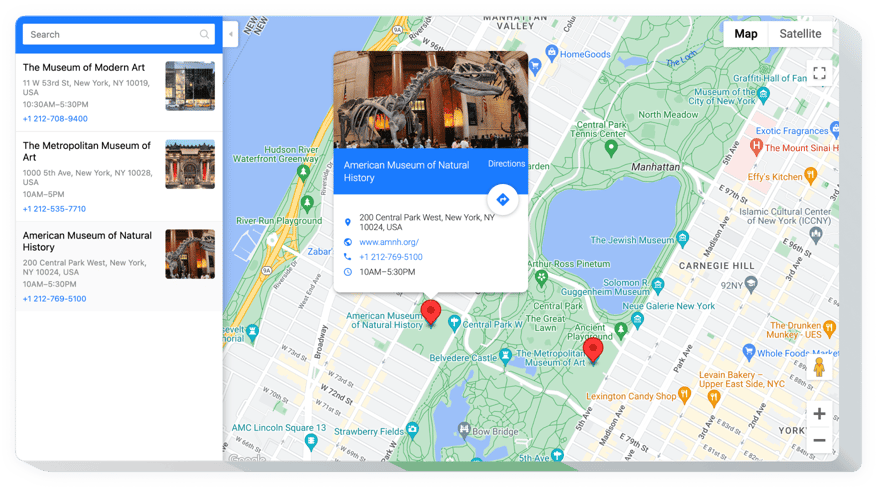
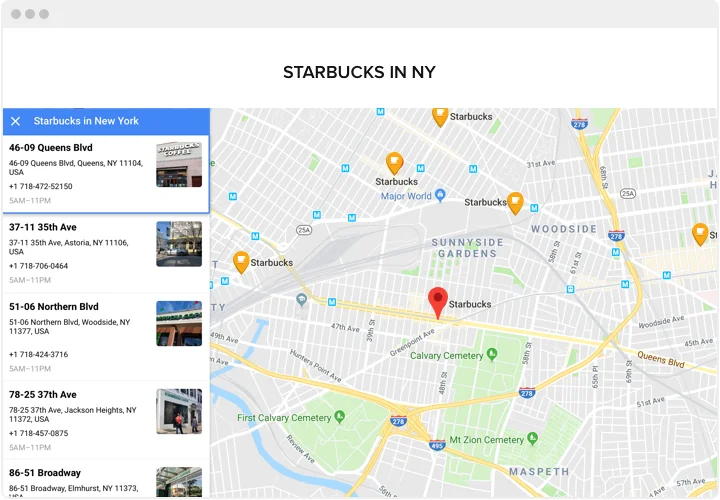
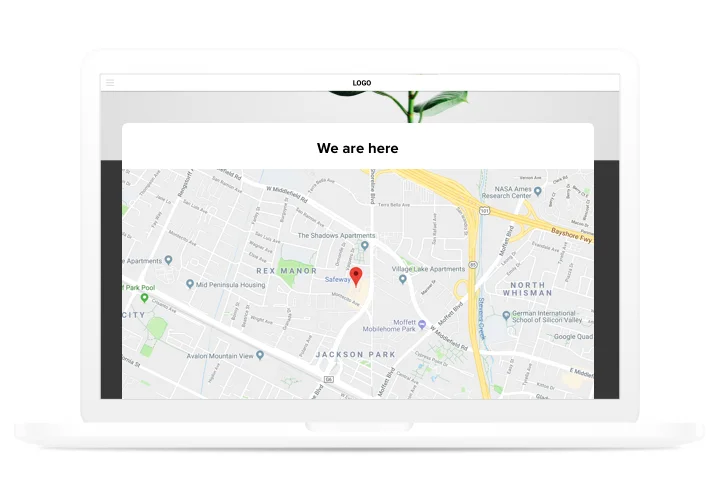
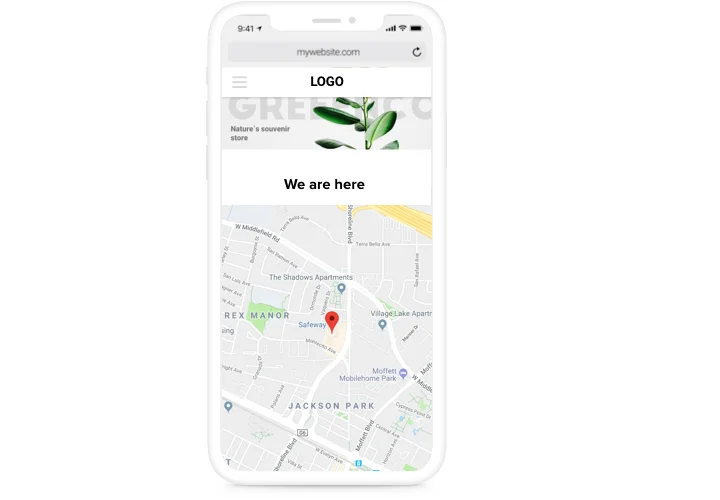
Show your retail stores, pickup points or partner locations on one interactive map, so customers can see where to find you. You can place numerous markers on a single map.
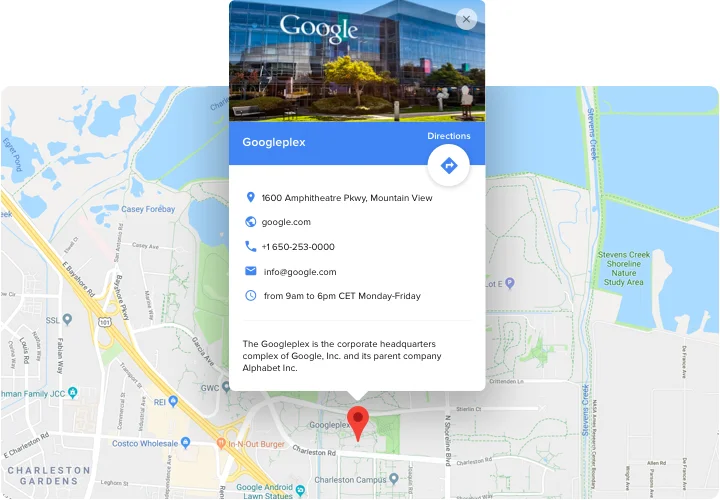
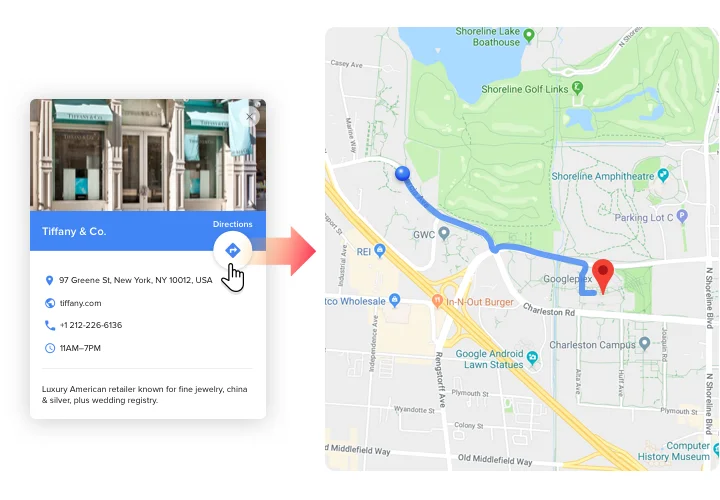
Every marker opens an info card with the details people need – address, phone number, email, website link, opening hours, images and a short description – and one click opens route guidance in Google Maps, with directions generated from the customer’s current location.
Key features of the Shopify Maps app
- Numerous locations on one map – each marker has its own info card with an address, phone number, email, website link, opening hours, images and a short description.
- Directions in one click – visitors click a marker and open route guidance in Google Maps, generated from their current location.
- Built-in search – customers find stores by name or address right on the map.
- Categories – organize markers into categories and enable filtering or clustering.
- Simple location setup – enter an address or business name and the coordinates are determined automatically.
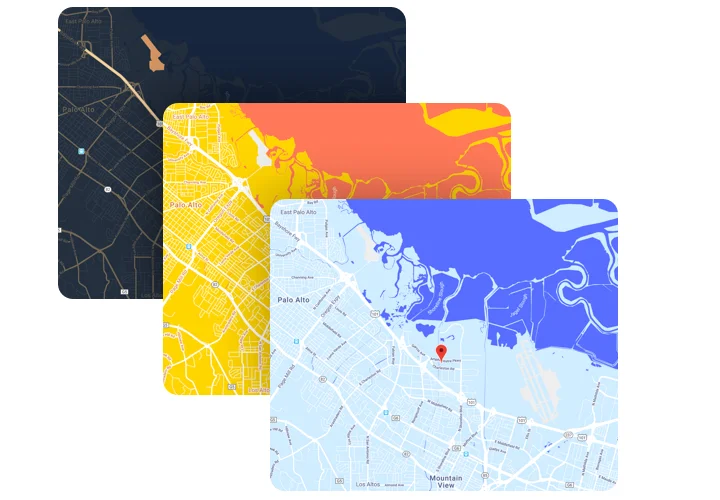
- Four map types – choose Roadmap, Satellite, Hybrid or Terrain.
- Adjustable size – set the width and height of the map.
Made for Shopify
- No theme code edits – on Online Store 2.0 themes, add a Custom Liquid section in the theme editor.
- Set it once in a template – the section sits in a template, so the map appears on all pages that use it.
- Not tied to one store – the cloud widget from elfsight.com can be installed on any number of domains. It is separate from the Elfsight apps in the Shopify App Store.
- Update without saving the theme again – changes you make in Elfsight update the map in your store.
How to add Google Maps to Shopify
Set up your map in the Elfsight editor first, then copy the installation code with the “Add to website for free” button. Pick the method that matches your theme.
Good to know: installation works on any Shopify plan except Starter – on Starter only the Spotlight theme is available, so you can’t add a section or code. The section is added to a template, so the map appears on all pages that use that template. Elfsight apps from the Shopify App Store are a separate product, so their steps are not covered here. Check the result on your published store, not in private mode.
Method 1: Add the map with Custom Liquid (Online Store 2.0 themes)
- In your Shopify admin, go to Sales channels → Online Store.
- Click Edit theme.
- At the top, select the page or template where the map should appear.
- Click Add section and select Custom Liquid.
- Paste the installation code into the Custom Liquid field.
- Click Save.
- Open your published store and check the map.
Method 2: Add the map if Custom Liquid is missing
- In your Shopify admin, go to Online Store → … → Edit code.
- Right-click the Sections folder, choose New File and name it elfsight-widget.liquid.
- Paste the section code from our Help Center guide and click Save.
- Go back to Edit theme and click Add section.
- Select Elfsight widget.
- Paste the installation code into the Installation code field.
- Click Save and check the map on your published store.
Method 3: Add the map to a Vintage theme
- In your Shopify admin, go to Online Store → Themes and click Customize.
- Select the page where the map should appear.
- Click Add Section and select Custom Content.
- Click Add Block and select Custom HTML.
- Paste the installation code into the HTML field.
- Click Save and check the map on your published store.
Want the map on just one page? Create a separate template and assign it to the page via Online Store → Pages → your page → Theme template.