Best Teaching Website Builder
How to create a Teacher website from the scratch or upgrade the one you’ve already built on the basis of any CMS or website builder.
Things to consider when you create a website for Teacher
The best way to create a remote online teaching website for your students – set up its top aims. Decide which format do you need to provide your students with valuable learning content. Here are some essential things what to put on a teacher website:
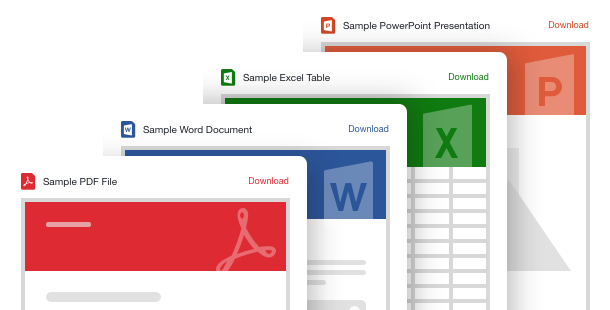
Post homework
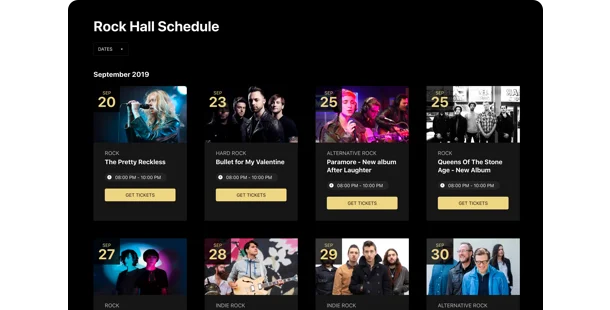
Create a class calendar
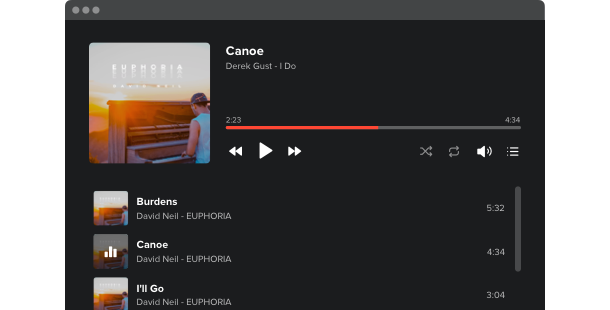
Add podcasts, audio lectures or music
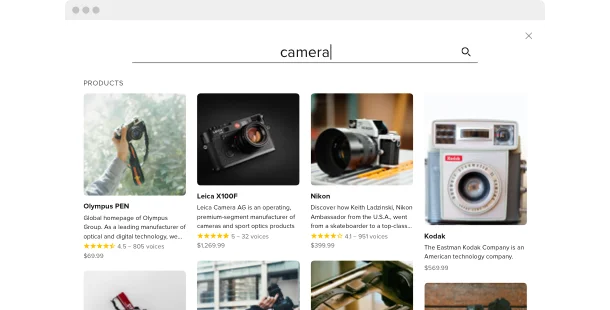
Make navigation easier
Demonstrate students success

Use interactive quiz forms
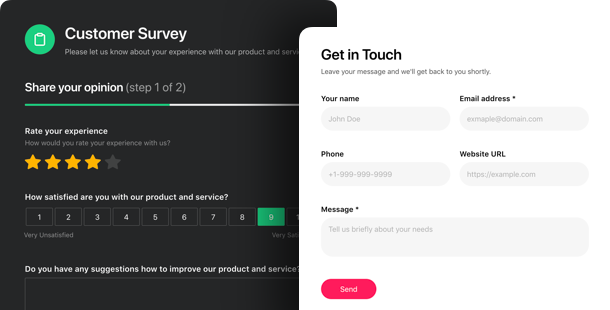
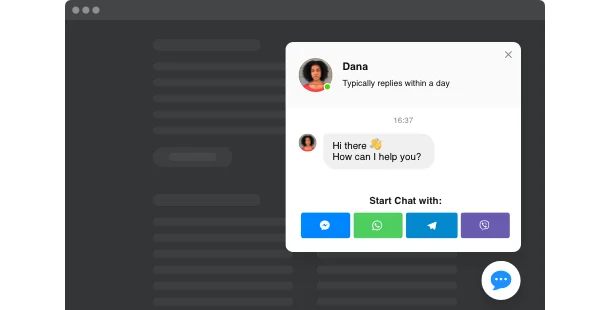
Communicate with students and parents
Find the best website builder
How can you create an awesome personal teacher website without coding skills? Easy! Just use a website builder – the online services with a great variety of templates a wide range of pre-designed templates, widgets and other education-related tools.
Squarespace
Wix
WordPress
Overall ratings
Form your flawless website by applying the best website builders. Using the comparative chart below, you may control the crucial characteristics of the platforms and pick the one that absolutely meets your needs for the future website.
| Squarespace | WordPress | Wix | |
| Free Plan | trial | free | free *limited functionality |
| Paid From (mo.) | $12.00 | free | $13 |
| Overall | 4.4 out of 5 | 4.3 out of 5 | 4.2 out of 5 |
| Quality of Support | 8.5 | 7.7 | 7.9 |
| Ease of Setup | 8.8 | 8.1 | 7.9 |
| Templates | 10+ | 1000+ * most are paid | 75+ |
| Our widgets for Platforms | Widget List | Plugin Catalog | App library |
Just after you choose a Website Builder for shaping Teacher website, always pay regard for performance and good value for money. Make use of a free trial period or free version to test the platform. This is the best way to realize if the Website Builder is truly as comfortable and functional as they describe it.
Teacher website examples
Dig into an array of most used Education templates. They all have unique structure, elements and design. Choose the most relevant Teacher style concept for your inspiration.
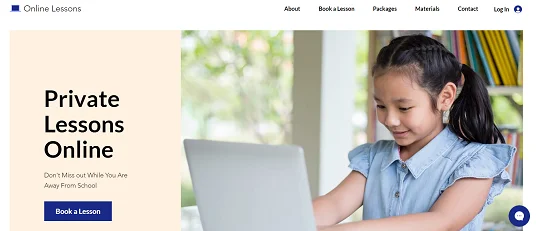
Example 1: Online Lessons website
This impressive template drives you to learn more about the products and services suggested by the best free website builder for teachers. It also has an admirable visual style that demonstrates a malleable arrangement.

Example 2: Streaming Education website
It’s a super simple design and this template adds only what is necessary. In addition, CTAs are located well, worded perfectly, and contrast with the rest of the website.
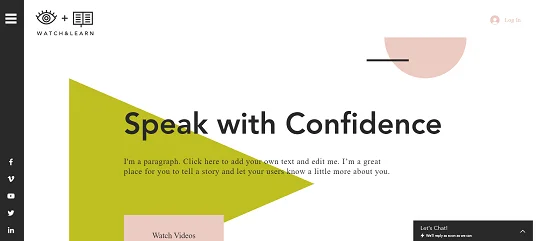
Example 3: Online Language Course website
With this template, you’ll definitely add a face to your company! The page applies bright colors without being heavy and makes it easy to see what the business is about.
Step 4
Structure all your information
To create a teacher website in the best way – need to organize your content. Breakdown your site into categories to make navigation easier for your students. Making a simple website most teachers use the following structure:
Home page →
Create a welcoming homepage of your digital learning environment and display the most important details – class schedule, news and announcements and links on recently published lesson plans or resources.
Lessons and resources →
Make your collection of educational resources are stylish and clear. Include video and audio materials, don’t forget to attach handouts for each lesson. Then create labeled categories (grades or lesson topics), which are easy to browse. Add a search bar for better navigation and everything is ready. Now your students will always find the lessons and handouts in a few clicks.
Gallery →
Demonstrate all your students’ achievements in a photo gallery with short descriptions for each project. Let their parents be proud of the splendid kids’ results and be sure in a friendly educational environment..
About Me →
Introduce yourself adding a welcome video, or at least your personal photo. Also, you can add contacts or a chat button to help students and parents always to stay in touch.
Launch it!
Before you announce about the creation of your new online teaching website, you definitely need to make sure everything works properly. This handy checklist will help you not to miss a single significant step.
-
Connect your domain
If you haven’t got it when using the website builder, you might want to buy it separately. Use GoDaddy, to begin with.
-
Test your mobile performance
It’s exceptionally important that your website works and looks excellent on smartphones because more than half of your users will browse it with their mobile phones.
-
Check the functionality
All your resources, multimedia and calendars must work in a befitting way, otherwise, your students won’t be able to properly prepare for the lesson.
-
Announce your website launch
Make sure you provided all your students and parents with the link to your website. Also, you can promote your website in your social media accounts.
-
Done! 🏆
Congratulations! You’ve created your own teacher website! Keep your content updated and do your best to help more students to reach even greater success.
