Best School Website Builder
How to create a School website from the scratch or upgrade the one you’ve already built on the basis of any CMS or website builder
Specify your prospective website aims
Every website is a resolution of a specific issue and has a primary audience in all cases. As a first step, it is needed to come up with all the tasks you plan to cover. In most instances, school websites are geared towards having the following elements:
Provide with up to date information
Make communication swift

Inform about upcoming events
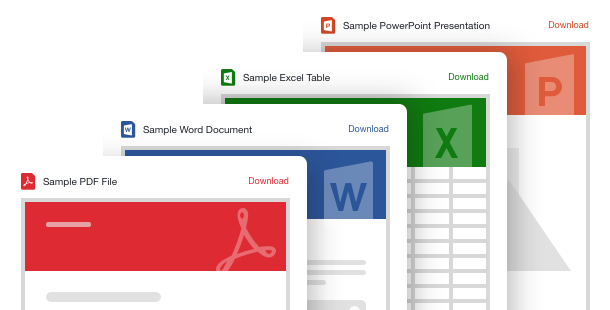
Simplify access to documents
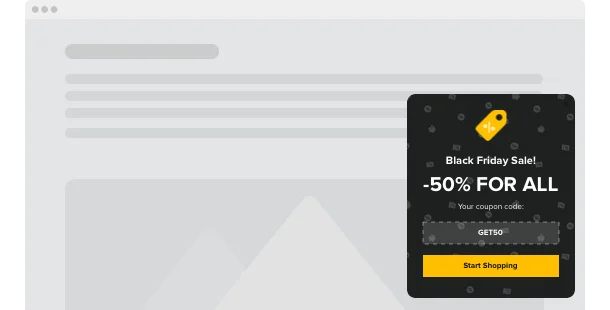
Attract more students to extracurricular activities

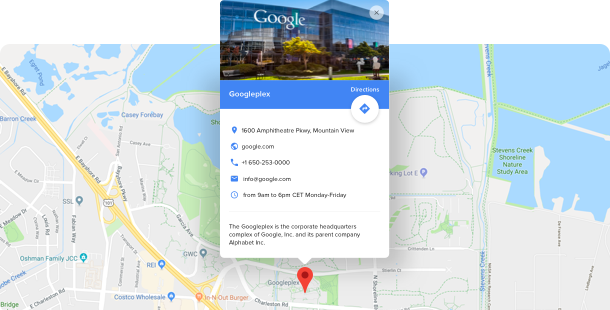
Make finding you easier
Engage students with informative content
Pick suitable website platform
All websites are shaped on the back of some platform – for instance a site builder. They meet the cases of almost everyone as they make it much lighter to construct your personal website without programming work. Most times it’s less costly to make use of a site builder than to hire a experienced programmer. You can begin with choosing the most suiting school website builder from a list below, then choose a template for your future resource – and you’re halfway through!
Squarespace
WordPress
Wix
Overall ratings
Shape your best website builder for schools with the most relevant site builders. With the help of the comparison chart below, you can control the vital components of the platforms and select the one that fully fits your needs for the future site.
| Squarespace | WordPress | Wix | |
| Free Plan | trialv | free | free *limited functionality |
| Paid From (mo.) | $12.00 | free | $13 |
| Overall | 4.4 out of 5 | 4.3 out of 5 | 4.2 out of 5 |
| Quality of Support | 8.5 | 7.7 | 7.9 |
| Ease of Setup | 8.8 | 8.1 | 7.9 |
| Templates | 10+ | 1000+ * most are paid | 75+ |
| Our widgets for Platforms | Widget List | Plugin Catalog | App library |
Just as you select a Site Builder for creating a School website, always draw attention to website’s overall functionality and best value for money. Employ a trial period or free version to look into the service. This is one of the best ways to determine if the Website Builder is true as user-friendly and useful as they picture it.
School website examples
Do a check of a list of most used School templates. They all have specific structure, elements and design. Pick the most convenient School design solutions for your motivation.

Example 1: High School website
If you’re digging for a great starting point, utilize this smooth, yet very powerful business template. Attach a few widgets to upgrade its overall look and performance and begin evolving your business today.
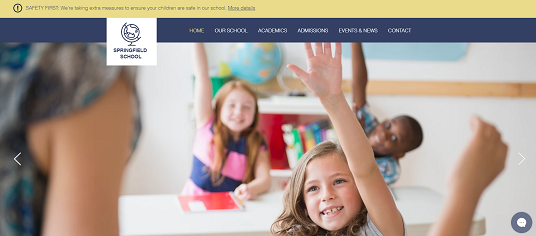
Example 2: Elementary School website
It’s a great design and this template includes only what is crucial. Also, calls-to-action are located well, worded simply, and contrast with the rest of the page.
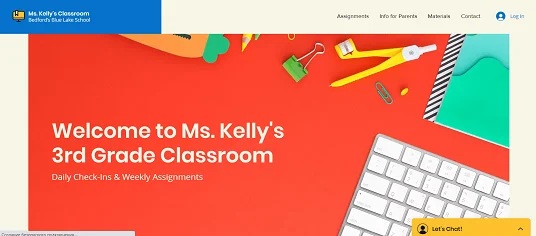
Example 3: Remote Learning Classroom website
With the benefit of this template, you’ll surely get a face to your company! The page offers stunning colors without being laden with details and makes it easy to recognise what the business is about.
Fill in your school site
Right after you’ve picked your website platform and a relevant template, it’s high time to form your website pages to suffuse them with information and plugins to cover all the needs described STEP 1. Most times, a school website has the following pages:
Home page →
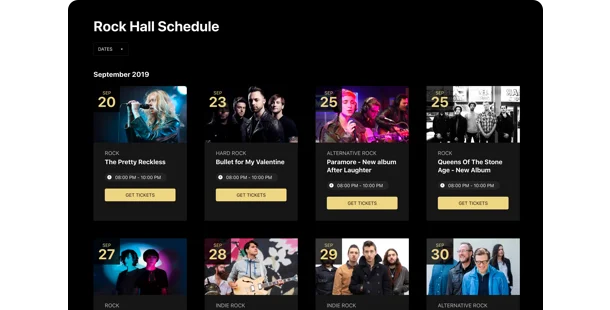
Events →
Contacts →
Documents →
Staff Directory →
Class pages →
Test and launch
Before your web page for school goes live, you have to make sure everything works as expected. Our useful checklist will help you not to miss a single important step.
-
Test your mobile efficiency.
Nowadays it’s greatly important that your website performes and looks good on mobile devices as more than half of your visitors will browse it with their mobile phones.
-
Attach your logo.
If you still haven’t got it, create it with the help of a logo generator, like, Tailor Brands.
-
Connect your domain.
If you haven’t got it when you worked with the site builder, you definitely need to buy it. Use GoDaddy to start with.
-
Review the functionality
All slides, pop-ups, CTA buttons or social media buttons should work in due course, otherwise, users will close your site in a bit of a hurry.
-
Announce your website launch on social media.
Twist the online audience into real customers. Adjoin a link to your website to your social media accounts in order that your followers could see it. Yet another reason to visit you for lunch.
-
Done! 🏆
Congrats! Now you’re a website owner. Now share the link to your resource with friends and all clients and start collecting the feedback – it will help you to have more visitors. And don’t stop upgrading your content and functionality to attain even greater success.
