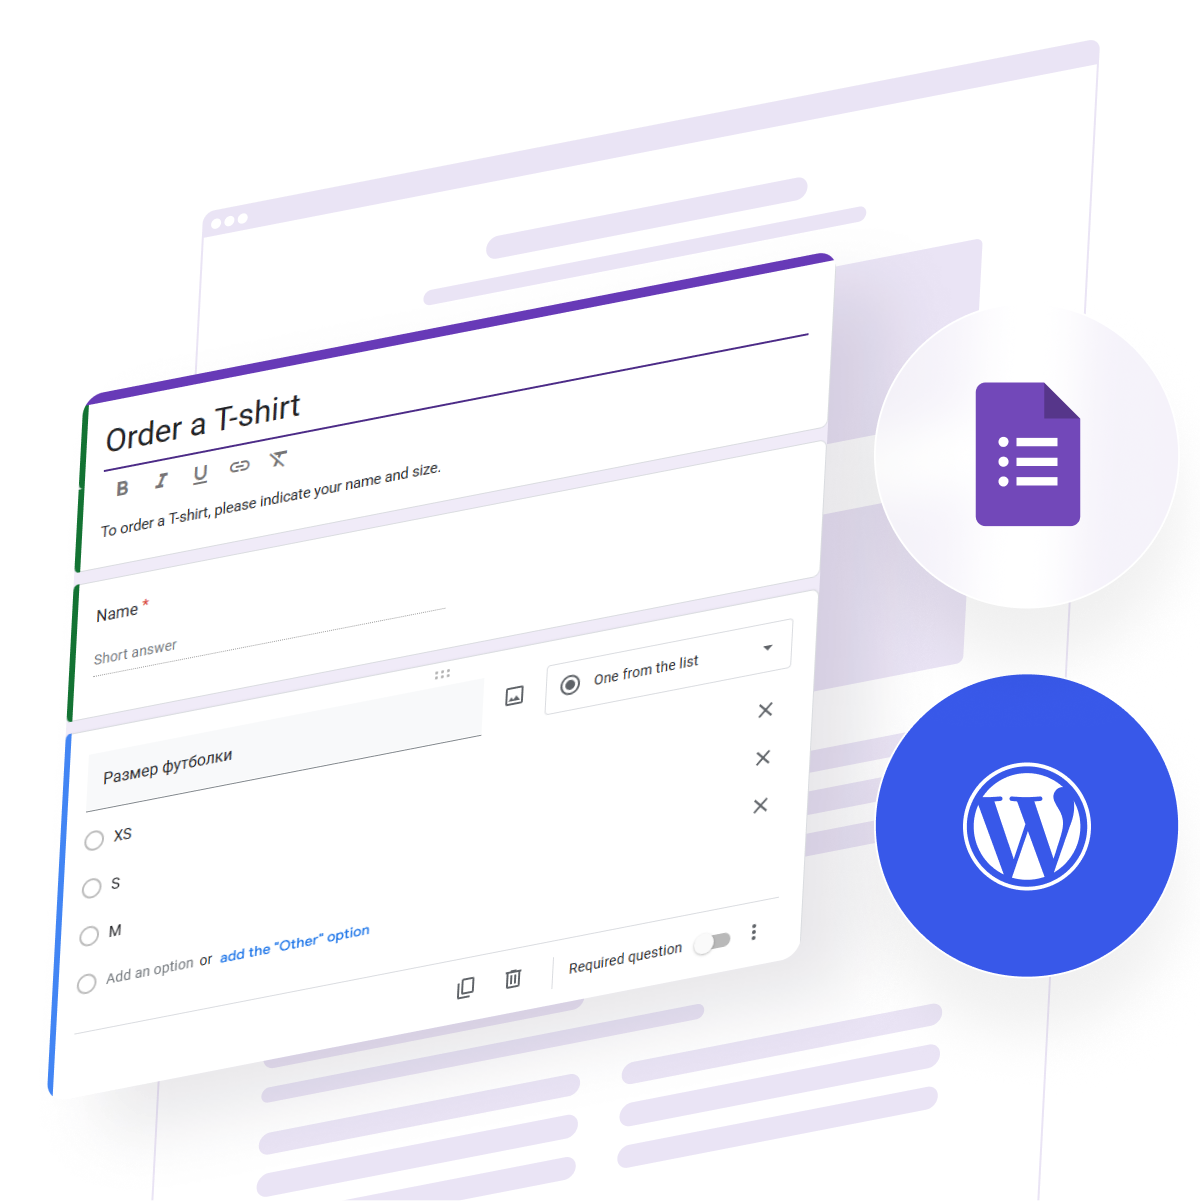
Embedding a Google Form into your WordPress website is one of the quickest ways to collect information, generate leads, or manage responses directly from your audience. Whether you’re building a contact page, feedback form, or simple registration, this integration brings flexibility and speed without the need for complex setups.
If you’re looking for a functional, reliable, and quick-to-implement form solution, adding a Google Form is exactly what you need. It allows you to streamline interactions, gather valuable data, and improve user engagement without coding.
- Easy to set up and manage. Google Forms require no technical knowledge—just create, copy the embed code, and paste it into your WordPress editor.
- Free and accessible to all users. There’s no cost involved, making it ideal for startups, personal projects, and small businesses.
- Cloud-based response management. All submissions are stored securely in Google Sheets, letting you access and analyze data anytime, anywhere.
- Compatible with any device. Embedded Google Forms are responsive and work smoothly across desktops, tablets, and smartphones.
- Seamless integration into your content. Forms can be added inside posts, pages, or sidebars to match your content flow perfectly.
Let’s explore how you can embed a Google Form into your WordPress website using the standard native method — all without installing extra plugins.
How to Add Google Forms to WordPress Natively
One of the most straightforward ways to embed a Google Form in WordPress is by using the official embed code provided by Google. This method allows you to display a form directly within your content without installing any additional plugins or writing custom scripts.
Follow these steps to integrate a Google Form into your WordPress website:
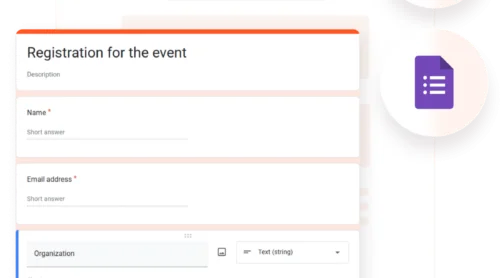
- Open the Google Form you want to use. Log in to your Google account and go to Google Forms. Choose or create the form you want to embed into your WordPress website.
- Click the Send button to access embed options. In the top-right corner of the form editor, click the Send button. Then, select the <> icon to switch to embed mode.
- Copy the iframe embed code. Google will generate an iframe tag for your form. You can adjust its width and height values before copying. Example:
<iframe src="https://docs.google.com/forms/..." width="640" height="800" frameborder="0" marginheight="0" marginwidth="0">Loading…</iframe> - Edit your WordPress page or post. In your WordPress dashboard, navigate to the page or post where you want to insert the form and click Edit.
- Insert the embed code into your content. If you’re using the Gutenberg editor, add a Custom HTML block. If you’re using the Classic Editor, switch to the Text view. Paste the iframe code in the desired location.
- Publish or update the page and preview. Save your changes and preview the page. You should now see your Google Form embedded directly inside your WordPress content.
That’s it — you’ve successfully embedded a Google Form inside your WordPress website. However, while this native method works well for simple use cases, it does have some limitations. Let’s take a closer look at what you might miss out on when using this approach.
Limitations of the Native Embed Method
While embedding a Google Form on a WordPress page using the native method is quick and easy, it comes with several constraints that can limit customization, flexibility, and performance. These issues become more apparent when you’re trying to create a professional experience or integrate deeper features.
If you plan to collect user responses via your website and need more control over form behavior and design, it’s important to understand these limitations.
| Limitation | Why It’s a Problem |
|---|---|
| Limited styling and customization | You can’t change colors, fonts, or layout to match your website’s design. Google controls the entire visual interface. |
| Responsiveness is not always reliable | Though the form is mobile-friendly by default, the iframe may not scale correctly on all devices without manual CSS adjustments. |
| External branding and fixed behavior | You can’t remove Google’s branding or change behaviors like redirecting users after submission. |
| Iframe integration limits flexibility | Embedding with iframes can cause compatibility issues with plugins or on-page scripts. |
| No advanced features or tracking | Google Forms lacks native tools for analytics, event tracking, or complex field logic. |
If you need more control over how your forms look and function, a dedicated form solution can offer a cleaner and more flexible experience. Next, let’s walk through how to build and embed a custom form using a simple no-code solution.
Create and Add a Form to WordPress with Elfsight
If you want more flexibility and a professional appearance, Elfsight’s Form Builder is a powerful no-code alternative to embedding Google Forms. With full control over design, layout, integrations, and behavior, it allows you to create a tailored form experience for your visitors — whether it’s a basic contact form or a multi-step application.
Below is a full walkthrough on how to create and add a custom form to your WordPress website using Elfsight’s visual editor:
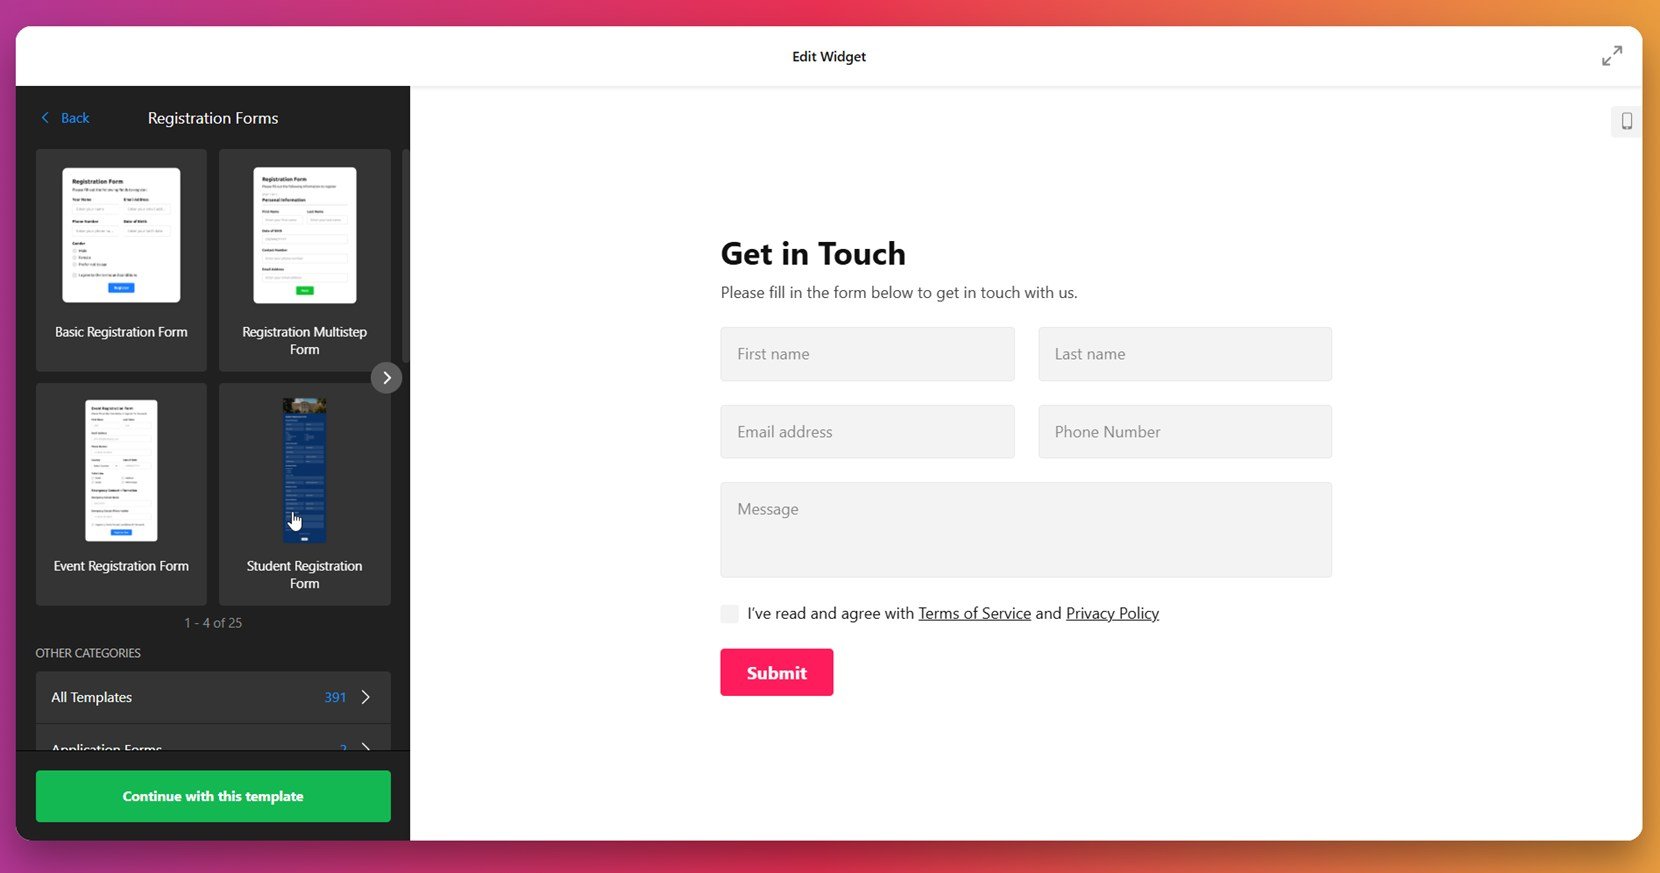
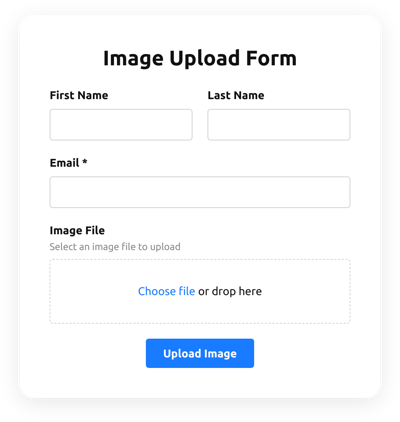
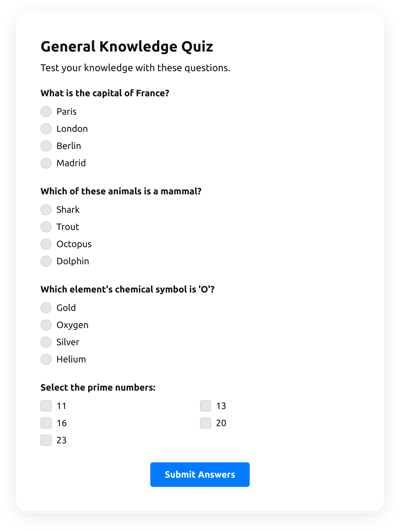
- Select a ready-made template. Open the Elfsight editor and start by browsing form templates. Choose one that fits your goal — like a contact form, registration form, or student application — and click “Continue with this template”.

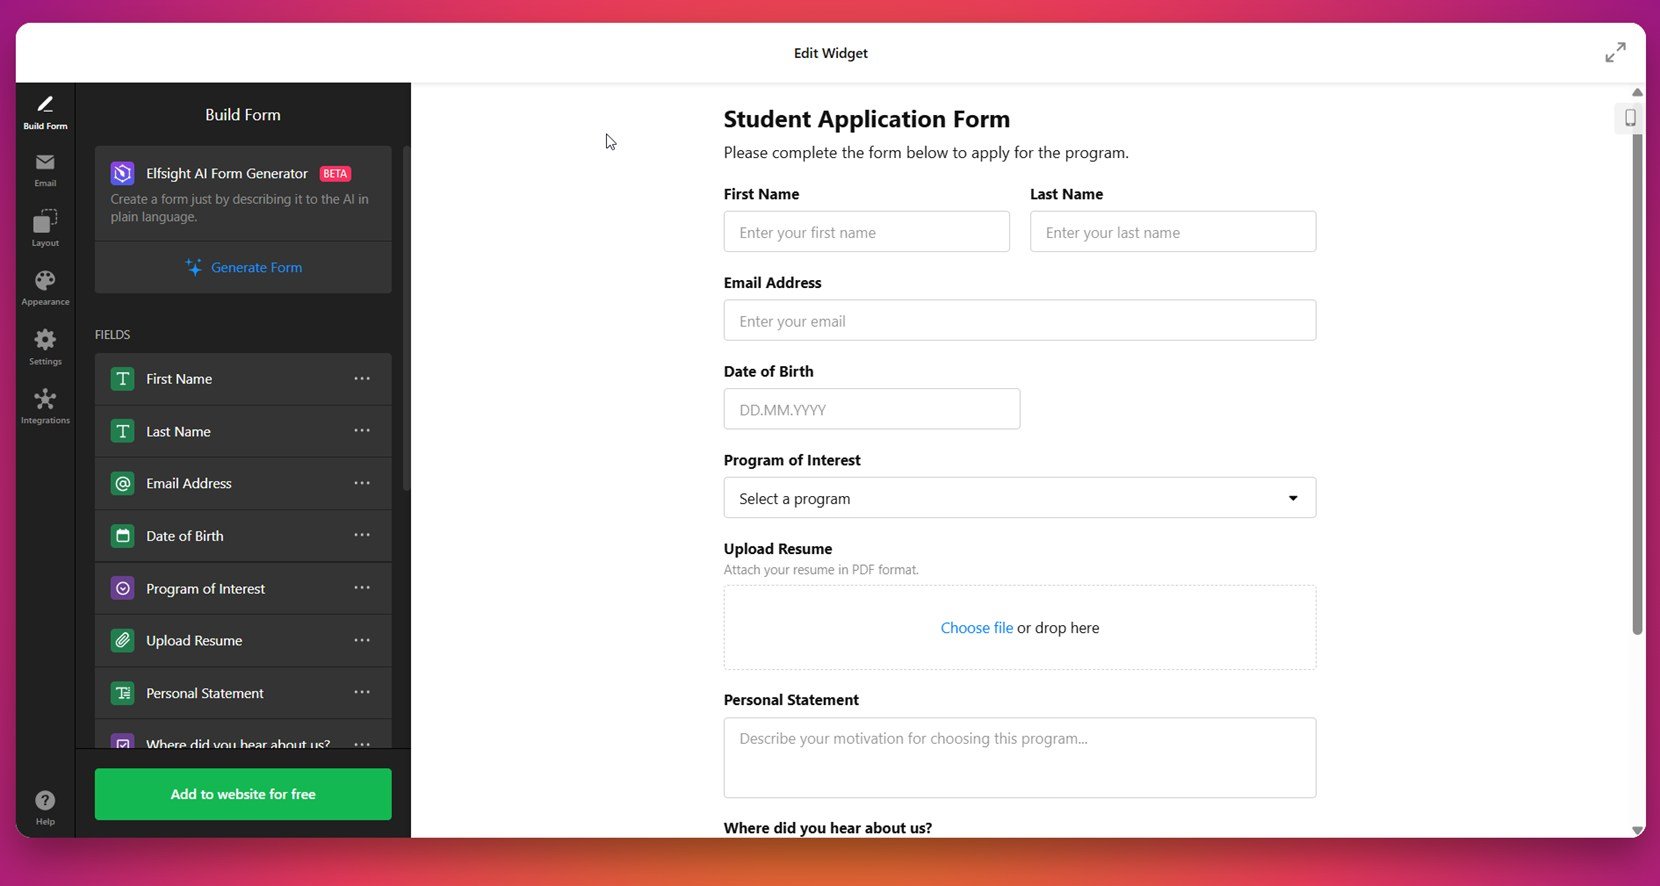
- Build or edit form fields. Use the form builder to customize fields such as name, email, message, dropdowns, uploads, or custom questions. You can also enable the Elfsight AI Form Generator to generate the structure for you based on plain language prompts.

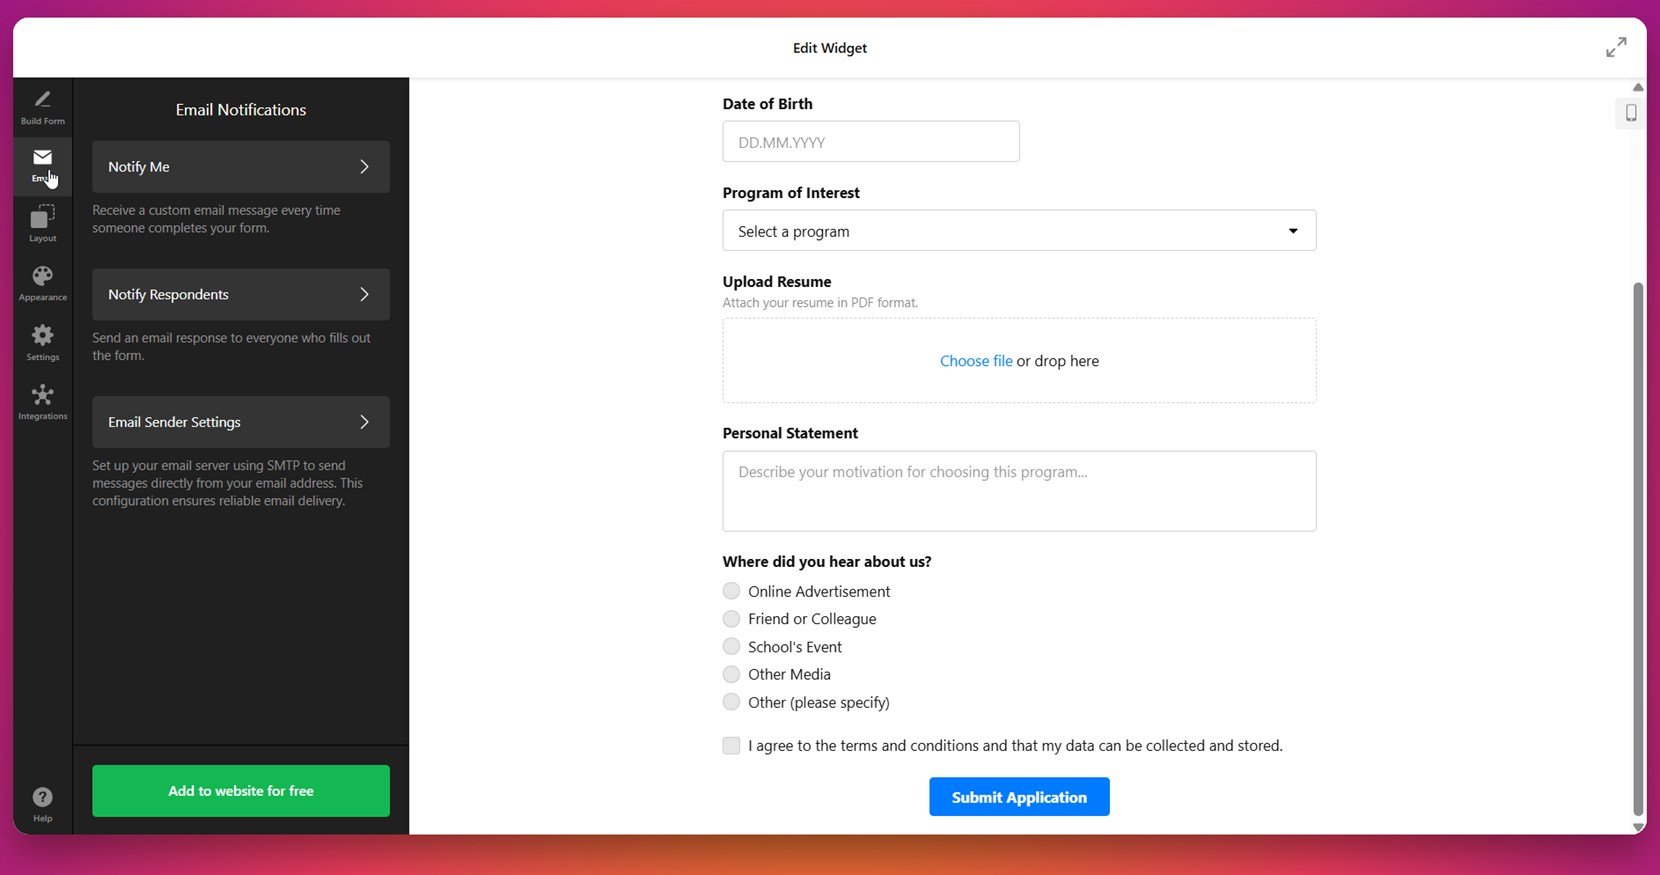
- Configure email notifications. In the “Email” section, choose whether you want to receive notifications, send autoresponders to users, and configure sender address settings using SMTP for more reliable delivery.

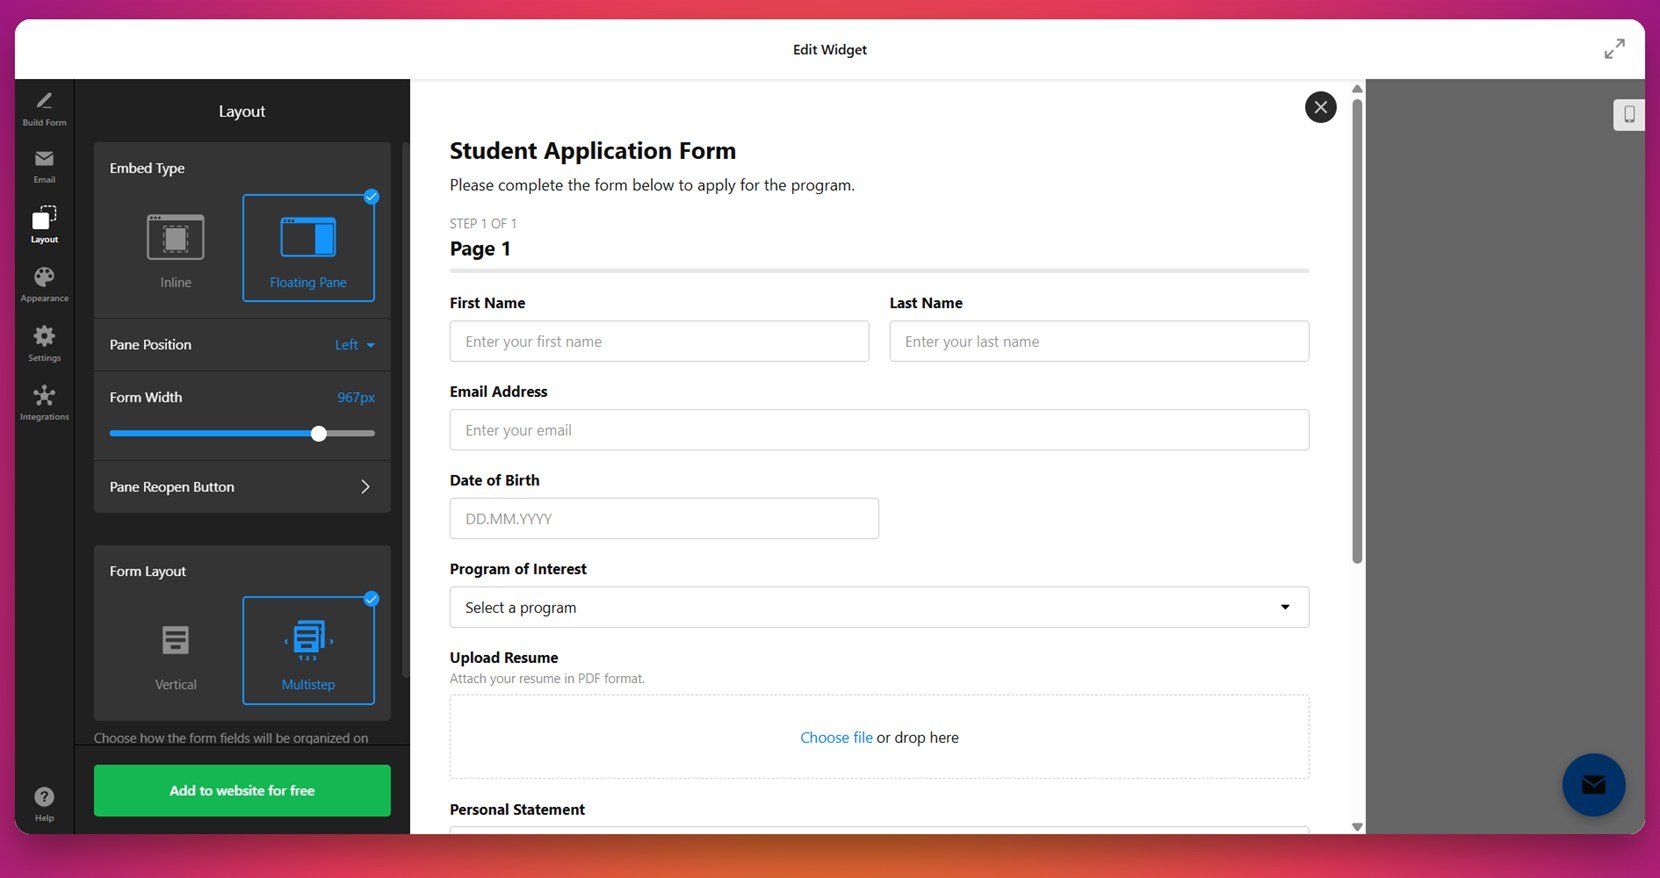
- Adjust the form layout. Go to the “Layout” section to choose between Inline or Floating Pane display. You can set the form width, button behavior, and switch between Vertical or Multistep layouts depending on the form complexity.

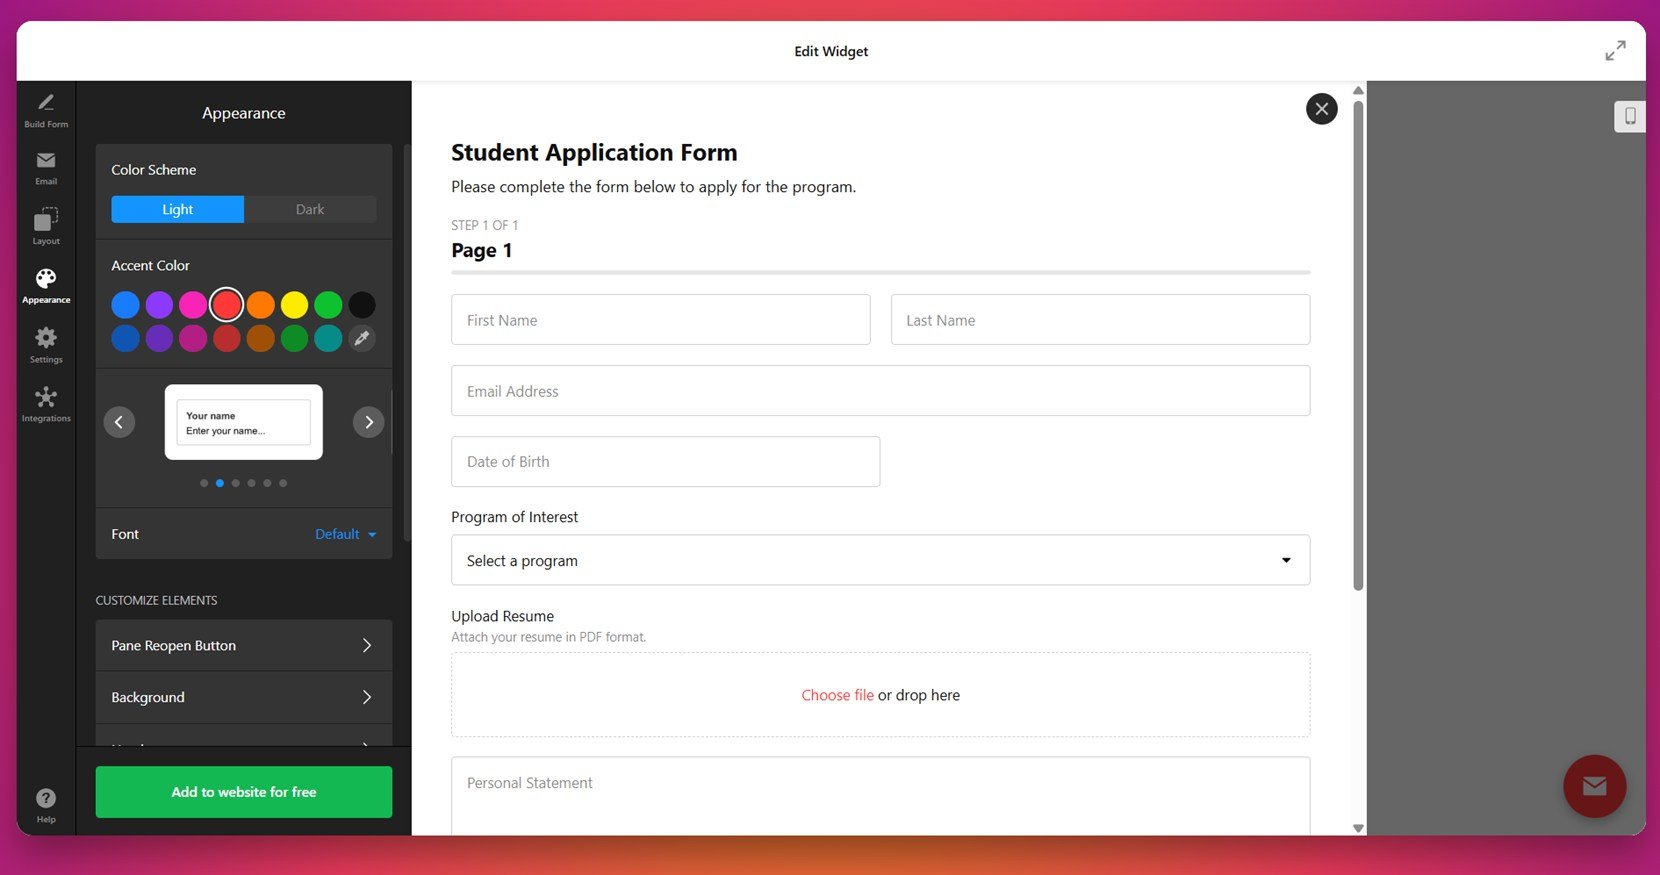
- Style your form appearance. In the “Appearance” panel, select a light or dark color scheme, pick your accent color, change the font, and tweak individual design elements like button color, background, and text styles.
- Fine-tune advanced settings. Open the “Settings” tab to set post-submit actions (like showing a message), enable spam protection, add custom JavaScript, or pre-fill form fields using URL parameters.

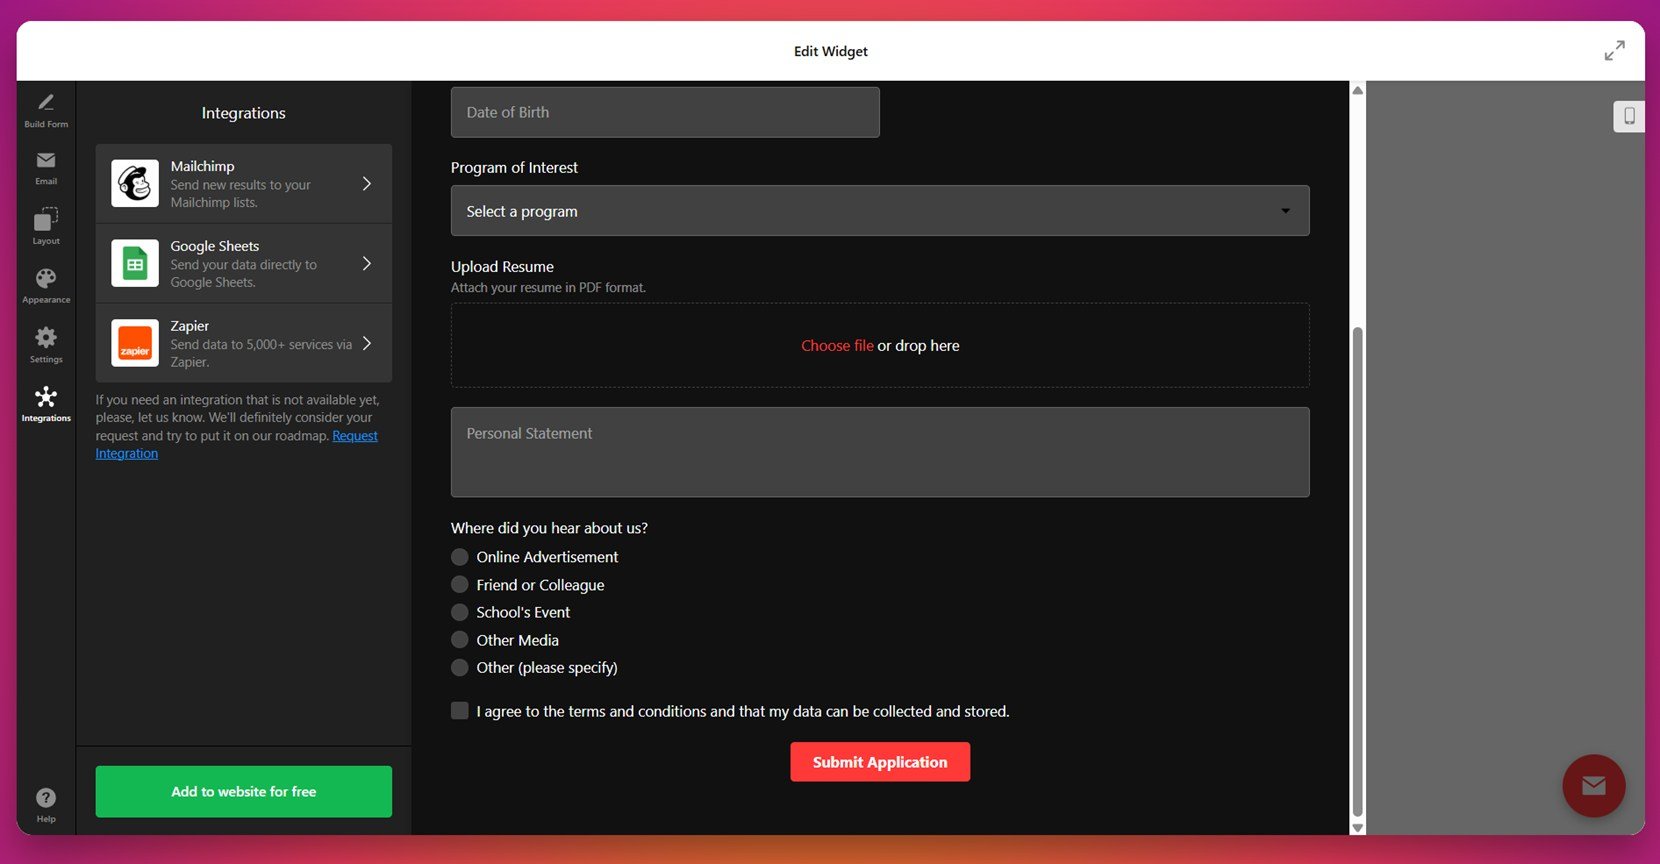
- Connect integrations. Under “Integrations,” you can link the form to platforms like Google Sheets, Mailchimp, or Zapier to automate data collection and follow-up processes.

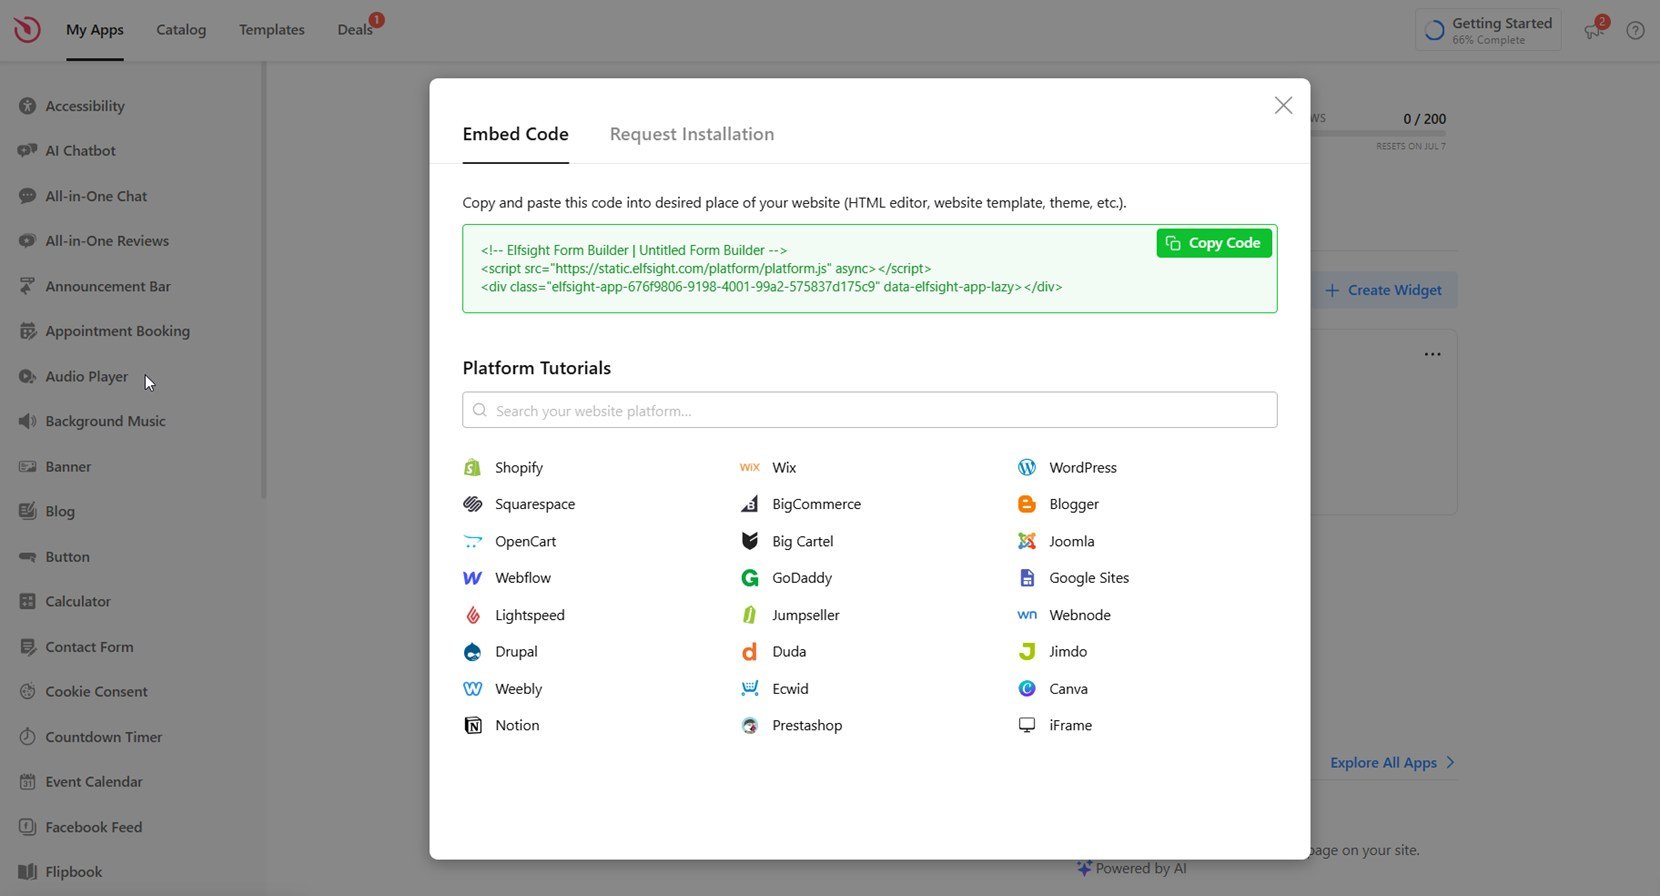
- Add the form to your website. Click “Add to website for free” to generate your embed code. Copy the code, open your WordPress editor, and paste it into a Custom HTML block where you want the form to appear. Save and publish the page.


Once added, your form will appear instantly, looking and working exactly as you customized it in the Elfsight editor. All data will be synced and stored based on your configuration.
See the form builder in action – create your own form in 1-2-3!
Features of the Elfsight’s Form Builder
Now that you’ve created and embedded your custom form, let’s break down the key features that make Elfsight’s Form Builder a more powerful and flexible option than embedding a standard Google Form. These features are designed to improve usability, enhance visual integration, and optimize performance across all devices.
Below is a summary of the main features and benefits you get with Elfsight’s Form Builder:
| Feature | Why It Matters |
|---|---|
| Flexible layout options | Display your form as inline, popup, multistep, or floating pane to match different design needs and user flows. |
| Responsive design | Automatically adapts to screen size and device type, ensuring a smooth experience on desktop, tablet, and mobile. |
| Drag-and-drop editor | Easily add, remove, or rearrange fields in seconds — no technical skills required. |
| Visual customization | Modify colors, fonts, buttons, borders, and backgrounds to match your branding perfectly. |
| Email notifications | Receive instant alerts for every submission and send automated responses to users. |
| Third-party integrations | Connect to services like Google Sheets, Mailchimp, or Zapier to automate tasks and manage data efficiently. |
| Spam protection | Reduce junk submissions with built-in spam filters and field validation options. |
| Multi-language support | Serve international audiences with language settings and custom field translations. |
With these capabilities, your form becomes more than just a submission box — it becomes a branded, high-performing element that actively supports your website’s goals. Next, let’s cover practical tips to help you optimize your embedded form even further.
Tips for Better Form Performance
To get the most out of your embedded form — regardless of the tool you use — there are several important considerations that can help improve its appearance, responsiveness, and effectiveness. Below are practical tips that simplify the embedding process and ensure your form works reliably across your WordPress website.
- Place the form where users expect it. Add your form in a prominent location like a contact, registration, or landing page to maximize visibility and response rates.
- Use a container with enough width. Forms embedded into narrow columns or restricted containers may break layout or stack awkwardly on mobile. Make sure your page structure allows enough space for smooth rendering.
- Test responsiveness on all devices. After pasting the embed code, preview the page on desktop, tablet, and mobile. Adjust iframe dimensions or styling as needed for full mobile compatibility.
- Keep the form concise. Avoid overwhelming users with too many input fields. Limit questions to what’s necessary for faster completion and higher submission rates.
- Always add a confirmation message. Whether you redirect users or display a message on the same page, confirm that their response has been received to improve trust and clarity.
- Use semantic sectioning and padding. Add margins or padding around your form so it doesn’t appear cramped. Proper spacing helps with visual hierarchy and accessibility.
- Embed using clean HTML blocks. If your form provider uses iframe or JavaScript, paste it inside a Custom HTML block to avoid interference from visual editors or third-party plugins.
- Style with caution. Use custom CSS only when necessary and test thoroughly to avoid conflicts with your theme’s default styling.
With these tips in place, your form will look cleaner, work better, and deliver a smoother experience for your visitors. Now let’s take a look at how different industries can apply these forms to streamline workflows and engage their audiences more effectively.
WordPress Form Use Cases by Industry
Google and integrated website forms are a valuable tool across various industries, helping businesses and organizations collect data, process inquiries, and engage users more effectively. Below are three industries where forms play a central role in streamlining day-to-day tasks and improving service quality.
Application in Education and Online Learning 📚
Educational platforms and training providers rely on forms to handle student registration, course enrollment, and curriculum inquiries. With customizable fields, it’s easy to tailor each form to specific programs or departments. Forms simplify the application process and reduce manual email handling, making it easier to process large volumes of interest efficiently.
Application in Real Estate 🏡
Real estate professionals use various forms to collect property inquiries, schedule viewings, and pre-qualify buyers or tenants. When placed on listing pages or contact sections, these forms help agents gather key details upfront, prioritize serious leads, and save time on initial back-and-forth communication.
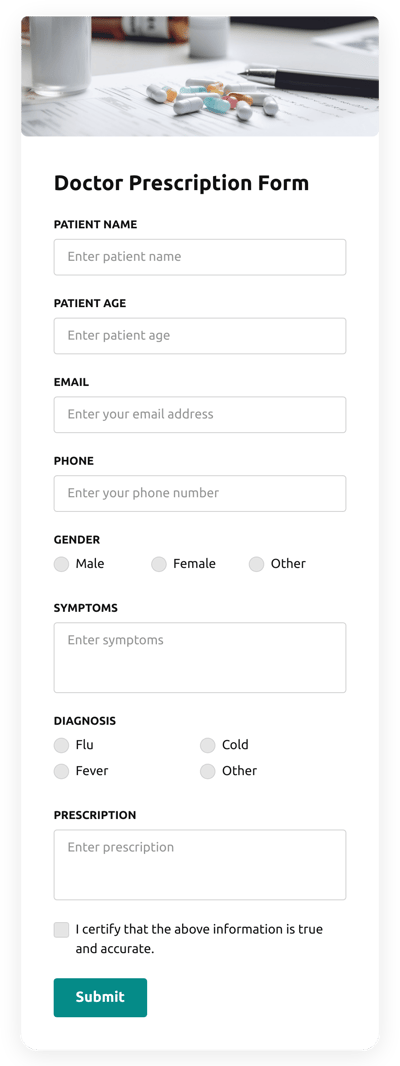
Application in Healthcare and Wellness 💉
Healthcare providers and wellness centers benefit from embedded forms to manage appointment bookings, patient intake, and service-related questions. Forms allow patients to provide their information before arrival, helping clinics reduce wait times, organize records, and comply with privacy standards more effectively.
Across these industries, forms support smoother workflows and a better user experience. But like any tool, they can occasionally present challenges. Up next, we’ll explore the most common issues and how to solve them quickly and effectively.
Explore 300+ Form Builder templates


Fixing Common Issues
Even though integrating a form in your WordPress website is usually a smooth process, certain technical or display issues can arise. Below is a list of common problems and how to handle them effectively to ensure your form functions properly and looks professional.
Why doesn’t my embedded form appear on the page?
Why does the form look misaligned or cut off on mobile devices?
How do I fix spacing issues around the form?
Why aren't form submissions being received?
Can I style the embedded form with my theme’s CSS?
Why is there a large empty space below my embedded form?
Is it safe to embed forms that collect sensitive data?
Knowing how to quickly identify and fix these issues helps ensure your form performs reliably and looks clean on every page.
Final Thoughts
Embedding a Google Form in your WordPress website offers a quick and straightforward way to collect responses without technical setup. It’s a great choice for simple tasks like feedback, contact forms, or event sign-ups. However, as your needs grow and customization becomes a priority, the native method can quickly become limiting — especially when it comes to design, responsiveness, or integration with other tools.
This is where dedicated solutions like Elfsight’s Form Builder come in. With intuitive controls, extensive styling options, and built-in integrations, you can create a more polished and functional form experience without writing a single line of code. Whether you’re working in education, real estate, healthcare, or beyond — having a flexible form tool tailored to your business needs can significantly boost user engagement and simplify response handling.
Need More Help?
We hope this walkthrough gave you the clarity and tools to embed and optimize your forms on WordPress. If you’re experiencing any issues or have additional questions about your WordPress form, feel free to reach out to us — we’re here to help you succeed. At Elfsight, our goal is to offer powerful no-code widgets for any user without technical barriers.
Be sure to check out our growing Community to exchange ideas, learn from others, and get inspiration for your next project. Got a feature suggestion? Add it to our Wishlist — we’d love to hear from you!