Webflow Pricing Table widget
Create your Pricing Table widget
Screenshots

Why People Love Elfsight
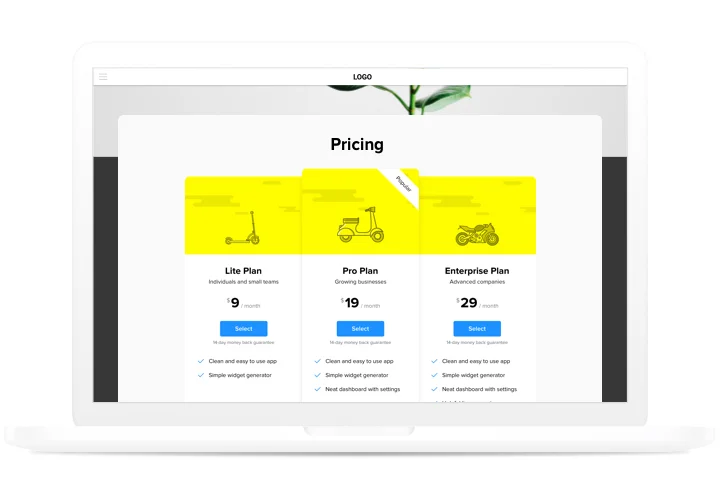
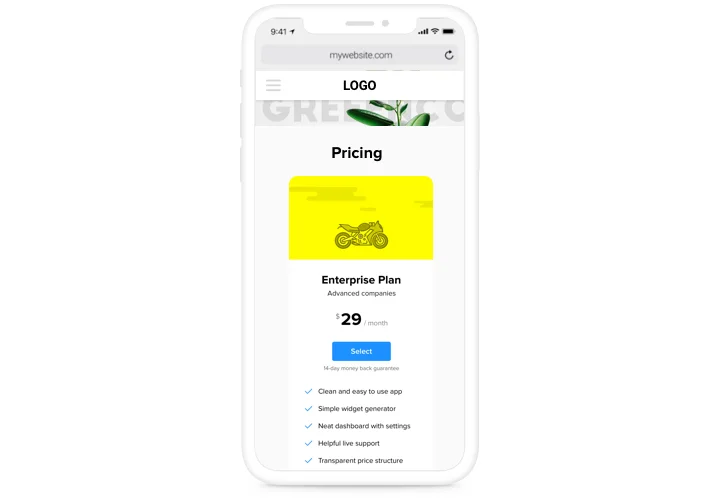
The Elfsight Pricing Table widget lets you display your plans side by side, spotlight the best option, and make pricing easy to understand at a glance. It’s a straightforward way to guide visitors toward the choice that fits them best.
Even if you’ve never touched a line of code, setup is quick and easy. Think of it like adding another Webflow block – you choose a template, adjust colors and details, and it’s live. Whether you’re selling digital subscriptions, membership tiers, or service packages, you’ll have a pricing section that makes sense to everyone.
Did you know?
A Baymard Institute report shows that 48% of online shoppers abandon carts because of unexpected costs at checkout.
Create a Pricing Table with Elfsight in just minutes, reduce confusion and build trust right away.
Key Features of the Webflow Pricing Table
Here’s why this widget is loved by small businesses and big brands alike:
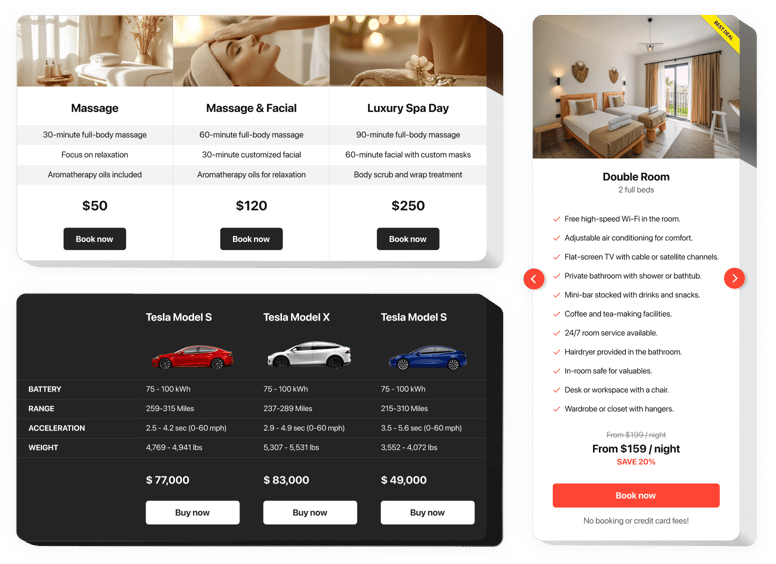
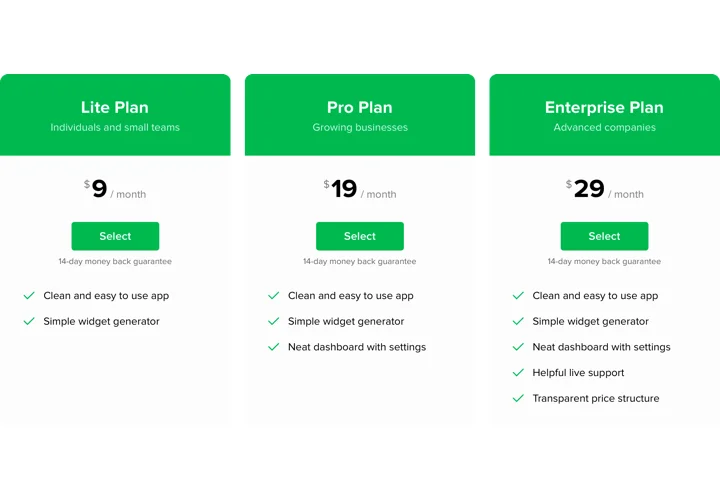
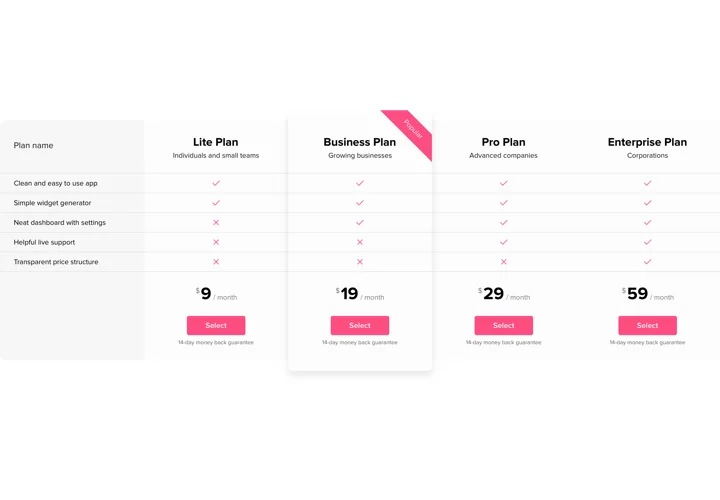
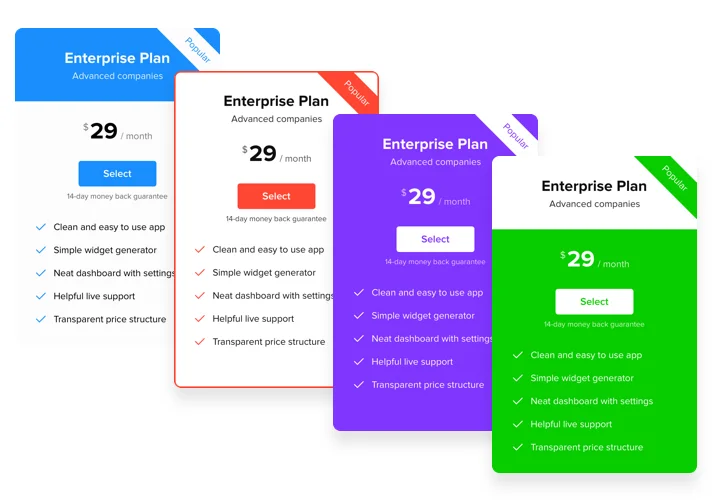
- Flexible layouts: Pick between columns, grids, or card-style layouts to make your pricing easy to scan.
- Highlight top choices: Add badges like “Best Value” or “Popular” to draw attention to your featured plan.
- Custom design: Match your Webflow style with adjustable fonts, colors, and spacing.
- Detailed options: Include features, descriptions, and buttons that connect directly to your checkout or contact forms.
- Responsive design: Tables adapt perfectly to any screen, from wide desktop monitors to small phone displays.
- Quick setup: If you can copy and paste, you can get your pricing table online.
How to Add the Pricing Table to Webflow
Embedding a Pricing Table on Webflow is super easy with Elfsight. Here’s a quick step-by-step:
- Select a Template: Open the Elfsight editor and pick your layout.
- Customize the Widget: Add plans, customize styling, and preview.
- Generate the Code: Click “Add to website for free” and copy the code.
- Embed on Webflow: In Webflow, drag an Embed element where you want the table, paste the snippet, and publish.
Need guidance? Check our Help Center for detailed guides and leave ideas in the Wishlist. For the latest features, see the Changelog.
