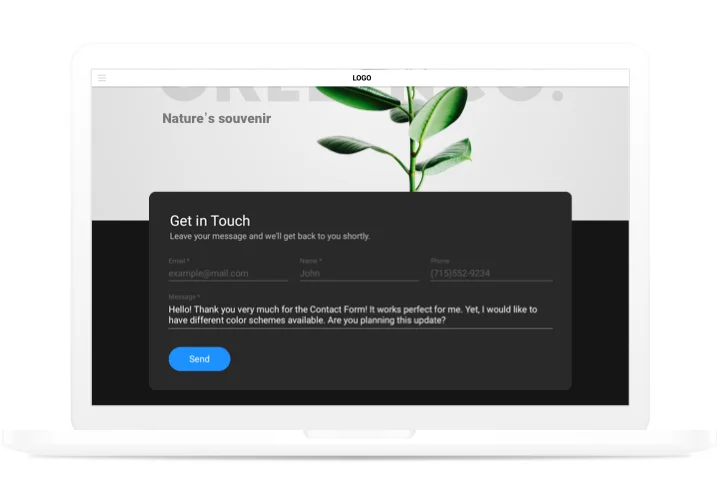
Webflow Contact Us Form Widget
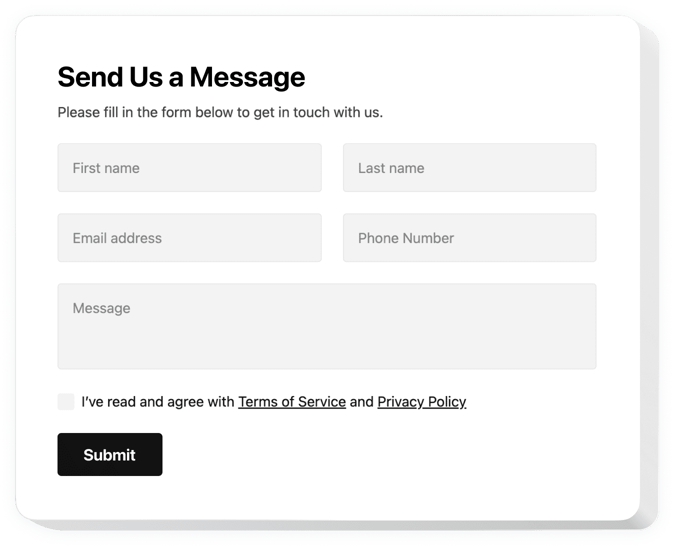
Create your Contact Form widget
Screenshots
Why People Love Elfsight
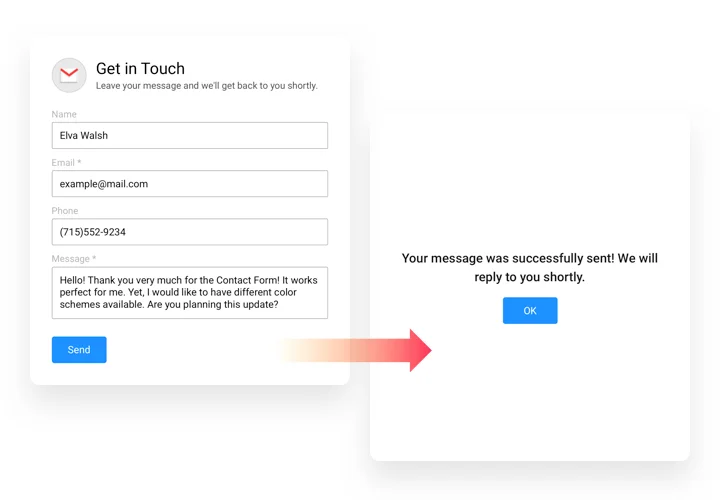
Wouldn’t it be nice if your website could handle communication without endless back-and-forth? The Elfsight Contact Form widget is a straightforward way to let people get in touch, ask questions, or share feedback.
With this widget, you can create forms that fit your style, work on any device, and only take minutes to set up – even if you’re not technical. It’s like plugging in a ready-made inbox right into your website.
Did you know?
According to HubSpot, 74% of companies say converting leads into customers is their top priority. And a good contact form is often the first step.
So why not start today? With the Elfsight Contact Us Form, you can build a form that brings more leads and better conversations – in just a couple of clicks.
Key Features of the Webflow Contact Form
Elfsight is designed to make connecting with your visitors feel effortless. Here’s what makes it special:
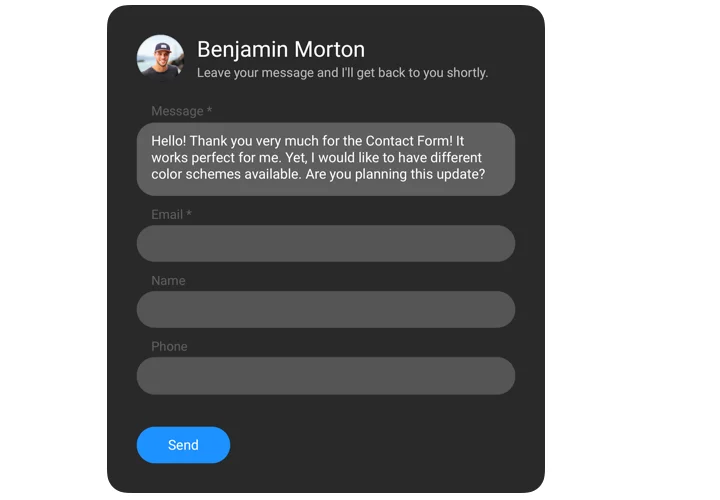
- Fully customizable look: Match the form with your branding by adjusting fonts, colors, and field styles.
- Different field types: Add text fields, dropdowns, checkboxes, or file uploads – collect exactly the info you need.
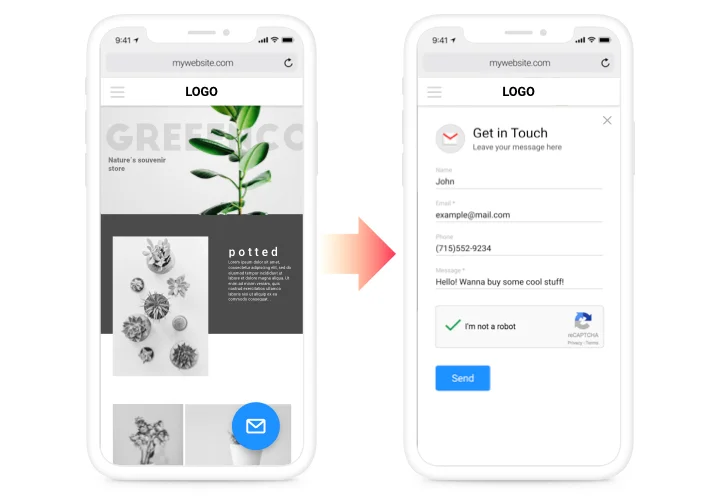
- Spam protection: Built-in reCAPTCHA keeps out unwanted messages so you only get real inquiries.
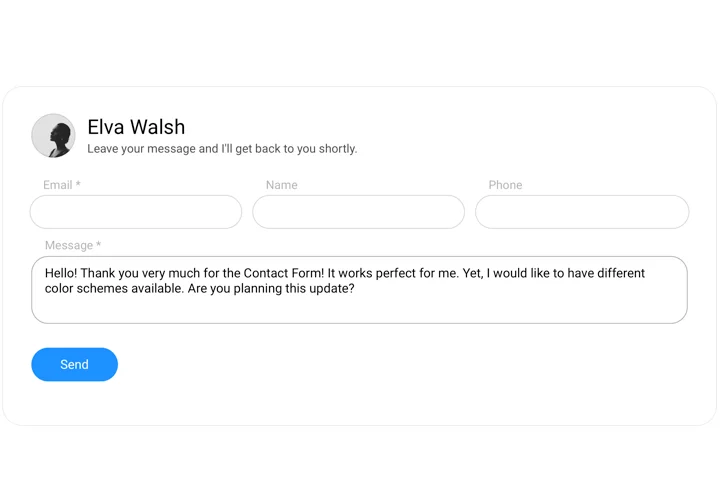
- Responsive design: The form looks great on phones, tablets, and desktops without extra tweaks.
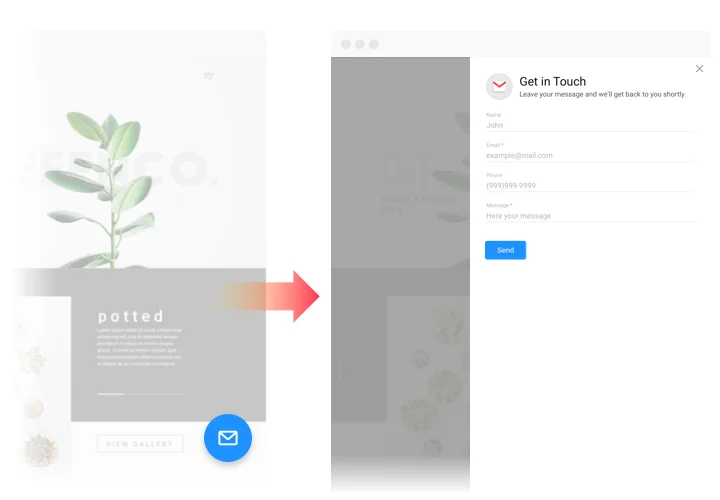
- Flexible placement: Show it inline on a page or as a floating button that follows users around.
- Easy management: Get submissions delivered straight to your email – no special setup required.
How to Add the Contact Form to Webflow
Adding the widget is as simple as copy–paste. Here are two easy ways to do it:
Method 1: Inline Form
Great if you want the form to appear inside a page like your Contact or About section.
- Select a Template: Open the Elfsight editor and choose a layout.
- Personalize the Widget: Customize fields, colors, and texts.
- Generate the Code: Click “Add to website for free” and copy the code.
- Embed on Your Website: In your Webflow project, paste the snippet into the Embed element where you want the form.
Method 2: Floating Form
Perfect if you want a small button or panel that visitors can access from anywhere.
- Choose a Template: Select a floating style in the editor.
- Customize the Widget: Set the fields, position and design.
- Generate the Code: Copy the generated code.
- Embed on Your Website: Paste it into your Webflow project before the closing
</body>tag.
Need help? Check our Help Center or browse our blog articles on how to create a Contact Form. You can also suggest new ideas in the Wishlist or track updates in the Changelog.

