
Shopify QR Generator
Create your QR Code app
Screenshots
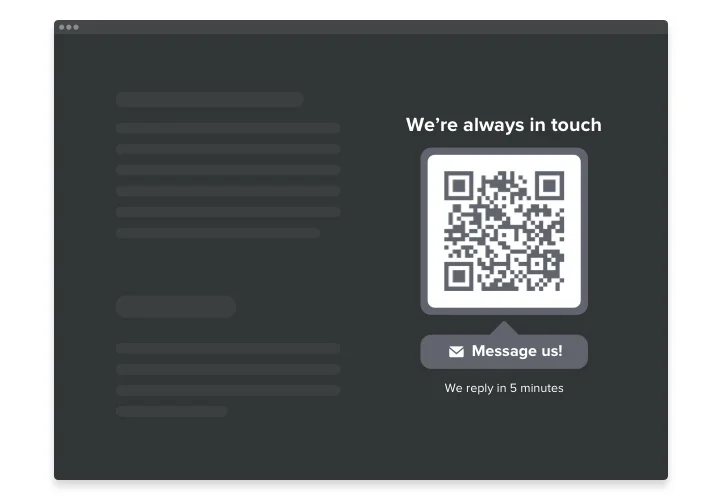
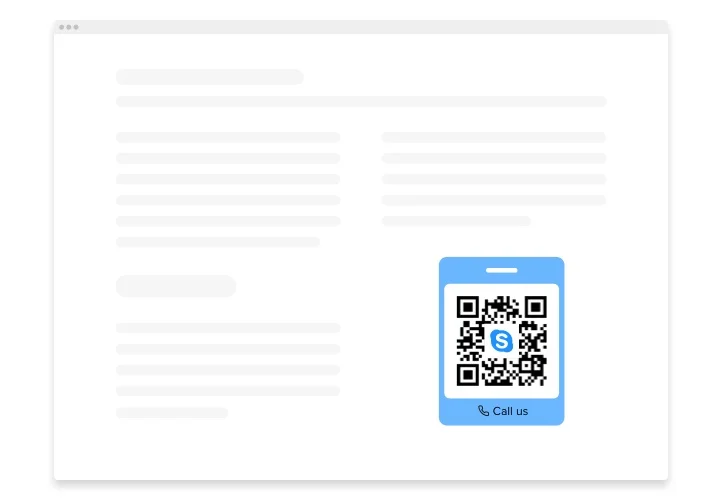
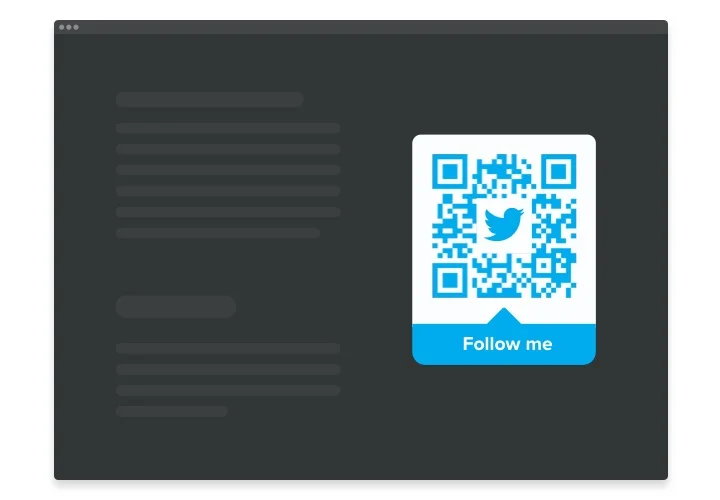
One scan between browsing and buying
A product page answers a lot, but some shoppers still want to ask a quick question or find your shop in person, and they do that on a phone. A code on the page turns that moment into one scan instead of a search.
Most free generators hand you an image file and leave the rest to you. Elfsight gives you a Shopify QR generator that also displays the result: you set up the code in the editor, it appears on your store page, and later edits never involve swapping pictures.
A scan that leads somewhere useful
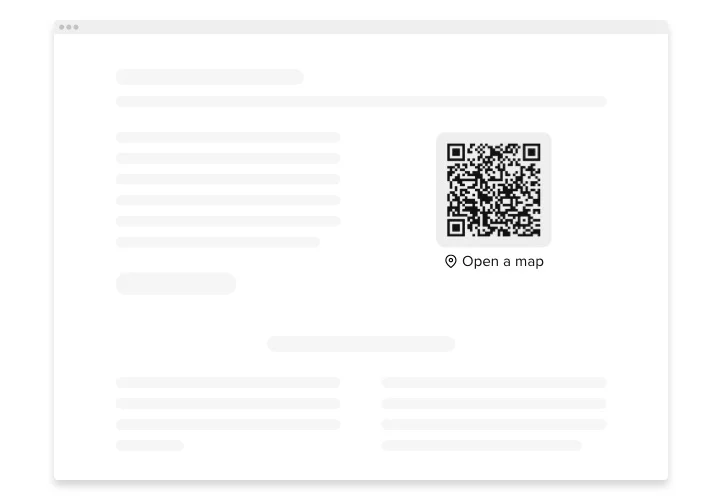
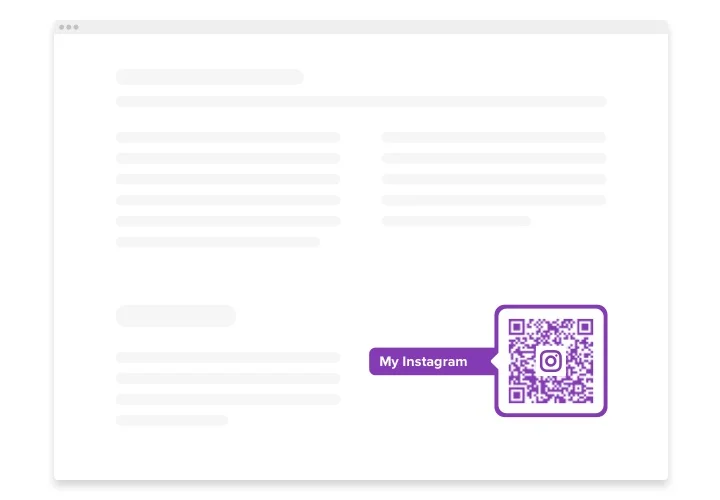
Pick what happens after the scan from 15 content types: open a URL, start a phone call, send an SMS or email with the text already written, join Wi-Fi, open a file, show a location in Google Maps, or go to WhatsApp, Messenger, Instagram or YouTube. A shopper with a sizing question scans once and is already chatting with you, without copying a number from the screen.
A clear reason to scan
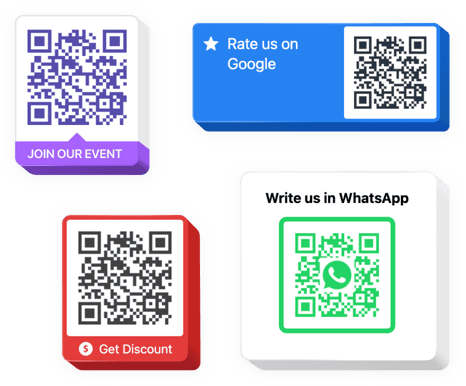
Put the code inside one of 8 frames with a call to action on it – “Scan me” by default, or your own words like “Chat with a stylist”. The message, with one of 15 icons beside it, tells shoppers what the square does before they reach for a phone.
Looks like part of your brand
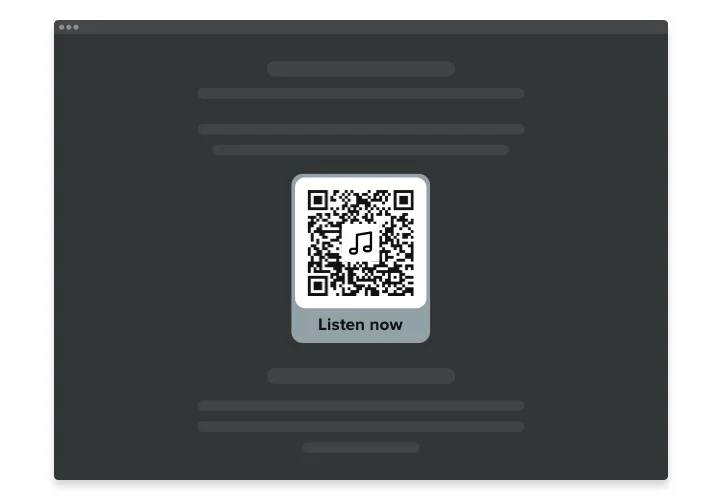
Place your logo in the center of the code – upload your own or use one of 8 social icons – and choose colors for the code, its background and the text around it. A branded code looks deliberate, and the icon in the middle hints at where the scan leads.
Edit once, every page follows
The widget draws the code from your settings each time a page loads. Change the link or the number in Elfsight, and every page with the widget shows the new version – nothing to recreate or upload again.
Key Features
What you can set up before the code goes live:
- 15 content types – links, calls, SMS, email, Wi-Fi, files, locations and social profiles, ready to open on the shopper’s phone.
- Frames and a call to action – 8 frame styles, 15 icons and your own wording around the code.
- Logo and brand colors – your logo in the middle and your palette on the code, background and text.
- Updates on your website – swap a destination in Elfsight once, and every store page carrying the widget redraws it.
- 20 ready-made templates – start from scenarios like Call Us, Rate us on Google, Get Discount or Save the date.
- Size from 50 to 300 px – fits a slim column beside a product as well as a wide banner.
- Custom CSS – adjust spacing and alignment when your theme needs a finishing touch.
Curious how your code would look? Build one in the free editor before you sign up.
Made for Online Store 2.0 and Vintage themes
- Sections, not theme code – in Online Store 2.0 themes, the widget goes into a Custom Liquid section of the theme editor; Vintage themes use a Custom HTML block.
- One template, many pages – add the section to a product template once, and the code appears on every product that uses it.
- Not tied to one store – the widget from elfsight.com runs on any number of domains, and its free plan has no end date.
A code on the page vs. an image in your inbox
Shopify has a free QR code generator of its own, and it’s a quick way to get a code image for one web page. When the code needs to live on your pages and do more, here’s how the two compare:
- What a scan opens – Elfsight: 15 kinds of content, from a guest network login to a chat or a map route. Free generator: a web page, a number to dial, a pre-filled text or a line of text.
- Where the code appears – Elfsight: right on your store pages, placed through the theme editor. Free generator: an image sent to your inbox that you add to pages yourself.
- Design – Elfsight: your branding inside and around the code, from a message on top to your own palette. Free generator: a standard black-and-white square.
- After an edit – Elfsight: change the settings once, and every page shows the current code. Free generator: make a fresh image and replace it wherever it’s used.
- Cost – both are free to start; Elfsight’s paid plans also remove the Elfsight branding.
How to add the QR Code to Shopify
Design the code in the Elfsight editor first; the Add to website for free button then gives you the installation snippet. Pick the method below that matches your theme.
Good to know: theme sections belong to templates, so a section added to a template shows on every page that uses it. For a single page, create a separate template and assign it in the page settings under Online Store → Pages → Theme template. The Starter plan doesn’t support theme sections or custom code.
Method 1: Add a Custom Liquid section (Online Store 2.0 themes)
- In your store admin, go to Sales channels → Online Store and click Edit theme.
- In the dropdown at the top, open the template for the code, such as Default product or a page template.
- Under the template’s sections, press Add section and pick Custom Liquid from the list.
- Paste the installation code into the Custom Liquid field and adjust Color scheme or padding if needed.
- Save, then visit a storefront page built on this template to see the result.
Method 2: Create a section when Custom Liquid is missing
- In Online Store, click the … menu next to your theme and select Edit code.
- Right-click the Sections folder, choose New File, name it
elfsight-widget.liquidand press Enter. - Paste the section code from the Elfsight Help Center article and click Save.
- Back in Edit theme, click Add section and pick Elfsight widget.
- Drop your widget snippet into its Installation code box and save the section.
Theme code can be edited only in a purchased theme, not in a paid theme on trial.
Method 3: Add the code to a Vintage theme
- Go to Online Store → Themes and click Customize.
- Pick the page in the dropdown at the top, click Add section and select Custom Content.
- Delete the placeholder blocks inside the section, then go to Add block → Custom HTML.
- Paste the installation code into the HTML field, set Container width to 100% and click Save.
For product pages in a Vintage theme, ask our support team to install the code.
Method 4: Show the code in one product’s description
- In the admin sidebar, go to Products and pick the item that needs the code.
- Above the Description field, press the
</>icon so the editor switches to HTML view. - Insert the snippet at the spot in the text where shoppers should see the square, then save the product.
- View the live product page to confirm the code survived the save.
The description editor may clean up pasted HTML, so check the product page after every save.
Before you share the page, scan the code on the live store with your phone to make sure it opens the right thing; a password-protected store hides it from visitors. Short on time? Send us a collaborator request or create a staff account for our team, and we’ll install the widget for free.
FAQ
Which Shopify plans let me place the code in my theme?
Where do I find Custom Liquid, and what if my theme doesn't have it?
Which pages show the code after I add the section?
Can I show the code on every product page?
main-product.liquid under Edit code, though some themes name this file differently.