Add Poll to Webflow website
Create your Poll widget
Embed Poll into Webflow with an Elfsight widget
Easily add a custom Poll widget to your website to boost user engagement and collect insights. With just a few steps, you can build interactive polls featuring multiple question types like multiple choice and rating scales. Establishing your poll is quick and easy.
Making new polls takes just one click, and results are shown in real-time. With conditional logic, you can customize questions based on user responses. The widget also works with popular CRM and email tools, making it easier to structure your data and improve your services thanks to customer feedback.
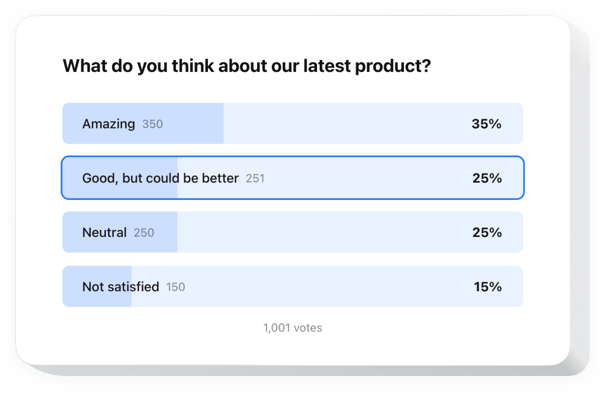
Create individual questionnaires quickly to find out what your audience expects from your company!
These are just several of the many widget features:
- Make your polls smarter with conditional logic. You can dynamically suggest upcoming questions, providing a more individual and relevant survey experience.
- Create interesting polls in just a few clicks. Our user-friendly editor makes it simple to create engaging polls to gather answers and opinions without any hassle.
- Turn responses into real-time sales. Understand customers’ needs on the spot and offer relevant solutions immediately, transforming answers into sales opportunities.
- Use different types of fields and input data. Build your custom poll to collect the necessary data using checkboxes, text fields, dropdown lists, radio buttons, and many other elements.
- Start with a perfect pre-designed template. Choose from a set of professionally developed poll ideas, optimized for different survey types and business tasks.
You can explore all strengths of the widget in the editor right on this page
How do I embed Poll into my Webflow website?
Here’s a straightforward way to set up the widget on your Webflow website. It is only going to take several minutes and doesn’t require any coding.
- Build your personal Poll widget
Start with any template in the editor, work with the convenient elements of the editor, and adjust the widget to your desired style and settings. - Obtain the personal code to embed the widget
Once you’ve built your widget, you’ll receive an individual HTML code in your dashboard. Copy the code which contains all the information concerning your settings. - Showcase the widget on your Webflow website
Select the areas of your website where you want to present the Poll, and paste the code there. Save the changes.
Done! Now, see how the widget is performing on your website.
In case you experience any issues as you embed the widget into your website, don’t hesitate to contact our help center. We will be glad to explain to you how to add and adjust your Poll.