Webflow Form Builder Integration
Create your widget
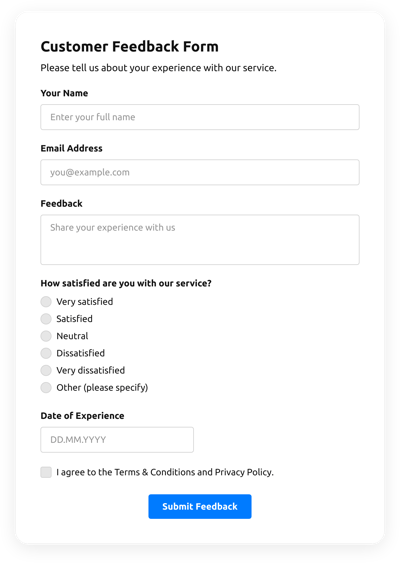
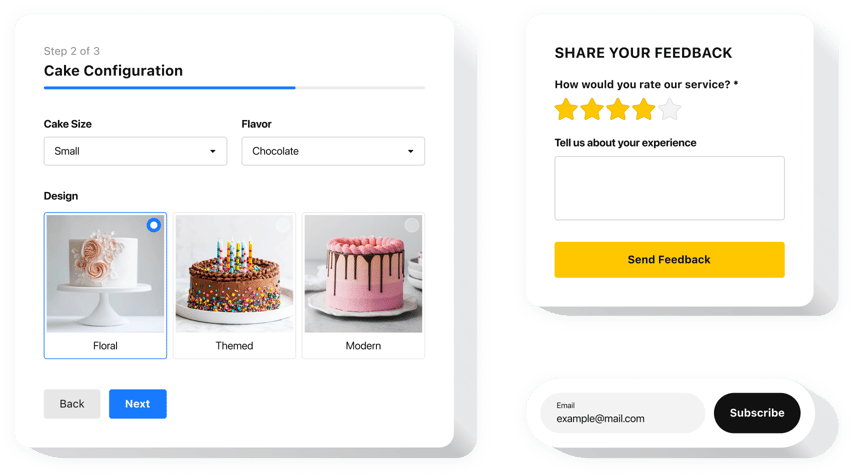
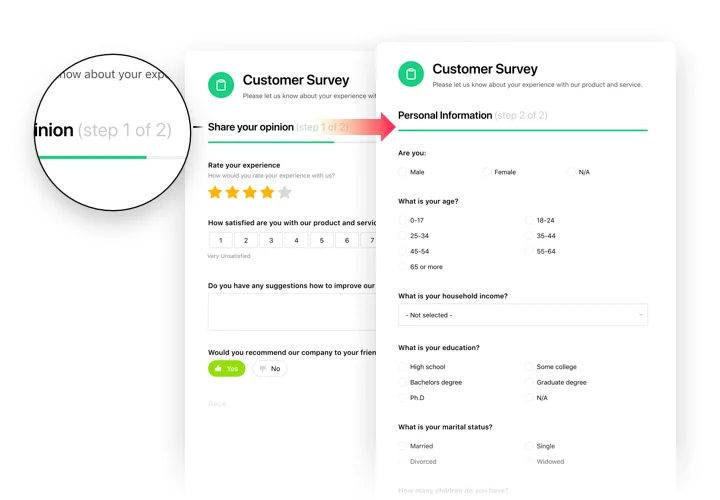
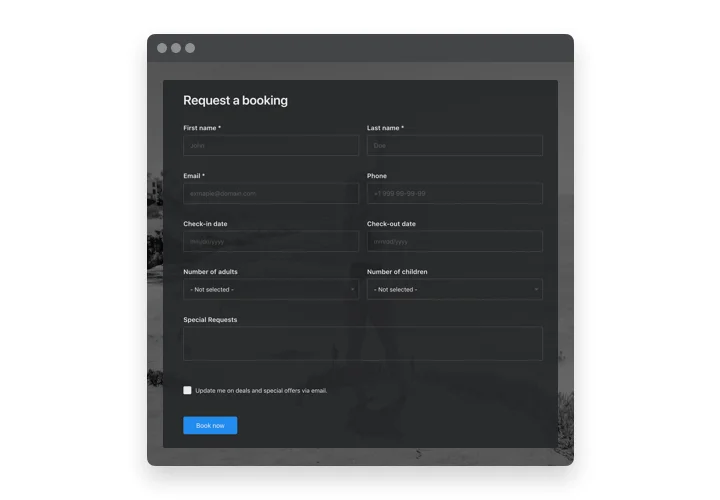
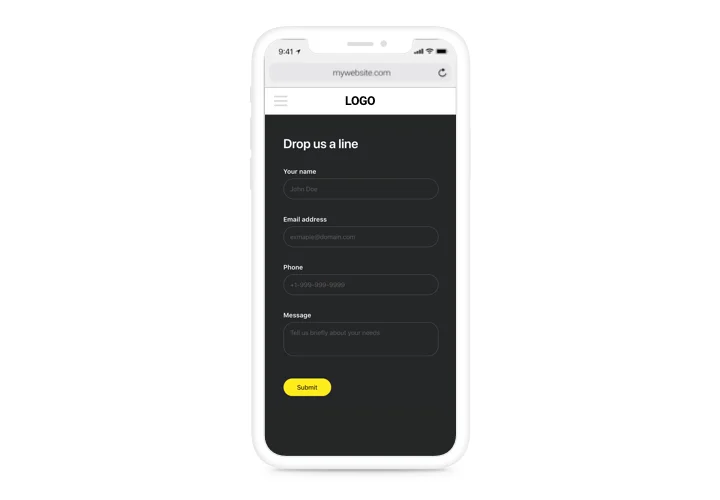
Screenshots


Why People Love Elfsight
Wouldn’t it be nice if your Webflow website could collect exactly the kind of information you need — without endless plugins, coding, or confusing setups? That’s precisely why we created our Form Builder. It gives you a clear, approachable way to create any kind of form you want, whether it’s for lead generation, client inquiries, event signups, or just everyday feedback.
We’ve seen small teams use it to simplify their entire workflow. For example, a local photography studio added a quick booking form to their Webflow homepage. Overnight, their inbox started filling with qualified leads — no developer hours, no stress. It’s those tiny tweaks that end up making a real difference.
Did you know? According to HubSpot’s 2024 State of Marketing report, forms remain one of the top three most reliable lead generation channels online.
Even a single well-placed form can boost conversions. Try building one in our editor today and see how effortless it can feel.
Key Features of the Form Builder
The widget is built for real businesses — simple to use but powerful where it counts. Here’s what makes it shine in everyday use:
- Visual drag-and-drop builder: Add, rearrange, and fine-tune fields in a clean editor. If you can organize files on your computer, you can do this too.
- Multiple field types: Text, dropdowns, file uploads, ratings, checkboxes, and more — create forms that truly match your goals.
- Smart conditional logic: Show fields only when they’re needed, keeping forms short and user-friendly.
- Flexible layouts: Inline blocks, floating panels, modals — mix and match styles to fit your design perfectly.
- Easy data routing: Send submissions straight to your inbox, Google Sheets, or CRM using built-in webflow form integrations. No middlemen required.
- Spam protection: CAPTCHA and honeypots keep junk out so you can focus on real responses.
- Responsive design: Every form automatically adapts to phones, tablets, and desktops without extra work.
Open the editor and build your first form for free — it’s quicker than making a coffee.
How to Add the Form Builder to Webflow
If you’ve ever wondered how to create a form in webflow without coding, this is exactly how. There are two easy ways to add the widget: inline (inside specific pages) and floating (fixed sitewide). Here’s how both work:
Method 1: Inline Embed
- Create your form: Open the Elfsight editor and choose a template or start fresh.
- Customize: Add fields, adjust labels, and tweak the layout until it fits your vision.
- Copy the snippet: Click “Add to website for free” to get your unique code.
- Paste in Webflow: In your Webflow Designer, add an Embed element where you want the form, and paste the snippet inside.
- Publish and check: Hit publish, reload your page, and do a quick test submission.
Method 2: Floating Form
- Choose floating layout: Modal, slide-in, sticky bar — whatever fits your website’s style.
- Set triggers: Decide when it appears (e.g. on page load, scroll, or click).
- Copy the code: Generate the floating snippet from the editor.
- Add globally: Insert the snippet in Webflow’s custom code area before the closing
</body>tag so it shows on all pages. - Publish: Republish your site and confirm everything works smoothly.
Need help? Check our Help Center for step-by-step guides. If you’re looking for more information on the installation process and the widget’s benefits, our article explores the topic in depth.
Does the Form Builder work on Webflow CMS pages?
Do I need a paid Webflow plan to embed forms?
What types of forms can I create in Webflow?
How many field types are available in the Form Builder?
Does the Form support conditional logic in Webflow?
Can users upload files through the form?
Is there a signature field available?
Does the Form Builder include spam protection?
What happens after a form is submitted?
Can I receive email notifications for Webflow submissions?
Can I send notifications to multiple email addresses?
Form Builder Template Catalog