Best Travel Blog Website Builder
How to create a Travel Blog website from the scratch or upgrade the one you’ve already built on the basis of any CMS or website builder
Things to consider when you create a Travel website
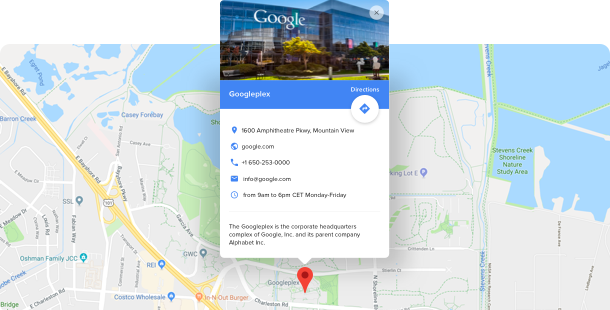
Tag the places you’ve already visited
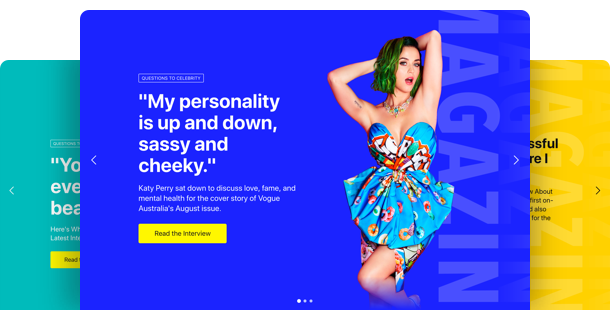
Season content with beautiful visuals
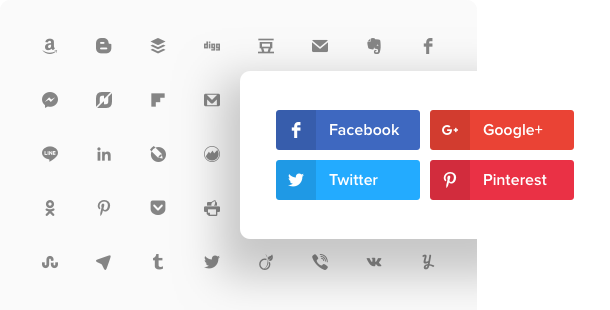
Make your content shareable
Let everyone know when you travel next time
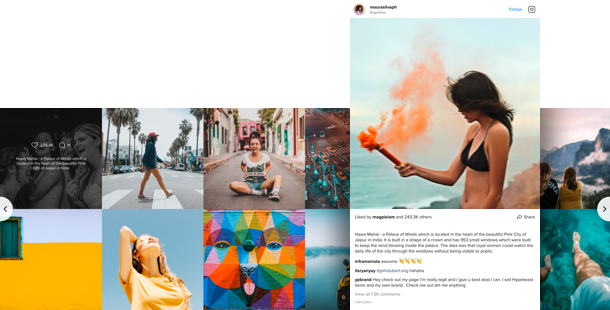
Get more Instagram followers
Choose a website platform
Squarespace
Wix
WordPress
Overall ratings
Form your ideal website utilizing the most palatable website builders. Using the comparison table below, you can control the necessary features of the platforms and choose the one that absolutely fits your needs for the future website.
| Squarespace | WordPress | Wix | |
| Free Plan | trial | free | free *limited functionality |
| Paid From (mo.) | $12.00 | free | $13 |
| Overall | 4.4 out of 5 | 4.3 out of 5 | 4.2 out of 5 |
| Quality of Support | 8.5 | 7.7 | 7.9 |
| Ease of Setup | 8.8 | 8.1 | 7.9 |
| Templates | 10+ | 1000+ * most are paid | 75+ |
| Our widgets for Platforms | Widget List | Plugin Catalog | App library |
Right after you pick a Website Builder for forming Travel website, always take notice of overall functionality and good value for money. Use a free trial period or free version to do a check of the service. This is the only way to reveal if the Website Builder is surely as conductive and practical as they present it.
Step 3
Travel Blog website examples
Control an array of well-known Travel templates. They all have distinctive structures, parts and styles. Choose the most applicable Travel design concept for your inspiration.

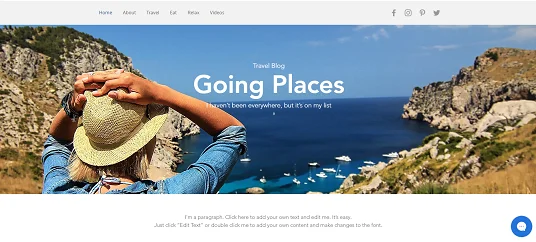
Example 1: Travelling Blog website
It’s a great styling and this template demonstrates only what is important. Likewise, CTAs are arranged well, worded brilliantly, and contrast with the rest of the website.
Example 2: Travel Blog website
By means of this template, you’ll easily get a face for your brand! The page applies eye-catching colors without being heavy and makes it easy to read what the business is about.
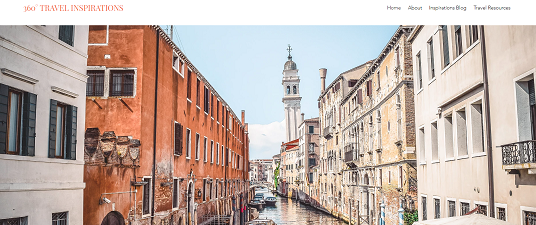
Example 3: Travel Inspirations website
This robust template pushes you to learn more about products and services provided. It also has awesome design that offers a adaptable arrangement.
Fill in your travel website
Home page →
This should be the most attractive and informative part of the website. Introduce yourself, tell everyone about your life philosophy. Tell your readers about how wonderful it is to travel to different destinations, accompany the text with inspiring photos and videos. Mark the places you have already visited and are eager to explore on a map. Represent your content in the most attractive way and get more followers on Instagram, YouTube and other social networks.
Blog →
Blog posts are the most exciting pages of your website. Include an event calendar for people to eagerly await a new story of yours, attach a photo to the header of the post, append a high-quality video to the web page. People will get excited and will keenly share your astonishing texts via social networks with the help of share buttons.
Contact us page →
You can also collaborate with organizations you visit and advertise them. To make it easier for anyone to get in touch with you, fill in your contact info or add a contact form.
Test and launch
-
Test your mobile efficiency
Nowadays it’s exceedingly important that your blog performes and looks excellent on smartphones because more than half of your visitors will browse it with their mobile phones.
-
Adjoin your logo
If you still haven’t got one, produce it using a logo generator, for instance, Tailor Brands.
-
Connect your domain
In case you didn’t get it when you worked with the blog builder, you need to buy it. Start, for example, with GoDaddy.
-
Dig into the functionality
All the sliders, pop-ups, CTA buttons or share buttons must work in a befitting way, otherwise, users will close your website in a rush.
-
Announce your new blog launch on social networks.
Mould online visitors into real readers. Add a link to your website to your social media accounts to the end that your subscribers could see it. One more reason to read it.
-
Done! 🏆
Congrats! Now, you’re a proud travel website owner. Share the link to your resource with friends and favorite clients and begin collecting reviews – it will aid you to obtain more visitors. And don’t stop enhancing your content and functionality to achieve even greater success.
