How to create a Shopping website
Create a beautiful Shopping website from scratch or upgrade the one you’ve already built on the basis of any CMS or site builder
Define your future website tasks
Every website is a solution of a specific problem and has a target audience indispensably. First, you need to come up with all the tasks you are to cover. In most cases, Shopping websites are aiming to have the following elements:
Motivate users to make a buy sooner
Attract more real clients
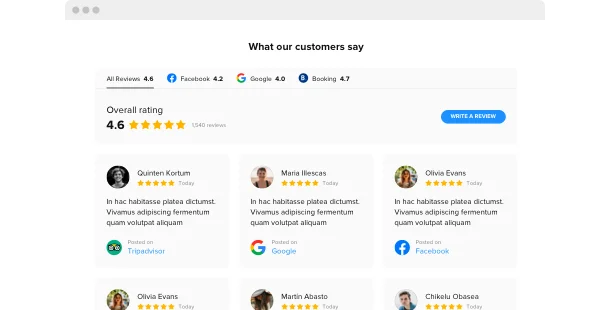
Stay in touch with your audience
Prevent shopping cart abandonment
Make your pricing policy clear

Uplevel customer trust
Choose a website platform
All sites are created on the basis of some platform – for example, a website builder. They suit almost everyone as they make it much easier to form your personal website without coding skills needed. In most cases it’s much cheaper to use a website builder than to hire a professional developer. You can start with choosing the most preferable builder from a list below, then select a template for your future Shopping website – and you’re halfway through!
Squarespace
WordPress
Wix
Overall ratings
Build your flawless website by means of the best site builders. Using the comparative chart below, you will review the significant aspects of the platforms and select the one that fully fits your needs for the future website.
| Squarespace | WordPress | Wix | |
| Free Plan | trial | free | free *limited functionality |
| Paid From (mo.) | $12.00 | free | $13 |
| Overall | 4.4 out of 5 | 4.3 out of 5 | 4.2 out of 5 |
| Quality of Support | 8.5 | 7.7 | 7.9 |
| Ease of Setup | 8.8 | 8.1 | 7.9 |
| Templates | 10+ | 1000+ * most are paid | 75+ |
| Our widgets for Platforms | Widget List | Plugin Catalog | App library |
Just as you choose a Website Builder for making Shopping website, always draw attention to take notice of website performance and good value for money. Take advantage of a free trial period or free version to look into the service. This is one of the best ways to determine if the Website Builder is truly as conductive and functional as they present it.
Shopping website examples
Control a list of most used Shopping templates. They all have distinctive structure, elements and design. Choose the most convenient Shopping style solutions for your motivation.
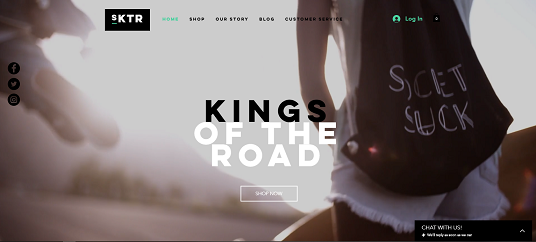
Example 1: Skateboard Shop website
With the help of this template, you’ll easily get a face for your brand! The page applies eye-catching colors without being heavy and makes it easy to get what the site is referring to.
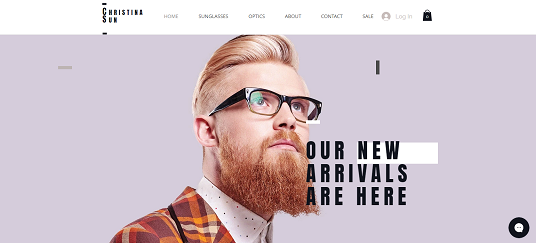
Example 2: Eyewear Store website
This is a multiuse template that’s a great way to make your brand shine out! Accompanied by a couple widgets, it will unquestionably help you stand out from your competition.
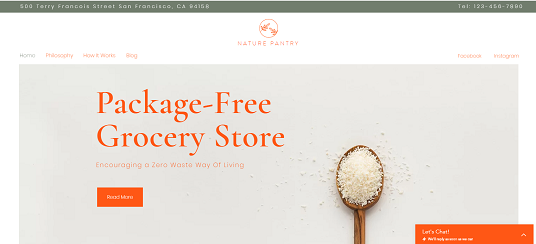
Example 3: Zero Waste Store website
If you’re digging for a great starting point, apply this simple, yet very powerful business template. Add several widgets to enhance its overall look and functionality and commence developing your business right away.
Fill in your Shopping website
After you’ve chosen your website platform and a preferable template, it’s high time to create your website pages to fill them with content and widgets to cover all the tasks from STEP 1. In most cases, a website has the following pages:
Homepage →
This is the main page of your website where you make an acquaintance with your company and welcome your potential clients by giving them all the needed data about the season sales, discounts and more. Here are also links to second level pages can be placed.
Product cards →
The product card page should provide users with a detailed product overview – sizes, colors, left in stock and so on. Also contains an “Add to cart button”.
Shopping cart →
This section is used to see the products a user has chosen and to help understand which one to buy finally. You can add different promo codes here as well as the shipping cost info.
Sales →
One of the most popular areas of any shopping website. This section can be divided into categories for better user convenience to help them find the goods they really need at lesser cost.
Delivery info →
Users will want to know exactly how much shipping your goods costs and under what conditions it can be free. In addition, here you can post information about the countries to which your goods are not shipped.
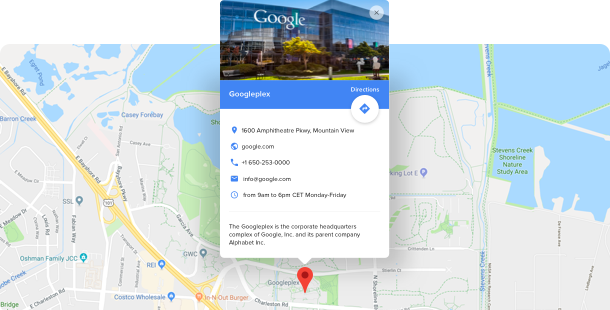
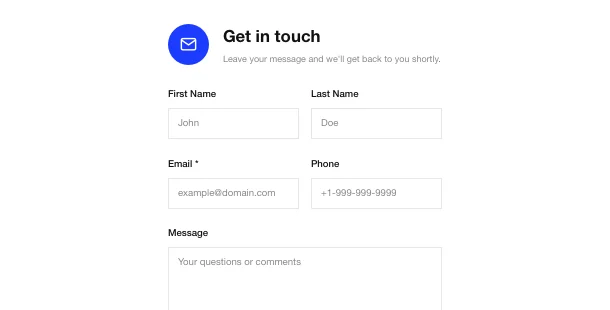
Contacts →
Here you are to place all the emails you have, phone number, postal address, links to social media, messengers and any other ways to contact you – a filling form, for example. Make this section easy to find.
Test and launch
Before your website goes live, you have to make sure everything works as it should. Our handy checklist will help you not to miss a single important step.
-
Test your mobile performance.
Nowadays it’s highly important that your website works and looks great on mobile devices as more than half of your visitors will open it with their smartphones.
-
Add your logo.
If you still haven’t got one, create it by making use of a logo generator, for example ,Tailor Brands.
-
Connect your domain.
If you haven’t obtained it while using the website builder, you have to buy it separately. Use GoDaddy to begin with.
-
Check the functionality
All sliders, popups, call-to-action or share buttons should work correctly, otherwise, your users will close your website in a rush.
-
Announce your new website launch on social media.
Turn the online audience into real customers. Add a link to your site to your social media accounts so that your followers could see it.
-
Done! 🏆
Congratulations! You’re a website owner. Now share the link to your website with friends and favorite clients and start collecting the feedback – it will help you to have more clients. And don’t stop improving your content and functionality to achieve even greater success.
