Best Photography Website Builder
How to create a Photography website from the scratch or upgrade the one you’ve already built on the basis of any CMS or website builder
Things to consider when you create a website
To create an effective photographer website – consider its main purpose and prioritize tasks. That will influence all its structure, content and design. Here are the most essential things you need to implement:
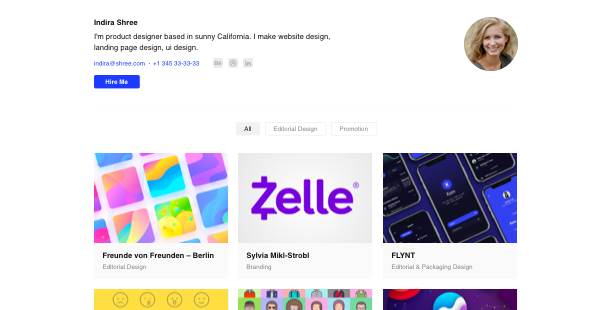
Demonstrate your best shots
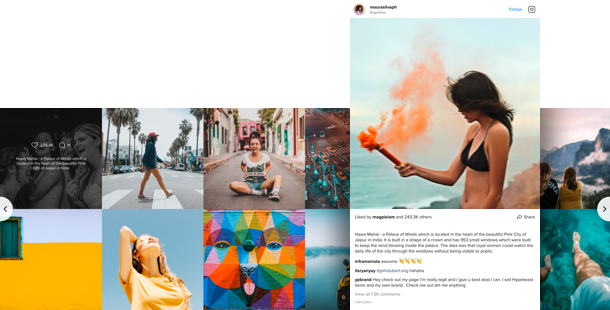
Create live interaction with your Instagram audience
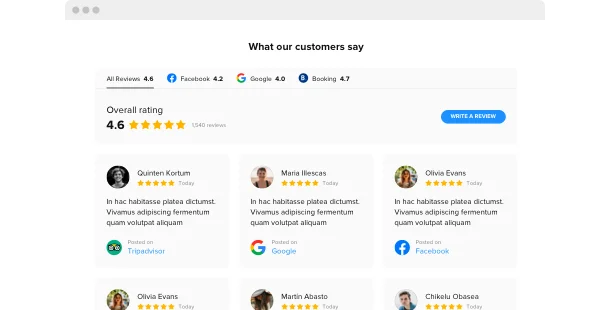
Publish reviews of your grateful clients
Tell users about your services and pricing

Promote your social media account
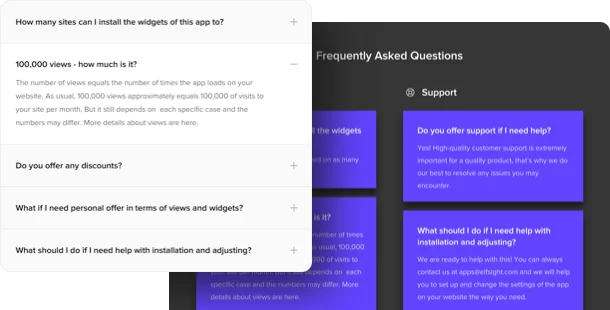
Answer the most popular questions
Don’t forget about your contact information
Choose a website platform
Creating websites is easy now. You don’t need to hire a developer or learn coding, just use a website builder. These online services are cheap, offer a wide range of ready-made templates, widgets and other tools to help you with any tasks. Just choose the one from the list below and start creating your photographer website right now for free!
Squarespace
WordPress
Wix
Overall ratings
Form your ideal website with the help of the most relevant site builders. Looking at the comparative chart below, you will dig into the meaningful characteristics of the platforms and choose the one that entirely fits your needs for the coming site.
| Squarespace | WordPress | Wix | |
| Free Plan | trial | free | free *limited functionality |
| Paid From (mo.) | $12.00 | free | $13 |
| Overall | 4.4 out of 5 | 4.3 out of 5 | 4.2 out of 5 |
| Quality of Support | 8.5 | 7.7 | 7.9 |
| Ease of Setup | 8.8 | 8.1 | 7.9 |
| Templates | 10+ | 1000+ * most are paid | 75+ |
| Our widgets for Platforms | Widget List | Plugin Catalog | App library |
When you choose a create a website for a photography business, always pay attention to functionality and value for money. Use a trial period or free version to test the platform. This is the only way to find out if the Website Builder is really as convenient and functional as they say about it.
Photography website examples
Look over a list of the most popular Photography templates. They all have peculiar structure, elements and design. Select the most suitable Photography style ideas for your motivation.
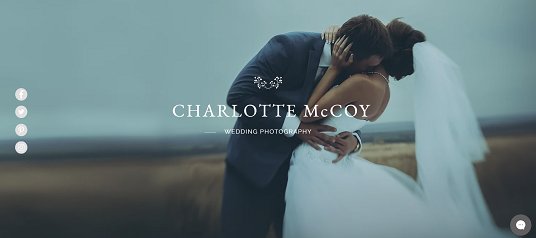
Example 1: Wedding Photography
It’s a magnificent styling and this template offers only what is important. Plus, CTAs are positioned well, worded perfectly, and contrast with the rest of the page.
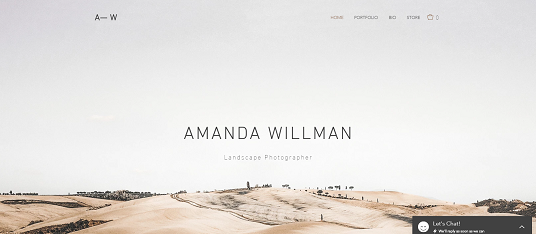
Example 2: Landscape Photography
This impressive template makes you to know more about products and services offered. It also has wonderful style that shows a malleable arrangement.
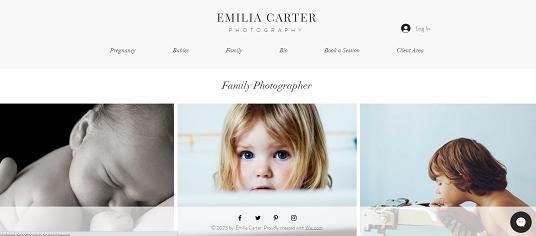
Example 3: Family Photographer
Using this template, you’ll unquestionably build a face for your company! The page uses spectacular colors without being overwhelming and makes it easy to understand what the business is about.
Fill in your website
Now it’s time to make a structure of your website and fill it with engaging content. Just remember, the simpler for your visitors to find what they are looking for – the easier for them to make a decision. So it’s better to use simple website builders for setting up a clear menu and other elements. The most common structure of the simple website for photography business are:
Home page →
The first impression is the most important. The full-sized automatic slider or an interactive grid with the best pics will introduce your skills. A few positive testimonials will tell users you can be trusted. Would you like to raise more interest in your personality? Add an Instagram feed to the footer for live-interaction with your audience.
Portfolio →
Make your portfolio for your photography website stylish and clear. Create labeled categories, which are easy to browse. If you need to add a description for the galleries, use it at the popup, not at preview mode. Also, pay attention to the quality of your images and how they are cropped.
About Me →
Introduce yourself and your services, adding a welcome video, or at least your personal photo. Users prefer to see who they’re dealing with, so display reviews by your grateful clients. Besides, there you can share your expert hints or invite to participate in your workshops via the interactive event.
Services →
Be transparent and add a pricing table on your Services page: describe all benefits and special offers. To provide your audience with detailed information about your business services – use the handy FAQ section with your thorough answers.
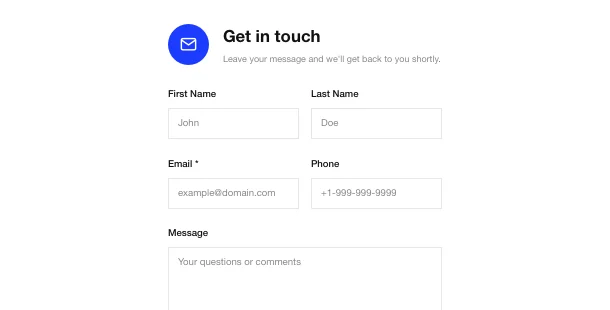
Contact Me →
Create a handy contact form, with easy to fill fields and clear captions for them. Don’t forget about contact information, like your phone number or email address. Also, add social media buttons, so your visitors can be acquainted with your personality, workflow moments or message you there.
Test and launch
Here’s a list of steps you need to do before the launch of your website. Follow our brief guide and demonstrate your Photography website to the audience.
-
Connect your domain
Practically all website builders for photograpers offer you to do it, if not – use one of the domain providers like GoDaddy.
-
Create Brand Logo
If you don’t have your brand logo yet – take your own name as the basis for creating a logo and create it with the help of a logo generator, like Tailor Brands.
-
Test if it works on mobile devices
Open your website on different mobile devices, go through all pages and make sure that everything works correctly. Pay attention to your menu performance and the quality of the images.
-
Check the functionality
All sliders, popups, call-to-action or share buttons should work correctly, otherwise, users will close your website. With the help of the modern website builders all settings can be made in a few clicks.
-
Time to announce
Attract more users to your website, announce its launch on social media and promote it via shares and special offers.
-
Done! 🏆
Congratulations! You’ve made your first photography website and it will help you to have more clients and grow business. Just don’t stop improving your content and functionality to achieve even greater success.
