Best Photo Gallery Website Builder
How to create a Photo Gallery website from the scratch or upgrade the one you’ve already built on the basis of any CMS or website builder
Define your future website tasks
Every website is a solution of a specific problem and has a target audience indispensably. First, you need to come up with all the tasks you are to cover. In most cases, photo gallery websites are aiming to have the following elements:
Present all your photos in a responsive gallery
Introduce yourself through your works
Let users easily download your pictures
Show how you create your masterpieces
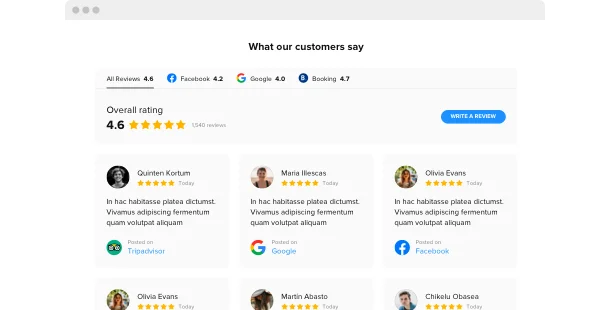
Share the opinion of satisfied customers
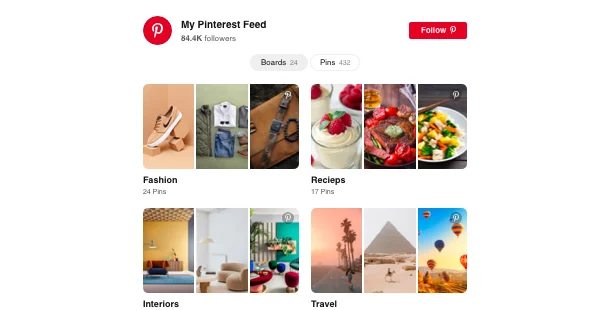
Let users follow you on third-party resources
Choose a website platform
All sites are created on the basis of some platform – for example, a website builder. They suit almost everyone as they make it much easier to form your personal website without coding skills needed. In most cases it’s much cheaper to use a website builder than to hire a professional developer. You can start with choosing the most preferable builder from a list below, then select a template for your future photo gallery website – and you’re halfway through!
Squarespace
Wix
WordPress
Overall ratings
Form your ideal website with the most relevant website builders. Using the comparison chart below, you will check the significant components of the platforms and choose the one that absolutely fits your needs for the coming website.
| Squarespace | WordPress | Wix | |
| Free Plan | trial | free | free *limited functionality |
| Paid From (mo.) | $12.00 | free | $13 |
| Overall | 4.4 out of 5 | 4.3 out of 5 | 4.2 out of 5 |
| Quality of Support | 8.5 | 7.7 | 7.9 |
| Ease of Setup | 8.8 | 8.1 | 7.9 |
| Templates | 10+ | 1000+ * most are paid | 75+ |
| Our widgets for Platforms | Widget List | Plugin Catalog | App library |
Right after you select a Website Builder for forming Photo Gallery website, always draw attention to watch out for overall performance and best value for money. Use a trial period or free version to test the platform. This is the only way to determine if the Website Builder is surely as conductive and practical as they describe it.
Photo Gallery website examples
Control an array of the most popular Photo Gallery templates. They all have specific structure, parts and design. Choose the most relevant Photo Gallery design concept for your motivation.
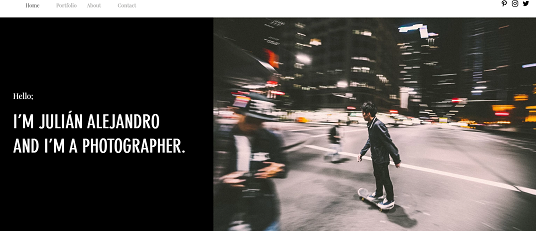
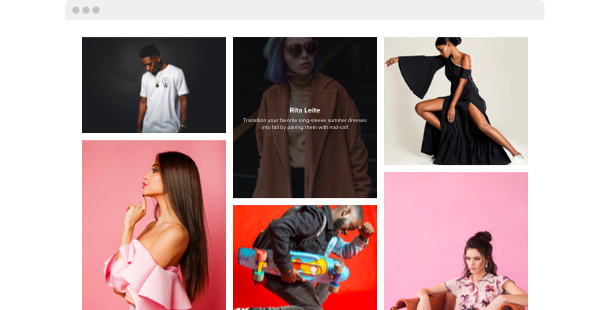
Example 1: Life Photographer Portfolio website
Using this template, you’ll surely build a face for your company! The page offers stunning colors without being laden with details and makes it easy to understand what the website is touching on.
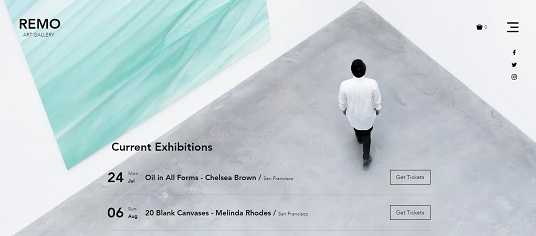
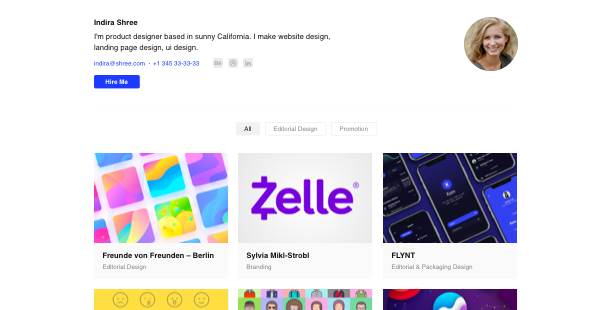
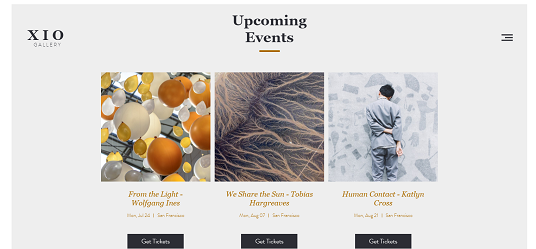
Example 2: Art Gallery website
This is a multipurpose template that’s an awesome way to get your brand a brilliant display! Accompanied by some of our widgets, it will unquestionably help you stand out from your competition.
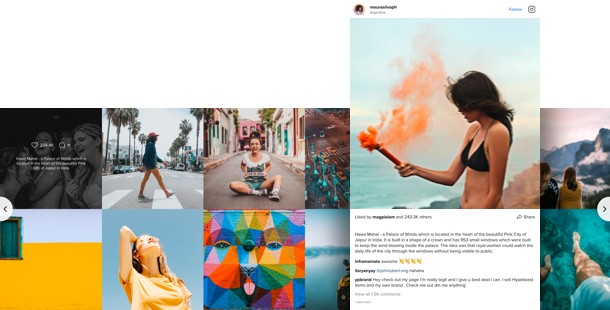
Example 3: Private Art Gallery website
If you’re hunting for a an exceptional starting point, employ this smooth, yet very profitable business template. Embed a few widgets to boost its overall style and functionality and begin expanding your business today.
Fill in your photo gallery website
After you’ve chosen your website platform and a preferable template, it’s high time to create your website pages to fill them with content and widgets to cover all the tasks from STEP 1. In most cases, a photo gallery website has the following pages:
Homepage →
On the main page of your photo gallery site, it is worth placing some of your most striking works in order to interest users. In addition, here you can add a few words about yourself – who you are, how long have you been doing photography. Simple and clear links to other sections of your site should also be placed here.
Gallery →
Gallery is your top selling section. If you have a lot of photos, divide them into categories and make it easier for users to navigate between them. Сategories can be built based on date, photo subject and so on.
Portfolio →
In the portfolio section, you can tell in detail about yourself and your experience. Show where you worked before, share projects that you are proud of, showcase the equipment you use.
Contacts →
Do not forget to tell as much as possible how potential clients can contact you. Provide email, links to social accounts, phone numbers and physical address if you have a photo studio.
Test and launch
Before your website goes live, you have to make sure everything works as it should. Our handy checklist will help you not to miss a single important step.
-
Test your mobile performance.
Nowadays it’s highly important that your website works and looks great on mobile devices as more than half of your visitors will open it with their smartphones.
-
Add your logo.
If you still haven’t got one, create it with the help of a logo generator, for example, ,Tailor Brands.
-
Connect your domain.
If you haven’t obtained it while using the website builder, you have to buy it separately. Use GoDaddy to begin with.
-
Check the functionality
All sliders, popups, call-to-action or share buttons should work correctly, otherwise, your users will close your website in a rush.
-
Announce your new website launch on social media.
Turn the online audience into real customers. Add a link to your website to your social media accounts so that your followers could see it.
-
Done! 🏆
Congratulations! You’re a website owner. Now share the link to your website with friends and favorite clients and start collecting the feedback – it will help you to have more clients. And don’t stop improving your content and functionality to achieve even greater success.
