
WordPress Call Now Button
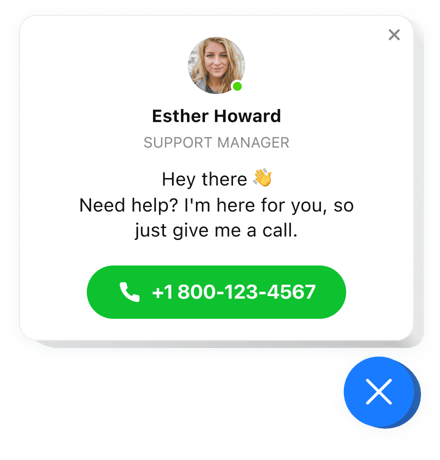
Create your Click to Call plugin
Screenshots
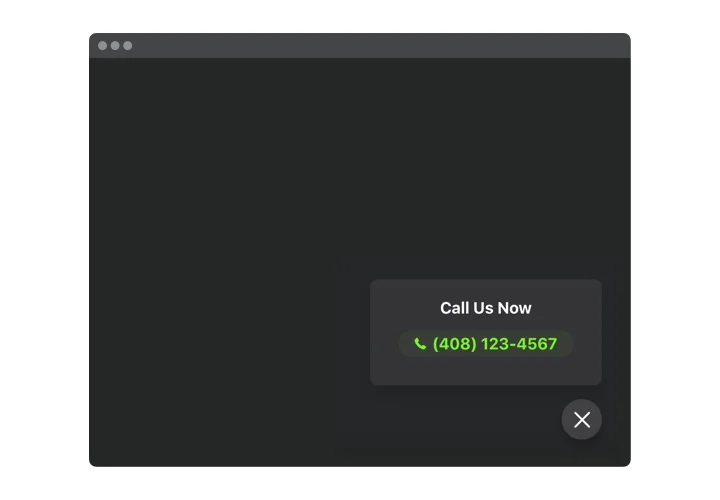
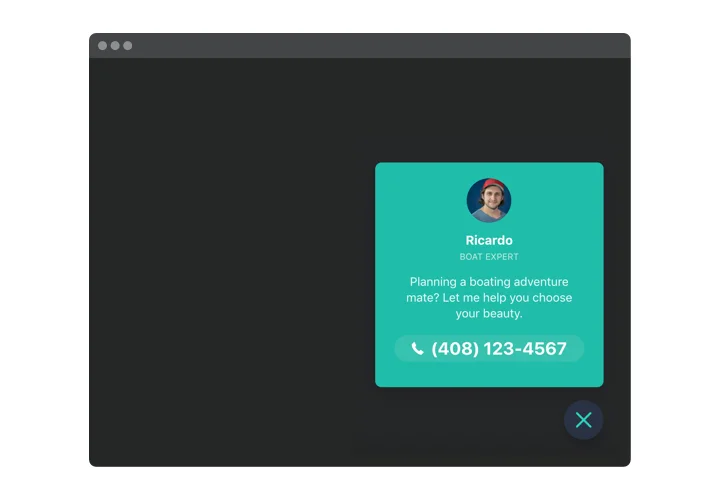
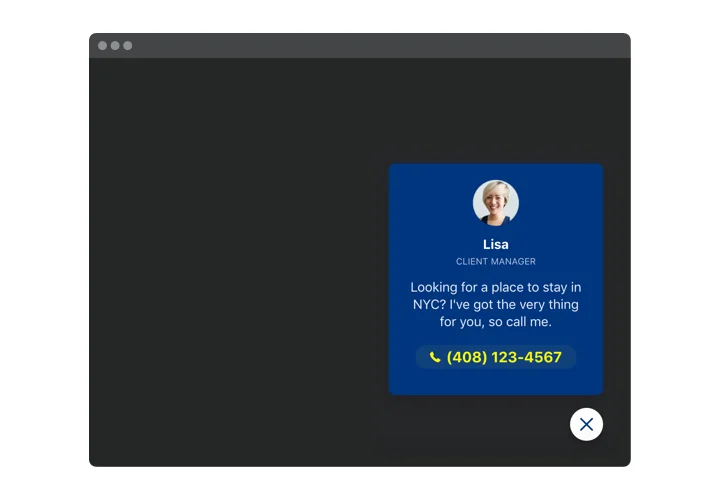
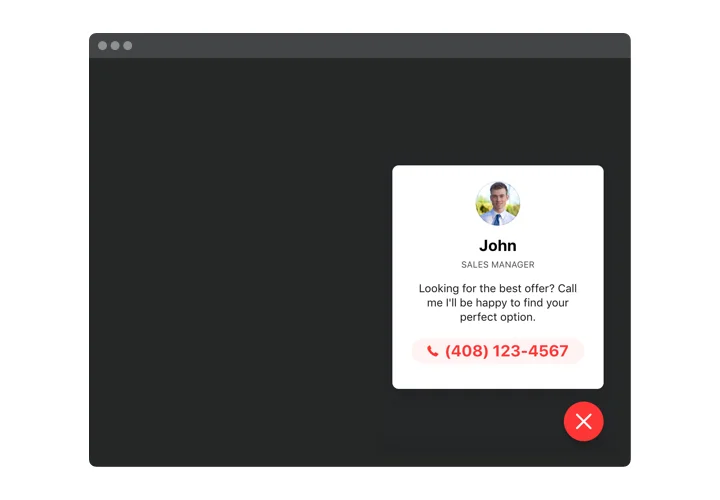
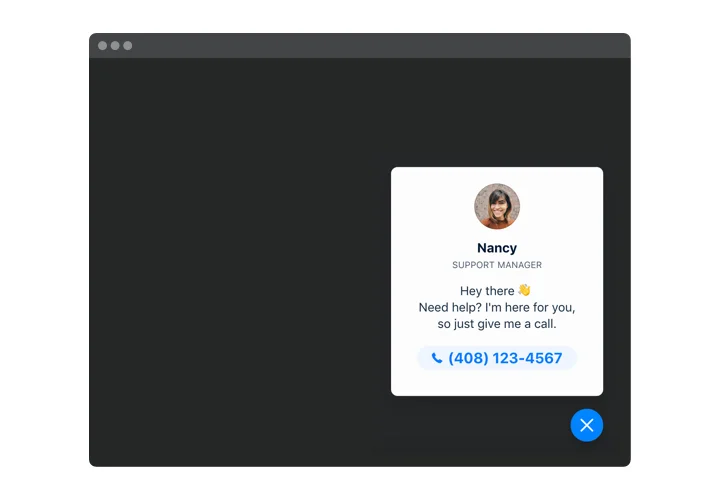
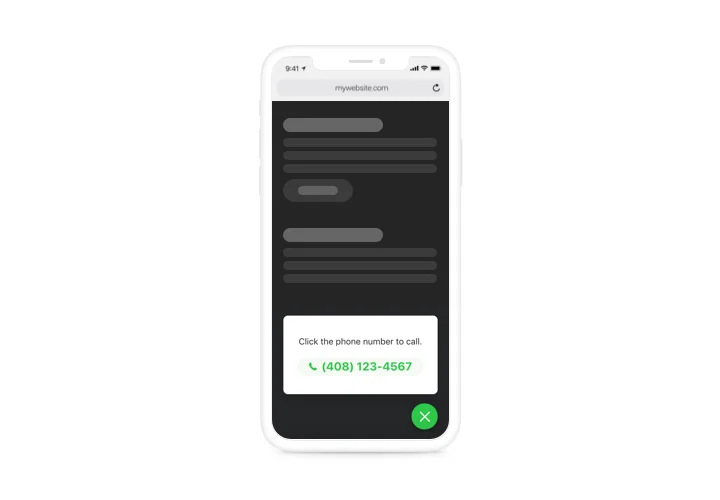
Better than a number in the footer
A number tucked into the footer is easy to miss, and on a laptop someone has to copy it by hand. Click to Call keeps a button in view as people browse, and a click opens a call window with your number, a picture and a few words from the person who answers.
Tapping the number opens the calling app on the visitor’s device, so the call reaches the line you already use – no new number or phone service to set up.
Calls only when someone can pick up
The button comes on when your working day starts and goes off when it ends, only on the days you’re open. After closing time it steps aside, so evening visitors don’t end up calling an empty office.
The window opens on cue
The call window can pop open by itself while a visitor is still reading – after a set number of seconds on a page or on your website, or once they have scrolled a chosen share of the page. The button is there from the start; the trigger only decides when the window with your number pops open.
Shown where a call makes sense
Keep the button on service and contact pages and off your blog, show it on phones and tablets only, or save it for returning visitors who already know you.
Key Features
Every item below is part of the free plan too:
- Business hours – choose the active days, a start and end time and your time zone, and the button stays hidden the rest of the time.
- Call window triggers – open the window after a few seconds on a page or on your website, at a set scroll position or, on desktops, when a visitor is about to leave.
- Personal call window – your photo, name and caption, a short message with bold text, links or lists, and the number in a readable format.
- Pages, devices and visitors – all pages, specific pages or all but a few; desktops, tablets or phones; everyone, new or returning visitors.
- Three positions – float the button in the right or left corner as visitors scroll, or place it inline, for example next to your contact details.
- Design that fits your website – your own colors for the button, its icon and text, the window, the message and the number, your website’s font by default, adjustable button size and an animation to catch the eye, plus custom CSS for touches like rounded corners.
- Two Google Analytics events – Widget Opened and Call Clicked reveal how many visitors saw your number and how many went on to tap it.
Try all features in the live editor – no signup needed
Built for WordPress themes and page builders
- No plugin to install or update – the button goes into the Custom HTML block or a widget area your admin already has.
- Classic and block themes, popular builders – the button goes onto a single page the same way in either kind of theme, in the free version of Elementor and in WPBakery.
- One widget area, every page – in a classic theme, a Custom HTML widget in the footer loads the button across your website, and the Pages setting in Elfsight narrows it down.
- New number, same code – change the number, hours or wording in Elfsight and click Publish; the code on your pages stays as it is.
- Client websites in one place – agencies keep each client’s call button in one Elfsight dashboard and edit it without logging in to every admin panel.
How to add the Click to Call button to WordPress
Set up the button in the Elfsight editor – your number with the country code, the call window and the display rules – then click Add to website for free and copy the code. A floating button usually goes on every page (Method 1); an inline one sits inside a single page (Methods 2 and 3).
Good to know: on WordPress.com, the code runs on any paid plan and appears as plain text on the free plan. Paste it as an Administrator or Editor – for other roles, the script is removed when you save.
Method 1: Show a floating button on every page (classic themes)
- In the admin menu, go to Appearance → Customize → Widgets.
- Open a widget area that appears on every page – usually one of the footer areas.
- Click the blue + icon and add a Custom HTML widget.
- Put the Elfsight code into the HTML field of the new widget.
- Click Publish and open any page of your website to see the button in its corner.
Widget areas exist only in classic themes; for a block theme, our support team can help with installation.
Method 2: Place the button on one page with the Custom HTML block
- Go to Pages, hover over the page you need – Contact, for example – and click Edit.
- Click the blue + (Block Inserter) and search for Custom HTML.
- Drag the block to the spot where the button belongs.
- Click Edit HTML, paste the code and press Update.
- Save the page and check the button on the published version.
Versions before 7.0 have no Edit HTML button: paste the code straight into the block.
Method 3: Drop an HTML widget into an Elementor section
- In your Pages list, hover over the page and choose Edit with Elementor.
- Search the widgets panel for HTML and drag the HTML widget into a section.
- Put the Elfsight code into the HTML Code field.
- Click Publish and check the button on the live page.
Use HTML, not Custom HTML: with the latter, the button may not work correctly.
After publishing, open your website in a private window and click the button to check the number in the call window; if a caching plugin is active, clear its cache first. Want us to handle it? Add support@elfsight.com in Users → Add New with the Administrator role, and our support team will help with the setup.