According to HubSpot’s State of Inbound Marketing Report, companies with active blogs generate 67% more leads per month than those without.”
Your WordPress website represents your digital storefront, yet many business owners struggle with outdated publishing tools or blogging features that feel clunky and limited. Adding a modern, feature-rich blog to WordPress transforms how you engage visitors, build authority, and generate qualified leads. Rather than settling for basic WordPress post displays, you can implement a professional blog solution that feels like a premium extension of your site.
Whether you’re running an e-commerce store, service business, or corporate presence, learning how to add a blog to a WordPress website opens doors to better content organization, reader engagement, and search engine visibility. With no-code tools now available, you no longer need developers to create a sophisticated blog experience. This guide walks through embedding a customizable blog widget into WordPress—the fastest way to add a blog to your WordPress site without modifying core functionality.
- Quickest method to embed a blog widget into WordPress (no code required)
- Step-by-step installation process for WordPress environments
- How to customize blog appearance to match your WordPress theme
- Best practices for blog post organization and WordPress SEO
- Comparison of native WordPress blogging versus dedicated blog widgets
The following sections provide a complete walkthrough: from selecting the right blog template to embedding your widget, optimizing content for search engines, and maintaining consistent performance across all devices.
Quick Start: Add a Blog to WordPress in Minutes
The fastest approach to add a blog page to WordPress involves four straightforward steps:
- Create a new widget using the Elfsight editor and customize basic settings.
- Choose a blog template that aligns with your WordPress design aesthetic.
- Copy your unique embed code from the editor.
- Paste the code into your WordPress page or post using the HTML editor.
Preview your blog widget in the interactive demo below to see how it will look on your WordPress site:
Why Adding a Blog Widget to WordPress Matters
Before diving into installation, understanding how a blog enhances your WordPress website helps you maximize business outcomes:
Increased organic visibility and search rankings
Each blog post creates new indexed pages for search engines to crawl and rank. Fresh, keyword-optimized content signals that your WordPress site stays active and relevant, directly improving rankings for competitive search terms. Pairing quality content with reliable WordPress hosting ensures your site loads fast and stays accessible — both key factors in search rankings. Research shows websites that publish consistently rank higher for long-tail keywords, bringing qualified visitors who are already interested in your offerings.
Qualified lead generation at scale
Blog readers who engage with your content self-educate about your solutions before ever requesting a sales conversation. This pre-qualification process means your sales team interacts with warmer, better-informed prospects. Unlike paid advertising that stops working the moment you stop spending, your blog content continues generating leads indefinitely.
Credibility and thought leadership positioning
When you add blog posts to your WordPress site regularly, you demonstrate expertise and build trust with potential customers. Visitors evaluate whether to do business with you partly based on the quality of free knowledge you share. A strong blog positions your brand as an industry resource that prospects turn to for guidance and solutions.
Content multiplier effect across channels
Each blog post on your WordPress site becomes a content hub that feeds other marketing channels. Pull key insights, statistics, and quotes for social media, email campaigns, webinars, podcasts, or case studies—all sourced from your core blog content. One well-researched article can power months of multi-channel content distribution.
Improved visitor engagement and time-on-site
Blog content gives visitors reasons to stay longer on your WordPress site, increasing engagement metrics that search engines monitor. Engaged visitors are more likely to explore other pages, sign up for newsletters, or make purchases. The more readers interact with your blog, the more data you gather about their interests and needs.
Key Features for Professional Blog Implementation
When you add a blog widget to WordPress, you’re not limited to basic post displays. Elfsight’s blog solution provides comprehensive features designed to enhance reader experience and streamline content management:
| Feature | WordPress Impact |
|---|---|
| AI-powered content generation | Generate high-quality blog posts and featured images automatically. Reduce content production time from hours to minutes while maintaining professional quality standards that match your WordPress brand voice. |
| Multiple responsive layouts | Choose from professionally designed blog templates—grid, sidebar, featured post, minimal, or full-width formats. Switch layouts without disrupting existing WordPress posts or content structure. |
| Intuitive content editor with 11 block types | Format headlines, paragraphs, images, calls-to-action, and embedded media without accessing WordPress code. The block-based editor works similarly to WordPress’s native Gutenberg, making the learning curve minimal. |
| Mobile-responsive design | Blog posts automatically adapt to desktop, tablet, and mobile screens. No additional mobile optimization needed—your blog displays beautifully across all WordPress visitor devices. |
| Full brand customization | Match your WordPress theme colors, fonts, and styling. Customize backgrounds, text colors, borders, and spacing to ensure your blog feels like a seamless extension of your site. |
| SEO-optimized post structure | Built-in support for proper heading hierarchy, image alt text, and metadata formatting. These WordPress SEO fundamentals help search engines understand and rank your blog content higher. |
| Image optimization and alt text support | Automatically optimized images load quickly on WordPress. Add descriptive alt text to improve accessibility and reinforce SEO signals for visual content throughout your blog. |
| Post categorization and author profiles | Organize blog posts into logical categories that help WordPress visitors navigate by topic. Include author bios and photos to establish credibility and personal connection with your audience. |
For a complete feature overview, visit the blog widget features page. Now let’s walk through adding this blog solution to your WordPress website step by step.
Setting Up Your Blog: Complete WordPress Installation Guide
This section guides you through each phase of creating and embedding your blog on WordPress, with specific examples for WordPress environments.
Step 1: Choose Your Blog Template
The template you select determines the initial layout structure of your WordPress blog posts. Available options include: Standard Blog (classic chronological format), Grid Layout (modern card-based design), Featured Post (highlights top article prominently), Minimal Sidebar (compact format for narrow WordPress sidebars), and Full-Width Showcase (maximizes visual impact across your WordPress page).
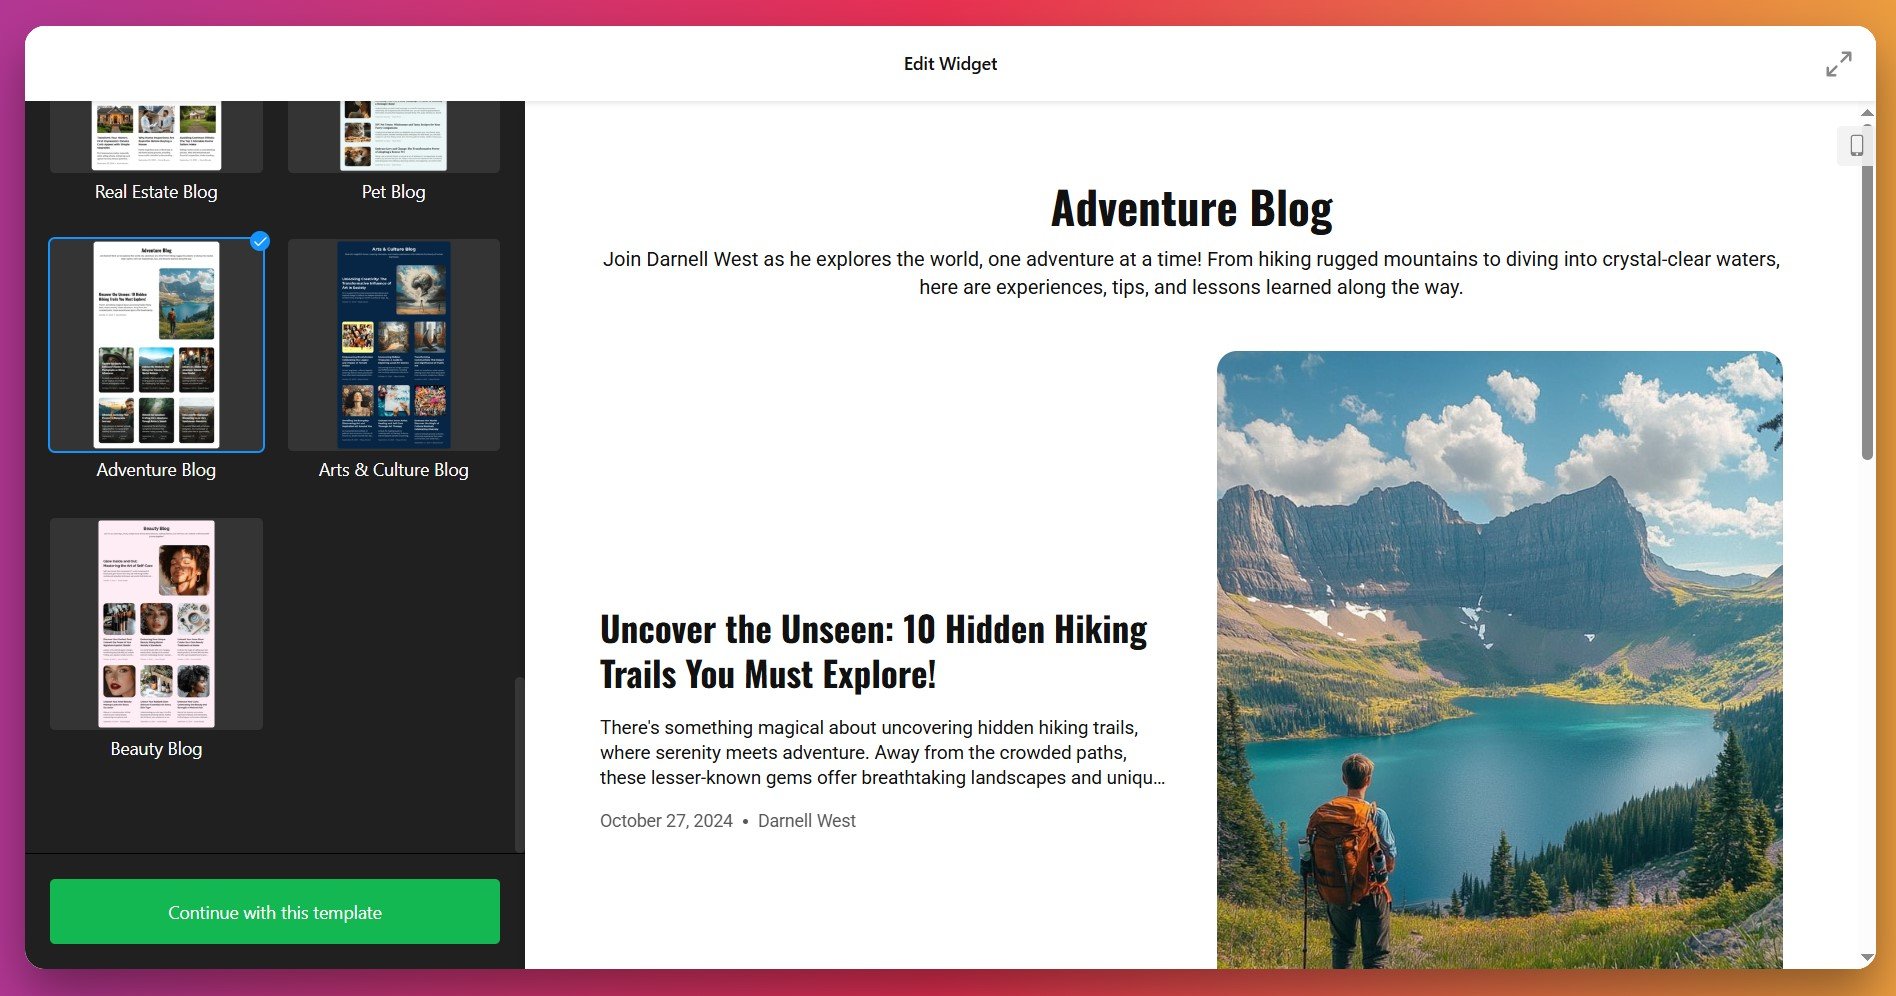
Select the template that best matches your WordPress design goals and content strategy. Consider your typical WordPress post volume and reading patterns when choosing—grid layouts work well for high-frequency publishers, while sidebar templates suit businesses posting less frequently but with longer-form content.
Step 2: Create and Add Your First Blog Post
With this step, you’re populating the content that powers your WordPress blog widget. You have two approaches when you add blog posts:
- AI-Generated Posts – Describe your desired topic and let AI create structured, professional text and images automatically. Excellent for accelerating content production on your WordPress site.
- Manual Post Creation – Write custom content using the intuitive block-based editor with complete formatting control. Import WordPress-optimized images, add calls-to-action, and embed videos or other multimedia content.
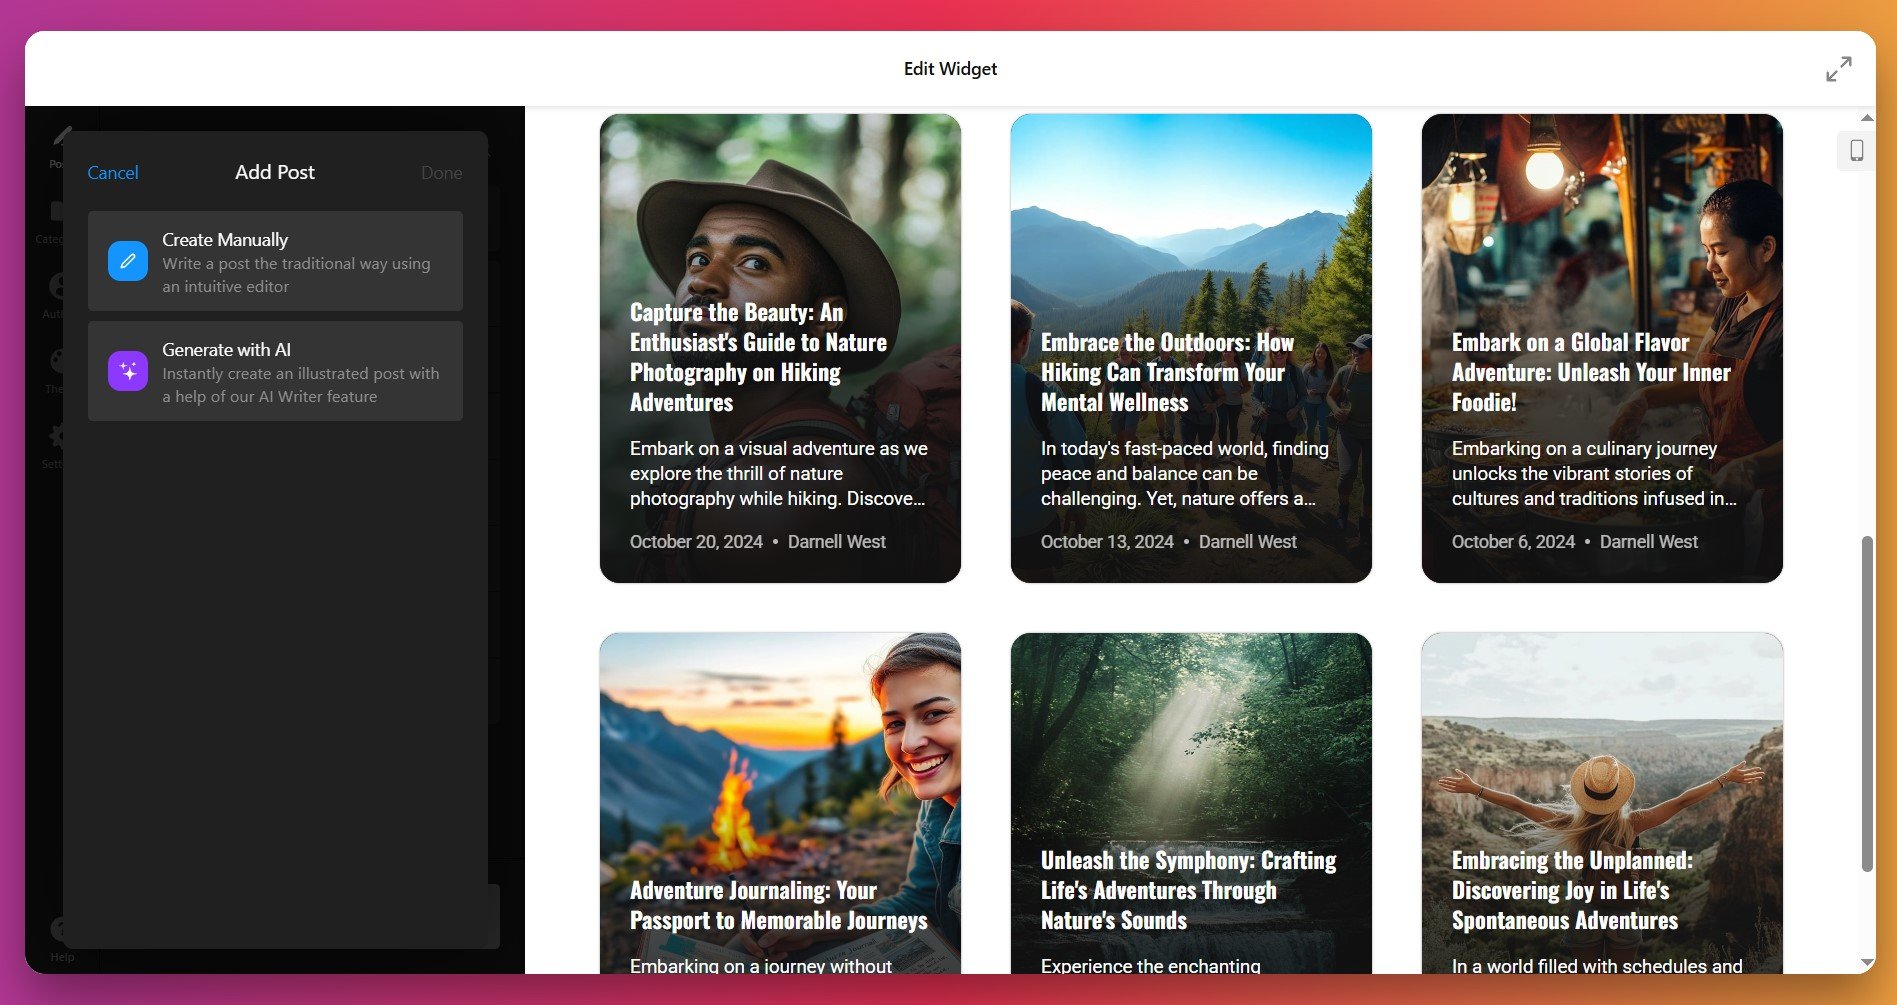
Choose your creation method and follow the editor prompts. Your new post automatically appears in the blog preview panel, showing exactly how it will display when embedded in WordPress.
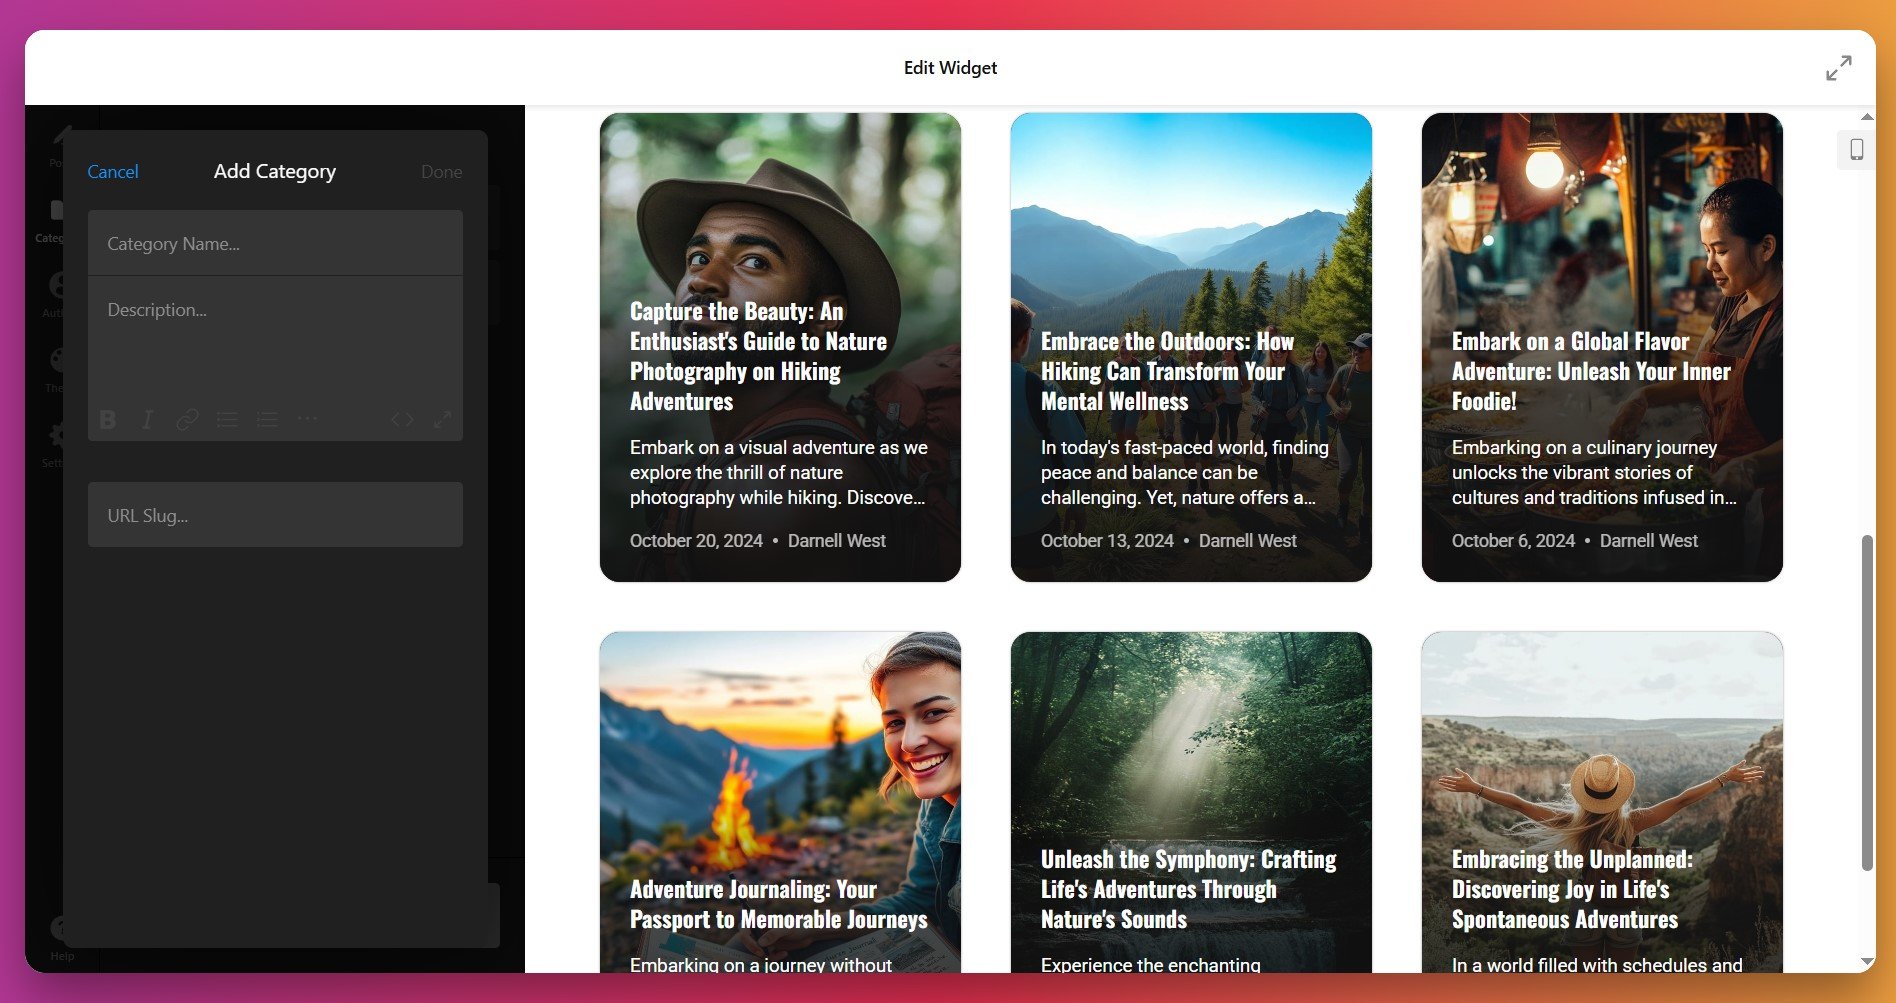
Step 3: Configure Post Categories and Author Information
Navigate to the Categories and Authors tabs to organize your blog content and establish credibility. Create logical category groupings (Industry Insights, How-To Guides, Product Updates, Case Studies) that help WordPress visitors navigate by topic interest. Adding author details (name, professional photo, bio) reinforces credibility and creates personal connection with your blog audience.
Well-organized categories improve your WordPress blog’s navigation structure and help search engines understand your content hierarchy, which positively impacts SEO performance.
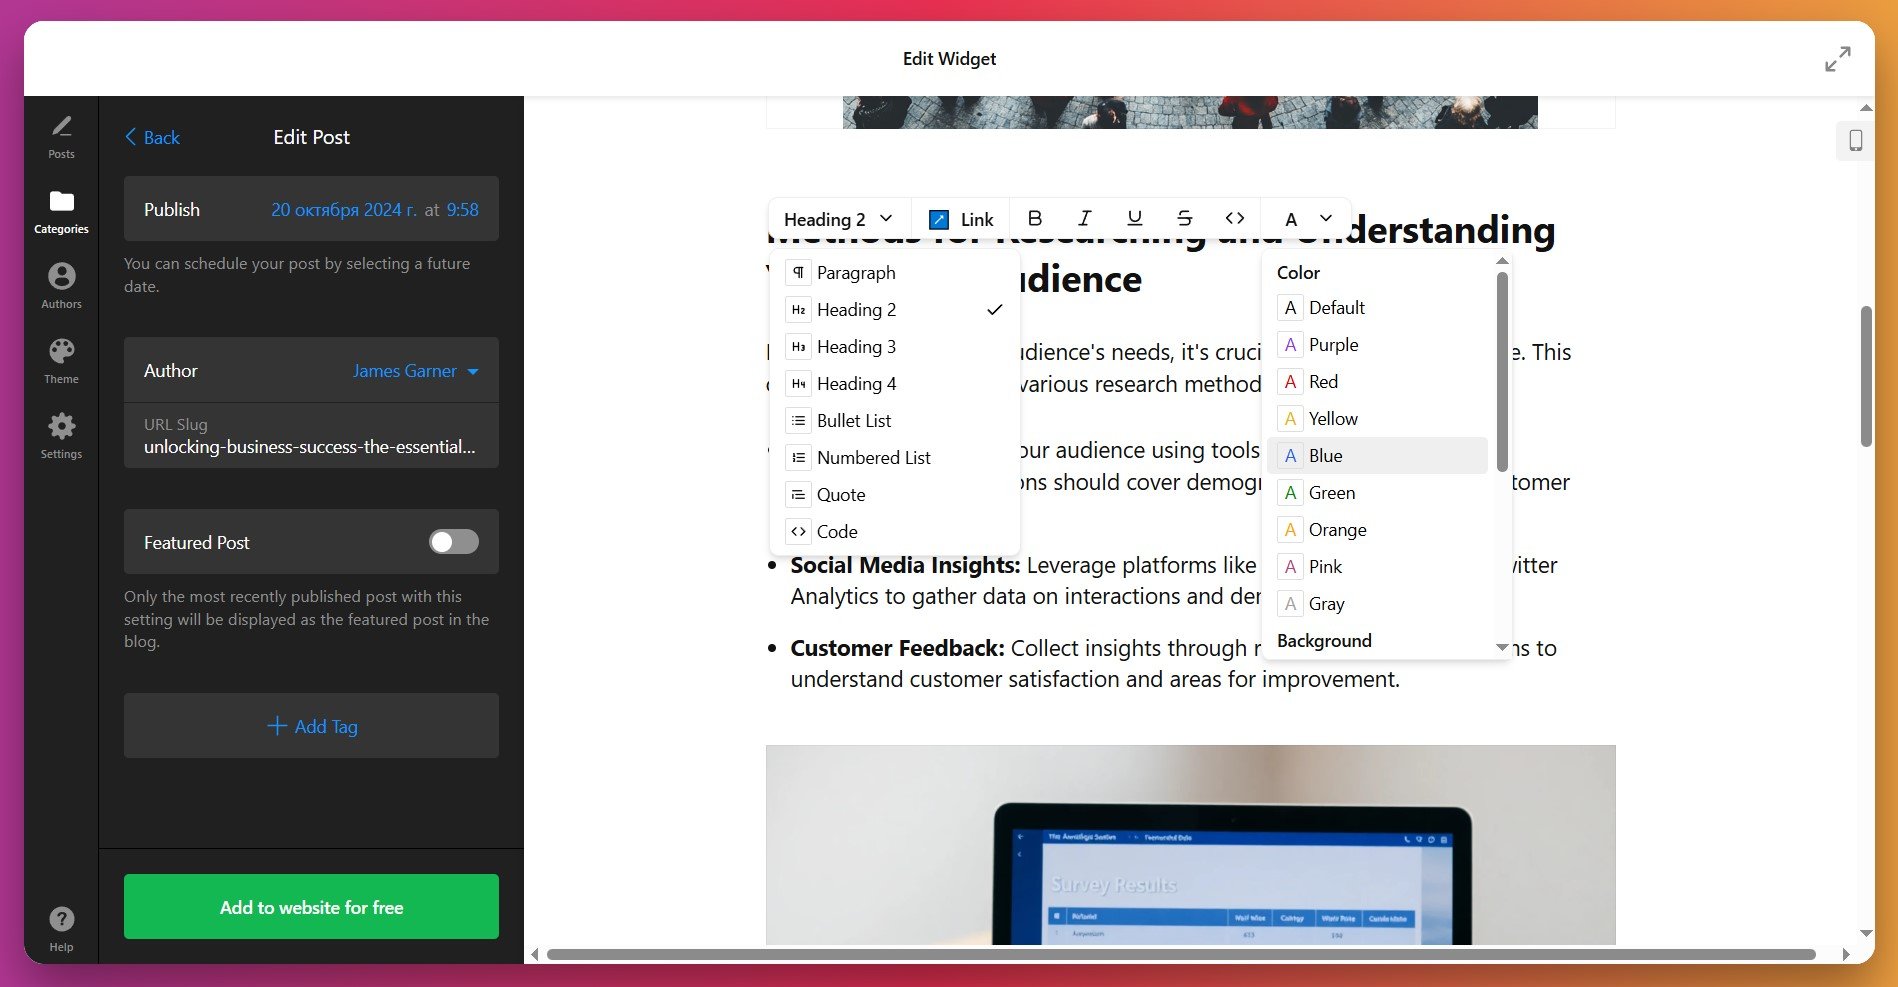
Step 4: Optimize Individual Blog Posts
Next, refine and optimize each blog post for maximum WordPress search engine visibility and reader engagement. The editor provides essential formatting and organizational tools:
- Proper Heading Structure: Use heading levels (H1, H2, H3) strategically and incorporate lists to organize your WordPress blog content logically. Search engines analyze heading hierarchy to understand post topics and determine ranking relevance.
- Featured Image Selection: Add a high-quality featured image that visually represents your post topic. This image appears in WordPress blog listings and when content is shared across social platforms. Optimal dimensions: 1920×1080 pixels, file size under 1 MB for fast WordPress loading.
- Alt Text Optimization: Describe each image with descriptive alt text for accessibility and SEO purposes. Search engines read alt text to understand visual content context. Instead of “image1.jpg,” use “WordPress blog strategy framework diagram.”
- Publish Scheduling: Schedule your WordPress blog posts by selecting specific publication dates. This allows you to plan your publishing calendar in advance. Enable the ‘Featured Post’ option to highlight priority articles prominently in your blog widget.
- Internal Linking: Add links within your blog posts to other relevant WordPress pages and content. Internal linking helps search engines understand your WordPress site structure and distributes ranking authority across interconnected pages.
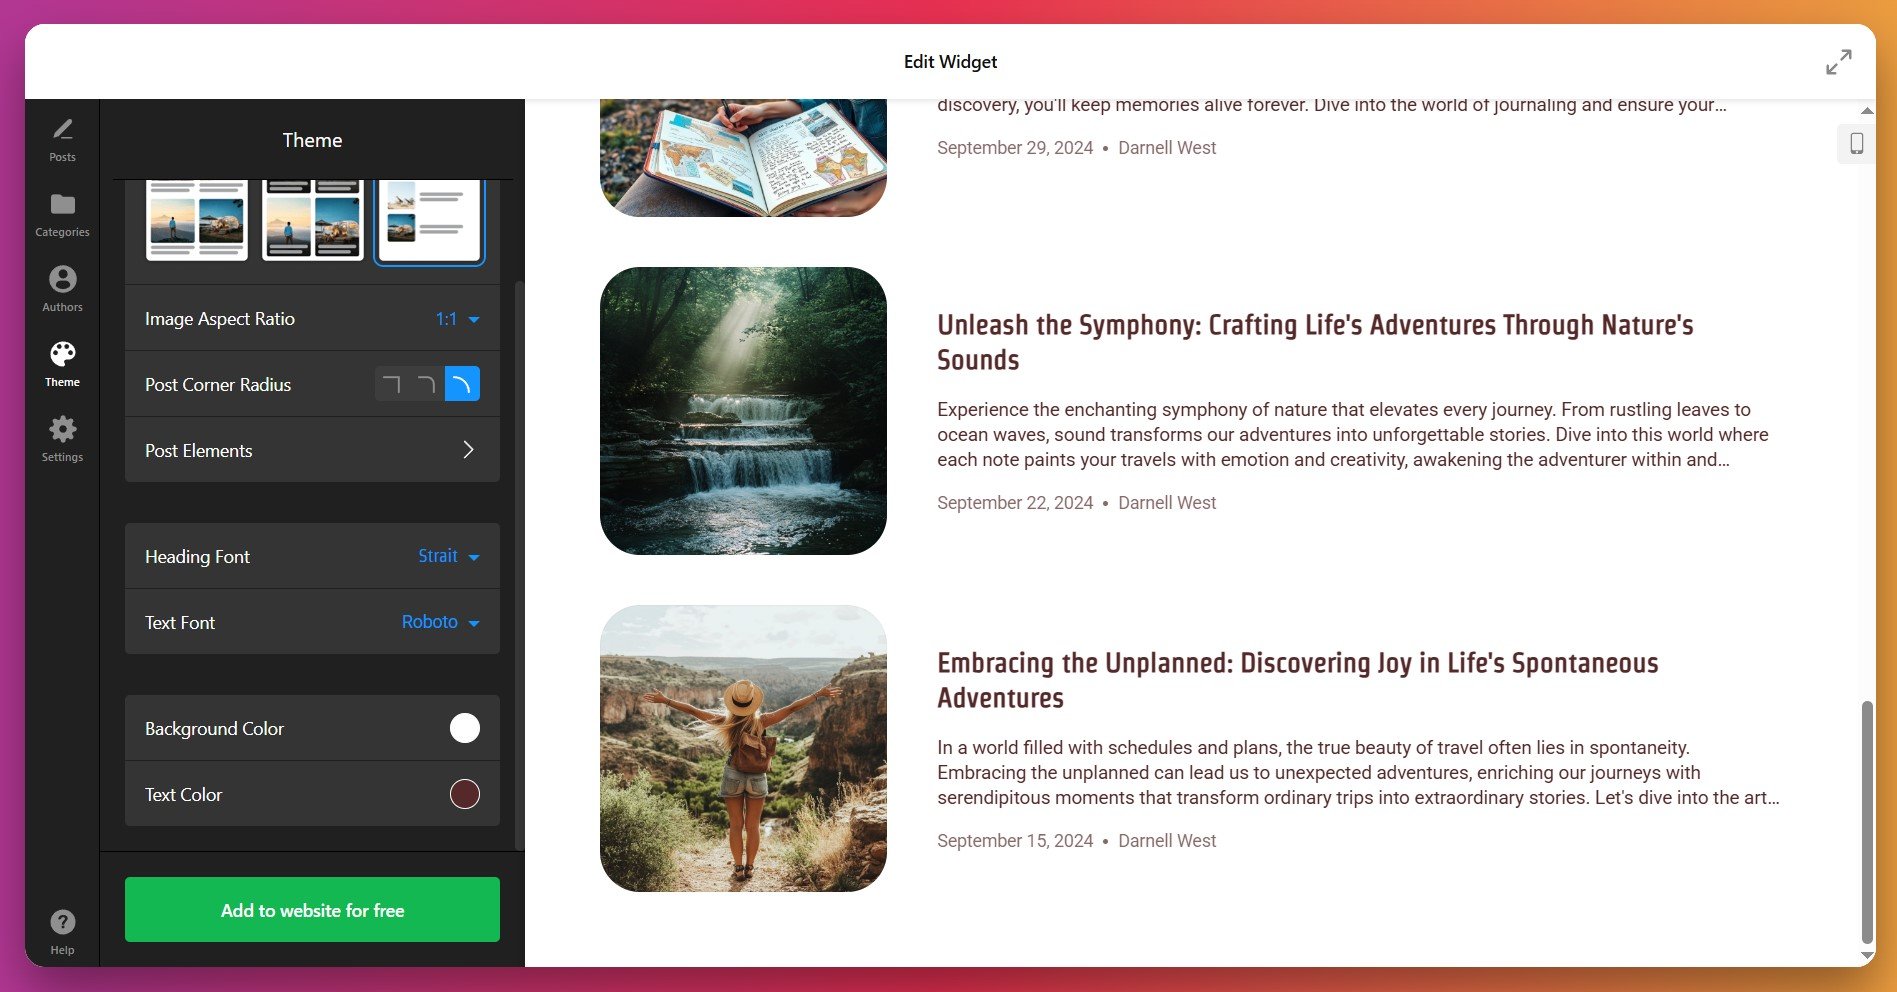
Step 5: Customize Design to Match Your WordPress Theme
Your blog widget should feel like an integral component of your WordPress site, not a disconnected tool. Use the Theme tab to ensure seamless brand integration:
- Post Layout Options: Select from available display styles to find the layout that best complements your WordPress theme’s aesthetic and your blog content volume.
- Image Aspect Ratio & Corners: Choose how featured images display (square 1:1, landscape 3:2, widescreen 16:9) and corner styling (sharp, rounded, or heavily rounded) to match your WordPress design language.
- Brand Color Application: Apply your primary brand color to backgrounds, text, and interactive elements. Adjust opacity levels to ensure smooth blending with your WordPress page background.
- Typography Matching: Select heading and body text fonts that align with your WordPress theme’s font family, ensuring visual consistency across your entire site.
- Post Element Display: Show or hide specific post elements (excerpt text, author name, publication date, category tags) based on what’s most valuable for your WordPress audience and design preferences.
Step 6: Copy Your Embed Code
Once your WordPress blog is configured, click the “Get Code” button in the editor. Your unique embed code appears—a compact snippet that contains all your blog settings and content references. This code is everything needed to display your blog on any WordPress page.
Step 7: Embed the Blog Widget Into Your WordPress Page
Now you’ll add the blog widget to your WordPress site. There are two primary methods depending on your WordPress setup:
Method A: WordPress Classic Editor
- Navigate to the WordPress page where you want to display your blog.
- Click the “Text” tab (bottom of the editor area).
- Paste your embed code into the WordPress HTML editor.
- Click “Update” to save your WordPress page.
- View your page to confirm the blog widget displays correctly.
Method B: WordPress Gutenberg Block Editor
- In your WordPress page, click the “+” button to add a new block.
- Search for “HTML” and select the HTML block.
- Paste your embed code into the HTML block.
- Click outside the block to save, then publish your WordPress page.
- Visit your page to verify the blog widget renders properly.
Method C: WordPress Plugin Route
If you prefer a more automated WordPress approach, you can install the Elfsight WordPress plugin directly. The plugin simplifies the embedding process by providing a dedicated WordPress interface for managing your widgets. Access the WordPress integration guide for detailed plugin installation instructions.
Native Solutions to Add a Blog to Your Website
While Elfsight offers powerful customization for adding a blog to your website, alternative embedding approaches exist. Each has distinct strengths and limitations worth understanding when selecting your blogging solution.
WordPress Native Blog Functionality
WordPress includes built-in blogging capabilities through its native Posts system, which powers millions of websites. When you add a blog to a WordPress website using native functionality, you’re leveraging the platform’s core feature.
- Create a Blog Page: Navigate to Pages > Add New and create a page titled “Blog”.
- Configure Settings: Go to Settings > Reading and select your new blog page as the “Posts page.”
- Create Posts: Use Posts > Add New to write blog content. Posts automatically appear on your blog page newest-first.
- Organize Content: Assign categories and tags to organize posts. WordPress automatically generates category archive pages for filtering.
- Add to Navigation: Include your blog page link in your website’s main menu for easy visitor access.
WordPress Query Loop Block for Custom Blog Displays
Modern WordPress block editor versions include a Query Loop block for creating custom blog displays without plugins.
- Edit a Page: Open any page in the block editor where you want blog posts to appear.
- Add Query Loop Block: Click the + button, search for “Query Loop,” and select it.
- Configure Settings: Choose how many posts to display, sorting order, and which categories/tags to include.
- Customize Template: Edit the block template to show post titles, excerpts, featured images, and metadata as desired.
- Publish: Save your page and the dynamic blog feed appears with automatic updates as new posts publish.
To learn more about the Query Loop block, check out the official WordPress documentation.
External Blogging Platforms (Medium, Substack)
Standalone platforms like Medium and Substack handle blog hosting and distribution separately from your main website.
- Create Account: Sign up and set up your profile on the blogging platform.
- Write Content: Compose articles using the platform’s editor.
- Embed or Link: Embed individual posts on your website or link to your profile.
- Manage Distribution: The platform handles hosting, comments, and audience building.
Comparison: Which Blog Solution Fits Your Website?
Let’s examine these methods side-by-side to see which best suits your website goals:
| Approach | Setup Complexity | Customization | Performance | Best for |
|---|---|---|---|---|
| Elfsight Blog Widget | Visual editor, no coding | Extensive – templates, colors, AI features | Cloud-hosted, optimized loading | Professional blogs with brand consistency and content variety |
| WordPress Native Posts | Built-in, familiar interface | Theme-dependent, plugin-expandable | Depends on hosting quality | WordPress websites wanting full content control |
| Query Loop Block | Block editor knowledge helpful | Moderate – via templates and CSS | Fast, loads with page | Developers and advanced WordPress users |
| External Platforms | Minimal – just sign up | Limited – platform controls design | Platform-dependent | Writers prioritizing audience discovery over brand control |
Now that you understand your options, let’s explore best practices that maximize effectiveness when you add a blog to your website.
Six Essential WordPress Blog Optimization Tips
Embedding a blog into WordPress is just the beginning. These optimization strategies ensure your WordPress blog generates maximum impact:
- Publish content on a consistent schedule. Weekly publishing generates 3.5x more conversions than monthly publishing schedules. Consistency trains both search engines and visitors to expect fresh content at predictable intervals. Set a publication cadence you can sustain — whether that’s weekly, bi-weekly, or twice monthly — then stick to it religiously.
- Structure posts with searchable keywords naturally. Include your target keyword in the headline, first paragraph, and 2-3 times throughout the body. However, prioritize readability over keyword density. Search engines now reward natural language and topic authority over repetitive keyword targeting.
- Create scannable content with proper heading hierarchy. Most visitors scan blog posts rather than reading every word. Use clear H2 and H3 subheadings that break content into logical sections. Bold key phrases within body text to highlight main points. Lists and short paragraphs improve scanability significantly.
- Include internal links strategically. Link to 3-5 related blog posts or website pages within each article. Internal linking distributes ranking power across your website, keeps visitors engaged longer, and helps search engines understand content relationships.
- Optimize featured images for performance and social sharing. Use high-quality, relevant images (1920×1080 pixels, under 1 MB). Compress images before upload. When you embed blog posts on social media, featured images drive significantly higher click-through rates than text alone.
- Enable comments and build community. Moderate comments actively and respond to questions. A blog with active reader engagement signals value to search engines and builds loyal audience relationships. Community interaction transforms passive readers into brand advocates.
More Elfsight insights on starting a professional blog and optimizing it for best results in our dedicated article.
Blog Setup Questions & Solutions
Here are some common questions users ask when adding a blog to their websites:
What happens if my blog widget doesn't appear after pasting the code?
Can I display blog posts from multiple websites on a single blog widget?
How do blog categories and tags help visitors find content on my website?
Does adding a blog slow down my website's loading speed?
Can I add call-to-action buttons within my blog posts?
How can I promote my blog posts after publishing?
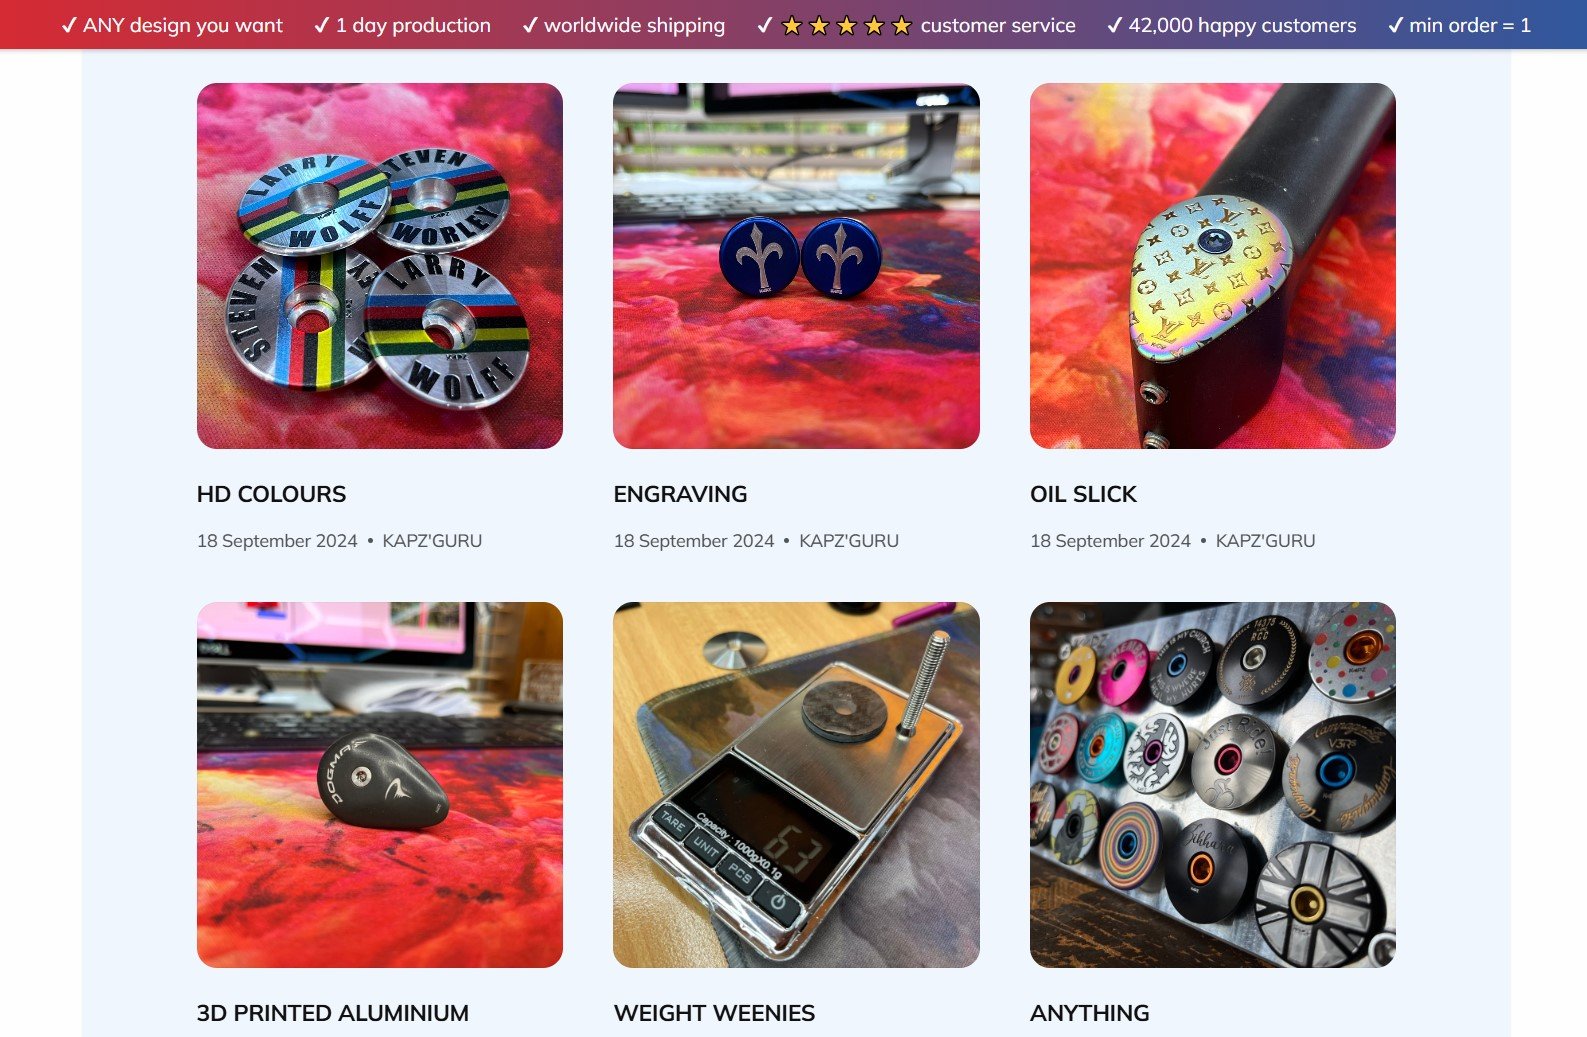
Blog Impact: Real Results from Elfsight User
Kapz, a custom bicycle parts shop, transformed their website by integrating Elfsight widgets including their production blog. Before implementing a dedicated blog space, their website displayed scattered product information across various pages with no central hub for content discovery.
Before Adding the Blog Widget
Kapz struggled to showcase their craftsmanship and keep visitors engaged with content. Their website lacked a space to demonstrate expertise about custom bicycle parts, production techniques, and new designs.
- No dedicated space to share production stories and behind-the-scenes content
- Visitors couldn’t easily discover new product releases or design innovations
- Limited opportunities to build authority through educational content
With Elfsight Solution Added
Kapz implemented Elfsight’s Blog widget on their production blog page, turning scattered content into a polished, professional showcase. The blog now highlights their latest custom designs, explains production techniques, and tells the stories behind their products.

The blog didn’t just provide a content platform — it fundamentally changed how their business communicates value to customers. By combining the blog with other Elfsight widgets, Kapz created a unified visual experience that reinforces their brand identity throughout the website.
Alongside the Elfsight Blog widget, they integrated Photo Gallery, Instagram Feed, YouTube Gallery, and Contact Form widgets to create a comprehensive content ecosystem.
A strategic blog transforms a static product showcase into a dynamic content platform that attracts visitors, demonstrates expertise, and builds lasting customer relationships.
Final Thoughts & Next Steps
You now have everything needed to successfully add a blog to your website and start building valuable relationships with your audience through content. Start small with one well-researched, valuable blog post. Then build momentum through consistent publishing.
For additional guidance, community solutions, or to share your own blog success story, connect with the Elfsight via our Forum and socials. We’re here to support your content journey every step of the way!
Source cited: Marketing Statistics Every Team Needs to Grow in 2025