A form builder is an essential tool that allows you to create and customize online forms without needing coding skills. When integrated with Constant Contact, it becomes a powerful way to collect user data, grow your mailing list, and drive engagement on your website.
If you’re looking to embed a Constant Contact signup form on your website, using a dedicated form builder is the most efficient and flexible solution. It helps you stay connected with your audience and manage subscriber registration online with ease.
- Grow your email list automatically. Every new subscriber who fills out your embedded form is added to your Constant Contact list in real time, saving time and reducing manual input.
- Match your form to your website design. A form builder lets you customize layout, colors, and fields so the form looks native to your brand and doesn’t interrupt the user experience.
- Encourage more signups with mobile-friendly forms. The forms are responsive, ensuring they work flawlessly across all devices and screen sizes, including smartphones and tablets.
- Collect the right data with custom fields. Choose exactly what information you want from users — name, email, preferences, or anything else — so your list stays relevant and clean.
- Get started without touching code. Most form builders offer drag-and-drop functionality, meaning you can connect your Constant Contact account and go live in just a few clicks.
Now that you understand the value of embedding a Constant Contact signup form, let’s look at how to do it using the platform’s native method.
How to Embed Constant Contact Forms: Native Solution
Constant Contact offers a native form builder that lets you create and add simple signup forms directly to your website. This built-in feature is great for users who want to start collecting email subscribers without the need for third-party tools.
By using the platform’s native capabilities, you can create a functional, branded form that connects seamlessly to your mailing list. While it doesn’t offer deep customization, it’s sufficient for building a basic email capture system quickly.
Here’s a step-by-step guide to help you create a Constant Contact signup form and embed it natively on your website:
- Log in to your Constant Contact account. Go to constantcontact.com and sign in using your credentials. From the dashboard, navigate to the “Marketing” section and click “Sign-Up Forms”.
- Click “Create Sign-Up Form”. Select “Inline Form” if you want it embedded directly on a page. You can also choose “Pop-up Form” for a triggered option, but for now, we’ll focus on inline forms.
- Design your form layout and content. Add standard fields such as first name, last name, and email address. You can also add custom fields like dropdown menus or checkboxes. Modify colors, fonts, and button labels to match your branding.
- Select your target contact list. Choose the mailing list you want new contacts added to. You can assign them to an existing list or create a new one for this form.
- Adjust settings and behavior. Enable options like GDPR checkboxes, opt-in confirmation, and custom success messages. You can also set up a redirect URL after form submission.
- Click “Publish” to generate the embed code. Once your form is complete, click the “Publish” button. This will give you a block of HTML code that you’ll use for embedding.
- Paste the code into your website. Copy the HTML code and paste it into your website’s source code where you want the form to appear. This can be within a content block, footer, or sidebar depending on your layout.
While this method is quick and simple, it may fall short if you need advanced styling, targeting rules, or multi-step logic. In the next section, we’ll look at the limitations of this native approach.
Limitations of the Native Embed Method
Although using the native embed option from Constant Contact is convenient, it comes with a number of limitations that may restrict your ability to fully customize and optimize the form experience on your website.
If you’re looking to integrate a subscription form that aligns perfectly with your brand, adapts to different devices, and allows advanced control over behavior and analytics, the built-in option may fall short.
Here’s a comparison table outlining the key limitations of the native embed method:
| Limitation | Description |
|---|---|
| Limited design customization | Only basic styling options are available, which makes it difficult to match the form with your website’s branding and layout. |
| No drag-and-drop field control | Field order and structure are fixed, so you can’t easily rearrange or design custom layouts. |
| No advanced display targeting | Native forms can’t be triggered based on user behavior, timing, or scroll position. |
| Minimal analytics and tracking | Lacks built-in tools for measuring performance or tracking form submissions beyond basic metrics. |
| Manual HTML placement | Form code must be manually copied and pasted; changes require repeating the process after each update. |
| No support for interactive logic | Does not support multi-step flows, conditional logic, or language localization for diverse audiences. |
If you’re aiming for a more dynamic and personalized approach to form creation, a visual builder will provide the flexibility and features the native method lacks. Let’s explore how to do this next.
Create and Add a Form to Your Website with Elfsight
For those who want full control over form design and functionality, Elfsight’s Form Builder provides an advanced yet easy-to-use solution. With just a few steps, you can build a professional contact or signup form and seamlessly embed it into your website.
Below is a step-by-step instruction on how to create, customize, and publish your form using the Elfsight Form Builder:
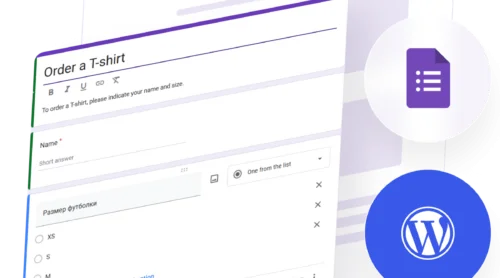
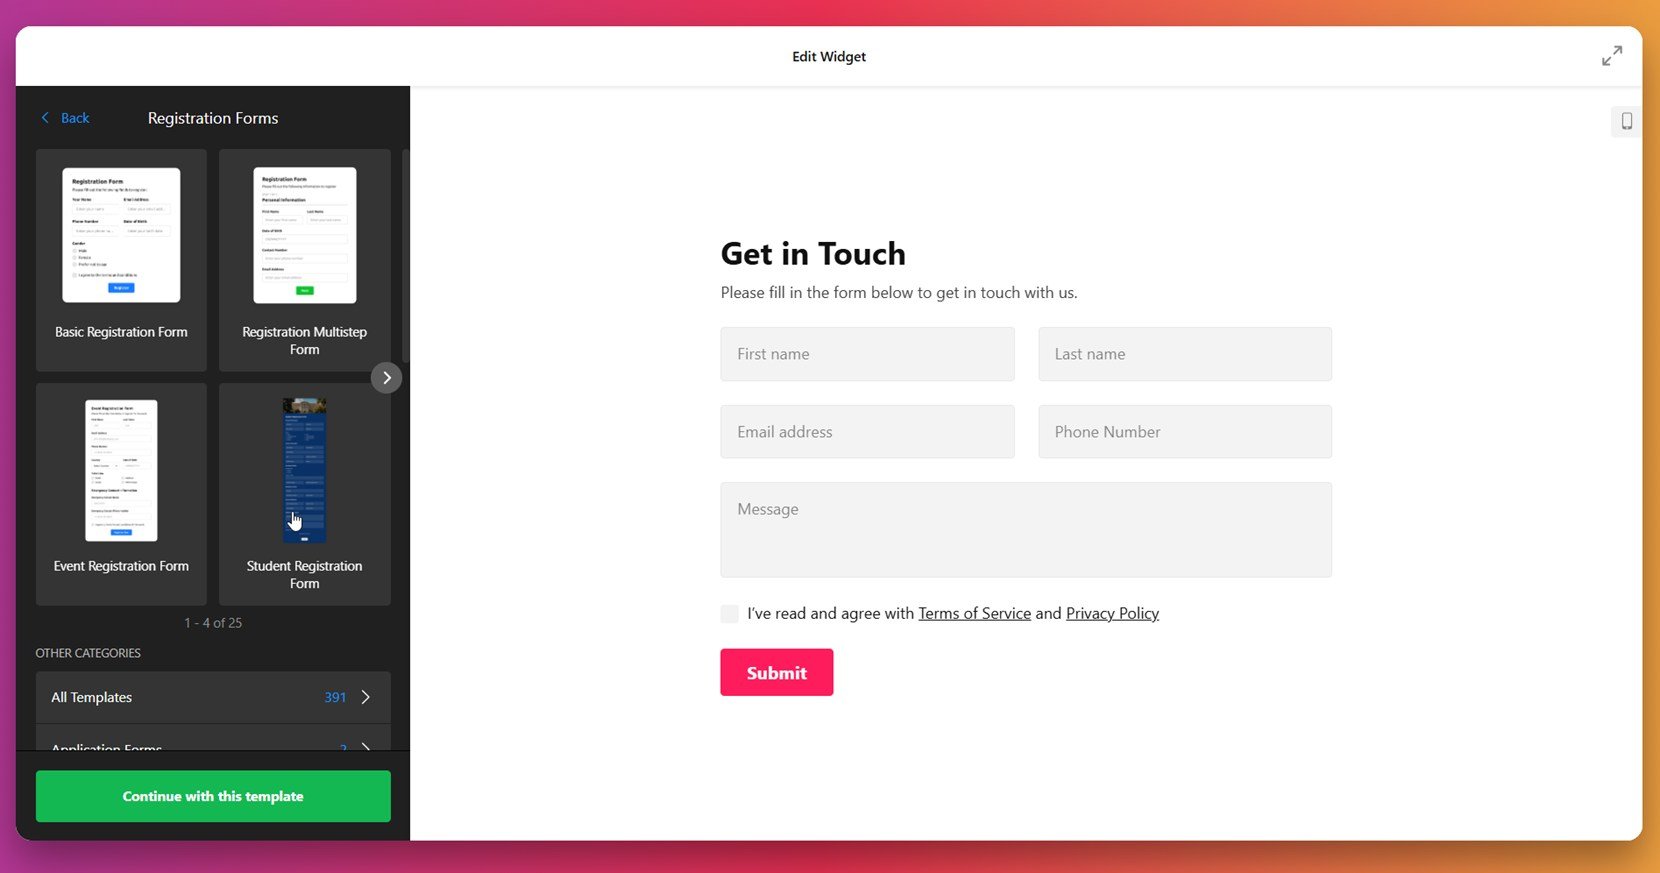
- Select a template. Open the editor. Pick the one that matches your goal and click “Continue with this template”.

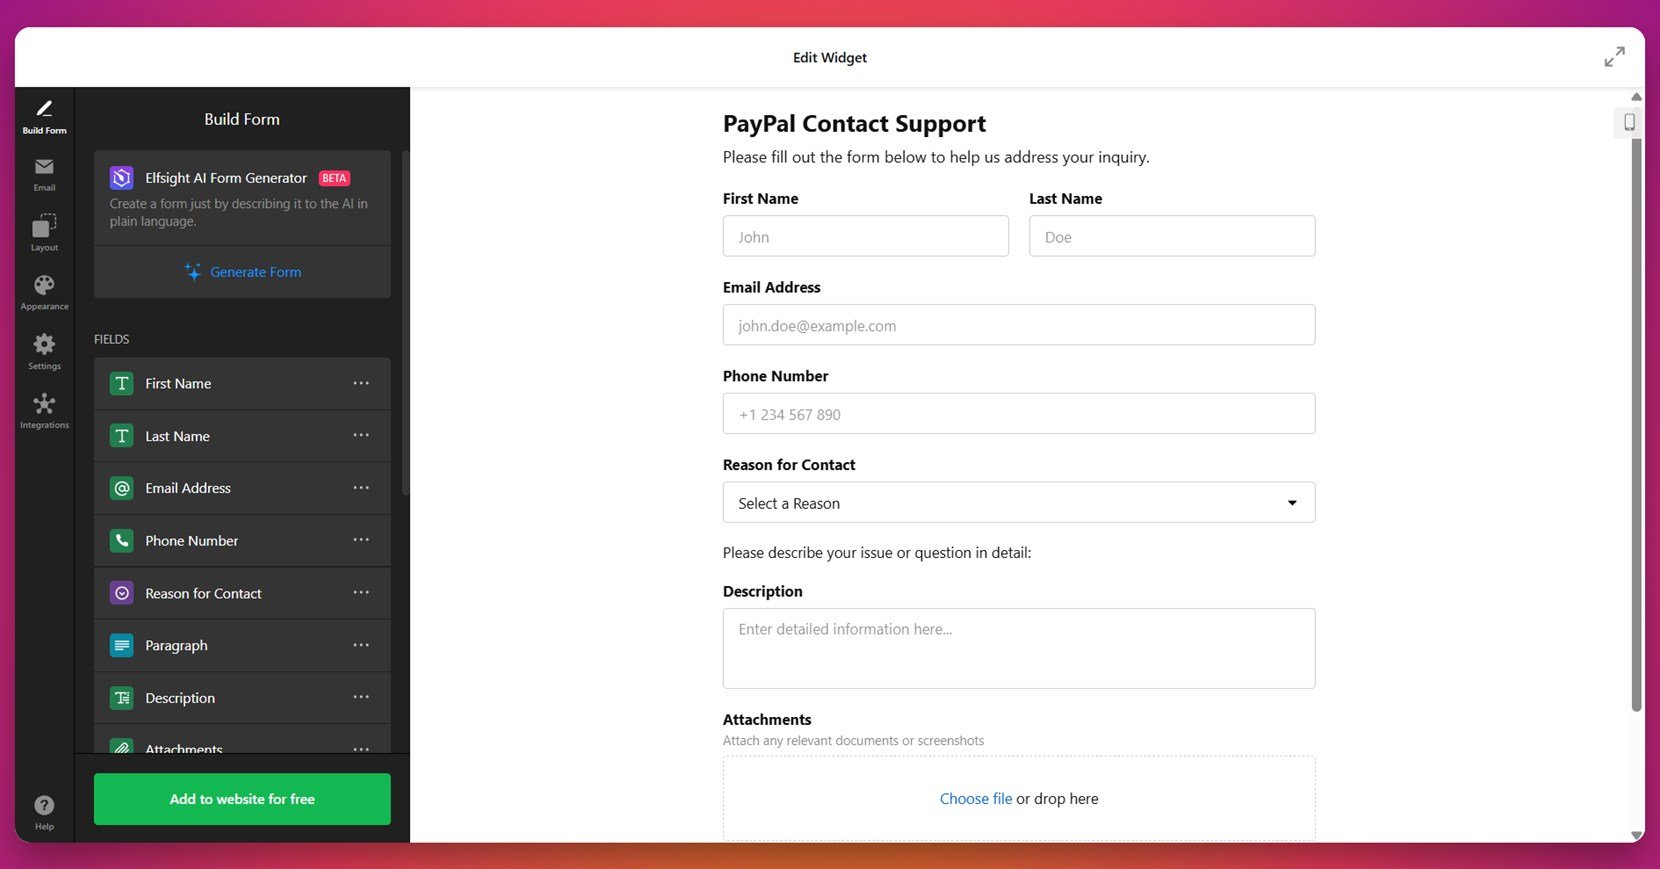
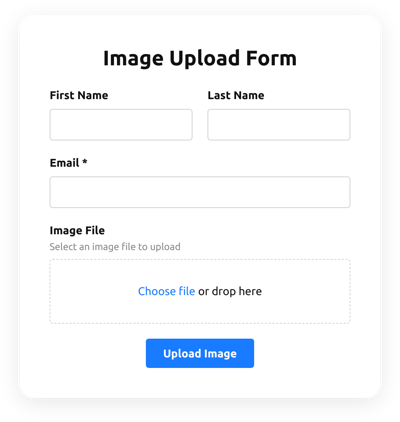
- Build your form. Use the “Build Form” tab to add, remove, or rearrange fields such as name, email, phone number, and custom dropdowns. You can also add fields like file upload, checkbox agreements, or descriptive text blocks to meet your data collection needs.

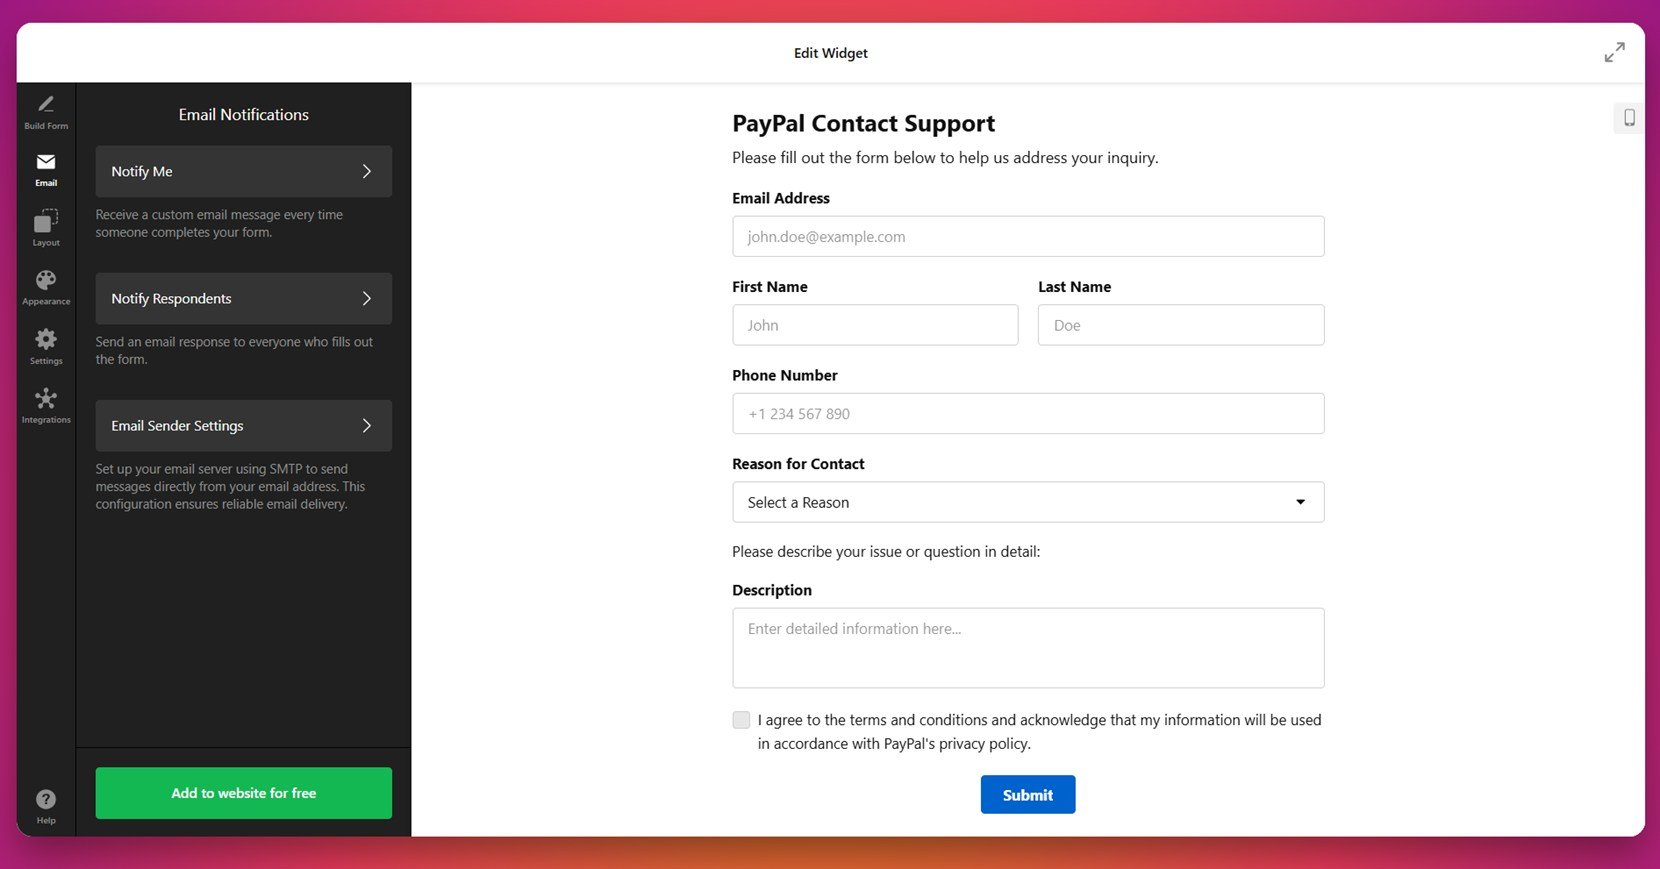
- Set up email notifications. In the “Email” tab, enable admin notifications so you receive a message when someone submits the form. You can also create automatic confirmation emails for respondents, and configure sender details via SMTP if needed.
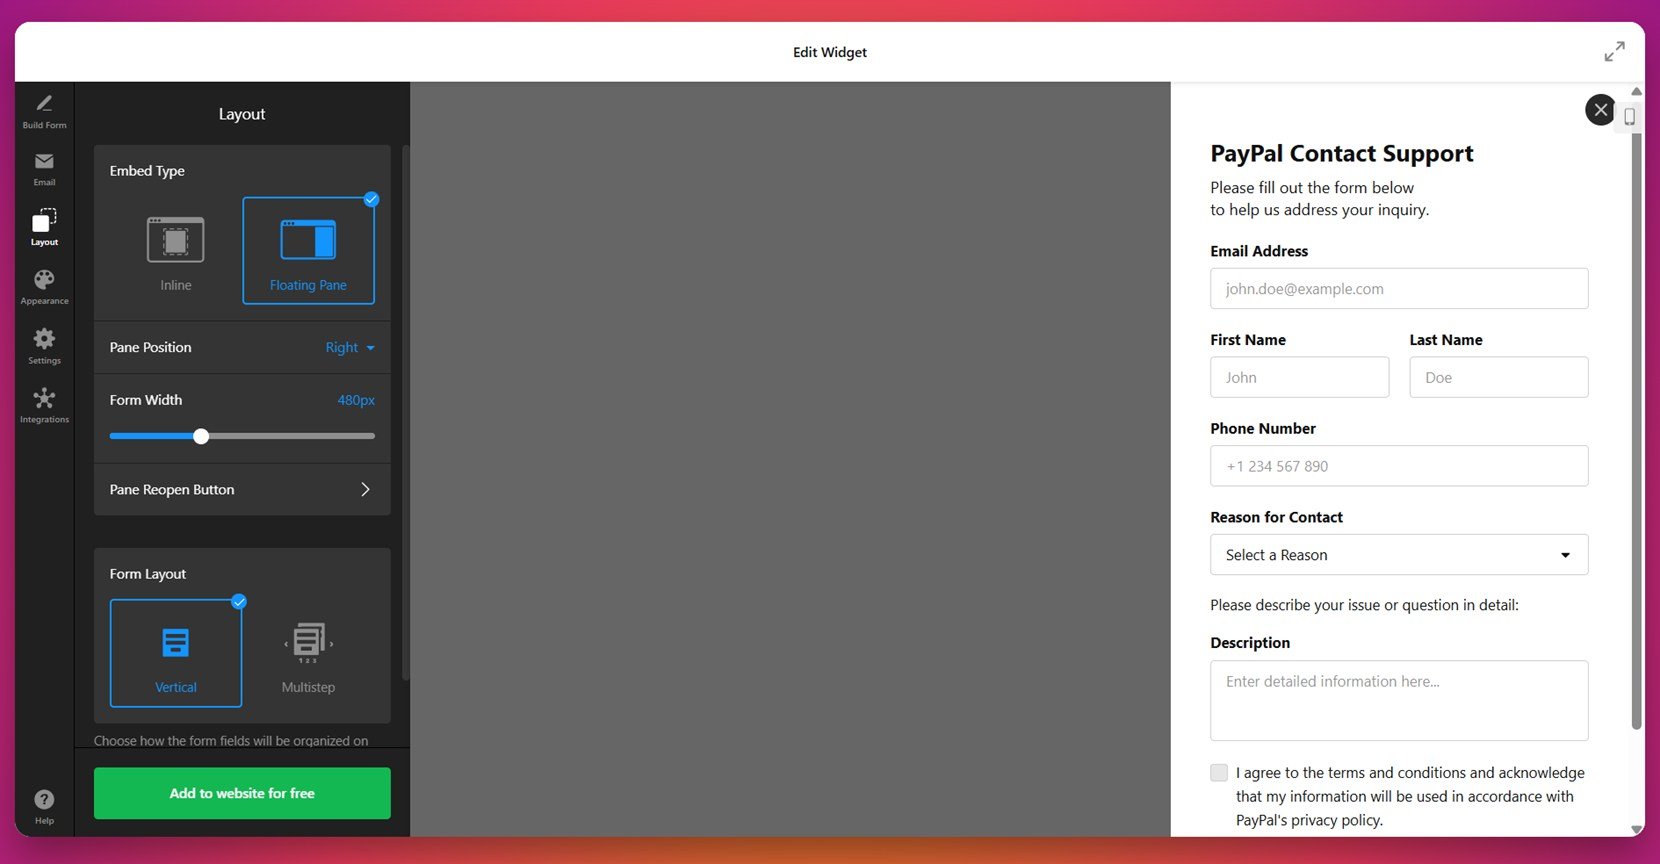
- Customize layout and behavior. Under the “Layout” tab, choose between inline or floating display. Adjust form width, pane position, and decide whether the form appears in vertical or multistep format based on your preference.

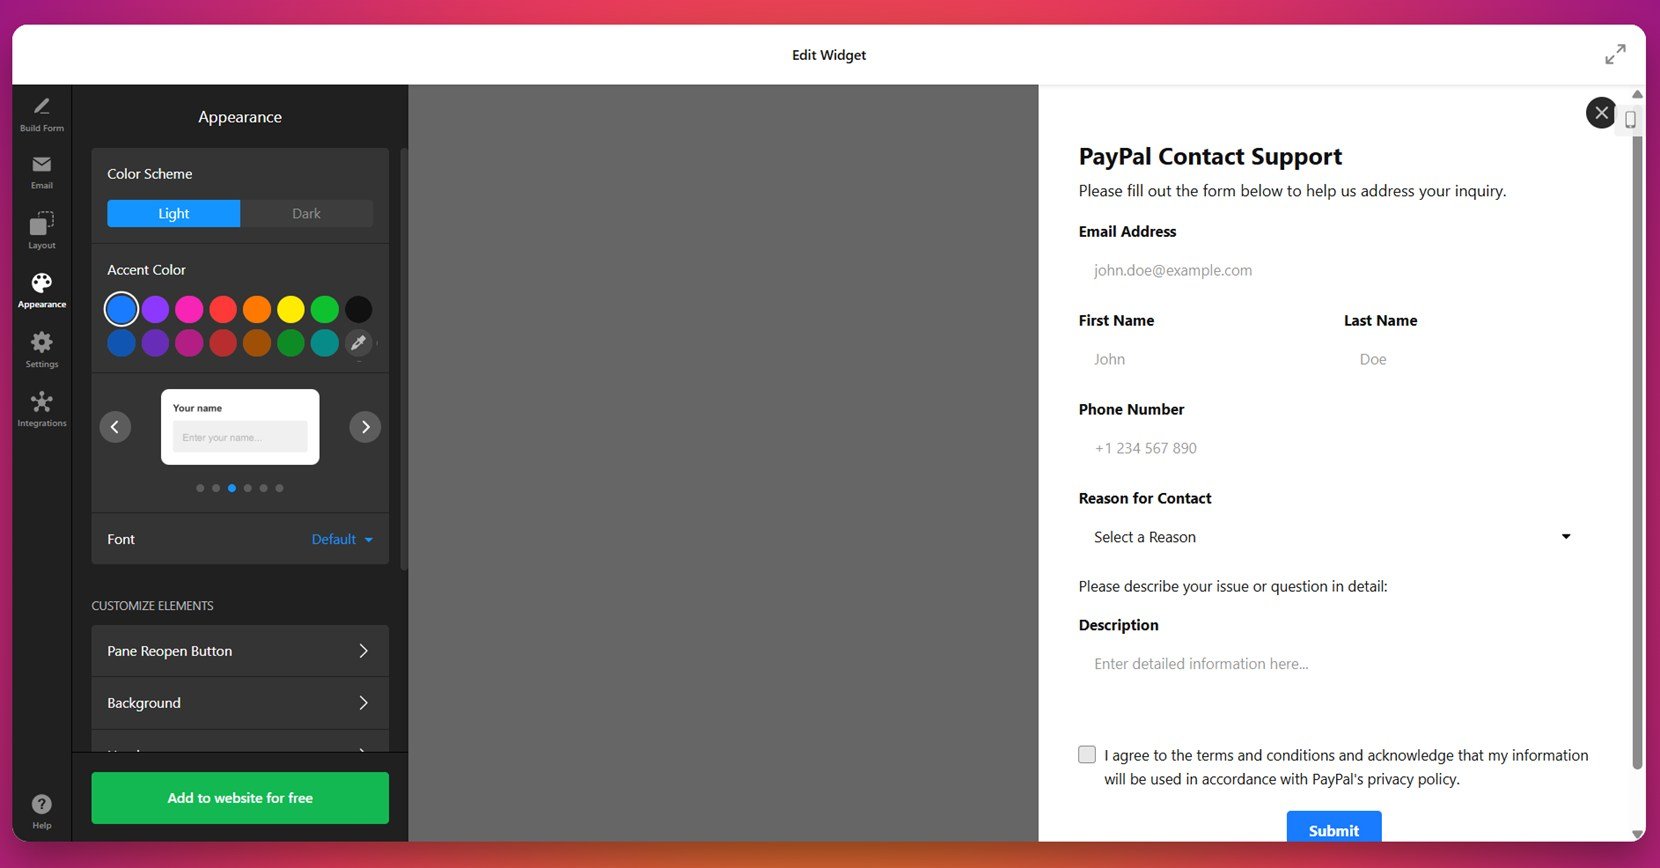
- Style the appearance. Open the “Appearance” section to select light or dark theme, apply a custom accent color, choose a font, and configure visual elements such as background and borders. This ensures your form matches your website’s branding.

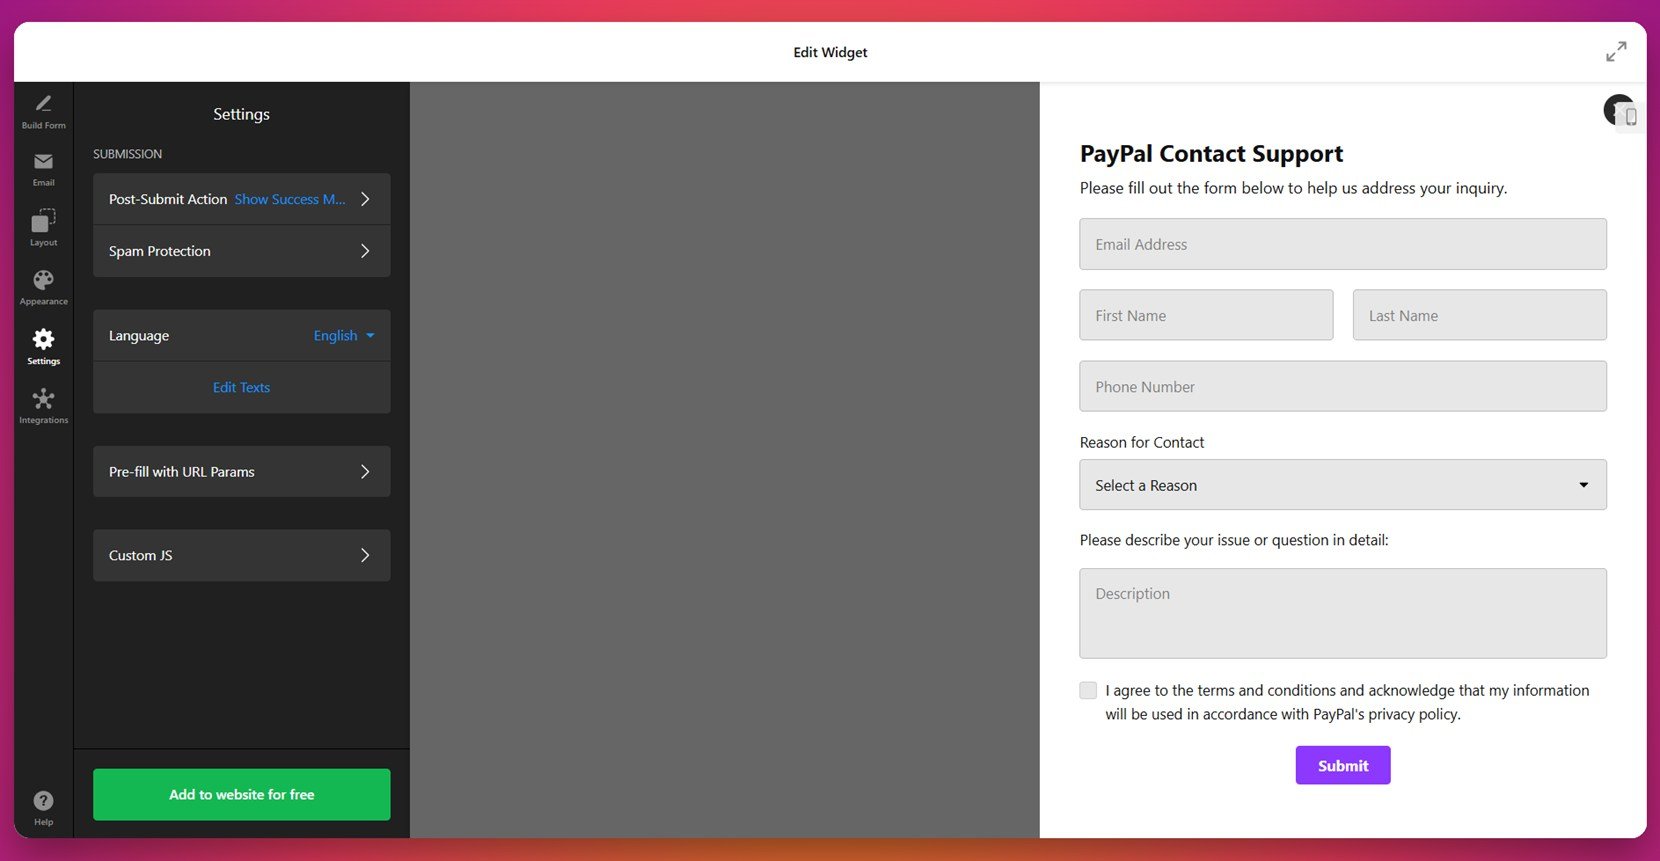
- Configure form settings. Go to “Settings” to define post-submit actions (e.g., show a thank-you message or redirect to a URL). You can also enable spam protection, change language, edit text labels, and add custom JavaScript or prefill options.

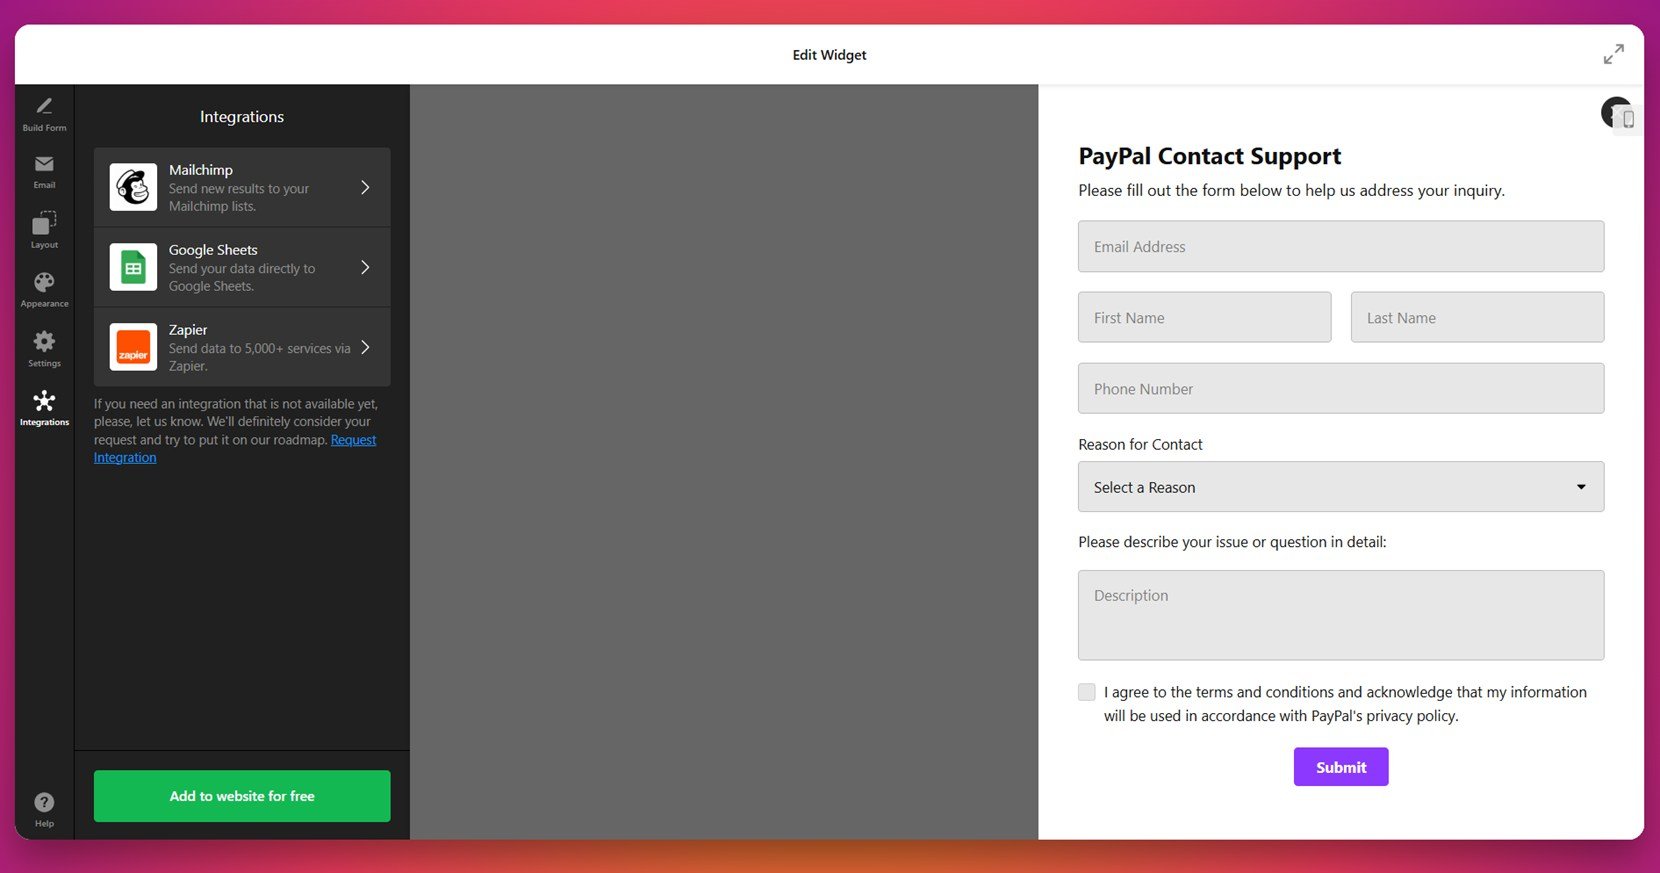
- Add integrations if needed. From the “Integrations” tab, connect your form to services like Mailchimp, Google Sheets, or Zapier to automatically export submission data or trigger workflows.
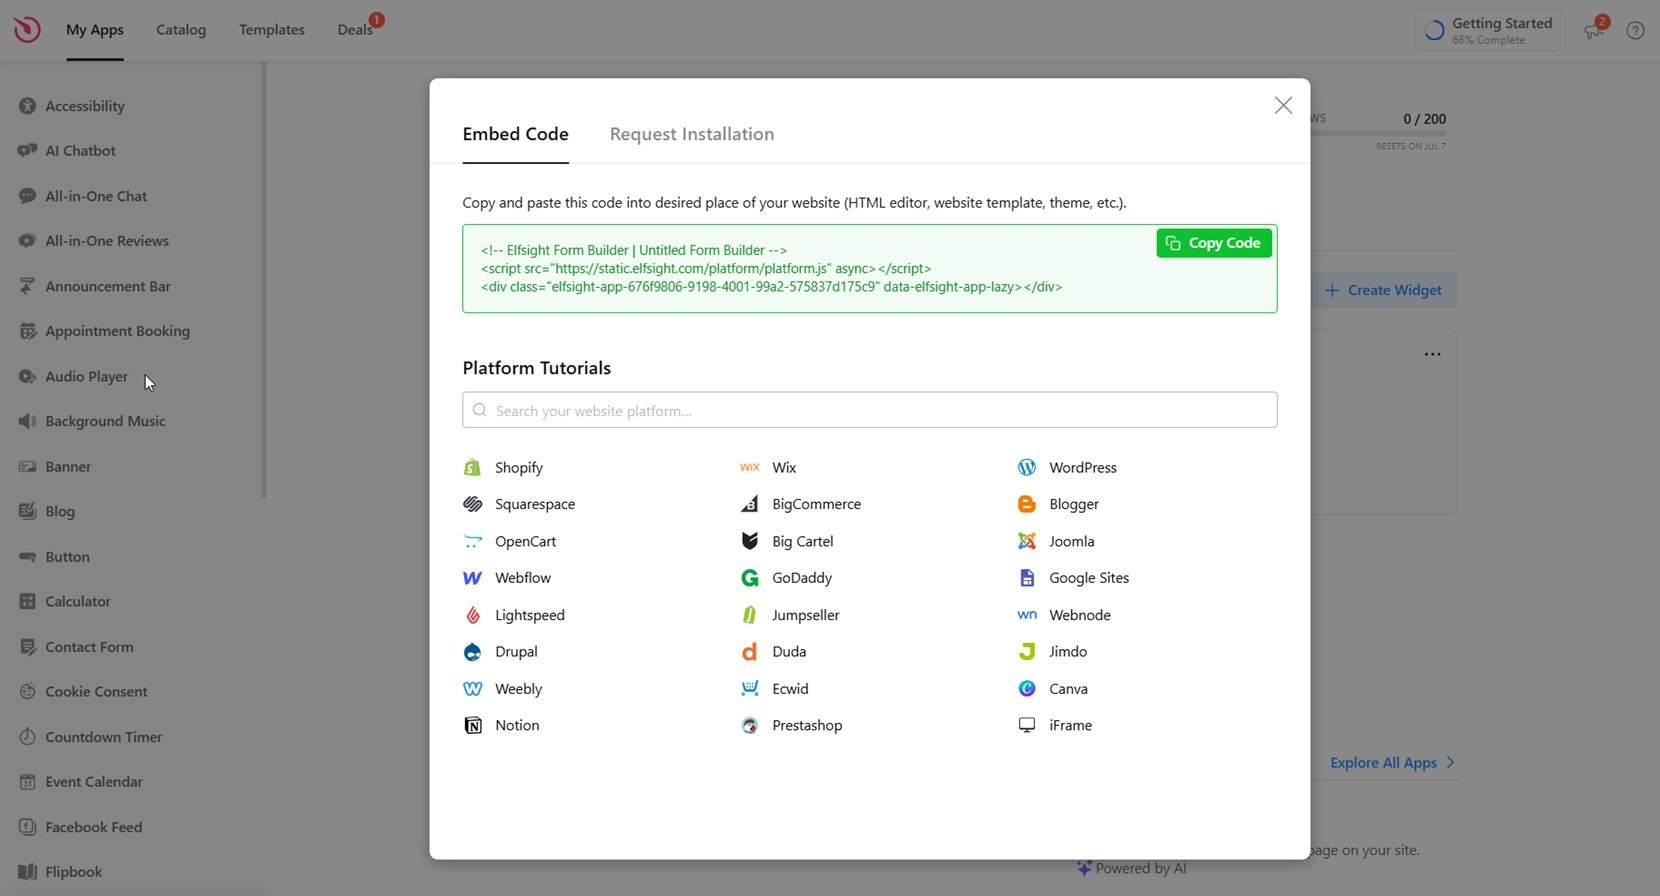
- Embed the form on your website. Click “Add to website for free” and copy the generated HTML code. Paste it into your website’s editor or template where you want the form to appear, then publish your changes.

Once embedded, your form will be live and fully functional, helping you capture leads, inquiries, or registrations directly through your website. In the next section, we’ll take a closer look at the features that make this builder stand out.
Build your perfect website form right now in 1-2-3!
Features of the Elfsight’s Form Builder
After creating and embedding your form, it’s important to understand the features that make Elfsight’s Form Builder a powerful alternative to the default Constant Contact solution. This section highlights the tools and capabilities that give you full control over form design, delivery, and user experience.
Here are the key features and benefits that make this form builder worth trying:
| Feature | Description |
|---|---|
| Visual drag-and-drop editor | Build your form without any coding by simply dragging fields and elements into place for real-time editing. |
| Multi-step and conversational layouts | Use step-by-step or chat-style layouts to make long forms more engaging and improve user completion rates. |
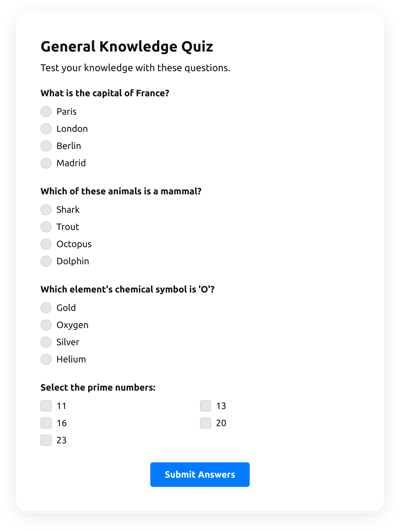
| Customizable field types | Include text fields, dropdowns, checkboxes, rating scales, date pickers, and more to capture targeted user input. |
| Conditional logic and branching | Dynamically show or hide fields based on previous answers to create a personalized form experience. |
| Real-time email alerts | Receive instant notifications for each new submission or automatically send responses to users. |
| File uploads and attachments | Allow users to attach files like images, documents, or screenshots directly through the form interface. |
| Anti-spam protection | Enable CAPTCHA and smart filters to block bots and prevent spam submissions from reaching your inbox. |
| Built-in integrations | Send data to Google Sheets, Mailchimp, or thousands of apps via Zapier with no manual export needed. |
| Mobile-ready and responsive design | Ensure that every form works flawlessly on all devices, from desktop to mobile phones. |
| Custom post-submit actions | Redirect users to another page, display a thank-you message, or trigger a workflow after form submission. |
These features let you generate custom email forms and configure a web-based contact form that’s far more versatile than the default Constant Contact options. Now let’s see how you can customize every element of your form to match your brand and goals.
How to Customize Your Website Form: Tips
Once your form is functional, the next step is to refine its appearance and behavior. Customization ensures the form blends naturally with your website’s layout and reinforces your brand identity while improving user experience.
- Keep the layout clean and scannable. Group related fields together, use whitespace to reduce clutter, and avoid placing too many inputs on a single line.
- Use a single-column layout for mobile responsiveness. This format makes the form easier to navigate on small screens and reduces the chance of input errors.
- Match your brand’s color scheme. Adjust accent colors, fonts, and background to reflect your brand and make the form feel like a natural part of the page.
- Limit the number of required fields. Only ask for the data you truly need. Every unnecessary field increases drop-off risk, especially on mobile.
- Use clear, action-focused button labels. Instead of generic text like “Submit”, use phrases like “Send Request”, “Join Newsletter”, or “Get Started” to set expectations.
- Enable smart field behaviors. Include default values, tooltips, or placeholders to guide users and reduce friction during form completion.
- Test form appearance on different devices. Preview the widget on both desktop and mobile views to make sure alignment, text size, and buttons display correctly.
With a properly customized form widget, you ensure the visual consistency of your website and provide a smooth, focused interaction for users. In the next section, we’ll explore which types of forms you can build depending on your use case.
Types of Website Forms You Can Create with Elfsight
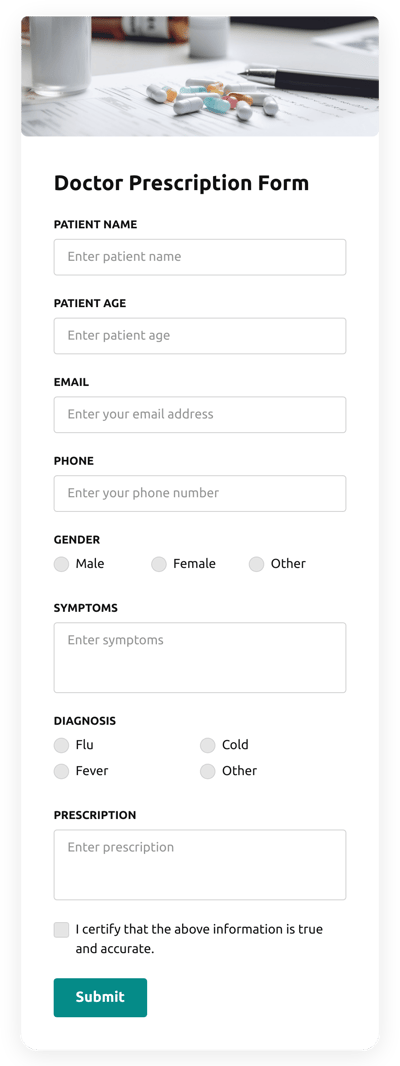
This section highlights real examples of form widgets you can create using Elfsight. Each one is based on a pre-designed template available in the Form Builder gallery and serves a specific purpose—whether it’s collecting leads, managing inquiries, or registering event participants on your website.
Basic Contact Form 📩
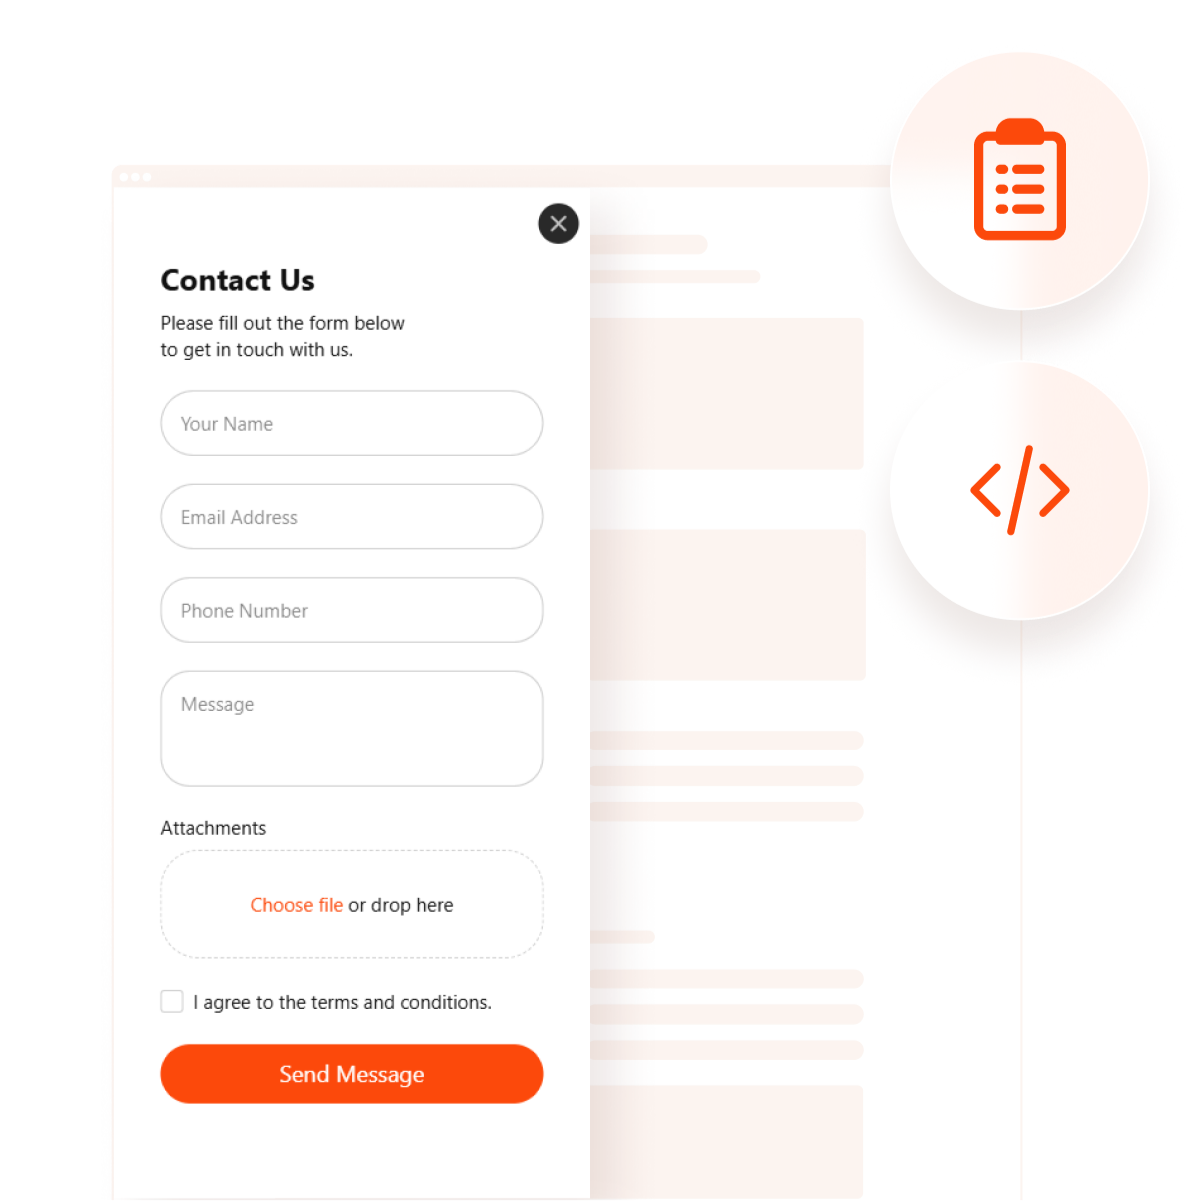
The Basic Contact Form template is designed for users who want a clean, straightforward way to receive messages through their website. It includes standard fields like name, email address, and message. This form is perfect for small businesses, freelancers, and service providers who need a simple communication channel. The widget is based on this template and helps streamline inquiries without overwhelming the user or requiring complex integrations.
Event Registration Form 📅
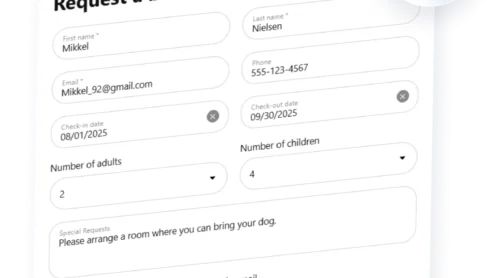
The Event Registration Form template is ideal for organizations hosting workshops, webinars, or live events. It enables you to gather participant names, contact details, and any custom information needed for the event. Created with this template, this widget is great for schools, nonprofits, and conference organizers who want a frictionless way to manage RSVPs directly through their website.
Job Application Form 💼
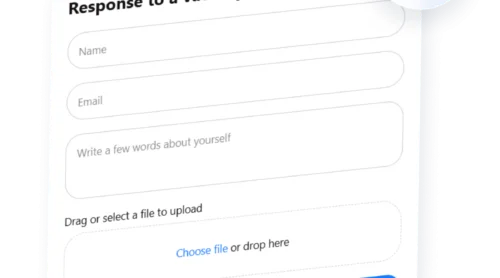
The Job Application Form widget helps companies accept employment submissions online, including resumes and detailed applicant information. It’s built using this template and is best suited for HR teams, startups, or agencies hiring through their website. This form includes fields for contact data, cover letters, file attachments, and position preferences, making the application process smooth and accessible.
These real-world examples show how flexible and targeted your form widget can be. Up next, we’ll cover common problems you might encounter and how to solve them quickly.
Explore 300+ Form Builder templates


Troubleshooting Common Issues
Even with a well-configured form widget, users may encounter technical issues or usage-related obstacles. This section addresses the most common problems and how to fix them to ensure smooth performance on your website.
Why isn't the form showing up on my website after embedding the code?
Why am I not receiving form submissions by email?
Why is the form layout broken or misaligned?
Can I edit the form after embedding it without re-pasting the code?
Why are file uploads not working?
How can I reduce spam or bot submissions?
By understanding these common issues, you can manage subscriber registration online with fewer disruptions and offer a smooth experience to users filling out your opt-in form.
Final Thoughts
Creating and embedding a Constant Contact form on your website can be done in multiple ways, from using the platform’s built-in embed option to building a fully customized experience with a visual form editor. While the native method offers simplicity, solutions like Elfsight’s Form Builder provide far more flexibility, design control, and advanced functionality to support growing business needs.
From customizing layouts and conditional logic to integrating lead collection tools, a smartly configured form allows you to engage visitors and publish a mailing list form that performs effectively. By addressing common issues and optimizing the design for usability, you ensure your form supports smooth communication and helps integrate a subscription form into your broader marketing strategy.
Need More Info?
We hope this guide gave you the clarity you need to get started. If you’re experiencing any issues or have additional questions, contact us — we’re here to help you every step of the way. Our team is committed to providing easy-to-use, no-code widget solutions designed for real business goals.
Be sure to visit our active Community to exchange ideas with others and submit your feedback. Have a feature in mind? Add your voice to our public Wishlist and help shape future updates.