Methods to Create a Button on a Website
Buttons are one of the most essential elements on a website, playing a key role in guiding users towards specific actions, whether it’s making a purchase, signing up for a newsletter, or simply navigating to another page. As a highly visible and interactive feature, buttons are often designed to stand out, encouraging users to engage with your website. So, what are the most typical ways to get an HTML button for your website?
Create an HTML button code
The first solution is to write an HTML button’s code yourself the way you like. This way you will create a button with the properties that you precisely need. Since it is your own craft, your final project is as only limited as your current coding skills.
Drawbacks: Skills and efforts are required.
Create a button as a widget
Alternatively, you can use a quick code-free solution to create a button in an editor where you change everything visually or by typing properties in the corresponding fields. The process of building a widget is clear and intuitive no matter what your coding knowledge is.
Drawbacks: A third-party solution is needed.
How to quickly create a button using a widget?
The Elfsight Button widget lets you create a button in a few easy steps:
- Pick a template to get a suitable button scenario.
- Set the CTA, link, and design.
- Copy the generated HTML code and paste it into your website.
With this, you can have a fully functional, customizable button on your site in minutes—no coding required!
Try creating your custom HTML button in the editor ⇩
Detailed Guide: How to Create a Button in HTML
With these detailed instructions, you can seamlessly create the Button widget for your website page and start increasing user engagement today.
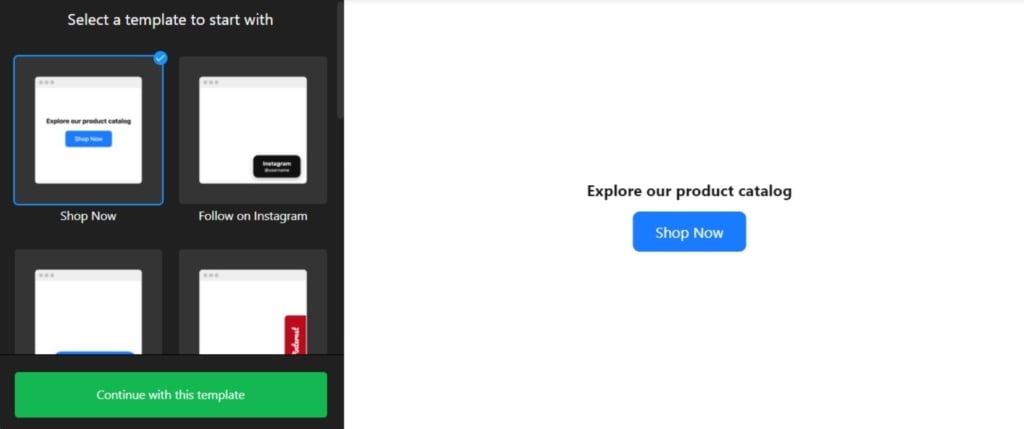
- Select a suitable template. Start with any option in the editor to create your custom button or find a template that suits your needs.

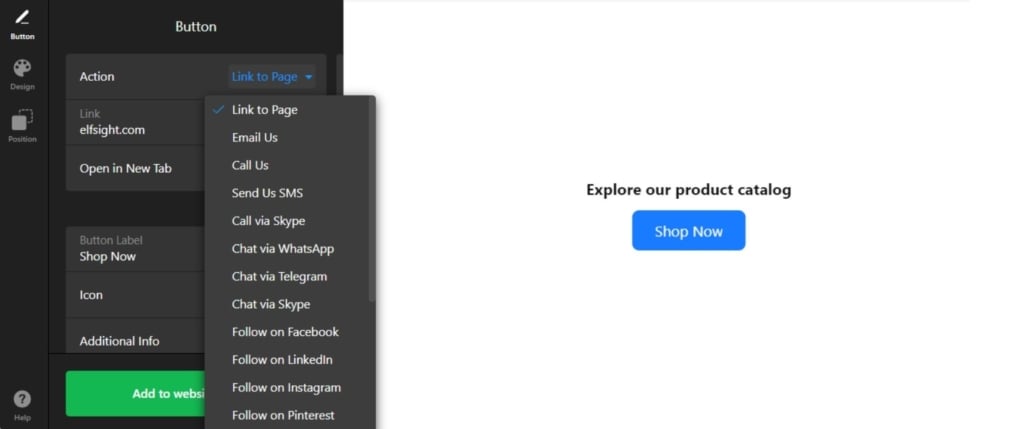
- Integrate the link. Insert a share, scroll, subscribe, go to social media, or any custom link for the action that you require.
- Add icon and labeling. Choose from a variety of icons, upload the image straight from the PC, and add a description for the button’s functionality.

- Customize the button. Adjust the appearance and behavior of the Button widget according to your preferences. Select the button color, choose the size, define the font, change the shape, and even use Custom JS or CSS.

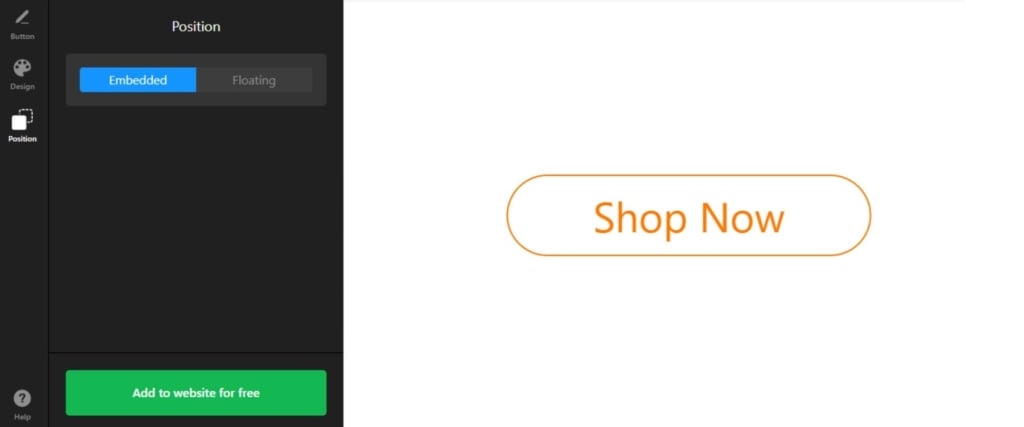
- Adjust positioning. Select the button’s placement and layout style in the ‘Position’ tab to choose where the button will be placed on your website and how it will be displayed.

When your button is ready, publish it to proceed in your dashboard. You will instantly see the HTML code for your button. Now all you need to do is add this code to your website’s HTML. The next section describes how to do that in detail.
Add Button to Any Website
It is very simple to add the button widget to any HTML-based website. We will take a look at some manuals that cover the process for the most popular CMS platforms focusing on their dashboard peculiarities.
Add Button to HTML website

Adding the button widget to a particular page on your HTML website is easy. Just paste the created code from Elfsight into the required spot.
- Access your website’s backend. Make sure you can edit the HTML code in your admin panel to seamlessly integrate the widget.
- Insert the calculator code. Choose the location on your website where you want the widget to appear and add the HTML code of your button.
- Save your changes. Check if everything functions as expected and looks consistent on the page.
Add Button to WordPress website

You can quickly embed your no-code widget into your website, by inserting the provided code into a block. Thus, you will make your button appear exactly in the spot that you need.
- Log in to your WordPress account. You will need to work in your admin panel in order to make changes to the HTML code.
- Go to ‘Pages’ and choose the page you want. Keep in mind your business goals and reasons for embedding the plugin into a certain area.
- Add a custom HTML block. It must appear in the required part of the website that you have chosen to embed the button into.
- Insert the generated code in this block. Don’t forget to ‘Update’ the page and check the functioning of the widget.
Add Button to Wix website

Adding the widget’s code with your HTML button to a required page of the Wix website is simple. The custom code that you received from Elfsight integrates seamlessly with a desired area of the pages.
- Access your Wix website editor. Log into your Wix account and select the site you want to edit. Navigate to your site’s dashboard and click on ‘Edit Site’ to open the website editor.
- Add an HTML block for the widget. Click the Plus icon on the left-hand menu and navigate to the Embed section. Under the ‘Custom Embeds‘ tab, select ‘Embed a Widget‘ to add a new HTML block to your page.
- Insert the Button widget HTML code. Click ‘Enter Code’ and paste the installation code provided by the Button widget editor. After entering the code, hit ‘Update‘ to embed the widget into your page.
- Adjust the widget’s dimensions and placement. Adjust the widget’s dimensions and placement on the page. Make sure the widget fits perfectly and is visually appealing by resizing and positioning it appropriately.
- Optimize for mobile devices. Switch to the mobile editor and adjust the widget as needed. Ensure the widget looks great on mobile devices, then publish your changes once you are satisfied with the layout.
Add Button to Shopify website

You can quickly add the HTML button to any page of your Shopify website. You will only need to insert the ready-made code from Elfsight into a required area of your website.
- Go to the Shopify admin panel. You need to find the ‘Online Store’ area of the website.
- Select ‘Customize’ from the drop-down menu. Then in the left-hand menu, select ‘Add Section.’
- In ‘Custom Content,’ click ‘Add.’ You will have to remove the Shopify parts that were pre-installed.
- Select ‘Custom HTML.’ It is the option that you will find in the ‘Add Content’ menu.
- Locate the ‘HTML’ section. It is where you can embed the form’s installation code and save all modifications.
Add Button to Squarespace website

Anyone can quickly embed the customizable button to the desired page on a Squarespace website. All you need to do is to enter the generated code from Elfsight into a specific block on the page.
- Sign in to your Squarespace account. Log into your Squarespace account and select the site for the widget. Navigate to your site’s dashboard and choose the website you want to edit.
- Navigate to the ‘Website’ section. Pick the page where you want to add the form widget. Go to the ‘Website’ section from the main menu and select the desired page.
- Hit ‘Edit’ and then ‘Add Section.’ Click ‘Edit’ on the chosen page and then select ‘Add Section’ where you want the widget to function. This allows you to create a new section on your page for the widget.
- Add a code block. Select ‘Add a blank section,’ then click ‘Add block’ and choose ‘Code’ from the list. This is where you will insert your Button’s widget code.
- Insert the widget’s installation code. In the ‘Edit’ icon, paste the Button widget installation code and adjust the block’s width. Ensure the widget looks well-placed and visually appealing on your page.
Add Button to Webflow website

Adding the widget to Webflow pages is smooth since you only need to add an Embed element where you deliver the generated HTML code of your button.
- Start in Webflow. Sign in to your Webflow account and pick the website where you intend to embed the widget.
- Embedding the widget. In the Webflow editor, click the Plus icon. Then, simply drag and drop the Embed element from the left menu to where you want the button to be shown.
- Inserting the code. Embed the form’s installation code in the HTML Embed Code Editor that appears. Afterwards, click ‘Save & Close.’
- Customization and publication. Adjust the settings of your button, then press ‘Publish’ and choose the domains for its activation.
Add Button to Elementor website

It is simple and convenient to embed the Button widget into Elementor. You will just need to have an empty block on your page where you insert the code of the widget.
- Start in the WordPress backend. Log into your WordPress website’s backend, go to ‘Pages’, and select the page for adding the Button widget.
- Initiate Elementor editing. Choose ‘Edit with Elementor’ to begin customizing your chosen page.
- Implement the HTML element. Utilize the drag-and-drop feature to place the HTML element on your page.
- Add the widget’s code to the website. Embed the button’s HTML code by Elfsight into the HTML Code box.
- Update and enjoy. Hit ‘Update’ to apply your changes and see your page transform with the embedded button.
How to Create a Button with an HTML Code
Check out how to create a button in HTML without having to use any third-party tools. Knowing how to work with basic HTML, you can adjust certain parameters of this button and read the brief guidance after this code to insert the link you need.
<!DOCTYPE html>
<html lang="en">
<head>
    <meta charset="UTF-8">
    <meta name="viewport" content="width=device-width, initial-scale=1.0">
    <title>Button Example</title>
    <style>
        /* Simple styling for the button */
        .cta-button {
            background-color: #4CAF50; /* Green background */
            color: white; /* White text */
            padding: 10px 20px; /* Padding */
            font-size: 16px; /* Font size */
            border: none; /* No borders */
            border-radius: 5px; /* Rounded corners */
            cursor: pointer; /* Pointer cursor on hover */
        }

        .cta-button:hover {
            background-color: #45a049; /* Darker green on hover */
        }
    </style>
</head>
<body>

    <!-- Button with a customizable link -->
    <button class="cta-button" onclick="window.location.href='https://your-cta-link.com';">
        Click Me
    </button>

    <script>
        // Optional: You can also handle the button click with JavaScript if needed
        function goToLink() {
            window.location.href = 'https://your-cta-link.com'; // Insert your own link here
        }
    </script>

</body>
</html>
How it works
- The button uses simple HTML for structure and CSS for basic styling.
- You can change the button’s appearance using the .cta-button class (background color, size, font, etc.).
- The onclick event triggers a redirect to the specified link. Users can replace ‘https://your-cta-link.com’ with their own URL (the link they want to direct visitors to).
Examples of Button Widget on Websites
Elfsight offers a wide range of pre-designed button templates that you can customize to suit your website’s aesthetic and put everyone aside. Whether you prefer a minimalist style, bold and vibrant colors, or a sleek and professional design—there is always an option that brings the best for your branding and highlights unique features. Just take a look:
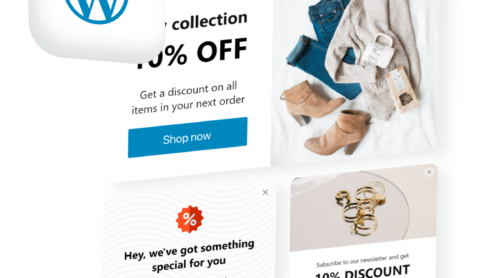
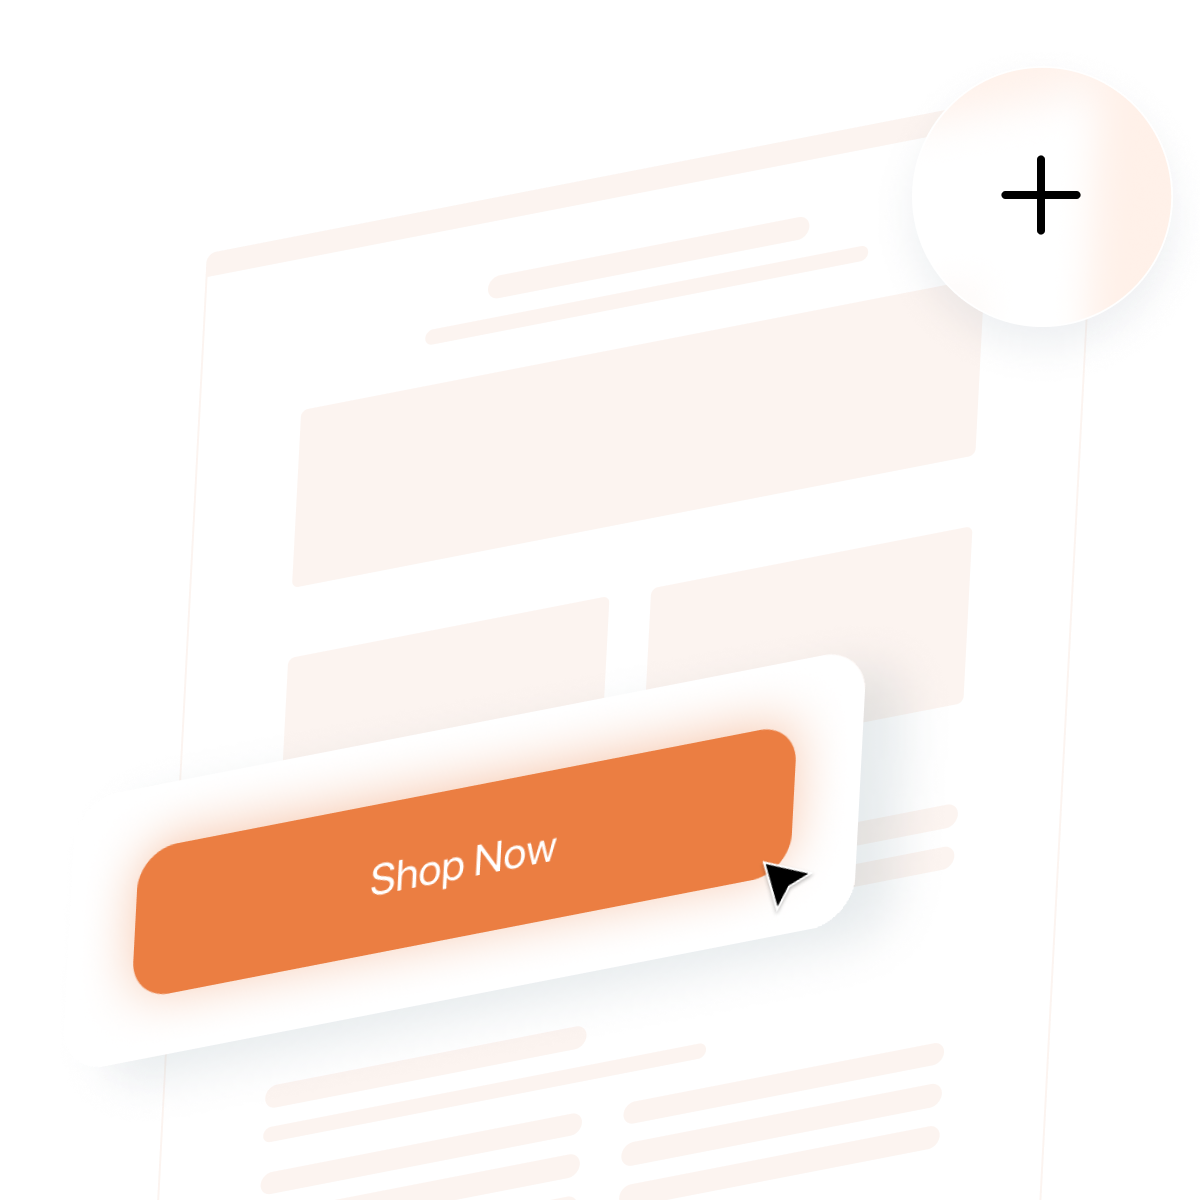
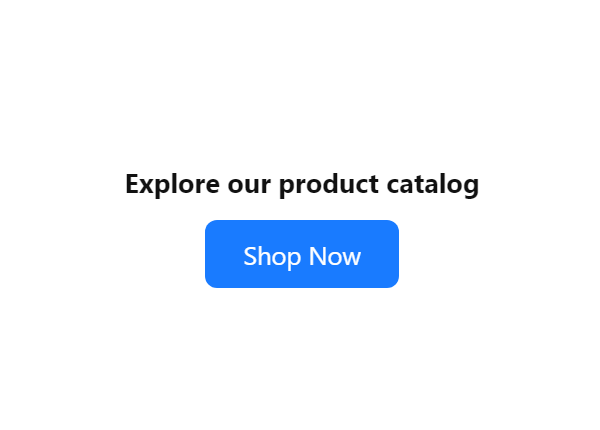
Example 1: Shop Now Button
The ‘Shop Now‘ widget template is perfect for e-commerce businesses. It features a bold, eye-catching design with a CTA header that redirects visitors to your online store with a single click. This template helps create a sense of urgency and prompts potential customers to explore your products and make a purchase.
Example 2: Follow on Instagram Button
For businesses looking to grow their Instagram presence, the ‘Follow on Instagram‘ template is an excellent choice. It incorporates the Instagram username and invites visitors to follow your account directly from your website. This template helps increase your followers and expand your brand’s social media reach.
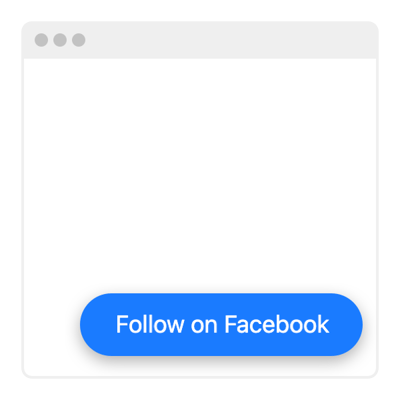
Example 3: Follow on Facebook Button
With the ‘Follow on Facebook‘ template, you can connect with your website visitors on the world’s largest social media platform. This template showcases the CTA message and encourages visitors to like and follow your page, enabling you to create a loyal community and keep them engaged with your brand.
Example 4: Follow on Pinterest Button
The ‘Follow on Pinterest‘ template is a great fit for businesses focused on visual storytelling and inspiration. It features a recognizable Pinterest font and invites website visitors to explore your boards and follow your brand. This template helps drive traffic to your account and increase brand visibility.

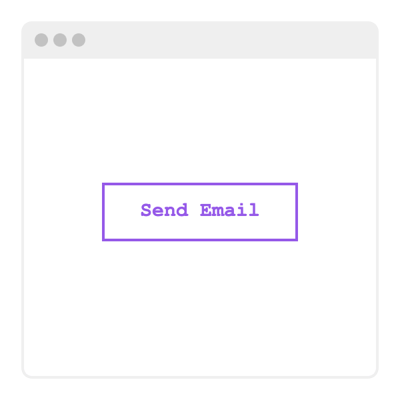
Example 5: Email Us Button
The ‘Email Us‘ template simplifies the process of contacting your business. It has a minimalistic button design and encourages visitors to click to compose an email directly from your website page. This template enhances user experience by providing a quick and convenient way to reach out with inquiries or requests.
Example 6: Follow on TikTok Button
As TikTok continues to gain popularity, businesses can leverage the ‘Follow on TikTok‘ button template to tap into this vibrant social media platform. Featuring a branding identity element — a bright pink color — this template invites visitors to follow your TikTok account, allowing you to share engaging video content and connect with a younger, highly engaged audience.
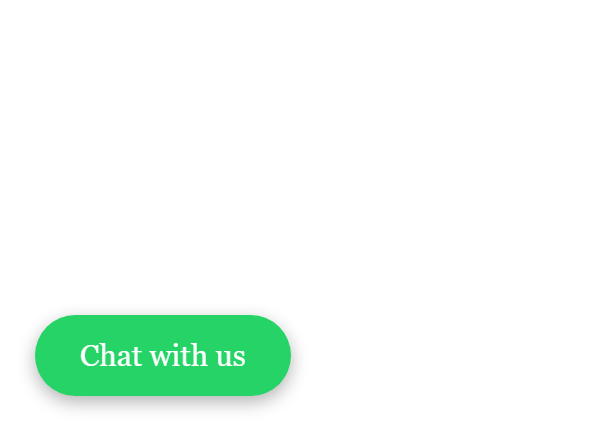
Example 7: Chat via WhatsApp Button
With the ‘Chat via WhatsApp‘ button template, you can offer real-time customer support and conversation. This template includes the green color scheme and CTA copy to encourage website visitors to initiate a chat using the WhatsApp messaging app. This template fosters direct communication to provide personalized assistance for your potential customers.
Example 8: Follow on Twitter Button
The ‘Follow on Twitter‘ template can help you boost your Twitter presence. It prompts visitors to follow your Twitter account via a direct CTA message. It helps expand the following, create brand awareness, and foster engagement through tweets and conversations.

Example 9: Chat via Skype Button
The ‘Chat via Skype‘ button template is an excellent option for businesses that prefer text or video chats. It features the CTA text that invites website users to initiate a chat or call via Skype. It not only allows direct communication and personalized interaction but also enhances the customer experience and builds trust.

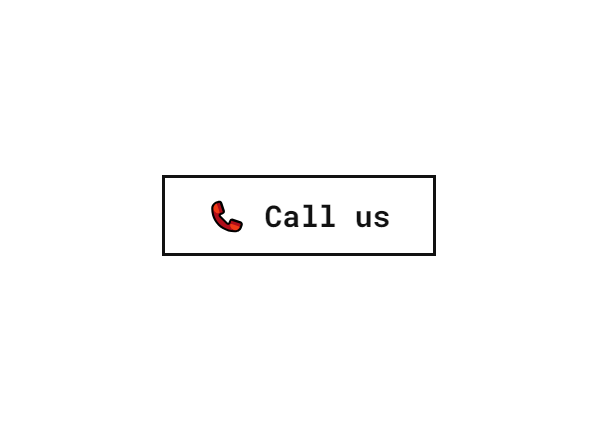
Example 10: Call Us Button
The ‘Call Us‘ template simplifies the process of contacting your business via phone. It showcases a phone icon and encourages visitors to call your business directly from your website. It provides a convenient and immediate means of communication, allowing potential customers to seek clarification or gather information efficiently.
With the HTML code-free Button widget, you can create visually striking call-to-action buttons that engage and guide your website visitors toward specific actions. From e-commerce to social media engagement, communication, and more, each template offers a unique opportunity to connect, convert, and enhance the user experience. Choose the one that aligns with your objectives!
Explore 35+ Button Templates


Tips for Website Button Usage
To get the most out of your website’s buttons, it’s important to go beyond just placing them on a page. By focusing on a few key elements like design, wording, and positioning, you can significantly increase their effectiveness and drive more user engagement.
- 📌 Use clear and action-oriented text. The text on your button should be concise and communicate exactly what the user should do. Phrases like ‘Get Started,’ ‘Sign Up Now,’ or ‘Learn More’ are effective because they are direct and action-driven. Avoid vague wording like ‘Click Here.’
- 📌 Make it stand out with contrasting colors. Your button should visually pop on the page, making it easy for users to spot. Use colors that contrast with your website’s background, but also align with your brand’s palette. The text should be totally legible.
- 📌 Place it strategically. Location is key when it comes to buttons. Make sure it’s placed where the user is most likely to take action, such as near key pieces of information. Consider using it above the fold or following up with another button after detailed information to capture interest once users are ready to act.
In conclusion, buttons are a powerful tool for guiding user actions and driving conversions on your website. By following these tips — using clear text, making your button stand out, and positioning it strat
Conclusion
Now you know how to embed a functional button into your website to perform actions that your business needs. Attract attention to your products, ask for a review, and invite them to subscibe to your social media. The Button widget is simple, but its use cases are limitless.
You can be sure that the button will look attractive and function perfectly on any type of website builder or CMS.
FAQ
Is the Button widget free?
Yes, you can add the Button plugin to your website page for free without any limitations on features or customization using the Free plan subscription. But to unlock advanced perks—consider upgrading to a premium plan: Basic, Pro, Premium, or Enterprise.
Can I use the Button widget for different call-to-actions?
Yes, absolutely! The Button plugin offers various templates and customization options to cater to different occasions. You can customize the button to reflect your specific call-to-action needs: want visitors to shop, subscribe, contact you, perform any other desired action, etc.
What is a call to action button on a website?
A call-to-action (CTA) button is a clickable element on a website designed to prompt visitors to take a specific action. Common examples include ‘Buy Now,’ ‘Sign Up,’ or ‘Learn More.’ CTA buttons help guide users toward completing important tasks, such as making a purchase, subscribing to a newsletter, or downloading content. They are essential for improving user engagement and achieving conversion goals.
How to center a button in HTML?
If your button is inside a parent container like a div, you can use text-align: center; on the parent container. If you use Elfsight’s Button widget, simply adjust the positioning of your button in the editor’s ‘Position’ tab.
More Ideas to Boost Your Website
- Is your brand on social media? We have a widget that can help you promote your social media activities on the website. Check out the Social Feed widget by Elfsight to increase your online audiences.
- Dealing with numbers? Try Elfsight’s Calculator widget. With numerous calculation fields, simple builder, and AI-feature for automatic generation of calculators, you can create a perfect solution for your customers who want to measure their benefit from your offer.
- Want to get more feedback? Embed reviews from Amazon, Facebook, Yelp, and 30+ other companies in our All-in-One Reviews widget. Use your website to display customer reviews from your audiences on any platform.
Or simply check out all widgets that Elfsight has developed to simplify e-commerce, social media activities, and website management.
Have A Question?
We hope this guide has been helpful. Reach out to us if you need more information on embedding a website button or require any assistance. We’re here to make sure your experience is smooth and successful. Elfsight is dedicated to providing a complete, no-code solution for your website needs. We’re also a vibrant Community where ideas and expertise come together, so feel free to share your creative suggestions in our Wishlist!