
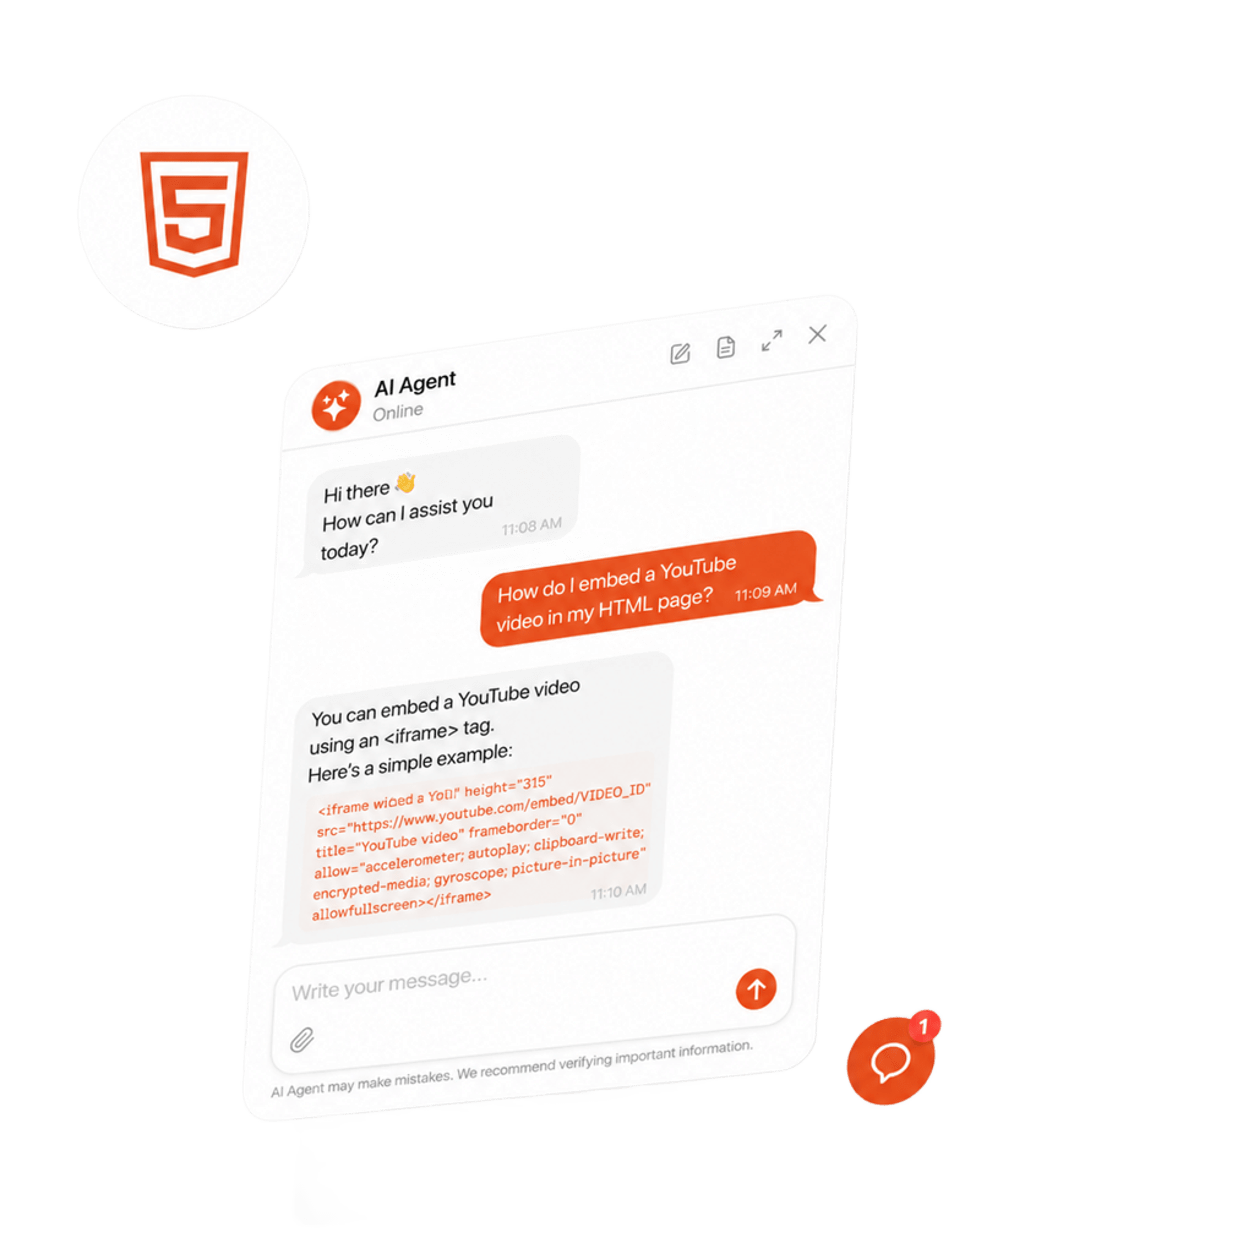
Chatbots are becoming a default customer service channel, but HTML websites don’t have the one-click integrations available on platforms like Shopify or WordPress. The good news is that you don’t need to build one from scratch: an HTML chatbot can be configured visually and embedded into any page with a single code snippet.
This can be done with the Elfsight AI Chatbot – a user-friendly widget that trains on your own business content and embeds into any HTML file as a two-line paste. It handles visitor questions, collects leads, and supports multilingual conversations out of the box. Below, we walk through this approach alongside build-it-yourself methods, so you can pick the one that fits your setup.
- A quick & easy way to embed an AI chatbot in HTML without coding
- How to train and customize a chatbot for your use case
- What limitations exist for manual integration methods
- 6 optimization tips to build a truly effective chatbot experience
Quick Way to Add a Chatbot in HTML
Here’s how to add a chatbot to HTML in four steps, no coding required beyond a single paste:
- Open the editor and select an AI chatbot template
- Configure the chatbot’s knowledge base & customize
- Click “Add to Website” to get your installation code
- Paste it inside the <body> section of your HTML file and save.
Configure your AI-powered chatbot in the interactive editor below ↓
Setup Methods for an HTML Chatbot
There are several ways to get a chatbot onto a custom HTML website. The right one depends on how much control you need, how much time you want to spend, and whether you’re looking for AI-powered conversations or a simple decision tree.
| Method | Difficulty | AI | Customization | Maintenance | Cost |
|---|---|---|---|---|---|
| Elfsight AI Chatbot | No code | Yes (GPT-powered) | High (visual editor) | None (cloud-hosted) | Free plan / paid tiers |
| Custom JavaScript chatbot | Advanced | Optional (requires API) | Full | High (self-maintained) | API costs |
| Third-party API integration | Intermediate | Yes | Moderate | Moderate | API usage fees |
| Open-source chatbot framework | Advanced | Varies | Full | High | Free + hosting |
Key takeaway: A chatbot widget is the fastest path if you don’t want to build or maintain infrastructure. A custom JS chatbot or direct API integration gives you more control but requires development time and ongoing maintenance — same goes for open-source frameworks.
What Kind of Chatbot Do You Need?
Before you configure anything, it’s worth thinking about what you actually want the chatbot to do.
Support assistant vs. conversion tool
Most people default to “customer support bot,” but Elfsight’s own community data shows that the majority of chatbot setups aren’t pure support agents at all. They’re being used as booking assistants, product recommendation guides, FAQ navigators, and consultation funnels.
| Use case | Knowledge base focus | Key skills to enable | Greeting style |
|---|---|---|---|
| Customer support | Help docs, policies, troubleshooting guides | Contact Human, Follow-Up Message | Task-oriented (“How can I help?”) |
| Sales / product guide | Product pages, pricing, comparisons | Action Buttons (WhatsApp, Email, URL) | Benefit-led (“Find the right plan”) |
| Booking / consultation | Services, availability, process | Action Buttons (Directions, URL), Collect Contacts | Action-oriented (“Book a session”) |
| Educational / FAQ | Articles, guides, text blocks | Follow-Up Message | Curiosity-driven (“Ask me anything about…”) |
The distinction matters because it changes what you put in the knowledge base, how you write the greeting, and which skills you enable.
One chatbot or several?
If your website serves different audiences or use cases, consider using separate chatbot widgets for different pages instead of one all-purpose bot. Each widget can have its own knowledge base and instructions — letting a pricing-page chatbot handle plan comparisons while a support-page chatbot focuses on troubleshooting. This keeps responses focused and reduces confusion.
Prefer watching instead of reading? This short tutorial shows the entire setup:
Detailed Guide to Setting Up an HTML Chatbot
Now that you’ve decided on the type of chatbot you need, this step-by-step walkthrough covers every configuration phase from template selection to embedding.
Step 1: Choose your HTML chatbot template
Open the AI Chatbot editor, and you’ll see a library of starter templates designed for different use cases. Each one comes with preconfigured greetings, suggested questions, and unique styles. Choose the template closest to your business type or start blank — you’ll customize everything in the next steps.
Once you’ve selected a template, click “Continue with this template” and paste your website URL to launch initial training.
Step 2: Configure the AI agent profile
Next up, the Agent tab is where you define how the chatbot presents itself and how it communicates. This is the first thing visitors see when the chat window opens, so it’s worth getting right.
- Display Name & Caption — the name shown in the chat header (e.g., company name + “AI Agent”)
- Profile Picture — upload your logo or a custom avatar
- Role — describe what the agent does to help the AI stay in character
- Tone of Voice — choose from Friendly, Professional, Casual, Direct, or write custom instructions
- Answer Length — Short (quick, concise replies), Medium (balanced answers), or Long
Greeting & suggested questions
This is one of those steps that has an outsized impact on whether people actually use the chatbot. A greeting like “Hello! How can I help you?” is fine but generic. A greeting like “Hi! I can help you find the right plan, check feature availability, or walk you through setup — just ask” tells visitors exactly what the chatbot can do.
For preset questions, write 2–4 questions that reflect what your visitors most often ask to nudge them in the right direction from the start.
Agent instructions
Below the profile settings, you’ll also find Conversation Rules — these let you define specific behaviors, such as “Do not discuss competitor pricing” or “Always suggest booking a consultation for complex questions.” Think of these as guardrails: the AI relies on its training data for facts, but rules govern how it handles edge cases.
Step 3: Build and organize your knowledge base
Now for the most important step: the Knowledge tab is where your chatbot learns what to say. A chatbot is only as good as the content it’s trained on.
You have five ways to feed it information:
- Web Pages — paste URLs from your website (up to 200 pages)
- Files — upload documents in PDF, TXT, JSON, DOCX, PPTX, HTML, or MD format
- Questions & Answers — add predefined Q&A pairs for the most common visitor questions
- Text Blocks — free-text content blocks for business details, policies, product descriptions
- Business Information — your company name, industry, and a brief overview
For most small business websites, start with your homepage, key service/product pages, FAQ page, and contact page. That covers 80% of what visitors will ask about. You can always add more content later — the knowledge base isn’t locked after initial setup.
Step 4: Set up HTML chatbot skills
The Skills tab enables your chatbot to do more than just answer questions. Four skills are currently available for enhancing your website visitors’ experience.
Here’s an overview of what each skill enables:
| Chatbot skill | What it does |
|---|---|
| Action Buttons | Lets visitors take quick actions directly from the chat: open WhatsApp, send an email, get directions, or visit a URL. You define trigger conditions in natural language. |
| Collect Contacts | A built-in form that asks for a name, email, and phone number. You control when the form appears and which fields to include. It can be made required to continue the chat |
| Follow-Up Message | An automated message is sent after a period of visitor inactivity. Useful for re-engaging visitors or sharing a contact option |
| Contact a Human | Redirects visitors to a real person via email, phone, or WhatsApp when the chatbot can’t answer or the visitor requests human help |
The Contact a Human skill is worth setting up even if you don’t expect heavy traffic. It triggers automatically when the chatbot can’t answer a question or the user requests human help. Additionally, note that this redirects visitors to external channels — it doesn’t bring a human into the same chat session.
Step 5: Customize the theme and appearance
The Theme tab controls how the chatbot looks on your website. Six adaptive themes are available — each built around a single accent color you can set.
Click “Customize Theme” to go deeper:
- Pick the color and size of the Launcher Button
- Select Header and Footer colors
- Set Chat background and corner radius
- Pick colors of individual elements (buttons, messages, etc.)
- Select a Font from the library
You can set a solid color or gradient for the header background, add a pattern to the chat wallpaper, or upload an image as background instead.
Step 6: Configure display and behavior settings
The Settings tab handles placement, visibility, triggers, and notifications — essentially, where the chatbot appears, when it appears, and how it announces itself.
Placement and layout
Under this section, you can adjust how your chatbot looks like on page:
- Floating Chat (bubble in the corner) or Embedded Chat (inline within your content)
- Position: left or right with vertical and horizontal offset control
- Select a Bubble Icon from the library or upload your own
- Display: opens manually or automatically on page load/after delay
Chat visibility
Here, you decide where to display or hide your widget depending on your strategy:
- All pages website pages
- Homepage only
- Specific pages you set
- Mobile, desktop, or all devices
Sound alerts
Sound notifications can be set to play after interactions: when the user opens the chat window, sends a message, or when the chatbot replies.
Other settings
- Google Analytics integration lets you track how visitors interact with your chatbot
- Email Notifications allow full chat transcripts to be sent to your inbox automatically
- Language & Region determine the chatbot’s primary language and time zone
- Footer Text can be used for disclaimers on AI use, policies, or contact links
- Custom CSS and JS can be used for advanced styling
Step 7: Embed the AI chatbot on your HTML website
Finally, click “Add to Website” in the editor to generate your installation code — two lines: a <script> tag that loads the Elfsight platform, and a <div> tag that tells the page where to render the widget.

Open the HTML file of the page where you want the chatbot to appear. For a floating chatbot, paste the code anywhere inside the <body> section — just before the closing </body> tag is a common choice. Alternatively, for an embedded chatbot, paste it at the exact position in the page where you want it to appear.
Troubleshooting quick check
- Chatbot not appearing: Verify the code is inside <body> tags, not inside <head>, <style>, or <script> tags.
- Chatbot shows in editor but not on the website: Some widgets require an active internet connection to load. Testing locally via file:// protocol may not work — use a local server or the live hosted version.
- Broken layout after adding the code: Make sure the installation code wasn’t pasted inside another HTML element that restricts content. It should be a standalone block within <body>.
- Chatbot gives wrong or empty answers: Check the Knowledge tab. If you only added one or two URLs, the chatbot has very little to work with. Add more pages, files, or text blocks, then click “Retrain.”
Widget Alternatives: How to Create a Custom HTML Chatbot
The Elfsight widget handles everything through a visual editor, but there are legitimate reasons to go a different route — especially if you need full control over the chatbot logic or want to connect it to your own AI backend. Here’s what each approach involves:
Option 1: Build a chatbot with JavaScript and API
If you have development resources, you can build a chatbot interface from scratch using HTML, CSS, and JavaScript, then connect it to an AI provider’s API (like OpenAI, Anthropic, or Google) for the conversation logic. The process at a glance:
- Create the chat UI (a container div, message list, input field, and send button) using HTML and CSS.
- Write JS to capture user input, send it to an AI API endpoint via fetch(), and display the response.
- Handle conversation history by passing the full message array with each API request.
- Deploy on your web server alongside your existing HTML files.
Option 2: Use an open-source framework
Frameworks like Botpress, Rasa, or Chatwoot provide pre-built conversation engines you can self-host and embed in your website. They’re designed for teams that need custom workflows, integrations, or data privacy controls.
- Install and configure the framework on your own server or a cloud instance.
- Build conversation flows using the framework’s visual builder or configuration files.
- Generate the embed code or JavaScript snippet provided by the framework.
- Paste the embed code into your HTML file and deploy.
Option 3: Add a rule-based chatbot with a JS library
For websites that only need a simple decision-tree chatbot (not AI-powered), lightweight JavaScript libraries can handle basic branching conversations entirely in the browser.
- Choose a library (e.g., BotUI, simple-chatbot) and include it in your HTML via a CDN link.
- Define your conversation flow as a JSON structure with questions, options, and responses.
- Initialize the chatbot in a script block and mount it to a container div.
Optimization Tips for Your HTML Chatbot
Setup is done — now here’s what separates a chatbot that visitors actually use from one they close after three seconds.
- Write suggested questions based on real visitor behavior. Pull the top 3–4 questions from your support inbox, contact form submissions, or site search logs.
- Use the Q&A feature for your highest-stakes questions. If there’s a question where the answer absolutely must be accurate (pricing, refund policy, legal compliance), add it as a Q&A pair in the knowledge base.
- Set up the Contact Human skill with realistic expectations. The chatbot redirects visitors to external channels, so make sure the contact details you configure are actively monitored so visitors don’t hit a dead end.
- Train with JSON files for structured data. If you have product catalogs, pricing tables, or feature comparisons, format them as JSON before uploading. The AI model parses JSON more accurately than unstructured text.
- Use visibility controls for page-specific behavior. Don’t show a sales-oriented chatbot on your support documentation pages, and don’t show a troubleshooting bot on your homepage.
Frequently Asked Questions
Why doesn't my chatbot appear when I open the HTML file in a browser?
How do I show the chatbot on every page of my HTML website?
Does the AI chatbot automatically update when I change my content?
Can I use the chatbot on a static HTML website?
Why does my chatbot give wrong answers?
Conclusion
There are several ways to add a chatbot to a custom HTML website: from building one from scratch with JavaScript and an API to embedding a no-code widget. With an HTML chatbot widget, the entire process works through a visual editor and a single code paste – no backend, no framework dependencies, no ongoing code maintenance.
If you haven’t started yet, open the AI Chatbot editor and add your first few web pages to the Knowledge Base. Once live, the most impactful next step is refining what the chatbot knows and how it communicates — add more URLs to the knowledge base, then tighten your conversation rules and instructions, and shape the chatbot’s personality to match your brand voice.