
OpenCart Live Chat plugin
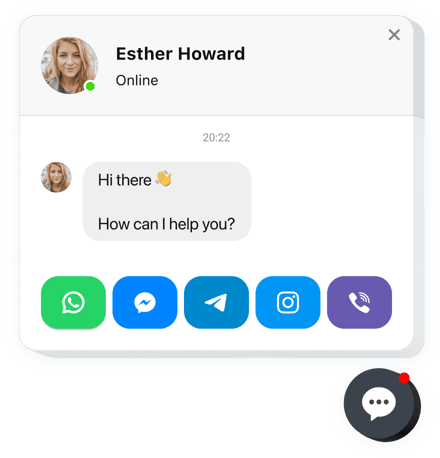
Create your All-in-One Chat extension
Screenshots
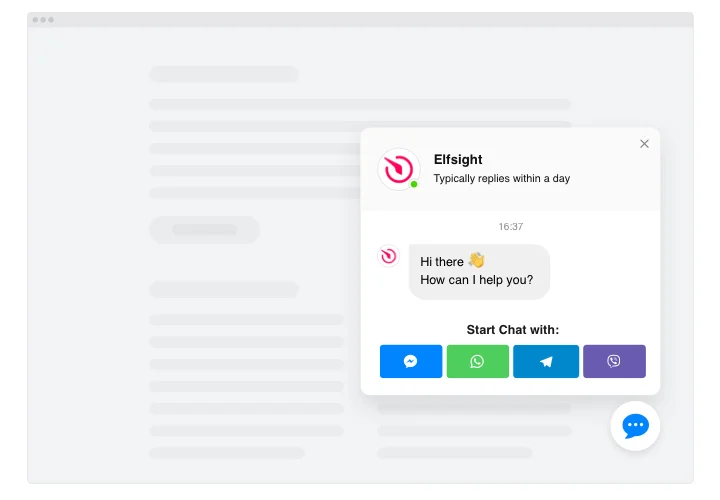
Why add the chat to your store
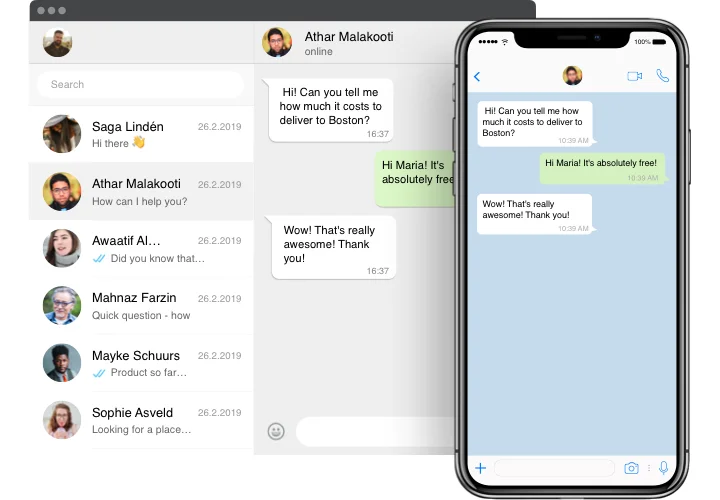
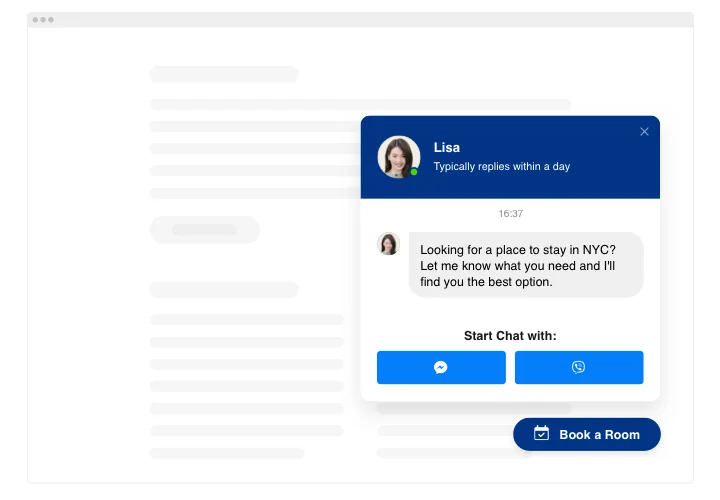
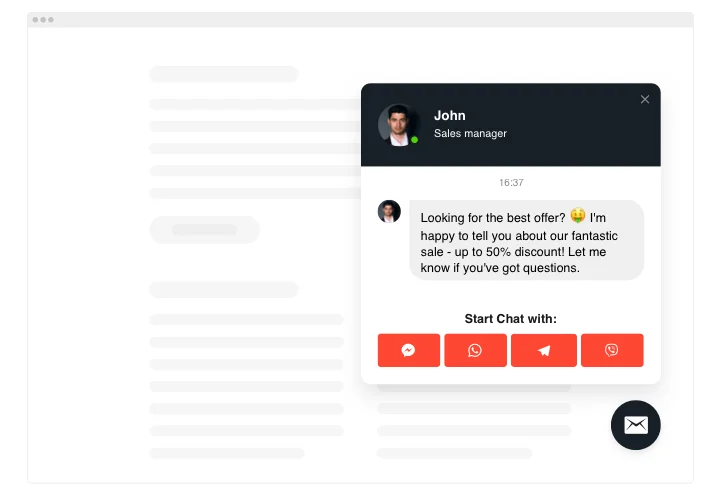
A shopper torn between two sizes or checking a delivery date wants a quick reply, not a contact form and a wait for an email. With the chat, they message you on WhatsApp, Telegram, Messenger or Viber from any page of your store, and you answer from the same app you use with friends and suppliers.
Your routine stays the same – no extra inbox to check and nothing new to learn, because each button simply opens a conversation with your number or account in the shopper’s app.
Every channel your customers use, in one window
Add up to 16 types of contact buttons, from WhatsApp and Viber to WeChat, Line and KakaoTalk, plus email, a call, SMS, directions and Save Contact. A custom button covers anything else – a link, an email address or a phone number. International buyers spot the app they know, and local customers can ring you or get directions with a tap.
A chat that opens when shoppers hesitate
The chat window can open on page load, after a number of seconds on the page or on your website, at a scroll depth, or on Exit Intent, when a visitor is about to leave. If someone closes it, Remember Visitor keeps it shut for them for a day up to a month, so nobody gets interrupted twice.
On the right pages, during your hours
Show the chat on every page, only on the pages you list, or everywhere except checkout. Pick mobile, desktop or both, target new or returning visitors, and set the days and hours it appears in your time zone, so messages come in while you can answer.
Key Features
- Messaging apps, email and calls in one chat – 16 types of contact buttons plus a custom one, so every shopper finds a familiar way to reach you.
- Proactive triggers – open the window on page load, after a delay, at a scroll depth or on exit intent.
- Display rules and a schedule – choose pages, devices and visitor types, and show the chat only in your business hours.
- Profile and welcome message – a photo, your name, an Online label and a reply-time caption from “instantly” to “within a day” set expectations before the first message.
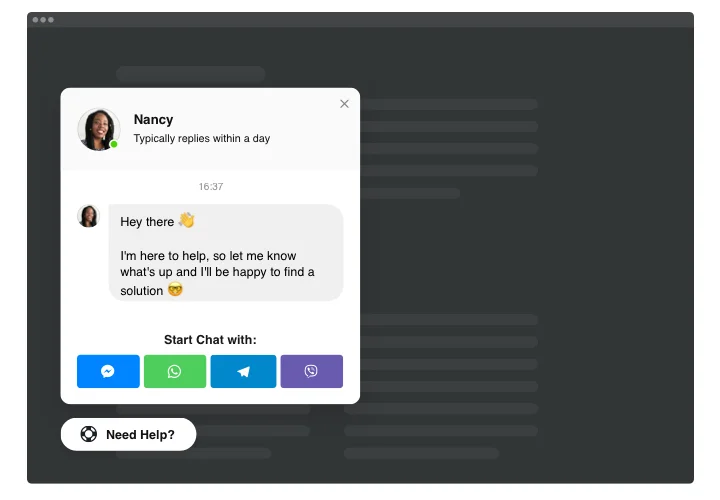
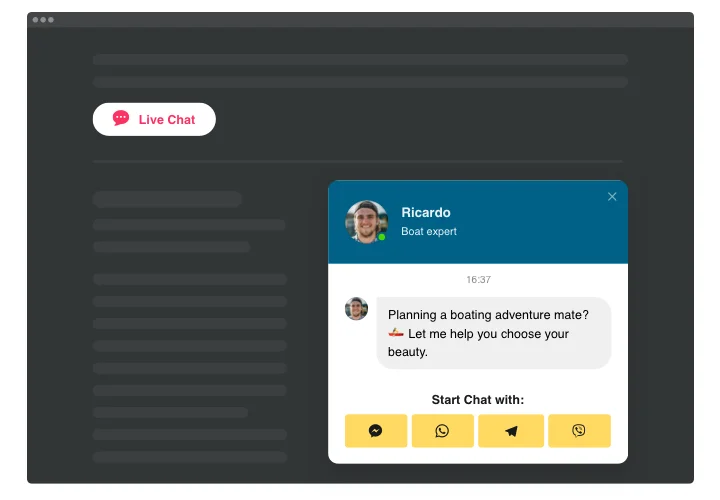
- Three placements – a floating bubble, a bubble embedded in the page, or a full chat window placed on your contact or delivery page.
- Design that matches your theme – fonts, colors, native or custom button colors, your own bubble icon and text, a pulse effect and a notification dot.
- Interface language – show the widget’s built-in texts in your storefront’s language.
You can feel if the widget is for you trying out the live editor.
Built for OpenCart 3.x and 4.x
- Nothing extra to install – the HTML Content module ships with both versions, so there’s no paid extension, OCMOD or modification refresh.
- One module for a whole page type – assign it to the Product layout to cover every product page, or to Category or Home.
- Survives the move to 4.x – the chat isn’t built into your store’s code, so after upgrading from 3.x you paste the same code into the new store.
- Ready for multi-store – the same code works in every store you run from one admin, with layouts set up per store.
- Edits without reopening the admin – change buttons, triggers or colors in Elfsight, click Publish, and your storefront shows the new version.
How to add the All-in-One Chat to OpenCart
Build the chat in the Elfsight editor, click Add to website for free and copy the installation code. Then decide how to place it: as a module on chosen page types or as a floating bubble on every page.
Good to know: pick the layout in the Elfsight editor before you copy the code – Floating Bubble for the footer template; Floating Bubble, Embed Bubble or Embed Chat Window for a module. Neither the module editor nor the Theme Editor shows a preview, so judge the result on your storefront.
Method 1: Add the chat to one page type with the HTML Content module
- In the admin, open Extensions → Extensions and pick Modules in the extension type list.
- Find HTML Content, click Install if it isn’t installed yet, then click Add New to create a module.
- Name the module, for example “Chat”, and switch the Description field to code mode: Source in 4.x, Code View in 3.x.
- Paste the installation code, set Status to Enabled and click Save straight away, while the field is still in code mode.
- Go to Design → Layouts and click Edit next to Product, Category, Home or another layout.
- Under Content Top, Content Bottom, Column Left or Column Right, choose your module, click Add Module and save the layout.
- Open a page of that type on your storefront – the chat bubble or window shows up there.
A module only appears in positions your theme outputs – if nothing shows, try another position.
Method 2: Show a static chat on every page through all layouts
- Create the HTML Content module as in Method 1, steps 1–4.
- In Design → Layouts, open the first layout in the list.
- Add your module to one position, for example Content Bottom, and click Save.
- Repeat for every other layout so that each page type carries the chat.
- Browse a few storefront pages – home, a category and a product – to confirm.
Pages whose theme doesn’t output the chosen position won’t display the chat.
Method 3: Add a floating chat to every page in 3.x (Theme Editor)
- Go to Design → Theme Editor and choose your store.
- In the template list, open
commonand selectfooter.twig. - Paste the installation code just above the opening
<footer>tag and click Save. - Back on the Dashboard, click the gear icon and refresh the theme cache.
- Reload your storefront and look for the bubble at the bottom of the screen.
Running several stores? Repeat these steps for each one.
Method 4: Add a floating chat to every page in 4.x (Theme Editor)
- Go to Design → Theme Editor and click Add New.
- Choose your store and select
common/footerunder Choose Template – the template code loads on its own. - Place the installation code just above the opening
<footer>tag. - Set Status to Enabled and click Save.
- Refresh the theme cache if the bubble doesn’t show, then check your storefront.
OpenCart keeps this edit as a template override – after updating a third-party theme, check that the chat is still in place.
Once the chat is live, tap each button on your phone and on a desktop to make sure it opens the right app and account. Rather not touch the admin? Ask our support team, and they’ll install the chat for you.
FAQ
Do I need a paid extension or OCMOD to add the chat?
Are the installation steps the same in 3.x and 4.x?
How do I show the chat on all product pages?
Can I use the chat in a multi-store setup?
Is there an Elfsight module for OpenCart?
The chat doesn't appear on my storefront. What should I check?
footer.twig, refresh the theme cache; if everything looks right, open your Elfsight dashboard – a widget stops showing once it reaches its monthly view limit.