
Shopify Slider app
Create your Slider app
Screenshots





Why add an image slider to your Shopify store
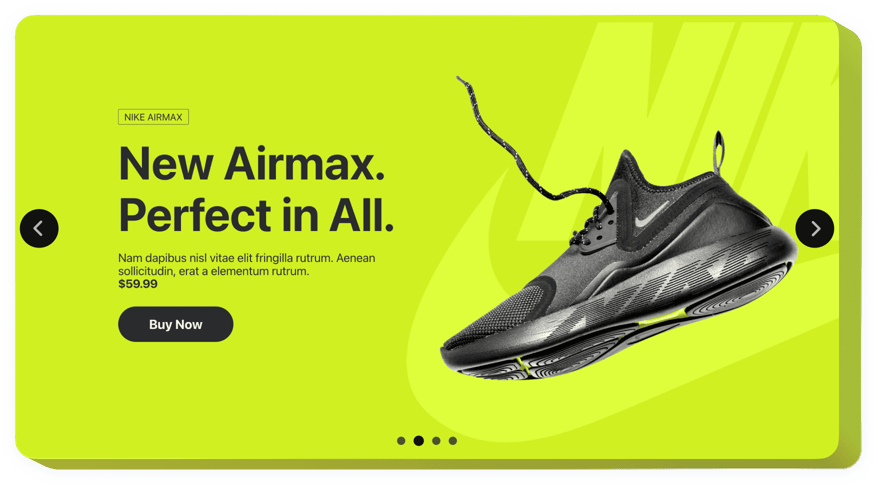
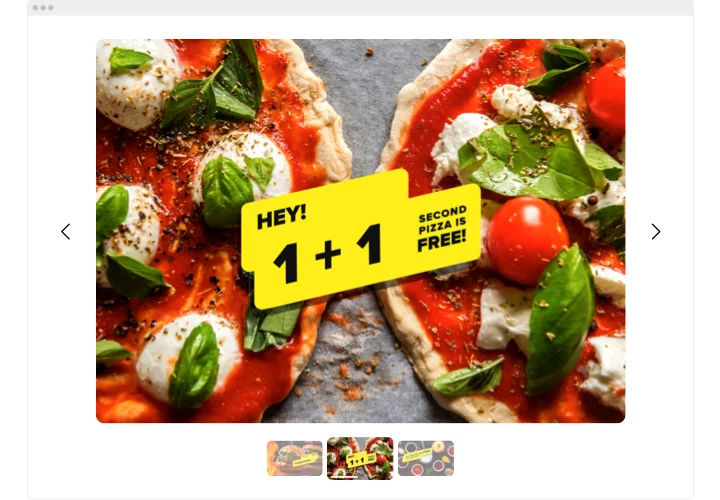
A slider gives your promotions, products and seasonal campaigns room on the home page or a product page. Put images, videos and offers into one carousel and use as many slides as your story needs.
Every slide can lead to the next step: add a CTA button, and a visitor who likes an offer can act on it right away. You add the slider to your theme as a Custom Liquid section, so there is no need to edit the theme code.
Main features of the Shopify Slider
Set everything in the editor and shape the slider around your store:
- Images, videos and offers in one slider – show product visuals, promotions and campaigns in a single carousel.
- CTA buttons – guide visitors toward the next step on every slide.
- Adjustable slide timing and autoplay – switch slides automatically and pause on hover.
- Text and buttons on slides – place titles, text and buttons where they fit each slide.
- Any number of slides – add as many as your campaign needs.
- Visual effects and media size – style the slides and scale images and videos the way you like.
- Custom width and height – fit the slider to banners, featured sections or product highlights in your theme.
- Promotional badges – add labels such as Sale or Hot to the slides that matter.
Curious how it feels? Test all features for free in our live editor.
Made for Shopify
- No theme code edits – in Online Store 2.0 themes, add the slider with a Custom Liquid section in the theme editor.
- Set up once per template – the section sits in a template, so the slider appears on every page that uses it.
- Not tied to one store – the cloud widget works on any number of domains, and the Free plan has no time limit.
- Update without saving your theme again – change slides in Elfsight, and the slider in your store updates automatically.
How to add the Slider to Shopify
Build the slider in the Elfsight editor first, then click Add to website for free and copy your installation code. Shopify offers several ways to place it – pick the one that matches your theme and the pages you need.
Good to know: the Starter plan does not allow adding a section or code. Edit the published theme – if you edit an unpublished one, the slider will not appear in your store. A new store is closed by a password page by default, so visitors will not see the slider until you open it.
Method 1: Add the slider to a page or template (Online Store 2.0)
- In your Shopify admin, go to Sales channels → Online Store → Edit theme.
- In the drop-down at the top, select the page or template for the slider.
- Click Add section and select Custom Liquid.
- Paste the installation code into the Custom Liquid field.
- Click Save.
The section is added to a template, so the slider appears on all pages that use this template.
Method 2: Add the slider if your theme has no Custom Liquid section
- Go to Online Store, click the “…” button next to your theme and select Edit code.
- Right-click the Sections folder and select New File.
- Name the file elfsight-widget.liquid and press Enter.
- Paste the section code from our Help Center guide and click Save.
- Go back to the theme editor with Edit theme, click Add section and select Elfsight widget.
- Paste the installation code into the Installation code field and click Save.
Method 3: Add the slider in a Vintage theme
- Go to Online Store → Themes and click Customize.
- Select the page in the drop-down at the top.
- Click Add Section and select Custom Content.
- Click Add Block and select Custom HTML.
- Paste the installation code into the HTML field and click Save.
Method 4: Add the slider app to all product pages
- Go to Sales channels → Online Store, click the “…” button next to your theme and select Edit code.
- Open Sections → main-product.liquid.
- Paste the installation code where the slider should appear.
- Click Save.
The file name may differ in some themes.
Method 5: Add the slider to one product
- In your Shopify admin, go to Products and open the product.
- In the Description field, click the Show HTML button.
- Paste the installation code.
- Click Save.
After saving, open your published store and check that the slider shows up. Need some assistance? Ask our Support team for installation help.
Do I need a specific Shopify plan to add the slider?
Where do I find Custom Liquid, and what if my theme does not have it?
Can I add the slider to one page or to every page with the same template?
Can I add the slider to all product pages or to one product only?
The slider does not appear in my store. What should I check?
Is this the widget from elfsight.com or the Elfsight app from the Shopify App Store?
Can I show images and videos in one slider?
Does the slider switch slides automatically?
Can I resize the slider to match my Shopify theme?
Can I place text and buttons on slides?
Can I add promotional badges to slides?
How many slides can I add?
Is the slider free?
Can you help me install the slider?
Slider Template Catalog

