
Magento WhatsApp Chat extension
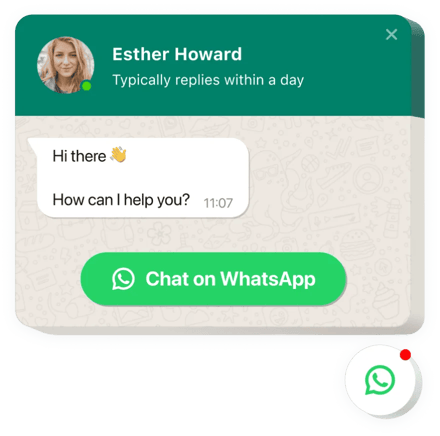
Create your Whatsapp Chat extension
Screenshots
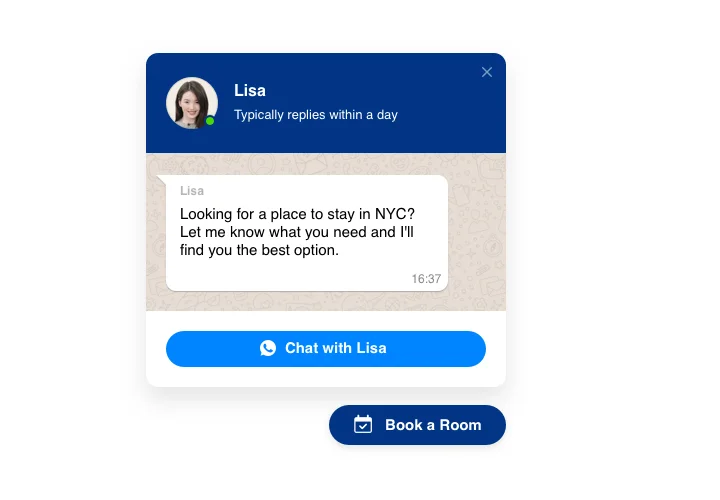
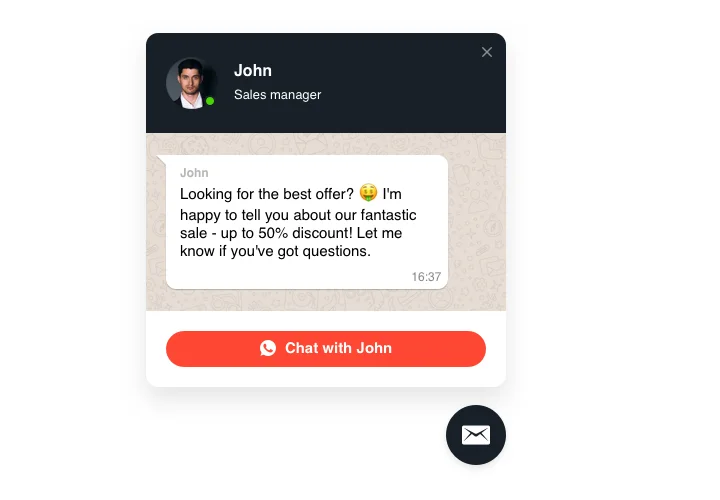
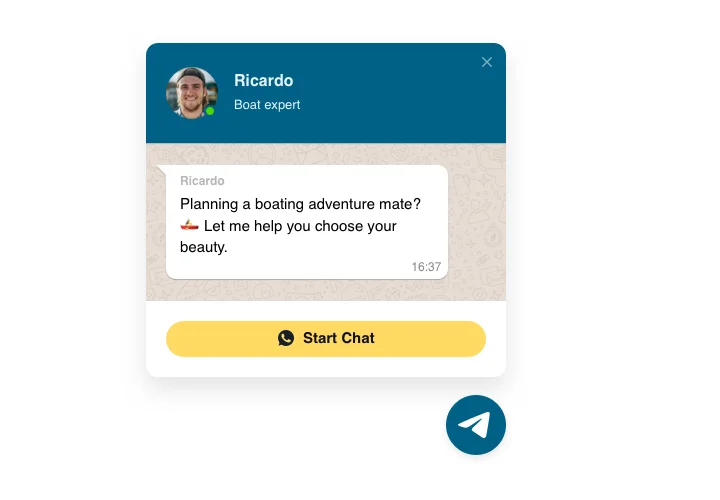
Why add WhatsApp chat to your Magento store
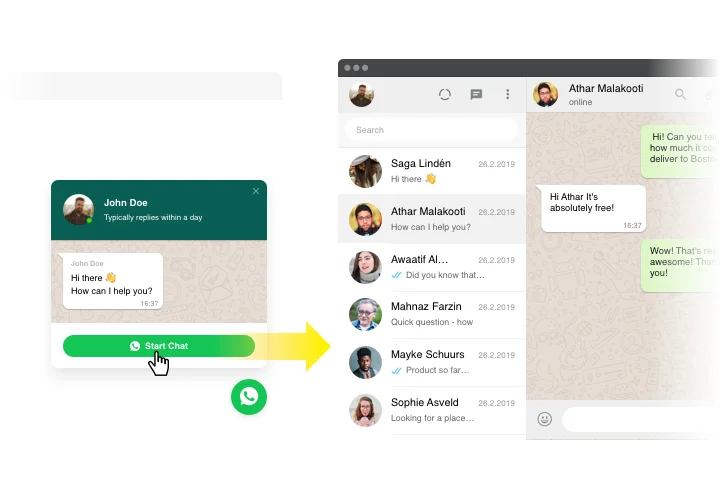
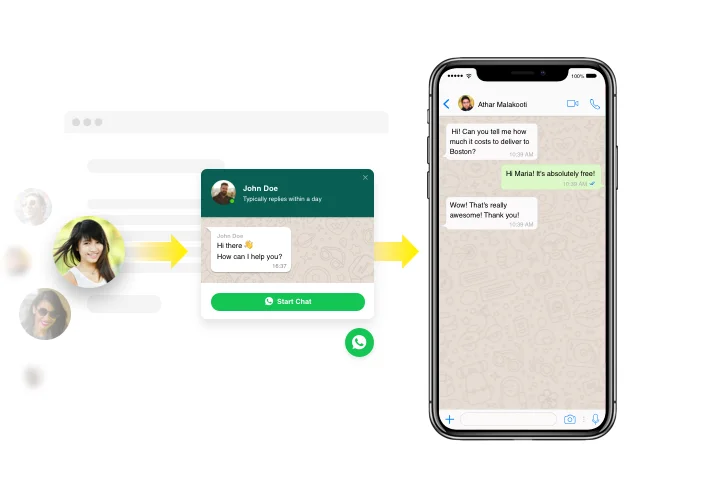
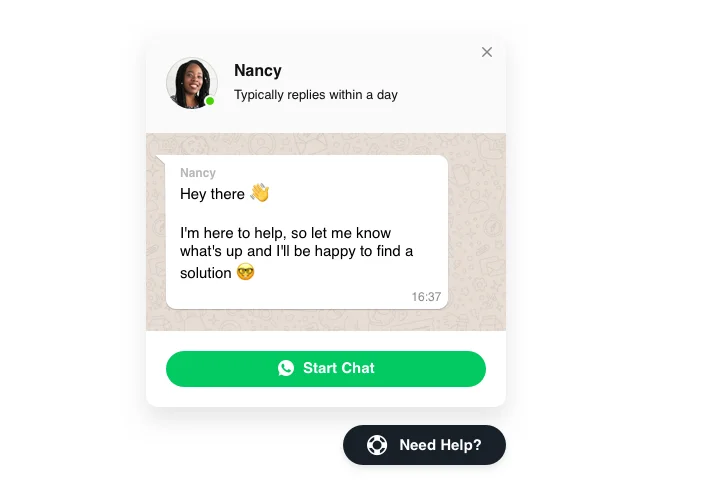
Let shoppers message you on WhatsApp straight from the page, and answer messages directly from your WhatsApp account. Show the chat on selected pages or for selected groups of customers, add start-chat triggers and write your own welcome message.
Start from a template and adjust its appearance to match your store’s brand style, so the chat looks like a natural part of your storefront.
Key Features of the Magento WhatsApp Chat extension
- Three chat styles – choose a floating bubble, an embed bubble or an embed chat window.
- Show it where it matters – display the chat on selected pages or for selected groups of customers.
- Triggers and welcome message – set start-chat triggers and write your own welcome message.
- Your bubble, your text – pick the bubble icon from a set of icons and enter your own text for the chat bubble.
- Template start – begin with a template and alter its appearance to suit your store’s brand style.
- Replies from WhatsApp – answer messages directly from your WhatsApp account.
Try everything in the free configurator.
Made for Magento 2 stores
- No module to install – paste the code with standard Admin tools: the HTML Code element in Page Builder, a CMS block or Design Configuration.
- Nothing to check after Magento updates – the widget loads from Elfsight servers, so there is no module whose compatibility you need to verify on Magento 2.4.x updates.
- One block for every product page – place one CMS block through Content → Widgets to show the chat on all product pages, in categories or on all pages, without editing templates.
- Update without republishing – edit the chat in Elfsight and the storefront updates, with no code change in Magento.
- Several store views – use the same code on all store views (Global scope in Design Configuration) or set different widgets for different languages.
How to add WhatsApp Chat to Magento 2
Set up your chat in the free Elfsight editor and save your edits, then copy your personal installation code from the window in your Elfsight dashboard. For a chat on all pages, choose the floating layout; to place it inside page content, choose the static (embed) layout.
Good to know: the Page Builder stage, the WYSIWYG editor and the Description preview in Admin may not run the widget – check the chat on your storefront (Actions → View). After editing blocks, widgets or Design Configuration, refresh the cache in System → Tools → Cache Management.
Method 1: Add the chat to a CMS page with Page Builder
Page Builder is available in Adobe Commerce 2.3.1+ and Magento Open Source 2.4.3+.
- Go to Content → Pages, click Select next to your page and choose Edit.
- Expand the Content section.
- In the Page Builder panel, expand Elements and drag HTML Code onto the stage.
- Hover over the container and click the Settings (gear) icon.
- Paste your installation code into the text field and click Save.
- Click Save or Save & Close on the page.
- If a cache message appears, go to System → Tools → Cache Management and click Refresh.
- In the pages grid, click Actions → View to check the chat on your storefront.
Method 2: Add the chat to a CMS page without Page Builder
- Go to Content → Pages, click Select next to your page and choose Edit.
- Expand Content and click Show / Hide Editor.
- Paste your installation code where the chat should appear.
- Click Save.
- If needed, refresh the cache in System → Tools → Cache Management.
- Open the page on your storefront and check the chat.
Method 3: Show the chat on every product page
- Go to Content → Blocks and click Add New Block.
- Set Enable Block to Yes and fill in the block title and identifier.
- Add the HTML Code element to the block.
- Paste your installation code and click Save.
- Go to Content → Widgets and click Add Widget.
- Select CMS Static Block as the type, choose your Design Theme and click Continue.
- Assign the widget to your store views.
- Open Layout Updates, click Add Layout Update and set Display on to All Product Types.
- Choose a Container, then select your block in Widget Options.
- Click Save and refresh the cache in System → Tools → Cache Management.
Method 4: Show a floating chat on every page
- Go to Content → Design → Configuration.
- Click Edit in the Global row, or in the row of the store view you need.
- Open Other Settings → Footer.
- Paste your installation code into Miscellaneous HTML.
- Click Save Configuration.
- Refresh the cache in System → Tools → Cache Management and check the chat on your storefront.