Webflow Contact Form widget
Create your Contact Form widget
Screenshots
How the Webflow Contact Form Can Streamline Customer Interaction
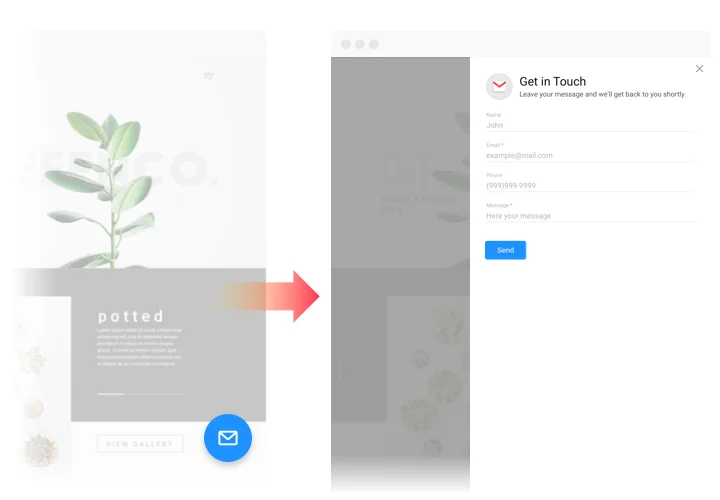
Elfsight’s Contact Us Form is a must-have widget for any website looking to simplify communication with visitors. Whether you’re looking to capture leads, offer customer support, or allow users to inquire about your services, the widget makes it seamless. It offers full customization, giving you the flexibility to match both its look and functionality to your website’s unique design and needs.
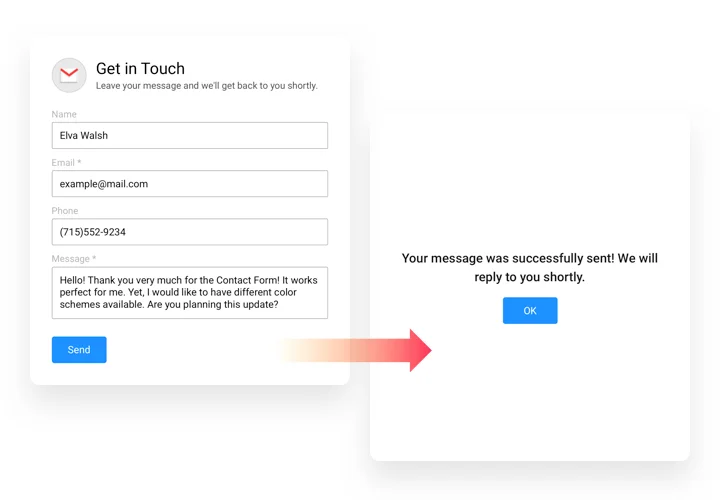
With Elfsight, you can enhance customer engagement by allowing visitors to easily send inquiries, feedback, or requests. This smooth interaction improves user communication and strengthens relationships. Additionally, you can capture valuable customer data like email addresses, names, and messages to boost lead generation and streamline follow-up efforts. The intuitive design makes it easy for users to reach out, improving their overall experience on your site.
Ready to improve your website’s communication? Start using the Contact Form for free today and see the difference it can make!
Key Features of the Webflow Contact Us Form
The Contact Form widget comes packed with features to help you manage user communication efficiently. Here’s a look at the standout capabilities that set this widget apart:
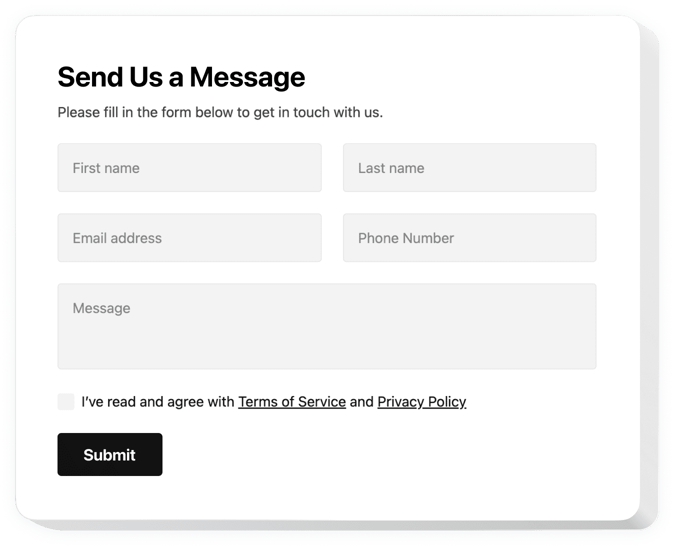
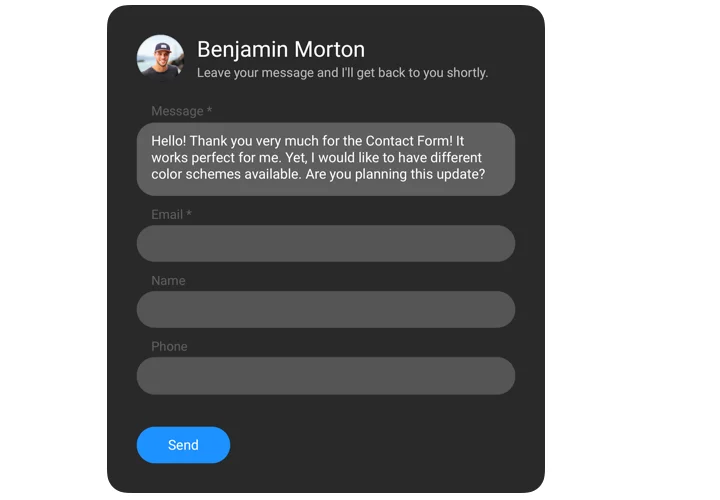
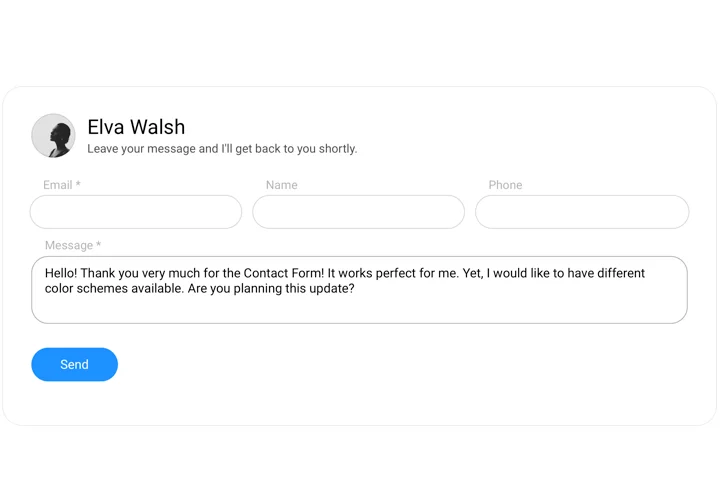
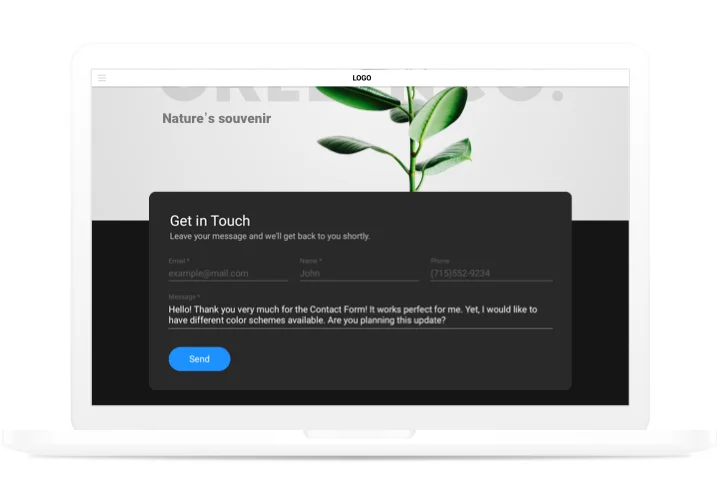
- Fully customizable design: Tailor the appearance, fields, and layout to suit your branding, ensuring seamless integration with your website’s aesthetic.
- Multiple fields: Add custom fields such as text boxes, dropdowns, checkboxes, and more to collect the data that’s most important to you.
- Instant email notifications: Get notified instantly when someone submits the form, ensuring you never miss an inquiry or lead.
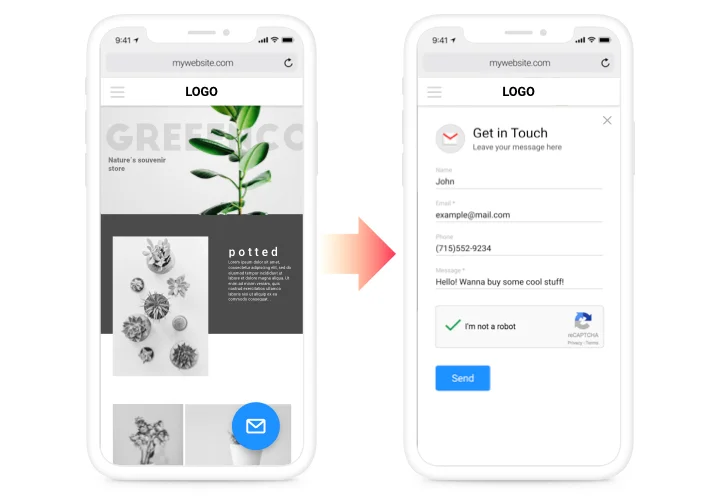
- Spam protection: Integrated anti-spam features like CAPTCHA help prevent automated submissions, ensuring only genuine messages reach you.
- Mobile responsiveness: The form is designed to look great on any device, making it easy for users to submit their information from their smartphones, tablets, or desktops.
- Simple setup: No coding required! Adding the form to your Webflow website is as easy as copy-pasting the code, making it perfect for users without technical expertise.
Try all features without any registration and see how it works on your website!
How to Add a Contact Form to Webflow
Embedding a Contact Us Form to Webflow is a quick and easy process that requires no coding expertise. Follow these simple steps to get started with Elfsight:
- Select your template: Open the Elfsight editor and choose the template that best matches your need and style.
- Customize your widget: Use the editor to customize the design, settings, and fields. Choose from a variety of field types, including text, email, and dropdown menus.
- Copy the generated code: After customizing your form, copy the code generated by the Elfsight widget builder.
- Embed the code: Paste the copied code into the appropriate section of your Webflow website, such as in a code block or directly in the page settings.
It’s that simple! Experiencing any issues while following the guide or creating your form? Check out our article on how to create and add a contact form to Webflow.
If you need help with the installation process or have any questions, our support team is here to assist you, and we’ll even help you with the installation for free to ensure everything is set up correctly.