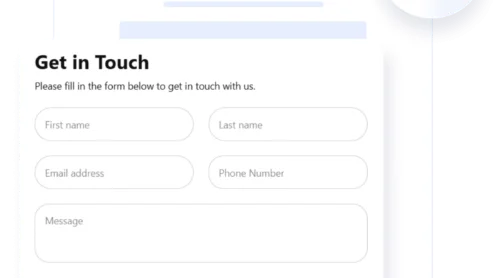
When a form asks too many questions all at once, it can overwhelm users and lead to high abandonment rates. That’s where multi-step forms come in. These are forms broken down into manageable sections, guiding users through a clear, step-by-step process.
If you’re looking to improve user interaction and boost form completion rates, learning how to build a multi-step form in WordPress is exactly what you need. It’s a practical, efficient way to collect data without overwhelming your visitors.
- Improved user experience. Multi-step forms guide users with a logical form navigation flow, making the process feel easier and more organized.
- Higher completion rates. By splitting the form into parts, users are more likely to finish filling it out, especially on mobile devices.
- Better data quality. Breaking the form into sections encourages users to provide more thoughtful and accurate responses.
- Professional appearance. Multi-step forms give your website a polished and modern look, which helps build trust with your audience.
- Clear segmentation of information. Grouping related fields together makes the form more digestible and less intimidating.
Now that you know the value of adding a multi-step form to your WordPress website, let’s see how easily it can be done using Elfsight.
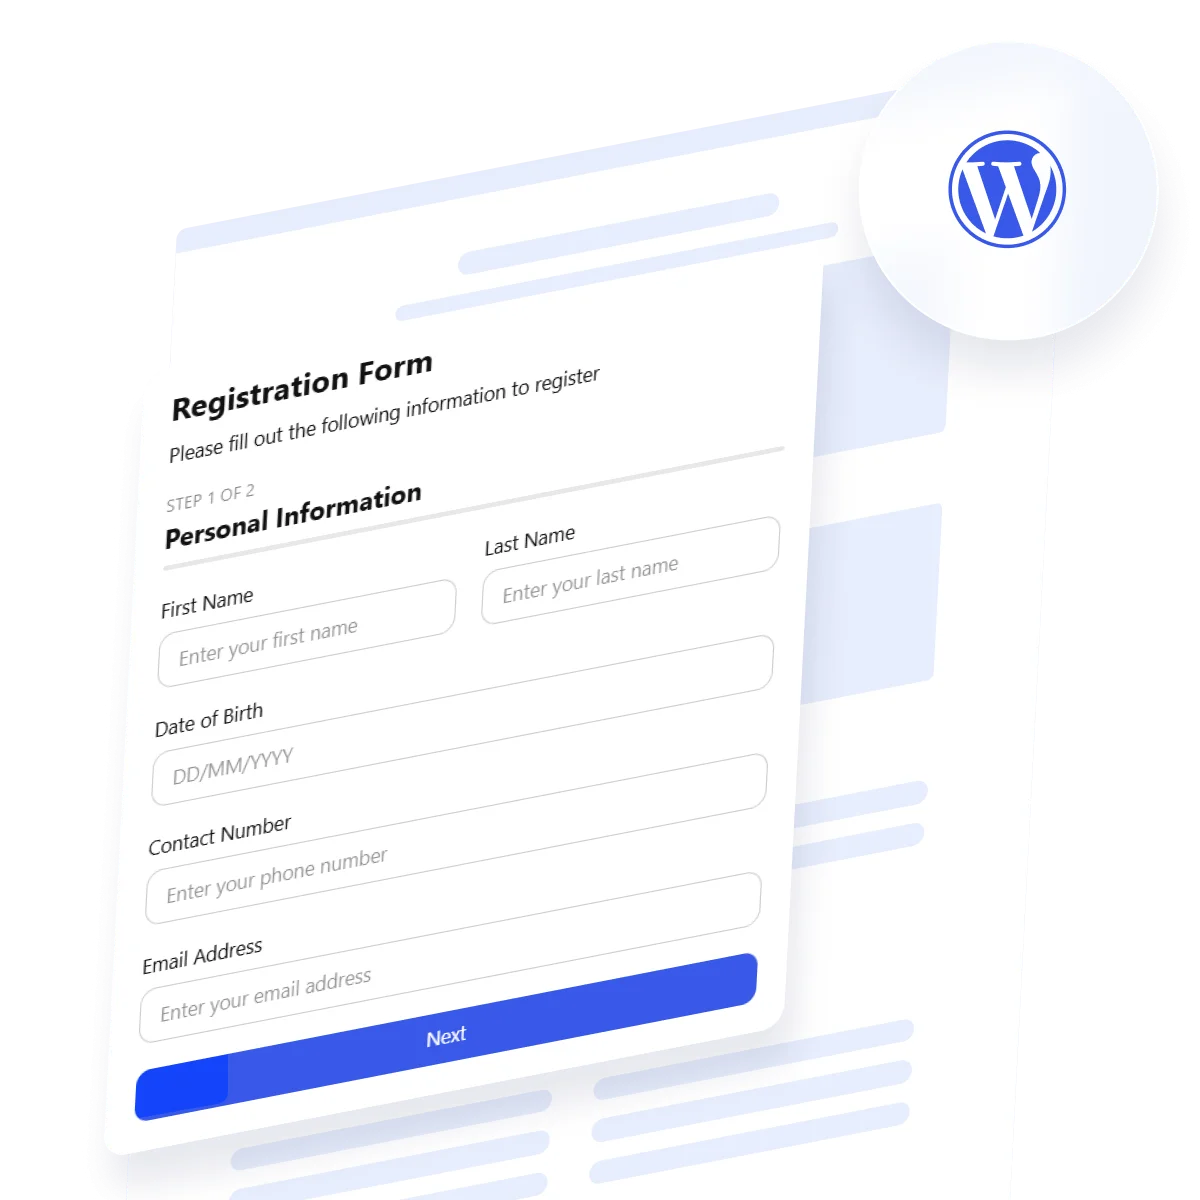
Quick Way to Create a Multi-Step WordPress Form
Creating a multi-step form in WordPress doesn’t have to be complicated. With Elfsight, you can use a drag-and-drop interface to build a fully functional form in minutes. Here’s a simplified step-by-step WordPress form creation guide to get you started.
- Open the Elfsight editor and choose the multi-step form template.
- Break down form content by adding separate steps for each group of fields.
- Customize the layout, spacing, labels, and progress bar using the intuitive settings panel.
- Style your form with background colors, fonts, and accents to match your website design.
- Click “Add to website for free”, copy the embed code, and paste it into your WordPress backend.
This method is ideal for anyone who wants a professional-looking form without spending hours on development. Whether you’re gathering leads, running surveys, or collecting bookings, Elfsight helps you streamline the process with zero coding needed.
See how it works – create your own multi-step form in minutes!
Features of the Elfsight Form Builder
Once you’ve seen how simple it is to create a multi-step form, it’s worth understanding what makes Elfsight Form Builder a strong choice for building a form with progress steps in WordPress. Below are the core features that drive seamless user interaction and practical benefits for your business.
Here’s a breakdown of what the Elfsight solution offers:
- Step progress indicator. Let users see how far they’ve gone and what’s left, helping reduce form fatigue and keeping engagement high.
- Smooth transitions between steps. Create a frictionless experience with seamless step changes that feel natural and fast.
- Field grouping and organization. Structure content logically by splitting long forms into smaller, easy-to-follow parts.
- Mobile-friendly display. Forms work flawlessly on mobile devices, ensuring consistent performance across all screen sizes.
- Field validation and logic. Add smart rules for input validation and conditional logic, guiding users to the right questions step by step.
- Custom confirmation messages. Control what users see after submission with tailored success messages or redirect links.
- Spam protection options. Prevent junk responses with built-in spam filters, ensuring the quality of collected data.
All these features are aimed at helping you create forms that don’t just look good, but also drive meaningful interaction. Now let’s go through a detailed guide on how to build and embed your form using Elfsight.
Build and Embed a Multi-Step Form to WordPress: Guide
By now, you understand what makes multi-step forms valuable and how Elfsight simplifies their setup. Let’s walk through the full process of creating and embedding your form on a WordPress website using the Elfsight editor. Each step is intuitive and gives you full control over layout, design, and behavior — no coding needed.
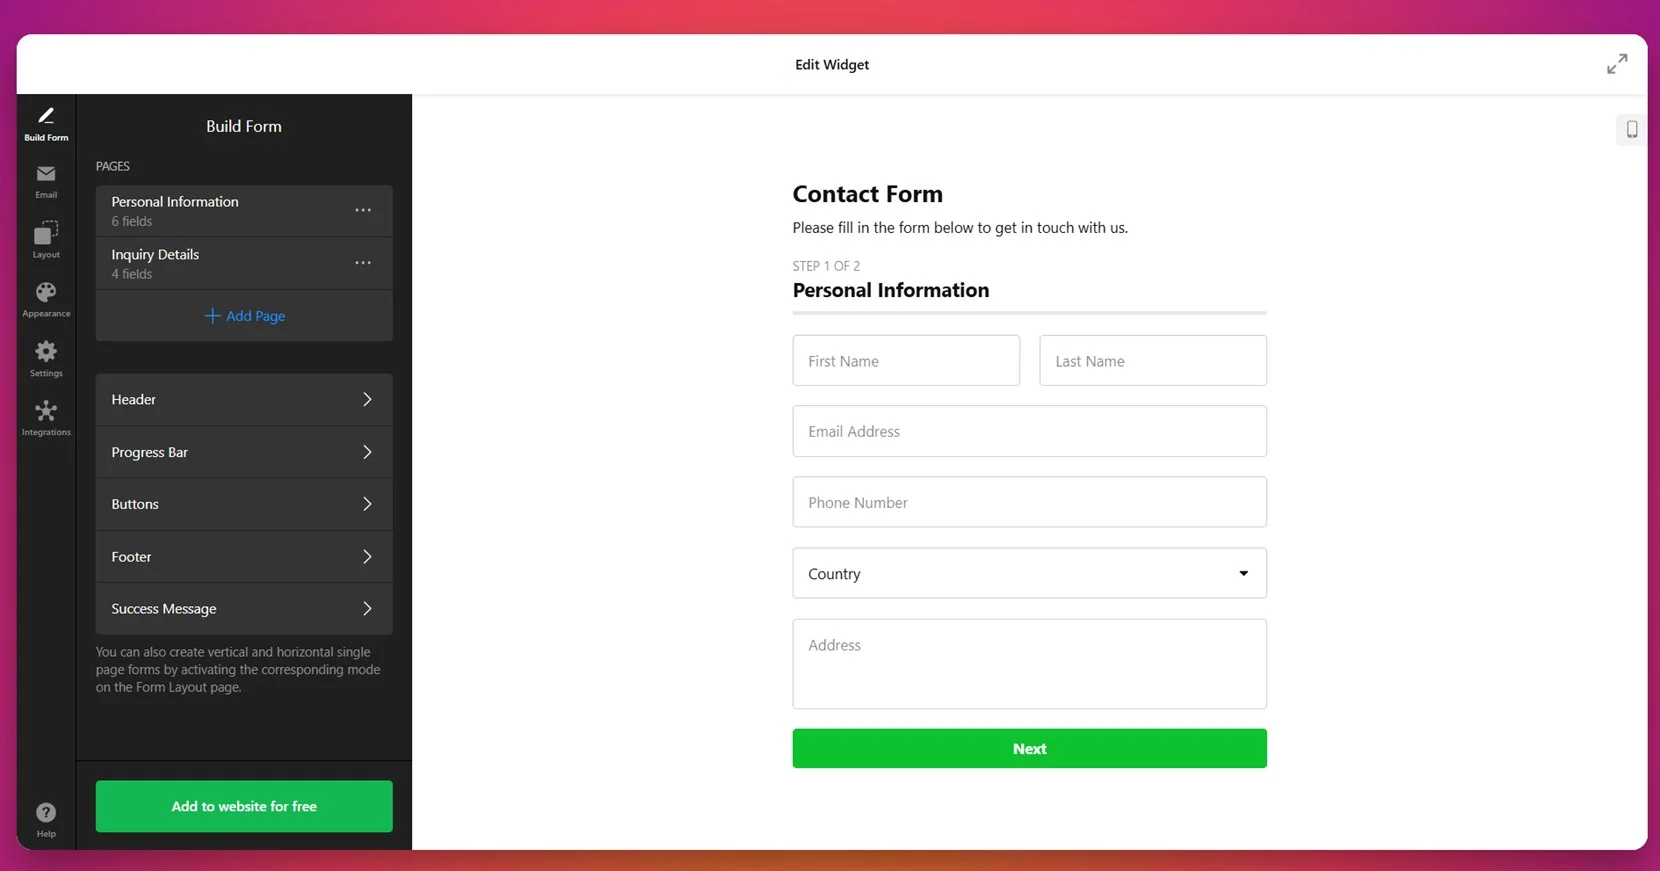
- Start with the Form Template. In the Elfsight Form Builder editor, choose the multi-step form template that suits your needs. Start building the form manually or use the AI generator for help.

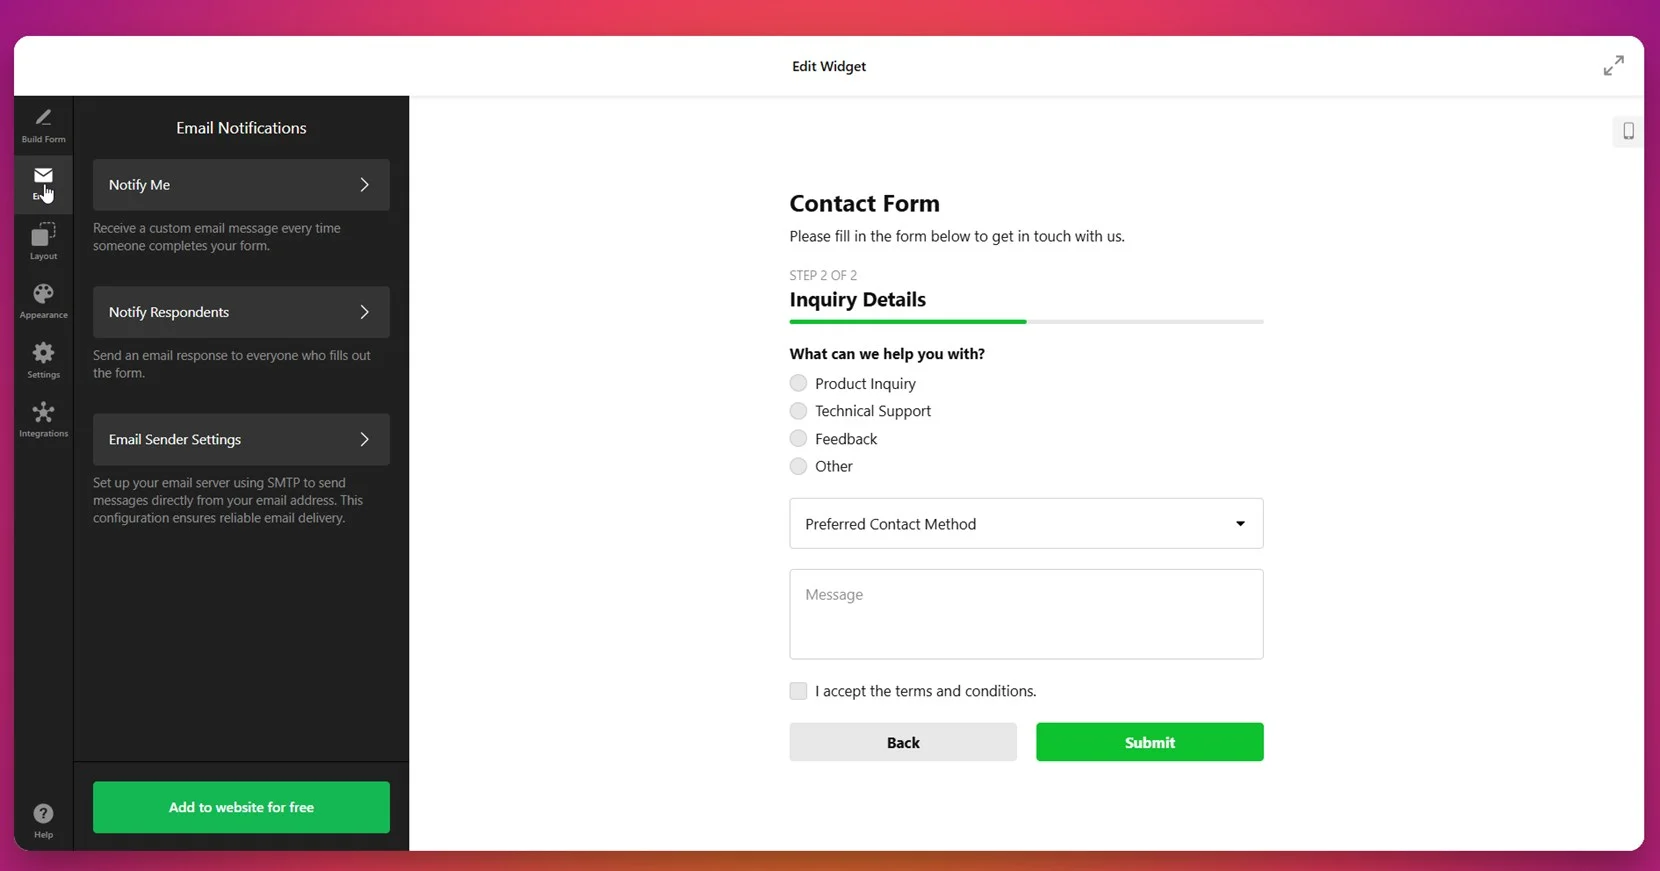
- Configure Email Notifications. Go to the Email tab. Set up notifications for yourself and optional auto-replies for users who submit the form. You can also define SMTP sender settings for better email deliverability.
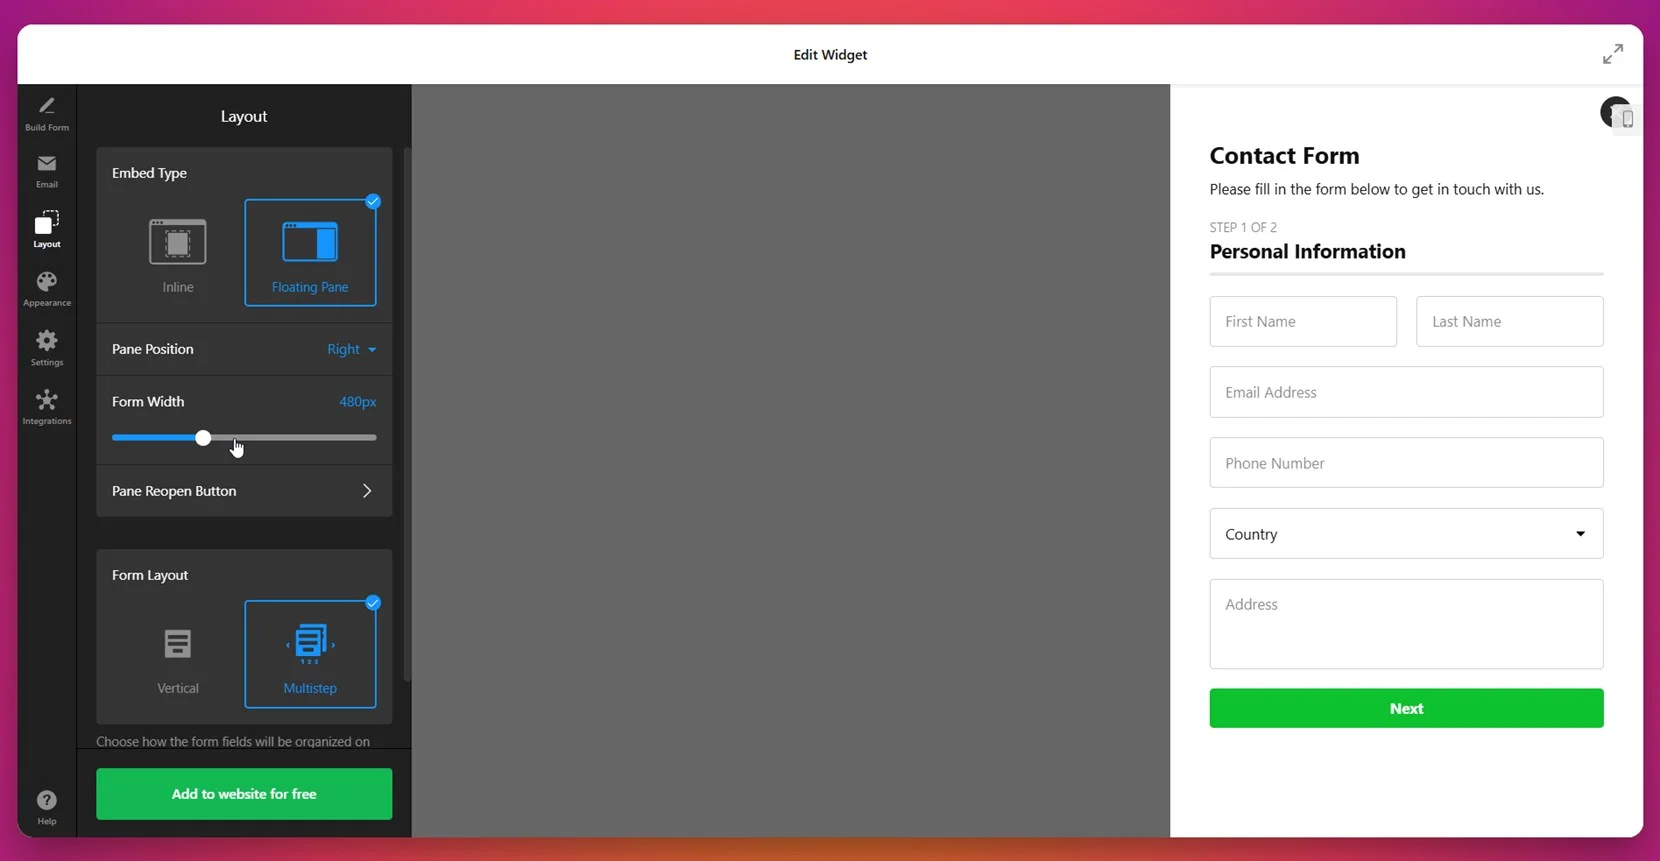
- Set the Layout Style. Open the Layout section to choose how your form appears — Inline or as a Floating Pane. Adjust the form width, set the panel’s position, and ensure the Multistep layout is selected.

- Customize the Appearance. Switch to the Appearance tab. Choose between Light or Dark mode, pick an accent color, and select a font. You can also tweak background settings and visual elements like buttons and borders.
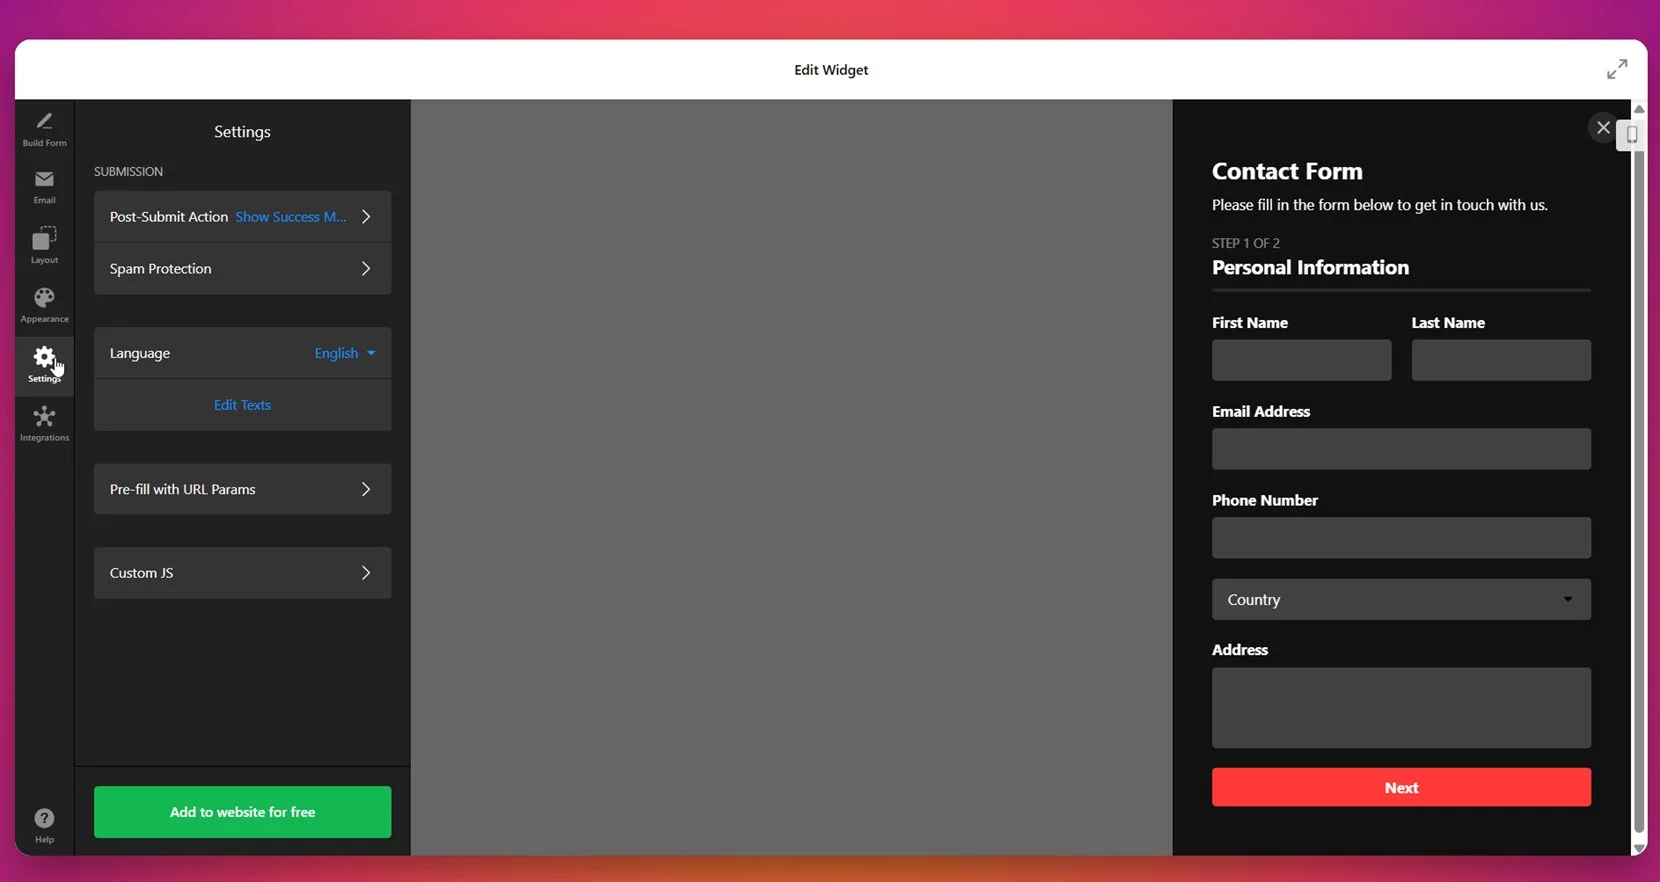
- Adjust Behavior and Validation Settings. Use the Settings tab to configure submission behavior, such as success messages or redirects. Activate spam protection, define supported languages, or pre-fill fields with URL parameters.

- Connect Third-Party Integrations. Link your form with services like Mailchimp, Google Sheets, or Zapier through the Integrations tab. This allows you to automatically collect and manage submissions with your preferred tools.

- Embed the Form on Your Website. Click “Add to website for free” to generate the code. Copy the snippet and paste it into your WordPress editor, theme settings, or block where you want the form to appear. Save and publish the changes.


To add the multi-step form widget specifically to WordPress, you’ll need to insert the generated embed code into a suitable area of your website. The most common method is using the Custom HTML block within the WordPress page editor or placing the code in a widget-ready area like the footer or sidebar. For more advanced control, you can also add it directly into your theme files or use a plugin that allows custom code injection.
This full setup ensures you’re not just adding a form, but creating an optimized experience that fits seamlessly into your WordPress website and business goals.
With your form now built, styled, and live on your WordPress website, you’re equipped to start collecting structured responses with ease. If you’re curious about other options or want to explore different form creation methods, the next section will guide you through some useful alternatives.
Other Ways to Add Multi-Step Forms to WordPress
While Elfsight offers a no-code, fast, and user-friendly solution, there are also other ways to create a multi-page form in WordPress. These include using the platform’s built-in block editor (Gutenberg) or extending functionality with native tools like WPForms’ Lite plugin. Below are detailed instructions for each method you can try if you prefer working within the WordPress environment.
Method 1: Gutenberg Blocks (Manual Setup)
This method relies entirely on the native WordPress block editor — Gutenberg — to manually build a multi-step form experience. Instead of using a plugin or widget, you simulate steps by grouping form fields into visual sections and using anchor links or simple JavaScript to navigate between them. It’s a lightweight approach best suited for straightforward use cases, like collecting basic contact details or short surveys, and for users comfortable with HTML or block customization.
- Go to your WordPress dashboard and create or edit a page. Navigate to “Pages” or “Posts”, choose where you want to insert the form, and launch the Gutenberg editor.
- Use the “Group” block to separate form sections. Add a “Group” block for each form step — like “Personal Info”, “Preferences”, or “Confirmation” — and give each group a unique anchor ID using the “Advanced” block settings.
- Add standard input blocks inside each group. Insert “Paragraph”, “Text”, or “HTML” blocks to represent input fields. You can also add reusable blocks if you frequently use certain input layouts.
- Insert navigation buttons to move between steps. Add Button blocks labeled “Next” or “Back,” then set them to link to the anchor ID of the corresponding group. For a smoother transition, embed simple JavaScript to scroll or reveal hidden sections dynamically.
- Create the final submit step. In the last group, use an “HTML” block to insert your form’s submission code. You can embed a Google Form, a third-party processor, or custom PHP form handler depending on your goal.
This approach provides total design freedom within the Gutenberg interface but requires extra effort to mimic real form functionality. It’s useful for minimal flows where user experience can be simple and direct.
Method 2: WPForms Lite
WPForms Lite is a widely used drag-and-drop form plugin for WordPress that lets you build basic forms without touching code. While the ability to create true multi-step forms is reserved for the Pro version, you can still simulate the experience by using Page Break fields. This workaround gives you the feel of a step-by-step layout with minimal effort and is great for users who want plugin-based simplicity without paying upfront.
- Go to Plugins → Add New in your WordPress dashboard. In the search bar, type “WPForms” and install the “WPForms Lite” plugin. Once installed, click “Activate”.
- Create a new form using the drag-and-drop builder. From the WPForms menu, click “Add New”. Choose “Blank Form” or select a basic template as your starting point.
- Insert the Page Break field to split the form. Drag the “Page Break” element into your form. Each Page Break creates a new step, so you can add several to guide users through multiple sections.
- Customize field settings, titles, and navigation buttons. Rename steps, change button labels like “Next” and “Previous”, and configure each section’s form fields using intuitive settings.
- Embed the form on your page. Once saved, copy the shortcode provided by WPForms. Open a WordPress page or post, insert a Shortcode block, and paste the code. Publish your page to make the form live.
This method works well for beginners who want a visual builder and some step functionality without complex setup. However, certain essential features are limited in the free version.
Comparison of Available Multi-Step Form Methods
Here’s how the most accessible multi-step form methods compare based on setup ease, customization, and functionality.
| Method | Pros | Cons |
|---|---|---|
| Elfsight Widget | Offers full customization, drag-and-drop editing, step logic, and built-in validation — all without code. | Requires embedding via code snippet (one-time copy-paste). |
| Gutenberg Manual Setup | Works natively with WordPress without installing any plugin. | Requires manual grouping and lacks real step logic or validation without extra scripting. |
| WPForms Lite | Simple and beginner-friendly drag-and-drop form builder integrated in WordPress. | Advanced multi-step features like conditional logic and progress bars are only in the paid version. |
Each method offers something different depending on your technical comfort level and needs. But for fast, professional, and fully-featured forms without extra plugins or coding, Elfsight remains the easiest and most complete solution. Next, let’s explore some practical tips for getting the most out of your multi-step forms.
Tips to Boost Form Engagement
After choosing the best method to embed your multi-step form, it’s important to optimize how it functions and appears on your WordPress website. Below are practical tips that help ensure seamless user interaction, reduce abandonment, and improve overall data quality.
- Place the form where users expect it. Forms should appear in relevant areas like contact pages, product detail sections, or after a strong call-to-action. Avoid hiding it deep in menus or below the fold.
- Keep the number of steps reasonable. While splitting long forms improves usability, adding too many steps can make the process feel endless. Stick to 3–5 sections for better balance.
- Use clear and descriptive step titles. Label each form section with a logical name like “Your Details” or “Payment Info” to keep users oriented within the form navigation flow.
- Minimize required fields per step. Don’t overwhelm users with too many mandatory inputs on a single screen. Spread them out and only ask for what’s necessary at each stage.
- Enable auto-save where possible. If your solution allows it, save user progress in the background so they don’t lose information if they reload or navigate away.
- Test across devices. Check that your form looks and behaves consistently on desktop, tablet, and mobile. Responsive layout is crucial for smooth navigation.
Also consider adding form confirmation messages that are friendly and action-oriented. Instead of a plain “Thank you”, include helpful next steps or links, like “We’ll get back to you soon” or “Explore more services”. These small touches enhance the user experience and increase satisfaction.
Now that you know how to build and optimize your form, let’s explore who benefits most from using multi-step forms and the industries where they shine the most.
Use Cases for Multi-Step Forms: Industries
Once your form is optimized and embedded correctly, the next question is — who benefits most from this setup? Multi-step forms are versatile tools used across industries where collecting structured responses, qualifying leads, or segmenting input is essential. Below are a few industries where step-by-step forms provide a clear competitive advantage.
Application in Real Estate 🏡
Real estate agencies use multi-step forms to qualify buyer or seller leads efficiently. By asking a few questions at each step — property type, location, budget, and contact details — they avoid overwhelming the user while gathering detailed insights. These forms are often embedded on property listing pages, landing pages, or popups triggered by scroll actions.
Application in Healthcare and Wellness 💉
Clinics, therapists, and wellness professionals can use these forms for patient intake, appointment scheduling, or service pre-qualification. By breaking down sensitive health-related questions into stages, you make users feel more comfortable and reduce form drop-offs. It also improves data accuracy and regulatory compliance by introducing input validation for each step.
Application in Education and Training 🎓
Online schools, training providers, and course platforms can use multi-step forms to register new students or qualify leads for specific programs. Users can choose learning preferences, goals, scheduling options, and provide contact info in sequence. This structure makes long application processes more digestible and encourages more completions.
These examples show how a structured, multi-step form not only improves user experience but also helps businesses collect more relevant, organized data. Now let’s address potential issues and solutions to ensure your forms function flawlessly on any WordPress website.
Troubleshooting Common Issues
Even though multi-step forms are a great way to improve user experience, they can come with a few technical or usability challenges. Below are the most frequent problems you might encounter when you make a form with several pages in WordPress — and how to solve them.
Why isn't my multi-step form displaying all steps?
How do I ensure the form works on mobile devices?
What should I do if the form doesn’t submit?
Can I break down complex forms into logical steps?
How do I improve the overall experience?
With the right setup and attention to these details, you can create reliable and user-friendly forms that look great and perform smoothly.
Final Thoughts
Creating a multi-step form in WordPress is one of the most effective ways to streamline data collection and enhance the user journey. By breaking down content into manageable steps, adding a step progress indicator, and ensuring a seamless user interaction, you increase engagement and completion rates. Whether you’re collecting leads, handling bookings, or running surveys, a well-designed multi-step form keeps users focused and motivated to finish.
Elfsight offers a smooth, no-code experience that allows you to build a form with progress steps in WordPress in just minutes. With full customization, real-time editing, and built-in validation, it’s the perfect solution for businesses that want functional, good-looking forms without technical hassle. From simple contact flows to more advanced applications in real estate, healthcare, or education, multi-step forms can be adapted to fit your workflow and goals.
Looking for More Guidance?
We hope this tutorial helped clarify everything you need to know about building and embedding multi-step forms. If you still have questions or want to explore custom use cases, contact us — our team is here to assist you. At Elfsight, we’re committed to providing flexible, code-free widgets that support your business objectives and deliver a better user experience.
Join our growing Community to connect with others, exchange ideas, and share feedback. We’d love to hear what features you’d like next — add your suggestions directly to our Wishlist and help shape the future of Elfsight widgets.