An online application form is a simple yet powerful way to collect structured information directly from your website visitors. Whether you’re hiring, registering users, or gathering leads, it helps streamline communication and automate intake processes.
If you’re looking to improve how you gather data and interact with your audience, adding a custom-built application form to your website is the right move. It’s easy to implement, requires no technical skills, and offers flexibility for nearly any business use case.
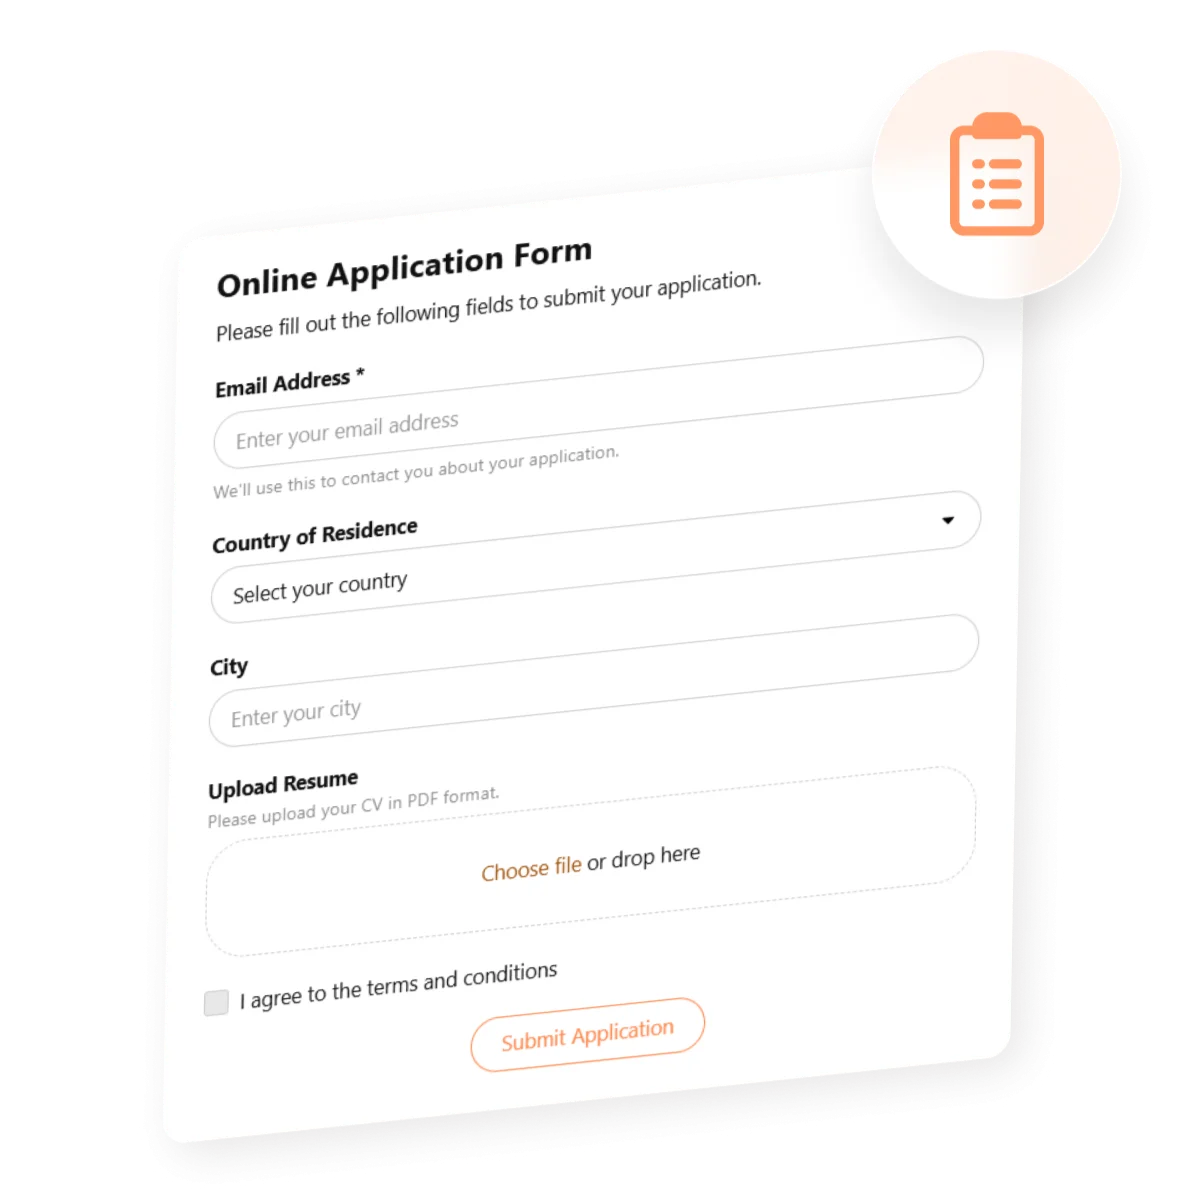
- Professional appearance and structure. A well-designed application form gives your website a polished, credible look while guiding users to provide the exact information you need.
- Always accessible and easy to manage. As a web-based form designer, it’s available 24/7 on your website and connects directly to your submission management system or email.
- Streamlined application process. Reduce back-and-forth communication by collecting all necessary details in one go, saving time for both you and your users.
- Customizable for any purpose. You can tailor the form to suit job applications, event sign-ups, service requests, or any other use with just a few clicks.
- Secure data handling. Collected entries are stored safely and can be managed efficiently through built-in dashboards or connected tools.
Now that you know how an application form can benefit your website, let’s explore how you can create one quickly using a simple, visual builder.
Quick Guide to Building a Web Application Form
Once you understand the value of having an application form on your website, the next step is creating one — and it’s easier than you might think. With Elfsight, you can build and customize your form in just a few clicks using a no-code visual editor.
- Open the editor and choose an application form template that fits your purpose.
- Customize the layout, fields, and spacing. Add input types like text boxes, dropdowns, file uploads, and checkboxes.
- Adjust colors, fonts, button style, and other visual elements to match your website’s branding.
- Click “Add to website for free“, copy the generated code, and paste it into your website’s backend.
This quick setup allows anyone to create a functional and attractive application form without needing design or coding skills. All edits are made visually, and changes appear instantly in the preview panel, making the process smooth and intuitive.
See how it works — create your application form in just a few clicks!
Features of the Elfsight’s Form Builder
Now that you’ve seen how fast it is to create an application form, let’s break down what makes Elfsight’s solution stand out. It’s not just quick — it’s packed with useful features that help you build, customize, and manage forms effortlessly.
Here are the key features and benefits that make Elfsight a powerful choice:
- Drag-and-drop form creation. Easily build and arrange fields without writing a single line of code — ideal for fast, hands-on editing.
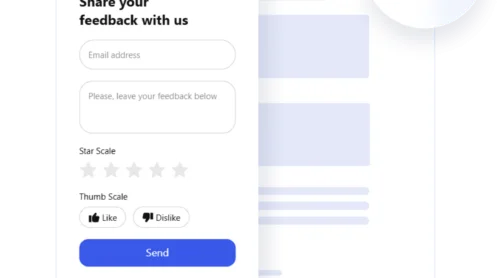
- Flexible field options. Use text inputs, dropdowns, checkboxes, radio buttons, and more to gather the exact information you need.
- Mobile-responsive layout. Your form will look and function great on any device, ensuring a seamless experience for mobile users.
- Instant email notifications. Receive alerts for every new submission, so you never miss an important response.
- Custom success messages and redirects. Show users a custom message or send them to a specific page after they submit the form.
- Seamless integration options. Easily embed your form into any platform — no complex setup required.
- Data export and submission management. View all entries in one place, download them as CSV, and keep your workflow organized.
These features make Elfsight more than just a free application form generator — it’s a complete, customizable solution that works for businesses of all sizes. Now let’s walk through the full process of building and embedding your form from start to finish.
Create Your Application Form: Step-by-Step Guide
Now that you’re familiar with the key features, let’s go through the full process of building and publishing your online application form using Elfsight. With an intuitive interface and zero coding required, the setup can be completed in minutes.
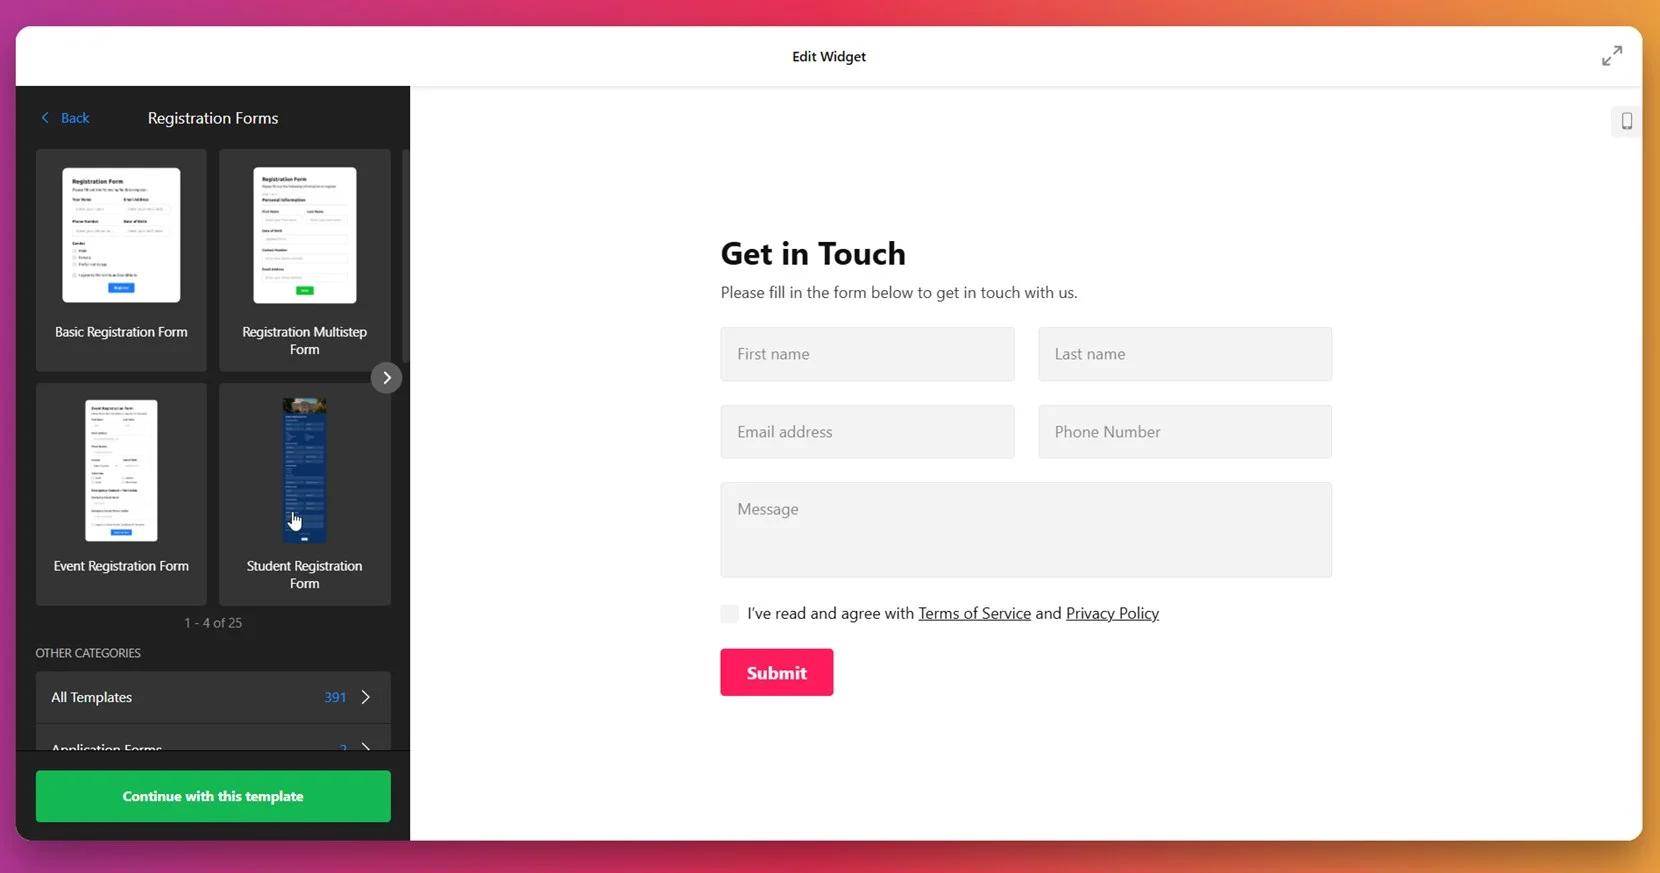
- Choose a Template. Start by opening the form builder and selecting one of the ready-made templates. Click “Continue with this template” to launch the editor.

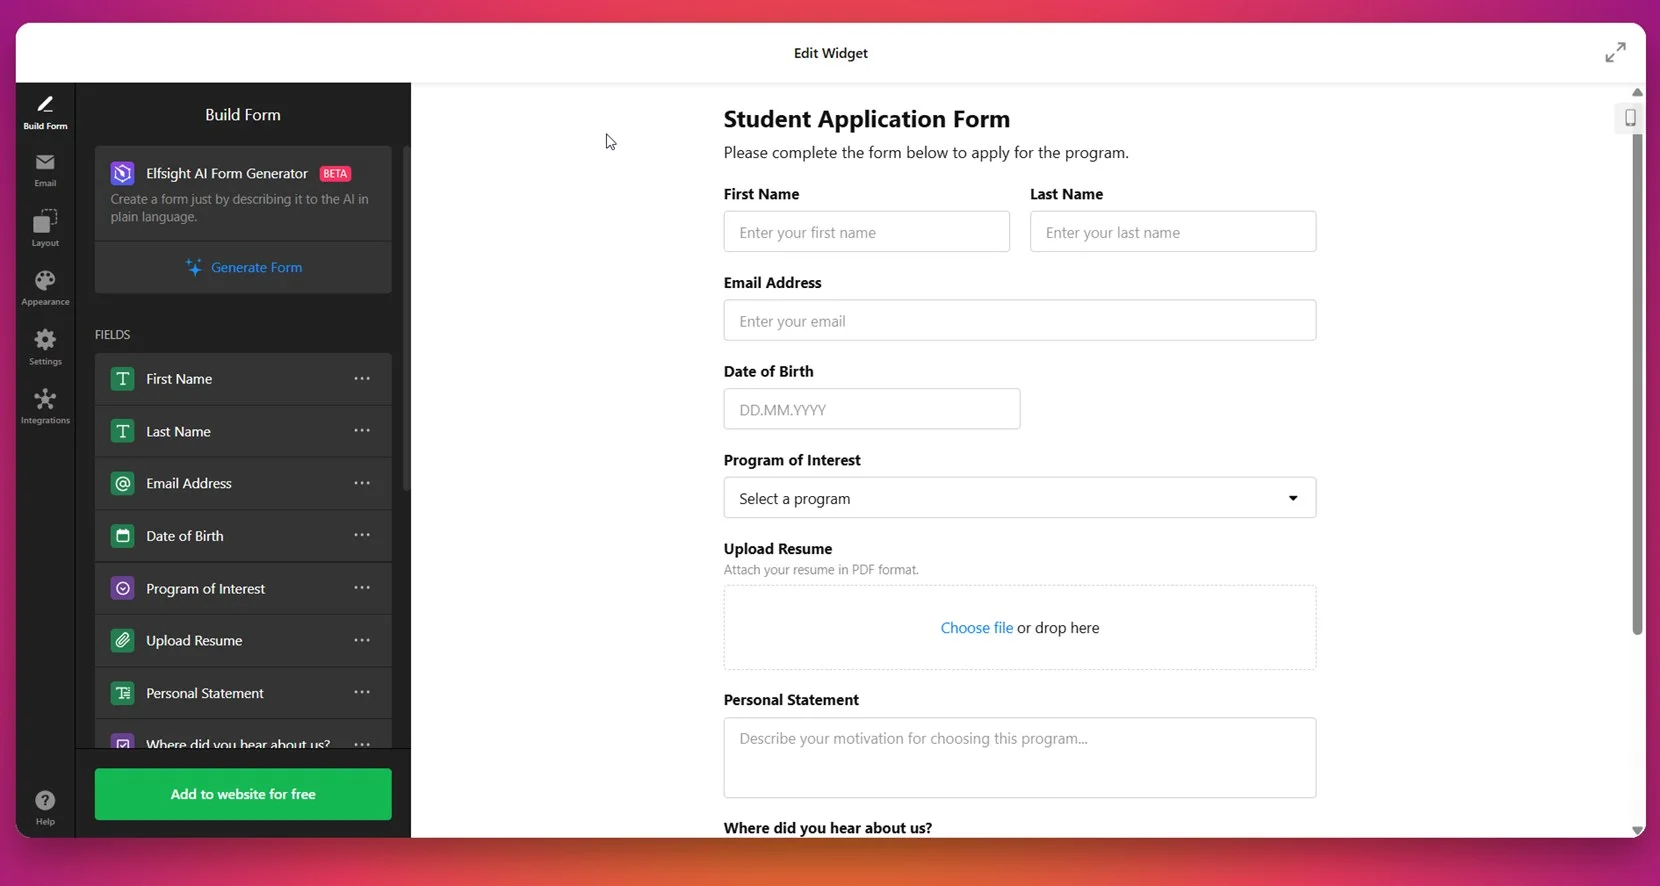
- Build Your Form. Use the “Build Form” tab to add or remove fields. Drag elements like name, email, dropdowns, resume upload, and text areas. You can also try the Elfsight AI Form Generator to instantly create a form from a prompt.

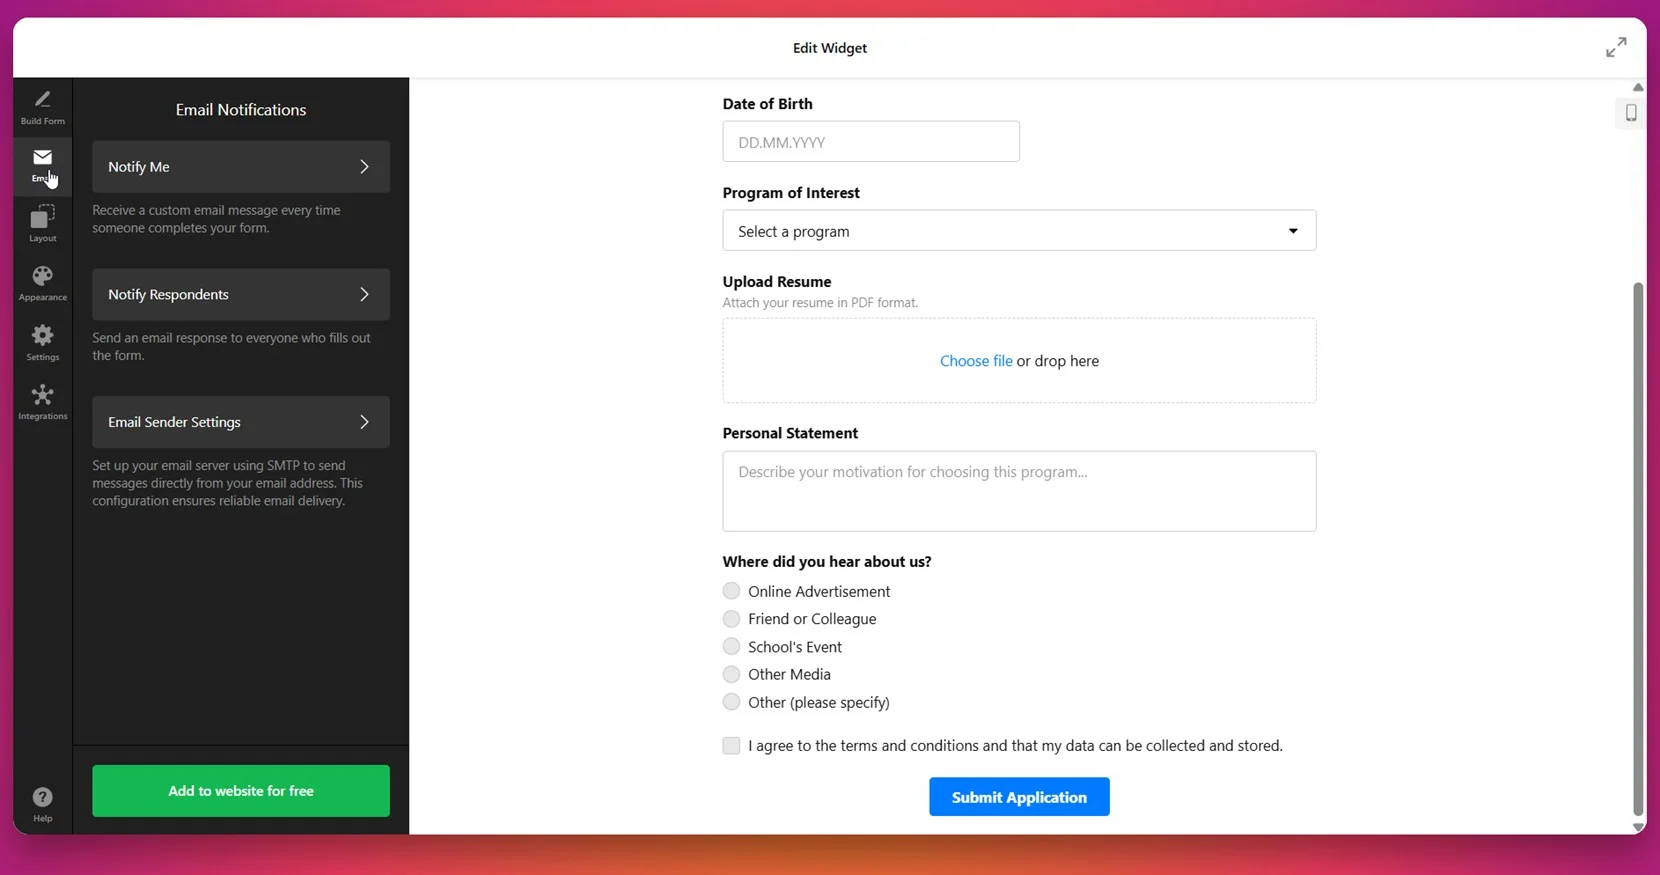
- Set Up Notifications. Open the “Email” tab and configure custom email alerts for yourself and responders. This ensures you receive new submissions instantly and your users get confirmation messages.

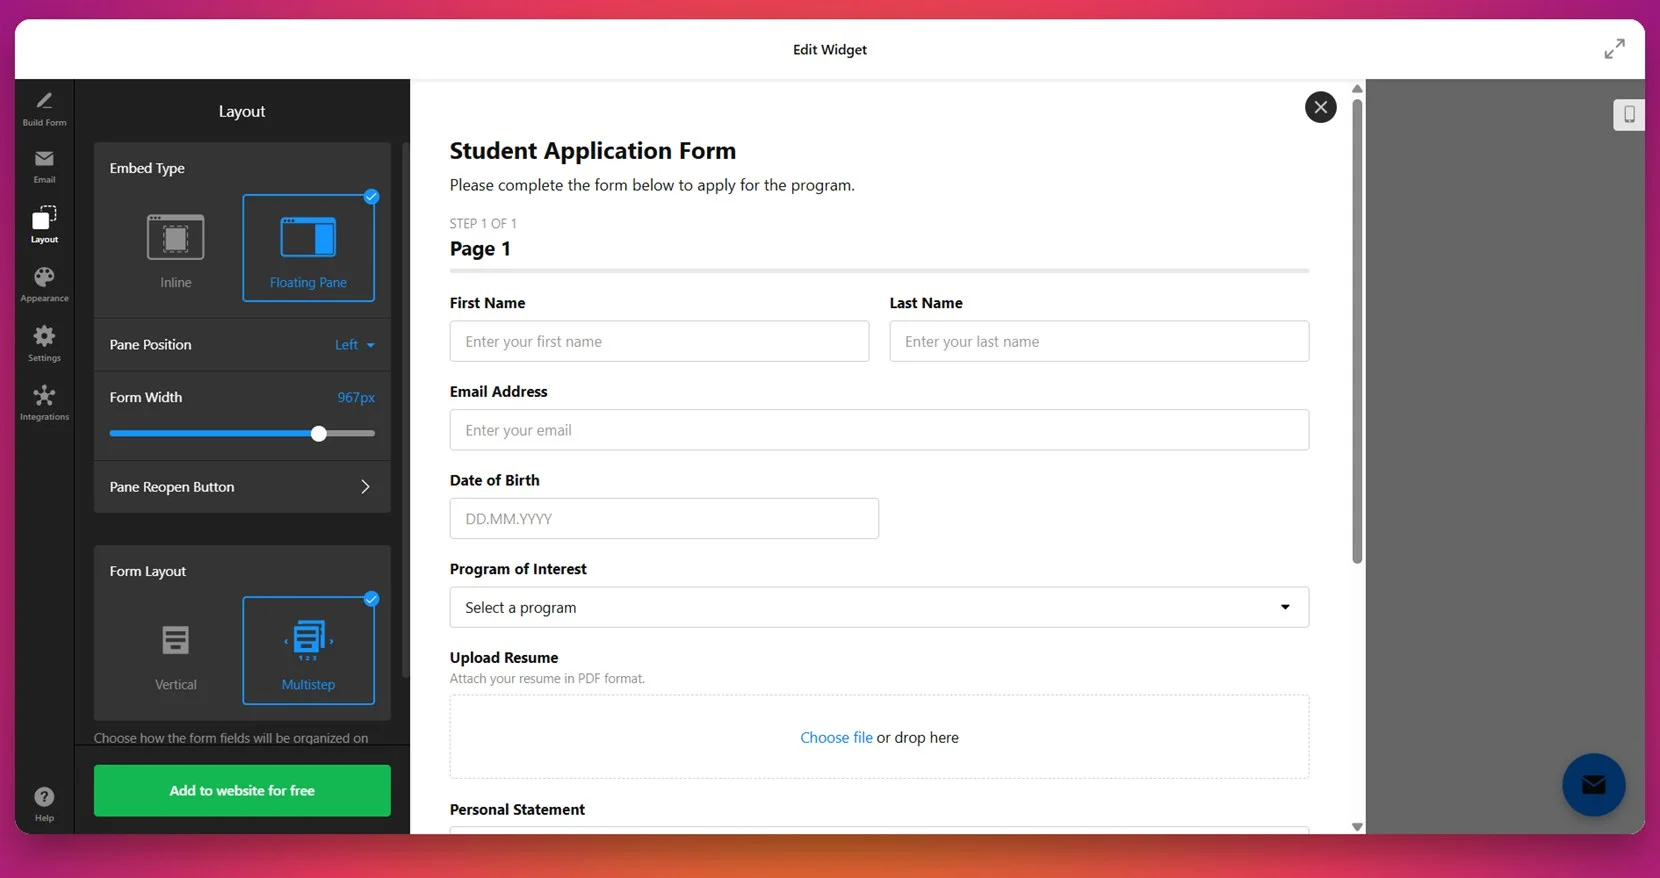
- Customize the Layout. In the “Layout” section, choose between Inline or Floating Pane embed types. You can also set the pane position, form width, and switch to a multistep layout if needed.

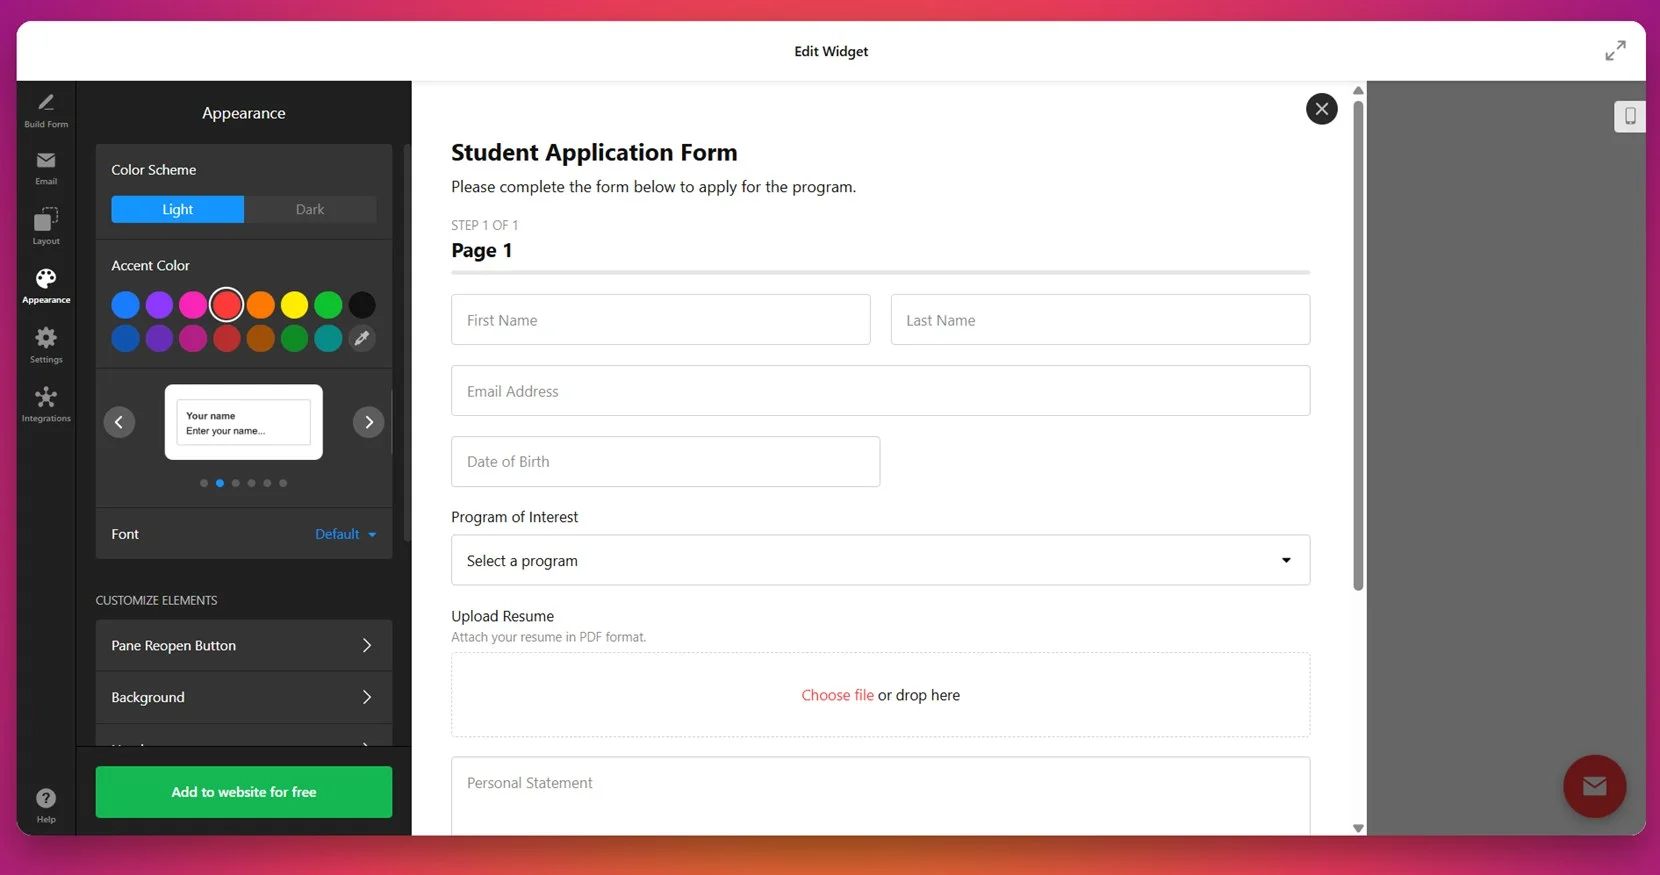
- Adjust Appearance. Go to “Appearance” to personalize your form with a light or dark theme, pick an accent color, set font style, and adjust background and spacing settings to match your website’s design.
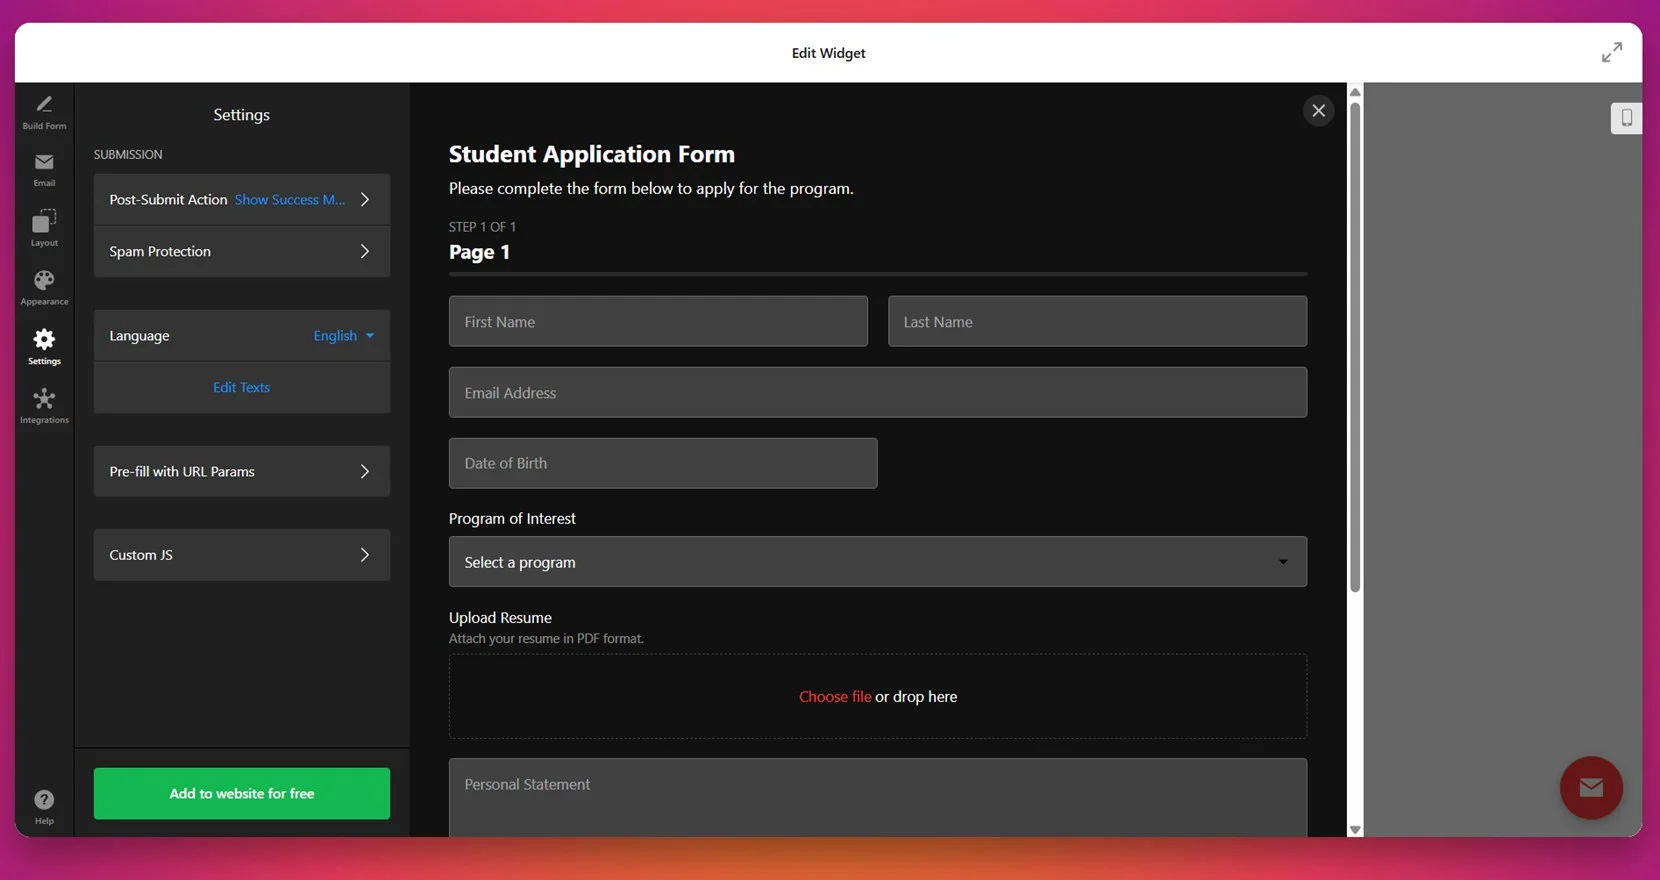
- Tweak Settings. Under “Settings”, you can edit the post-submit message, enable spam protection, set form language, and apply custom JS or URL parameter pre-filling for advanced use cases.

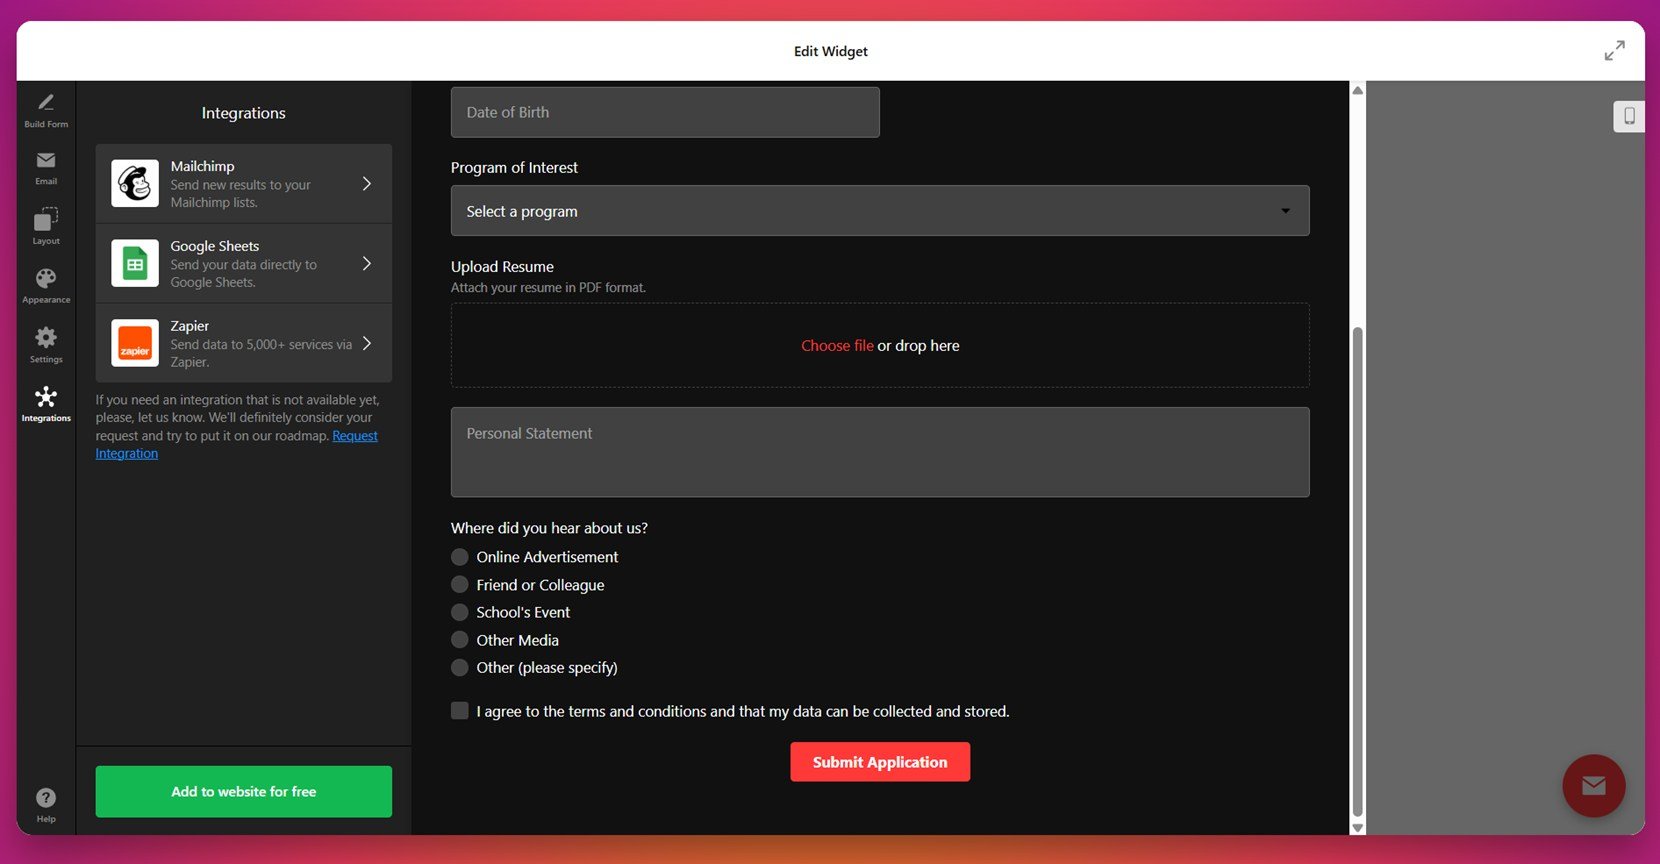
- Integrate with Other Services. In the “Integrations” section, connect your form to services like Google Sheets, Mailchimp, or Zapier to automate data processing and lead management.

- Embed the Form. Click “Add to website for free”, then copy the generated embed code. Paste it into your website’s HTML editor or content block. Save and publish to make the form live.


Every configuration step is accessible from the left-hand panel of the editor, making the process easy to follow even for beginners. You can switch between sections instantly and preview changes live before saving.
That’s all it takes to create and publish a fully working application form. If you’re exploring other ways to build and embed forms, the next section walks you through some alternative solutions.
Other Ways to Make an Online Form for Website
Besides using Elfsight, there are a few other reliable ways to add an application form to your website. Some platforms offer native solutions, others support third-party integrations or APIs. Below are the most effective alternative methods for creating and embedding forms, including full setup instructions for each.
Google Forms
Google Forms is one of the most accessible and free solutions for creating online application forms. It’s especially useful for general-purpose websites where basic form functionality is enough. With Google Forms, you can quickly gather user data such as contact details, applications, or feedback without writing any code or using third-party plugins.
- Go to Google Forms. Open your browser and visit forms.google.com. If you’re not already signed in, log in using your Google account credentials.
- Create a new form. On the main dashboard, click the “Blank” template to start from scratch, or select a ready-made option like “Job Application” or “Contact Information” from the template gallery.
- Customize your form. Enter a form title and description to let users know what it’s for. Click on each question to modify the text, choose a field type (e.g., short answer, paragraph, dropdown, checkboxes), and make specific questions required. You can also duplicate, delete, or rearrange questions using the icons on the side.
- Add sections or conditional logic (optional). Use the toolbar on the right to insert new sections or logic-based branching, which allows you to create different question paths based on previous answers.
- Adjust appearance. Click the palette icon at the top to open theme options. Choose a header image, change the background color, and adjust font style for questions and text. Although limited, these tweaks help bring the form slightly closer to your website’s look and feel.
- Enable email collection and confirmation. Click the settings gear icon in the upper-right corner. Under the “General” tab, enable “Collect email addresses” to capture the user’s email automatically. Check “Response receipts” to allow users to receive a copy of their responses. Under the “Presentation” tab, you can set a custom confirmation message that appears after form submission.
- Get the embed code. Click the “Send” button at the top of the form builder. In the popup, select the “< >” icon to access the HTML embed option. Adjust the width and height if necessary, then click “Copy” to grab the embed code snippet.
- Add it to your website. Go to your website builder or CMS, open the desired page in HTML or code editor mode, and paste the copied code into the section where you want the form to appear. Save and publish the page to make the form live.
Google Forms is a great tool for quick deployment, especially when you need to collect basic information without worrying too much about visuals or automation.
HTML Form with PHP
For those who need full control over design, field logic, and server-side behavior, building a form with plain HTML and handling it via PHP is a classic and powerful method. This approach is best suited for developers or teams working on custom-coded websites where flexibility and backend access are available.
- Create the HTML form. Start by writing the form’s front-end structure using HTML. Below is a minimal example with basic input fields. Add more fields like dropdowns, file uploads, checkboxes, or text areas as needed. Ensure each input has a unique name attribute to process them in PHP.
<form action="submit.php" method="POST"> <input type="text" name="name" placeholder="Your name"> <input type="email" name="email" placeholder="Your email"> <input type="submit" value="Submit"> </form> - Create the backend script. Next, create a file named submit.php that will receive and process form data sent via POST method. Here’s a basic example for sending data by email (You can also extend this script to save data into a database, validate fields, or redirect to a thank-you page):
<?php $name = $_POST['name']; $email = $_POST['email']; $to = "you@example.com"; $subject = "New submission"; $body = "Name: $name\nEmail: $email"; mail($to, $subject, $body); ?> - Upload both files to your server. Using FTP or your hosting provider’s file manager, upload the HTML file containing the form and the submit.php file to your server directory — typically under /public_html/ or the root of your website project.
- Embed the form on your page. Depending on how your website is structured, you can either link directly to the HTML form page, include it as a PHP block, or use an iframe to display it inside another page. Example with iframe: <iframe src=”form.html” width=”100%” height=”300″></iframe> Make sure file permissions are set correctly and the server supports PHP execution.
Building a form with raw HTML and PHP is ideal when you want precise control over every component of the form and backend workflow. However, it requires more setup time and technical confidence compared to no-code solutions.
Comparison of Form Creation Methods
The table below outlines the major pros and cons of the most common ways to embed an application form on a website. Each method offers a different balance between control, ease of use, and customization. Elfsight stands out as the most accessible and versatile option for users of all skill levels.
| Method | Pros | Cons |
|---|---|---|
| Elfsight Form Builder | Offers rich customization options, preset templates, email notifications, integrations with services like Google Sheets and Mailchimp — all without needing coding knowledge. | Requires creating an account to save and publish the form on your website (a free plan is available. |
| Google Forms | Completely free, easy to use with a Google account, and allows quick form deployment with automatic response collection and basic analytics built-in. | Very limited visual customization, no true branding alignment, and lacks direct integration with many platforms unless paired with third-party tools. |
| HTML + PHP Form | Provides full control over design, layout, backend logic, email formatting, and can be tailored exactly to your project’s requirements. | Requires advanced knowledge of HTML, PHP, and hosting setup; lacks built-in spam protection and demands manual security implementation. |
Choosing the right method depends on your technical expertise and the level of customization you need. If you want a balance of simplicity, flexibility, and professional design — all without touching code — Elfsight offers the most user-friendly and efficient solution. Let’s now look at how to personalize the widget to better match your brand and goals.
Tips to Personalize Your Application Form
Once your application form is embedded on your website, refining its appearance and behavior is key to making it both functional and visually aligned with your brand. Below are essential customization tips to help you get the most out of your form setup.
- Match your brand’s visual identity. Adjust fonts, colors, and button styles to reflect your branding. Use a consistent accent color and font family to ensure the form looks like a natural part of your website.
- Use clear and concise field labels. Label each field with direct and helpful instructions. Avoid jargon and be specific — e.g., use “Full Name” instead of just “Name”. This reduces confusion and increases form completion rates.
- Group related fields into sections. If your form is long, divide it into logical sections like “Personal Info,” “Work Experience”, or “Upload Documents”. This makes it easier for users to fill out without feeling overwhelmed.
- Enable mobile responsiveness. Always preview your form on different screen sizes. Mobile-friendly design is essential, as a significant portion of visitors will use smartphones to access your application form.
- Limit the number of required fields. Only mark essential fields as required. Long, mandatory forms often lead to high abandonment rates, so focus on gathering only what you truly need.
- Use placeholder text wisely. Add subtle guidance inside fields to clarify expected inputs, such as “Your professional email” or “Paste your portfolio link”. But make sure it’s not the only instruction — users may overlook placeholder content.
- Add a confirmation message or redirect. After submission, show a clear message or take users to a thank-you page. This confirms the form went through and helps you control the post-submission experience.
- Test accessibility and contrast. Ensure the text is legible, buttons are large enough to tap on mobile, and color contrast meets accessibility guidelines. This improves usability for all visitors.
Customizing the form to match your business goals and aesthetics is just one part of the equation. Next, let’s explore the different types of application forms you can build, depending on your use case.
Application Forms You Can Make: Examples
Now that you know how to tailor the form to fit your brand, let’s take a look at specific examples of application form templates you can create using Elfsight. These ready-made templates serve different industries and help you collect the exact information you need — without starting from scratch.
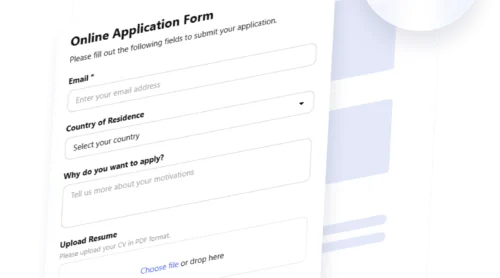
Job Application Form
This template is designed to simplify candidate intake for recruiters, HR managers, and business owners. The Job Application Form template available in the Elfsight gallery includes essential fields such as name, contact info, education, previous experience, and resume upload. It’s optimized for collecting structured submissions and helps employers filter applicants before scheduling interviews.
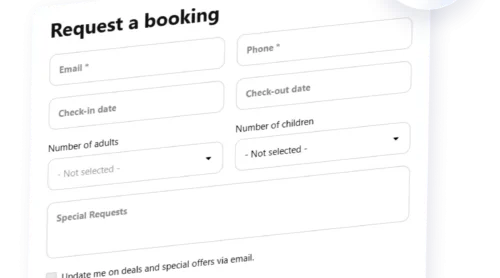
Rental Application Form
Ideal for property managers and real estate professionals, the Rental Application Form template lets you collect rental history, employment info, income verification, and references. It’s well-suited for pre-screening prospective tenants and streamlining the leasing process. File upload fields can be enabled to request documents like pay stubs or ID scans, keeping all applicant data in one place.
Request for Medical Records Form
This template is useful for clinics, hospitals, or private practices that need to process patient record requests securely and efficiently. The Request for Medical Records Form template includes fields for patient name, date of birth, contact details, authorization checkbox, and reason for the request. It’s an ideal solution for reducing paperwork and handling documentation requests through your website.
These templates cover a wide range of use cases, allowing you to start with a structure that fits your goals and simply customize the details. Next, we’ll explore potential issues you might encounter during setup and how to solve them efficiently.
Troubleshooting Common Issues
While creating and embedding an application form is usually straightforward, some users may encounter issues or limitations that require extra attention. Below are common problems and solutions, explained in an FAQ format to help you avoid delays and get the most out of your form.
Why doesn’t my form appear on the website after embedding the code?
Can I receive email notifications for new form submissions?
Why are users abandoning the form before submitting it?
Is my form mobile-responsive by default?
How do I collect uploaded files or attachments?
Can I translate the form or make it multilingual?
What should I do if spam submissions start to appear?
Understanding these challenges in advance helps you build more reliable forms and ensures that your application process runs smoothly.
Conclusion
Building an application form for your website is no longer a complex task. With modern no-code solutions, you can create, customize, and publish professional-grade forms in just a few steps. The flexibility and ease of tools like Elfsight’s form builder let you focus on what matters: collecting meaningful submissions without technical barriers.
From choosing the right template to handling form submissions and solving common setup issues, this guide has walked you through every stage of the process. Now is the perfect time to put this into action and create a form that works for your business goals, collects the right data, and delivers a smooth experience for your users.
Looking for More Help?
We hope this guide has answered your key questions. If you need additional support, feel free to reach out and discover more ways to build effective online forms for your website. Our team at Elfsight is committed to making form creation simple, efficient, and fully customizable — without writing a single line of code.
Join our growing Community to exchange ideas and feedback with other users. Got a suggestion for a new feature? Add it to our public Wishlist and help shape future updates.